Features
Guides
How-to's
All the latest
Nintendo news
How to turn off the Nintendo Switch (and its controllers)
Curtis JoeMay 5, 2025
0
Nintendo Switch won't turn on? Here's how to fix it
Ankit BanerjeeApril 25, 2025
0
Here's how the Nintendo Switch 2 stacks up against Android gaming handhelds
Nick FernandezApril 20, 2025
0
The best Nintendo 3DS emulators for PC and Mac
Joe HindyMarch 31, 2025
0
5 best SNES emulators for Android
Joe HindyMarch 31, 2025
0
Nintendo Switch 2 rumors: Everything we know so far
C. Scott BrownMarch 27, 2025
0
The best Game Boy Advance emulators for iOS
Ben PriceMarch 26, 2025
0
5 best N64 emulators for Android
Joe HindyMarch 26, 2025
0
The best Game Boy Advance, Game Boy Color, and Game Boy emulators
Joe HindyMarch 24, 2025
0
How to sync your Wii remote to a PC or another Nintendo console
Andy WalkerMarch 6, 2025
0
Nintendo sues accessory maker over Switch 2 mockup
Ryan McNealMay 6, 2025
0
This Majora's Mask port now supports mods, and more recompiled N64 games are coming
Nick FernandezMay 5, 2025
0
N64 emulation on the Switch 2 (almost) catches up to Android emulators
Nick FernandezMay 5, 2025
0
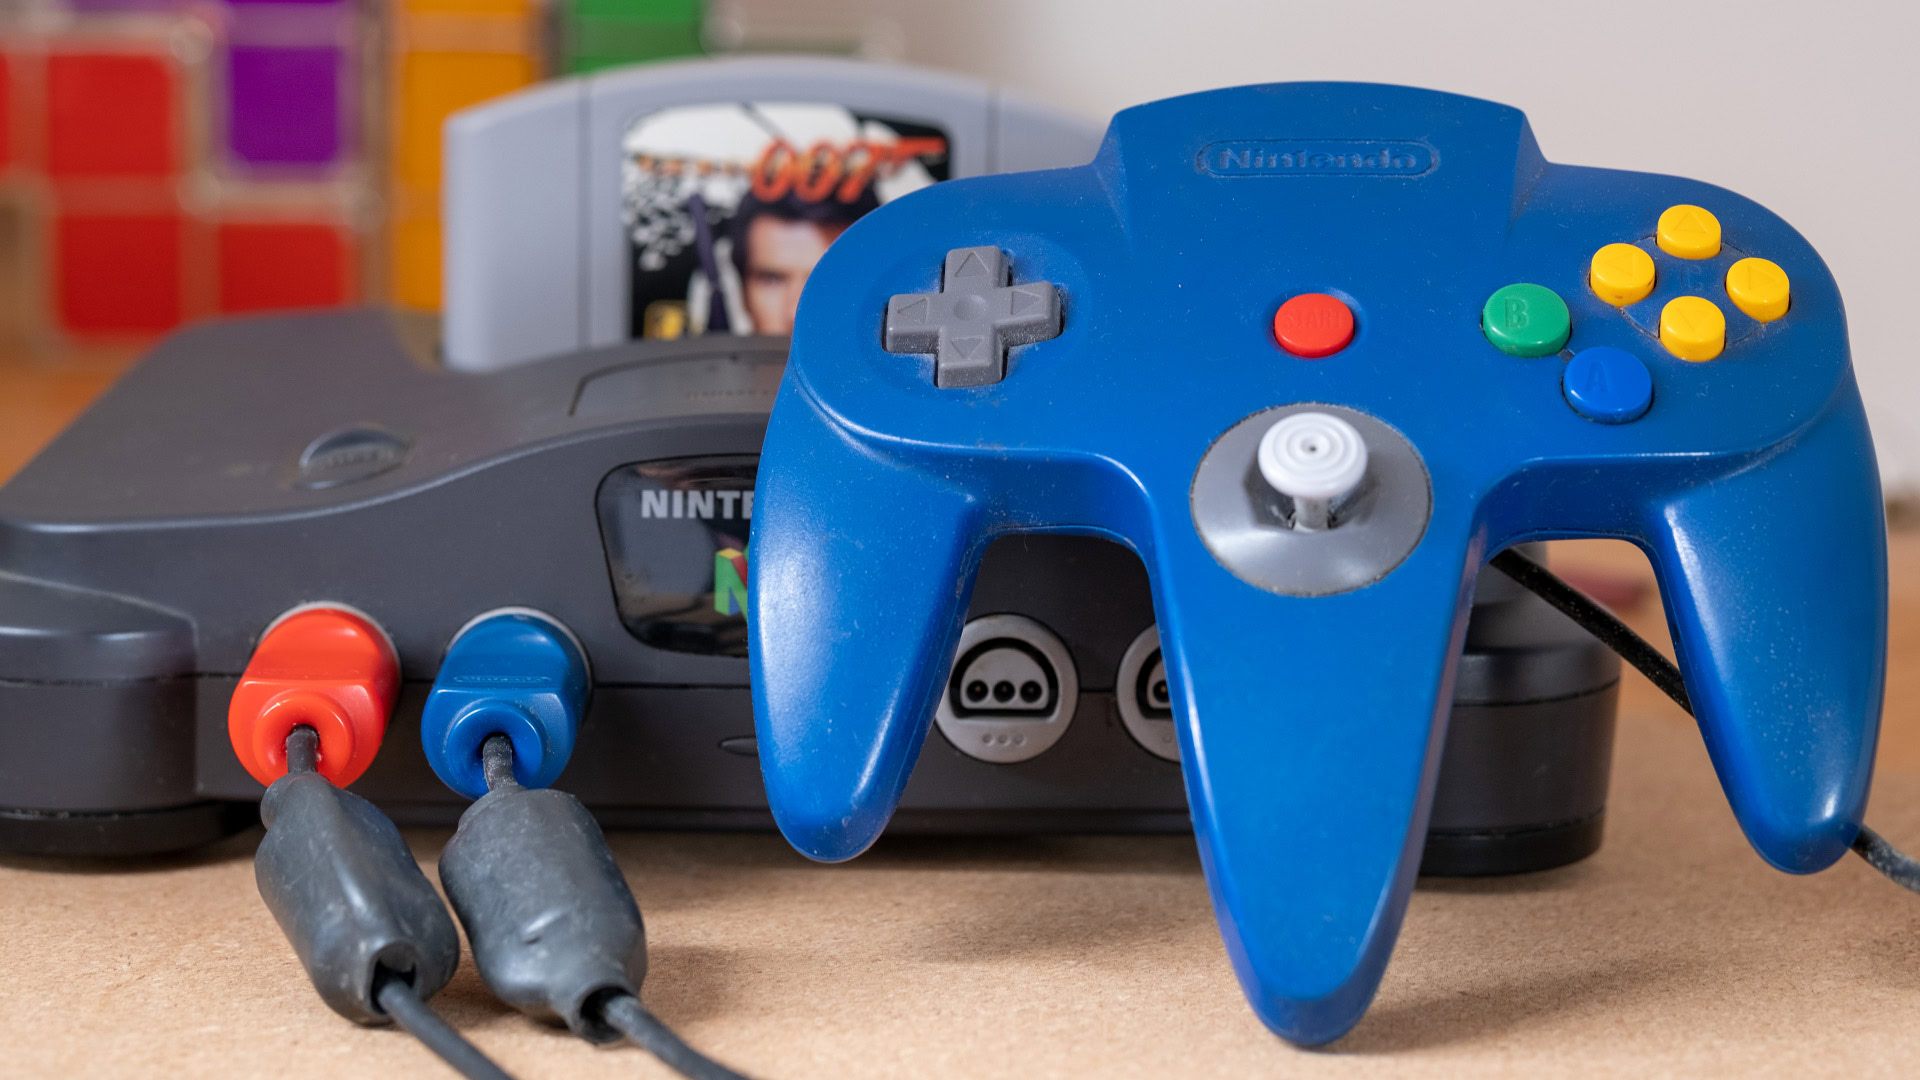
Lucky enough to snag a Switch 2 preorder? Your old Switch is getting ready to transfer your data
Christine Romero-ChanApril 30, 2025
0
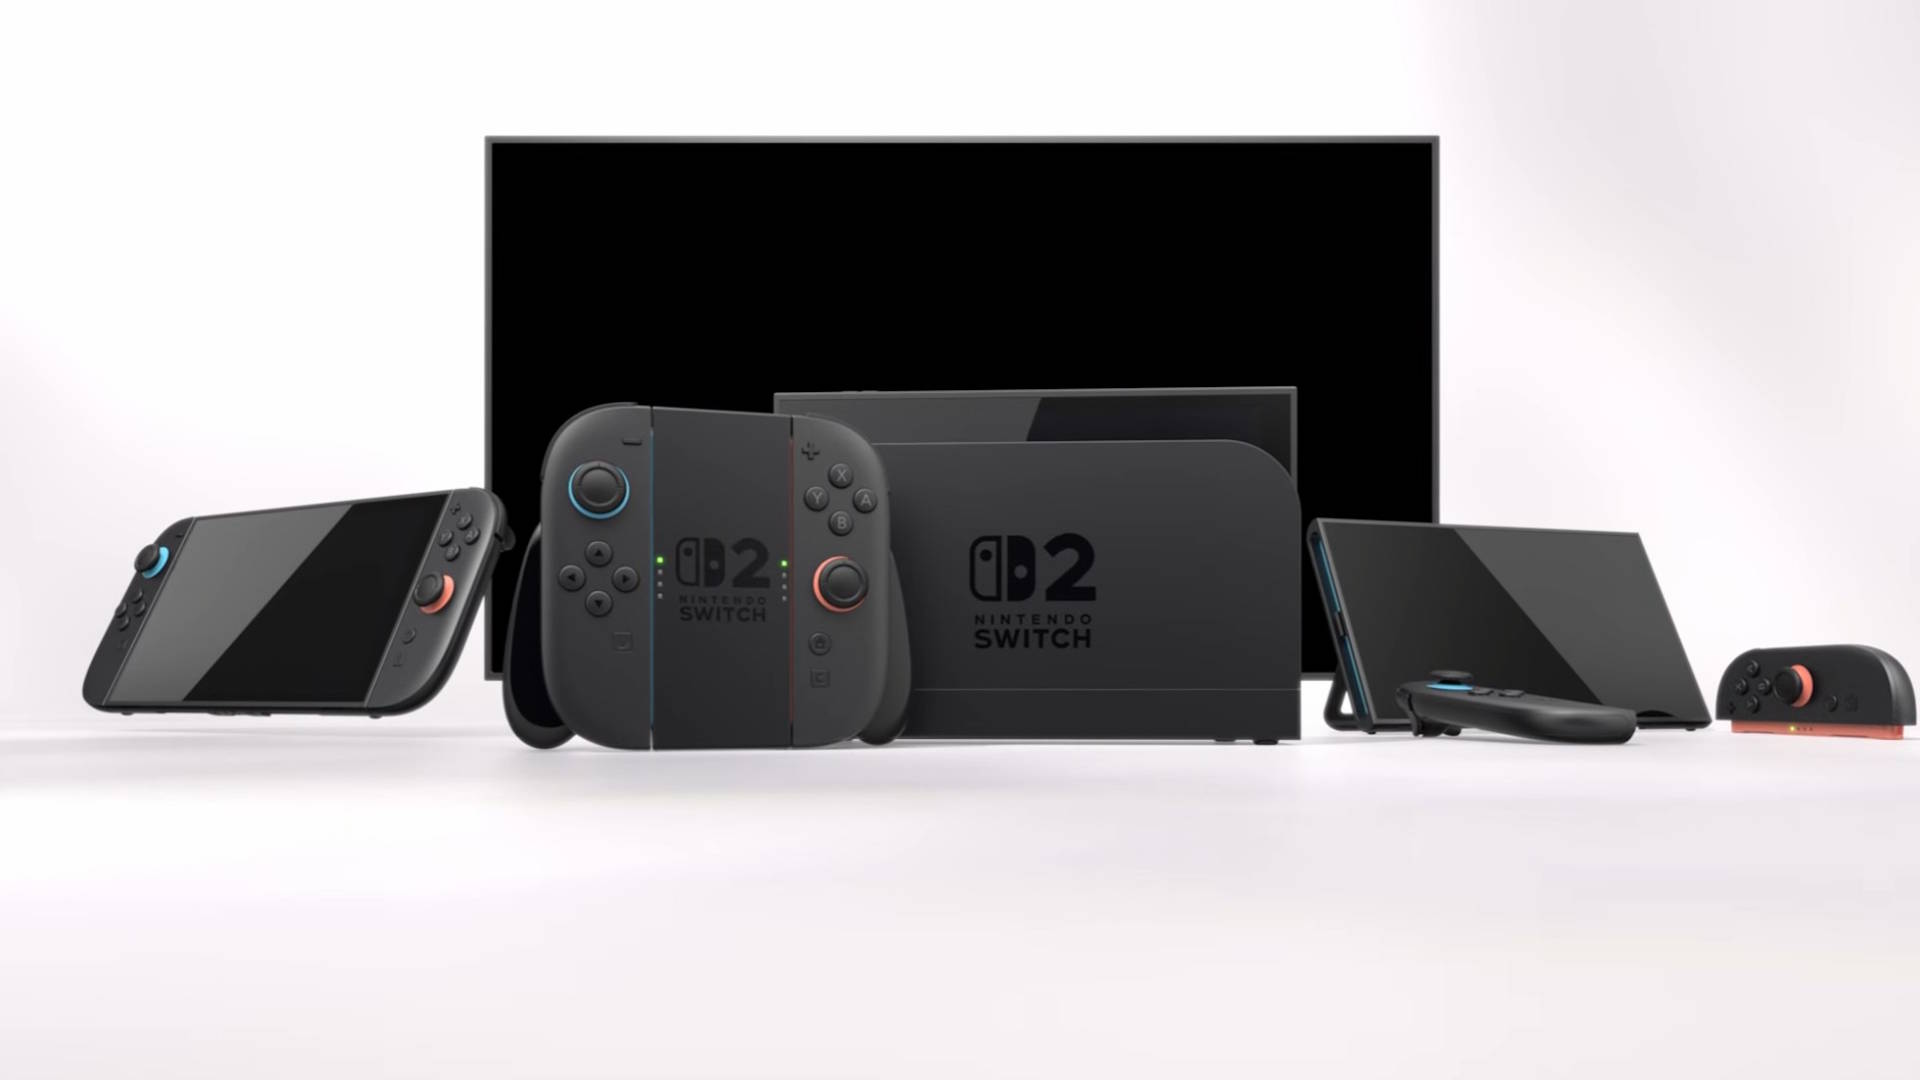
Soon you will be able to play GoldenEye 007 in widescreen at 240fps
Nick FernandezApril 24, 2025
0
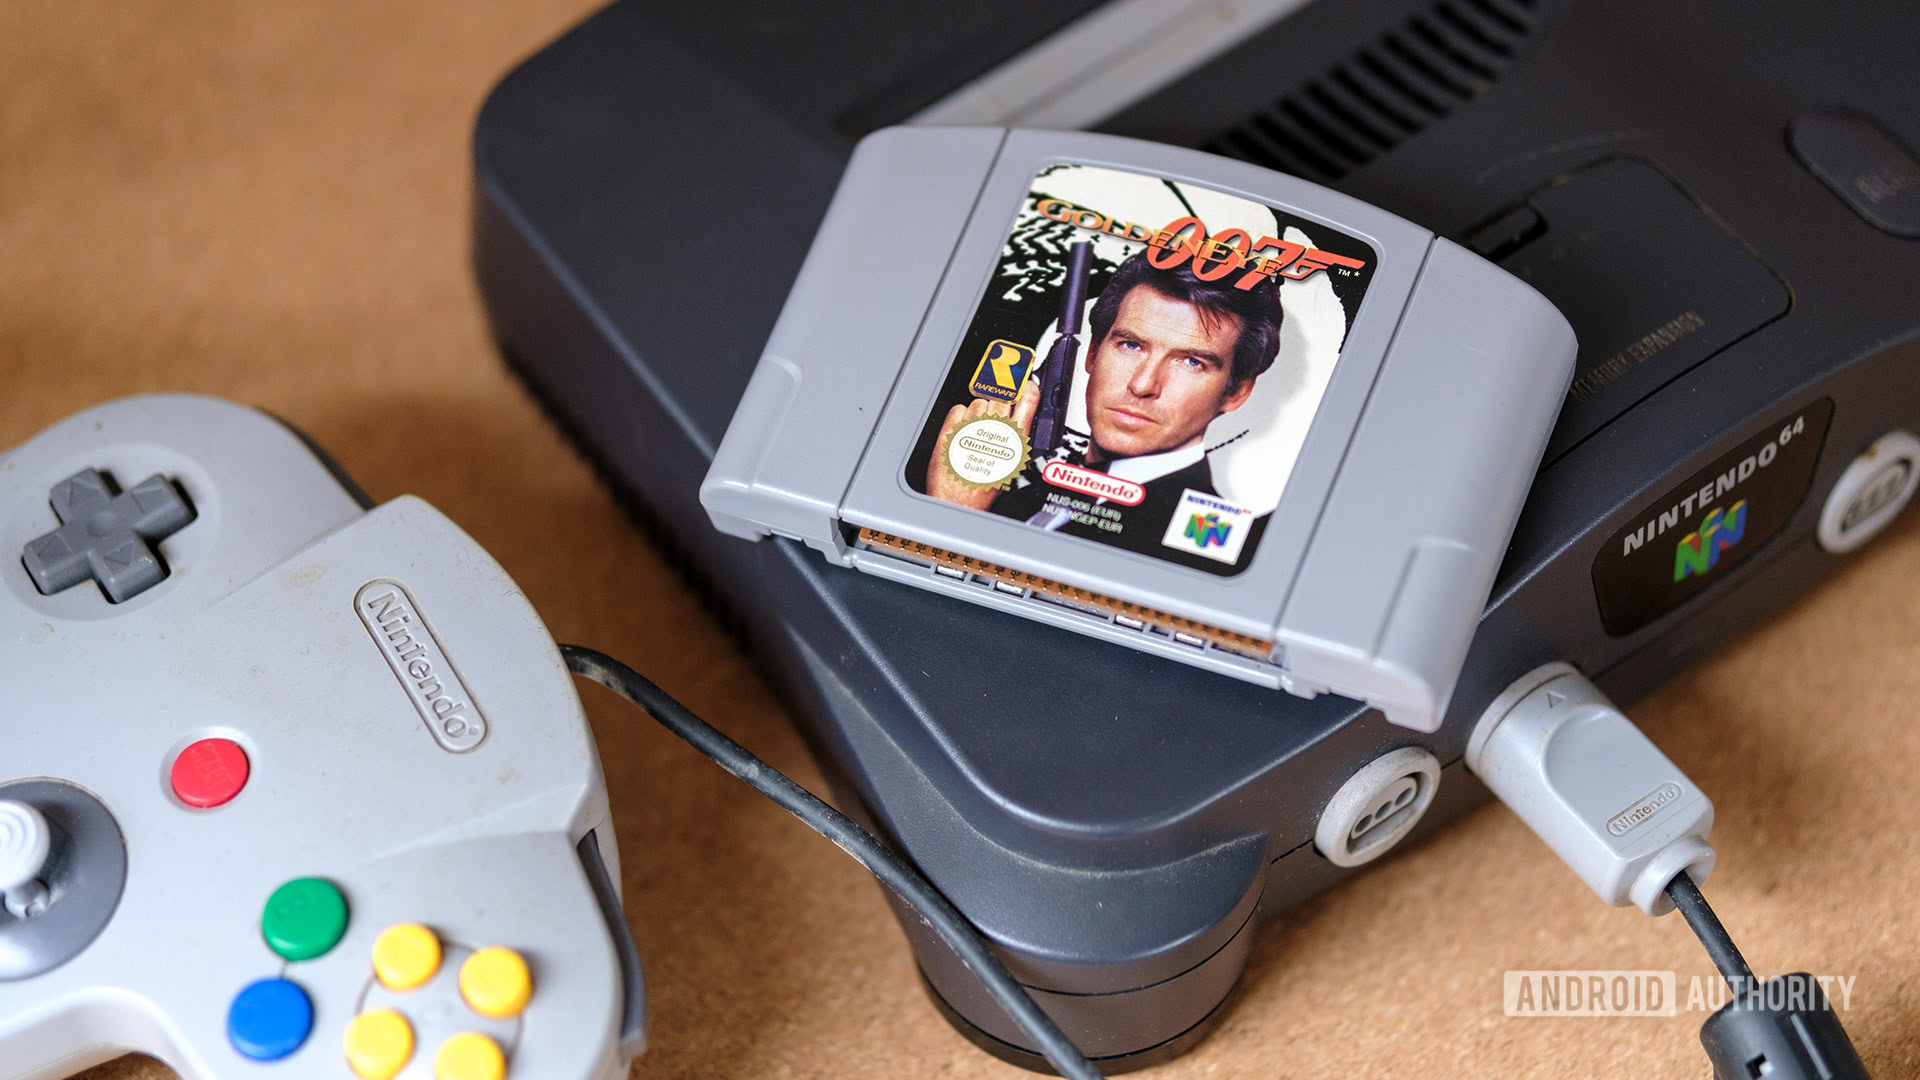
Nintendo Switch 2 pre-orders are live in the US: Here's where to buy yours right now
Adamya SharmaApril 24, 2025
0
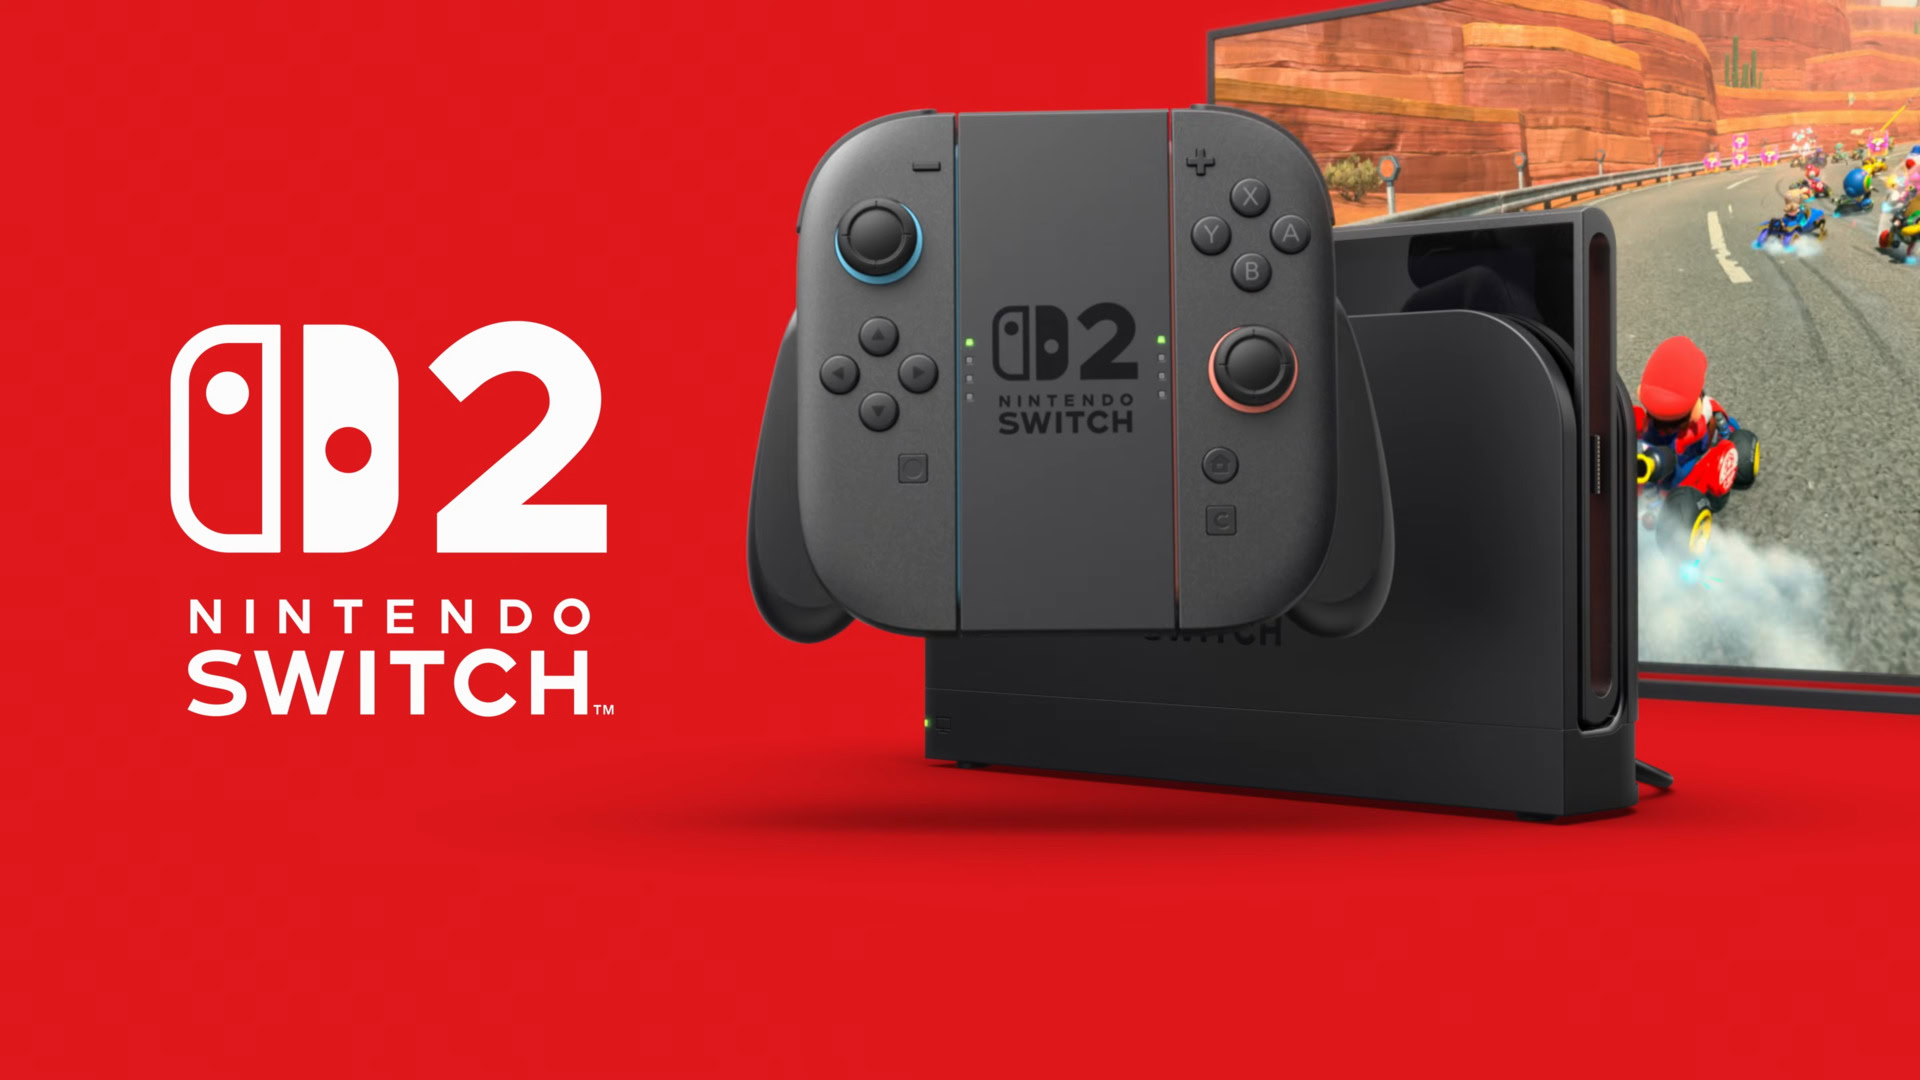
Waiting for Nintendo Switch 2 pre-orders? There's good news and bad news
Stephen SchenckApril 18, 2025
0

Nintendo Switch 2 leak claims US pre-orders will go live in a matter of days
Ryan McNealApril 15, 2025
0
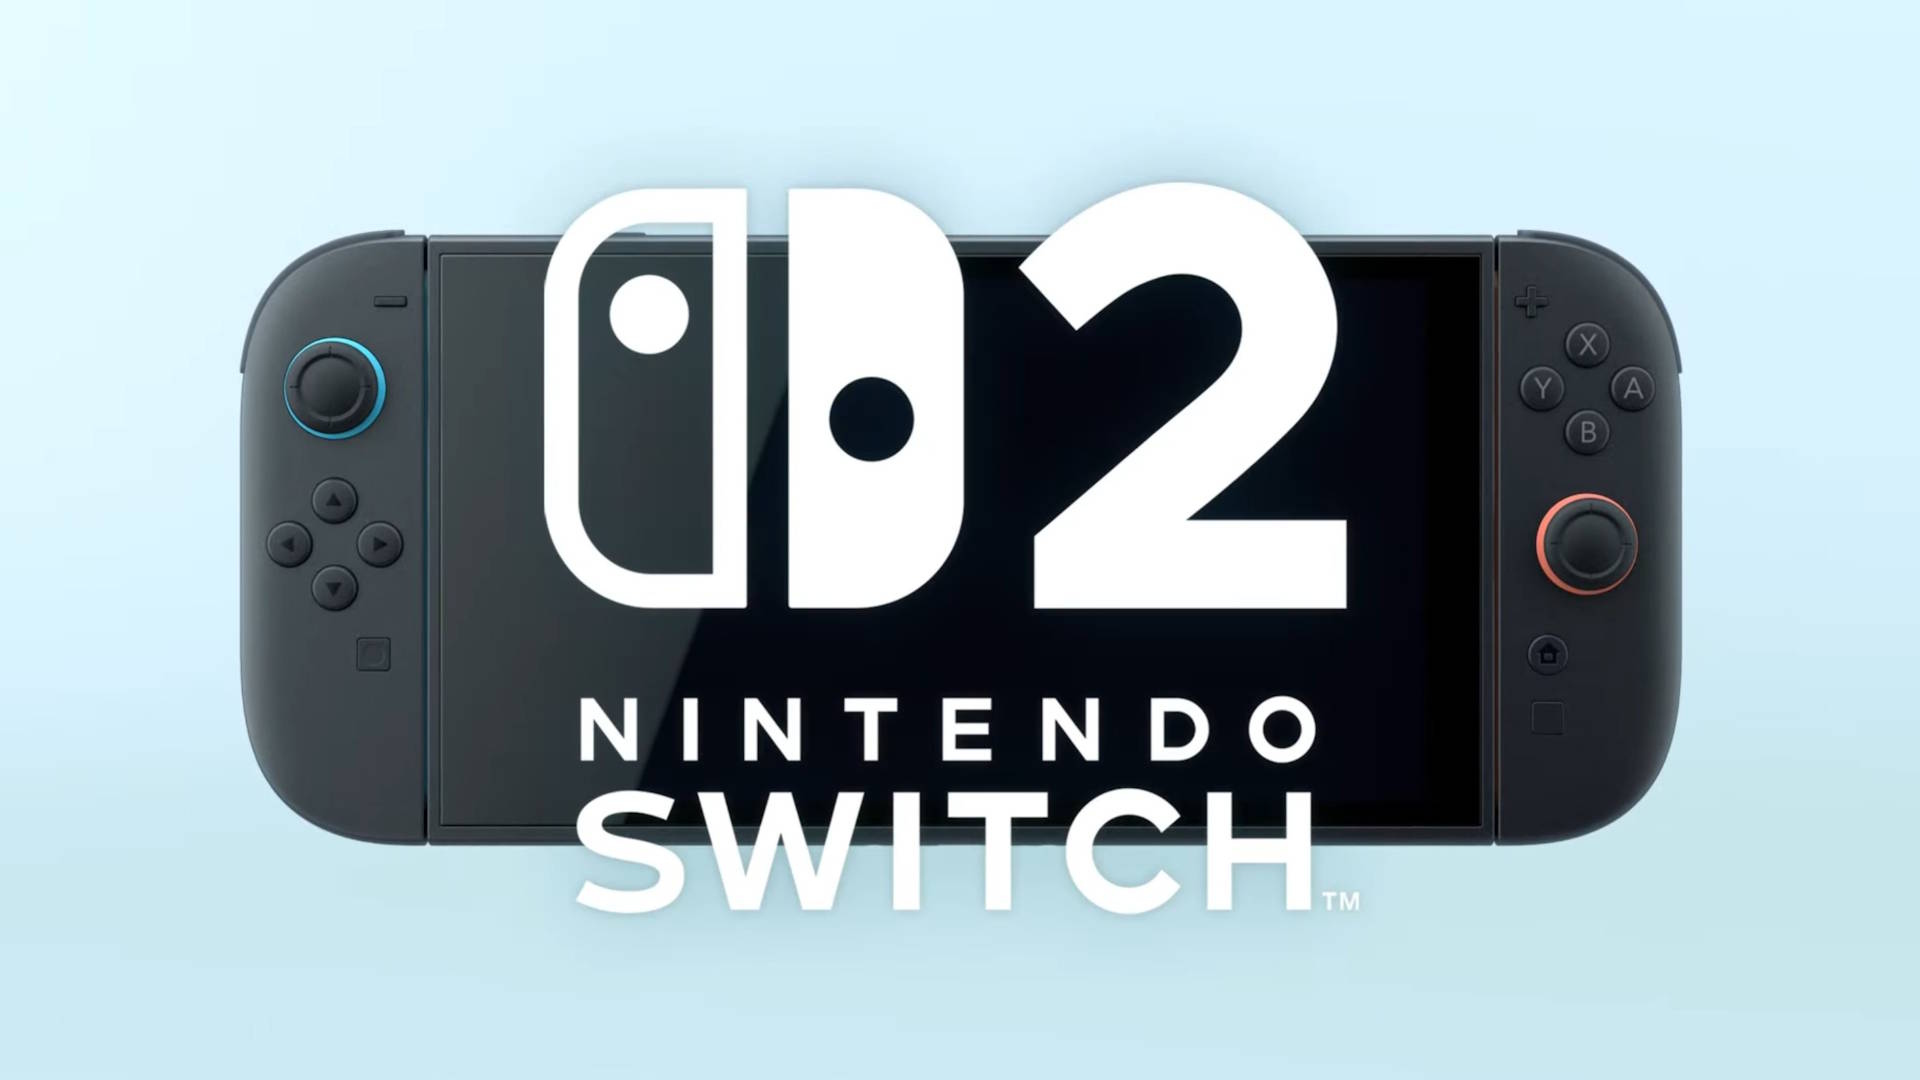
Good news, gamers: The Nintendo Switch 2 may have just caught a break in the US
Adamya SharmaApril 10, 2025
0

Nintendo delays Switch 2 pre-orders in the US over tariff uncertainty
Ryan McNealApril 4, 2025
0
