Affiliate links on Android Authority may earn us a commission. Learn more.
Step aside emulation, I restored my old Nintendo instead
January 22, 2023
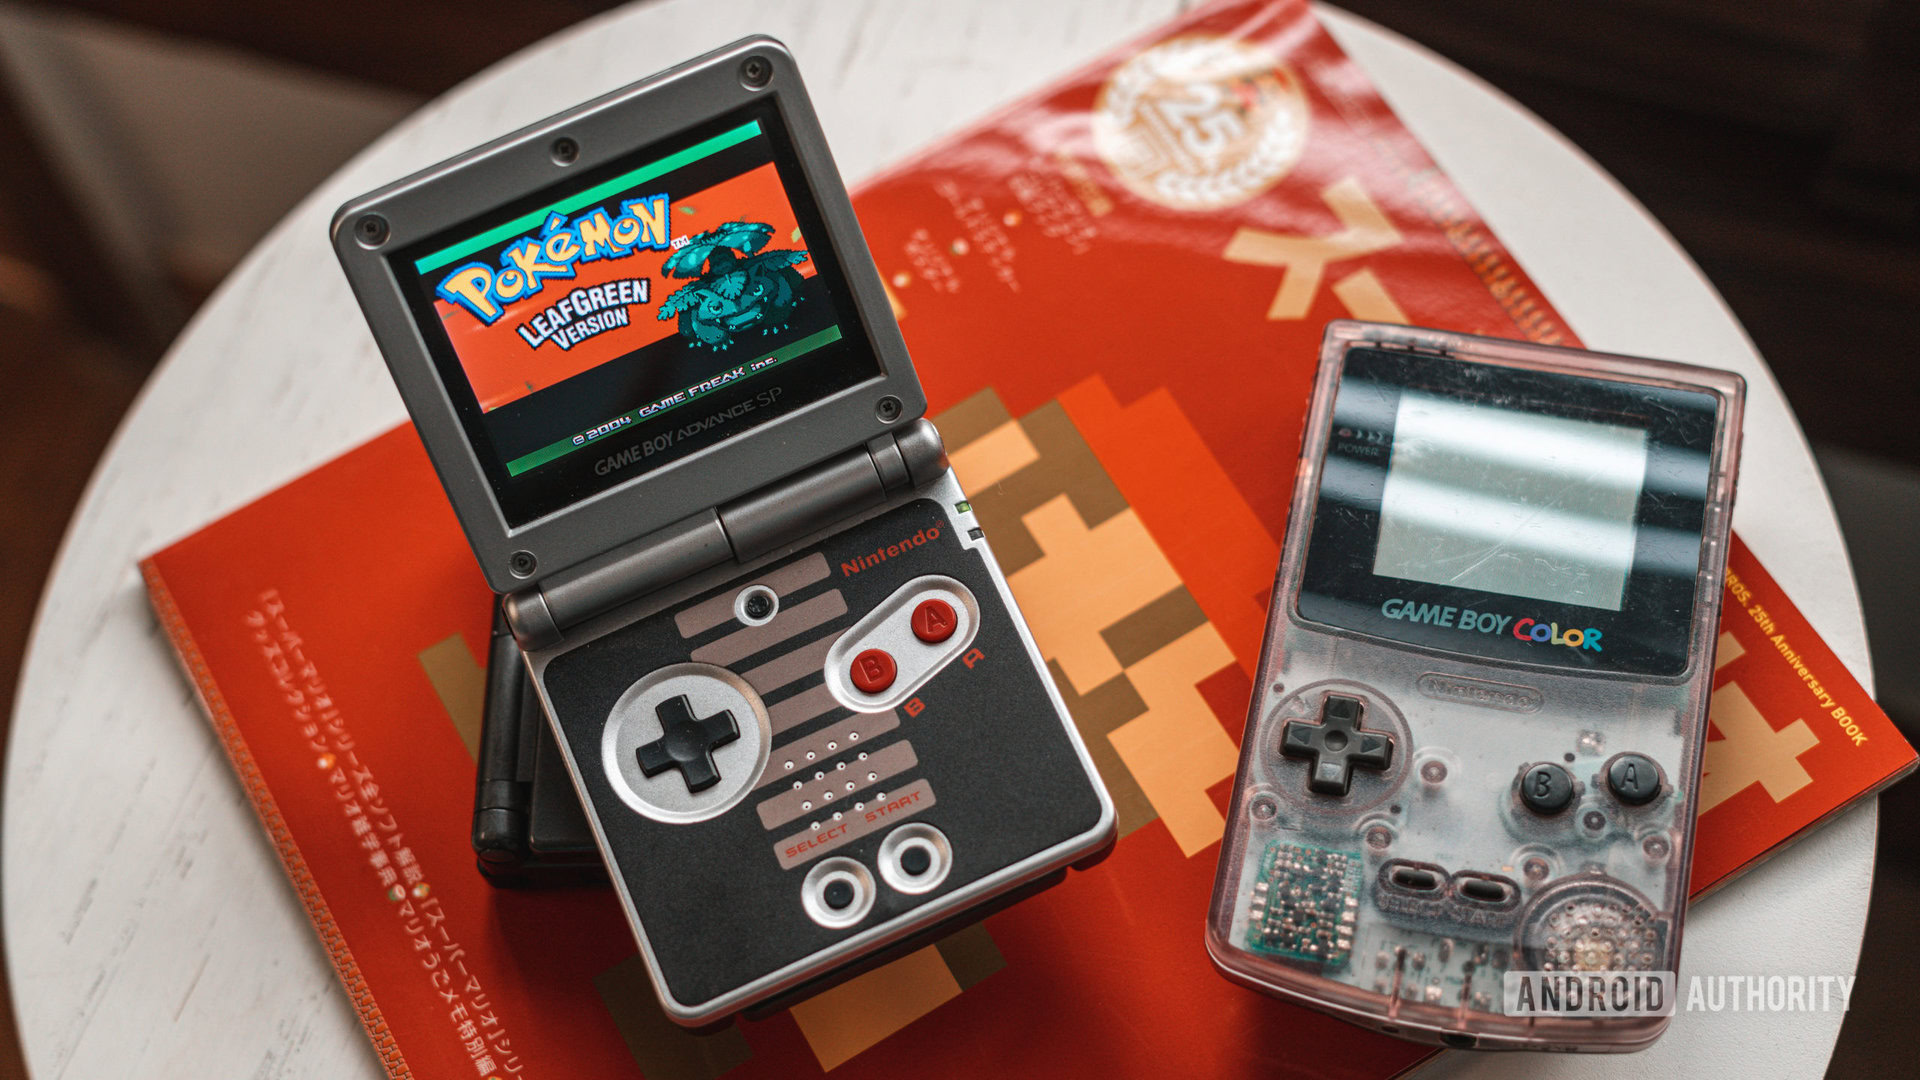
As a twelve-year-old, my first brush with modern console gaming was with Nintendo’s Game Boy Advance SP. It wasn’t the first video game I’d played, but growing up in India, it was rare to have access to the latest and greatest consoles.
The Game Boy Advance introduced me to a new world of power-ups courtesy of Super Mario, epic storytelling via Final Fantasy IV, my own quest to be the very best thanks to Pokémon, and hundreds of hours of entertainment spent strategizing my next move in Advance Wars. However, as life goes, somewhere along the line, my childhood companion got left behind for bigger and shinier things.
As fate would have it, I stumbled upon my old console during a recent home renovation project. Tossed away in a carton for a decade and a half, multiple house moves, and a lifetime apart, it was clear that time had not been kind to Nintendo’s finest. A broken screen was just the first in a long line of issues with the console. If you’re anything like me, you’ll understand my nostalgia for old-school electronics and why restoring them has been a lifelong passion for me. This presented the perfect opportunity to bring the broken Game Boy Advance SP back to its former glory.
Have you considered restoring a vintage gaming console?
A world of options to restore or upgrade
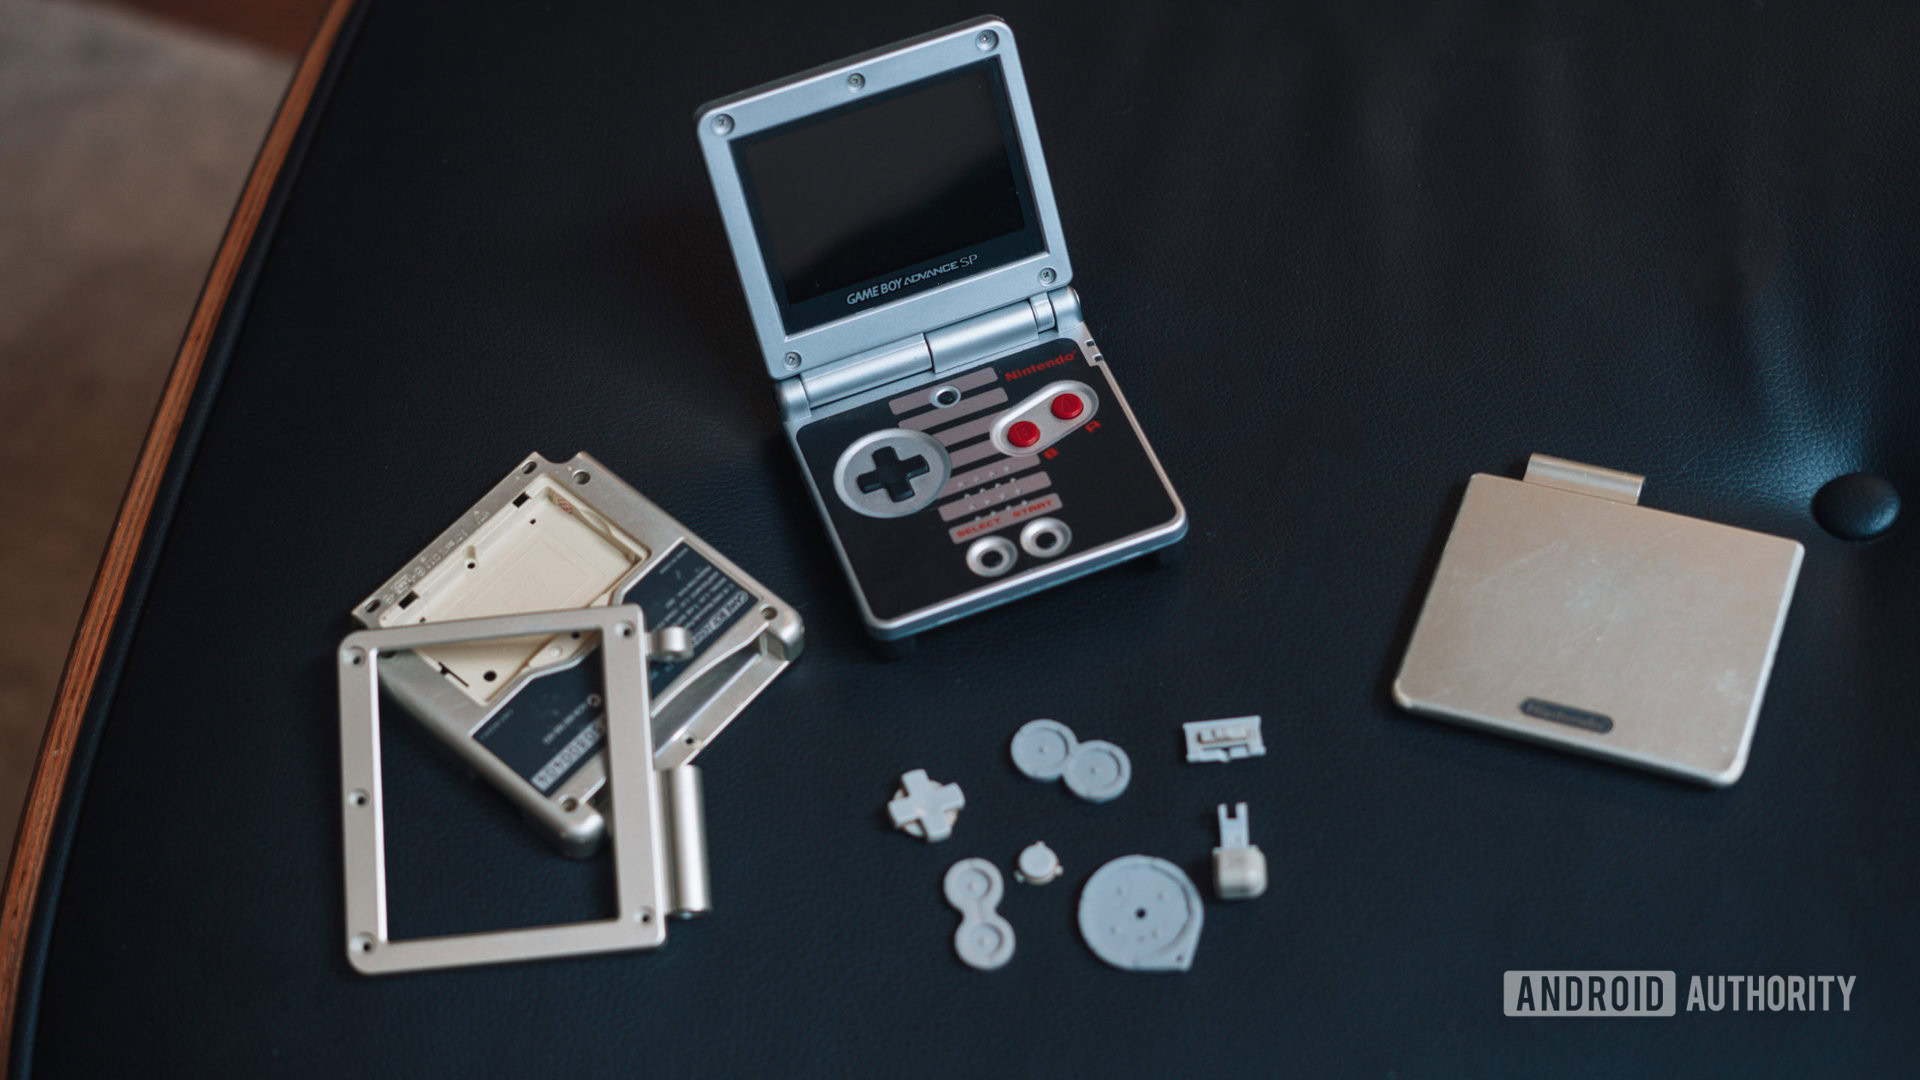
Repairing electronics of any kind can be daunting, but the first thing that you need to know about fixing up a gaming console is that it is rather like playing with Lego. Precision engineering means that, more often than not, you don’t have many cables and bobbins to figure out. In many, but not all, cases, a repair can be a simple swap. However, that doesn’t mean it is a walk in the park, either.
Unlike computers or smartphones, restoring a console usually just involves swapping modular components.
Getting started with the console repair job, my first task was to identify the exact model I had on hand. Most brands tend to spruce up their TV and handheld consoles over their lifetime. The PlayStation’s slim variants, the upgraded Nintendo Switch with better battery life, and the Game Boy Advance SP with a brighter screen are all examples of consoles that are technically the same, but different enough to require a careful check of the exact model number.
With the model number identified, it was time to delve into the vast world of customization.
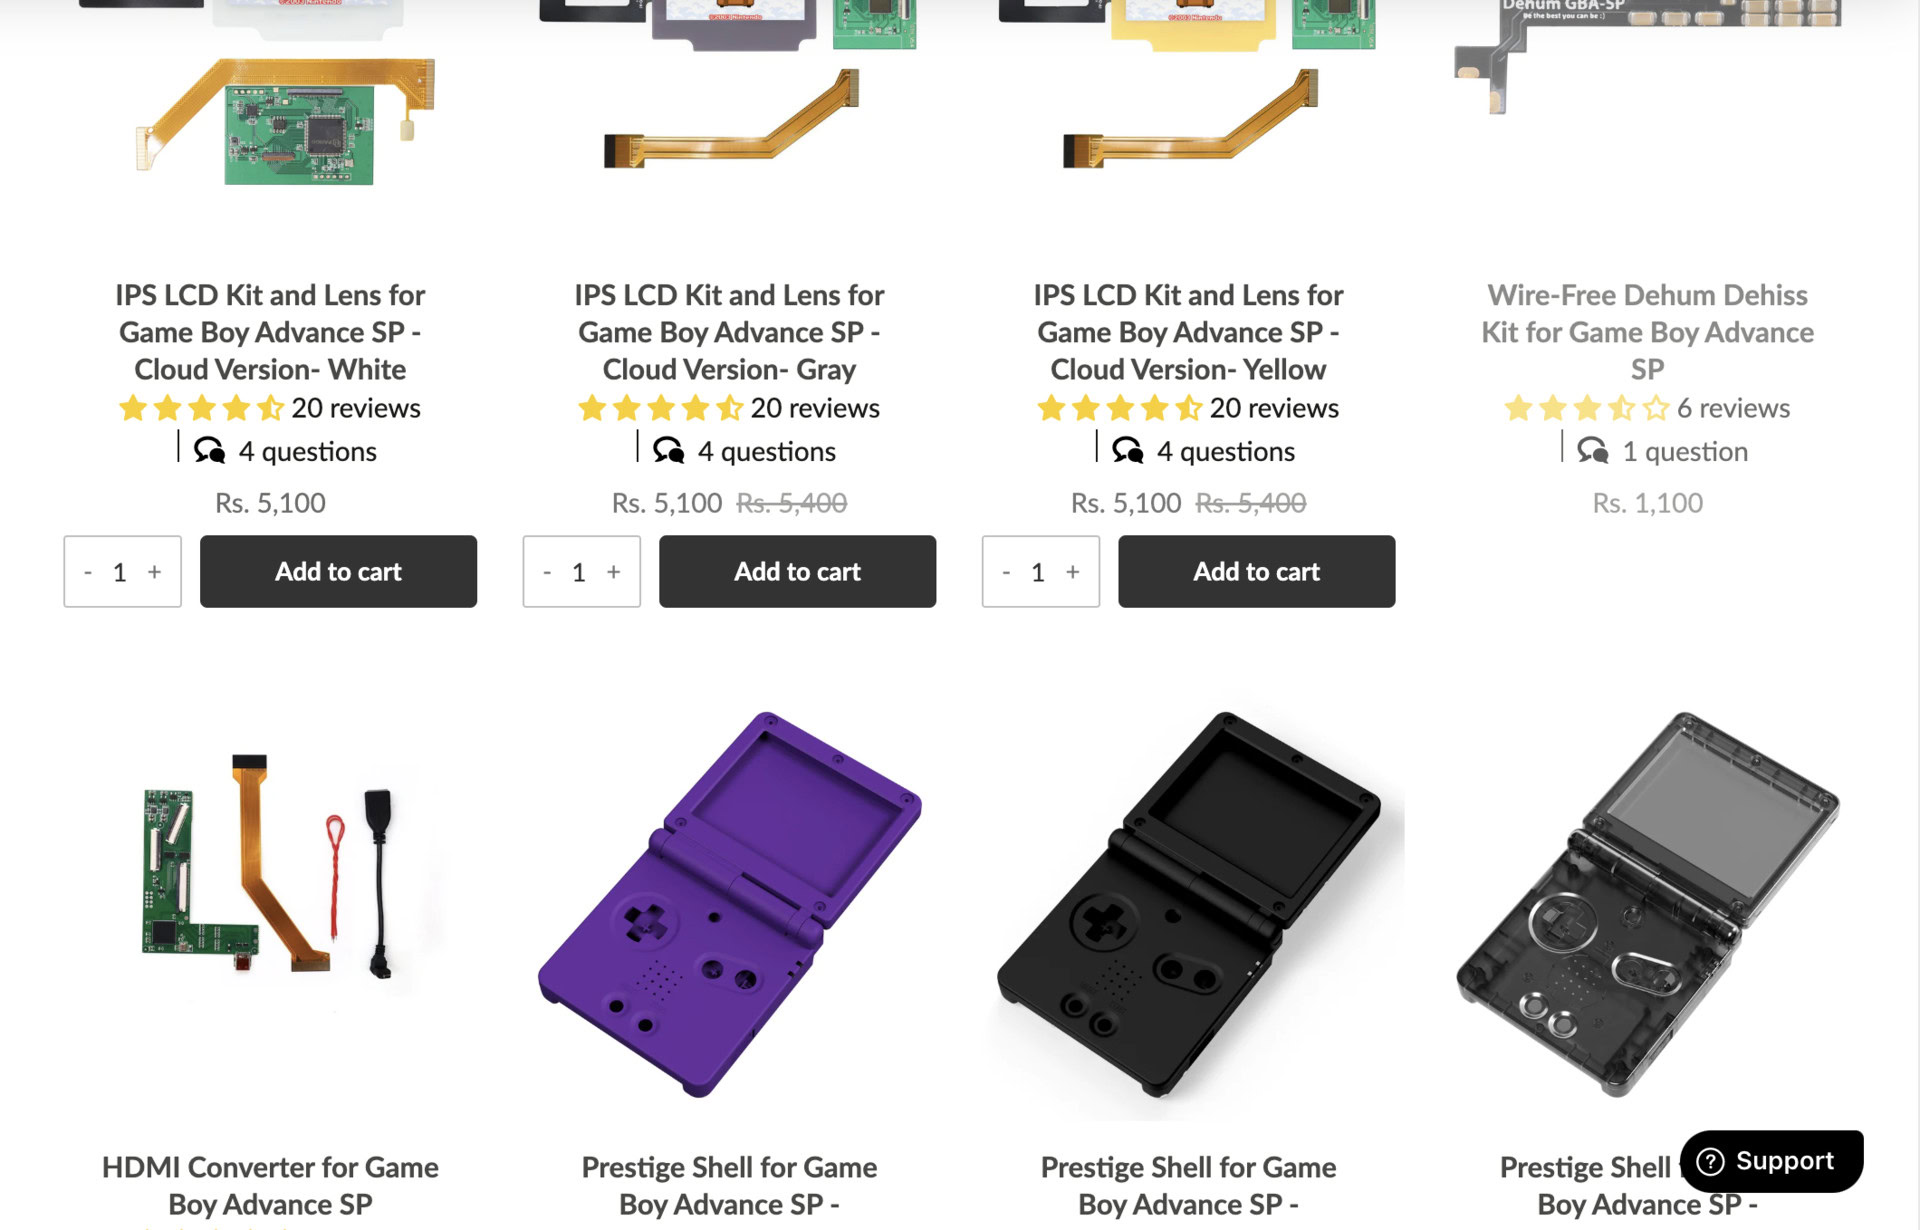
Retro gaming as a hobby has only grown over the years and decades, and a thriving community exists to serve the needs of users who want to restore and upgrade their consoles. Scouring through one of the foremost storefronts for console spares, Handheld Legend, it is mindboggling to see the kind of innovation at play.
Pristine and OG, or pimped out with RGB lights, the choice is yours.
Want to give your old handheld a glow-up in the form of a new shell and buttons? Easy. How about LED-lit buttons? Not a problem. Want a USB-C powered Game Boy Advance? Sure. How about adding a color screen to a console that didn’t even ship with one? You got it!
In my case, I wanted to keep the experience as close to the original as possible, so I decided to keep the upgrades minimal and only give my ancient Game Boy Advance SP a brighter screen. I also decided to add fresh buttons and a sharp new shell to the order, after which it was just a matter of waiting a few weeks for the products to ship. You might also need some specialized tools on hand to get into your console of choice. For example, in the case of the Game Boy Advance, or for that matter, most Nintendo consoles, you’ll need a special tri-wing screwdriver on hand to pry it open. I’d recommend grabbing it off Amazon while you wait for the rest of the components to arrive.
If your console is too far gone to boot up, it might be time to call in the specialists.
Coming to the actual console repair, the process can be fairly trivial or highly involved depending on what you are trying to achieve. It goes without saying that if your console is too far gone to boot up, it might be time for some specialist help.
Patience is key when repairing a console
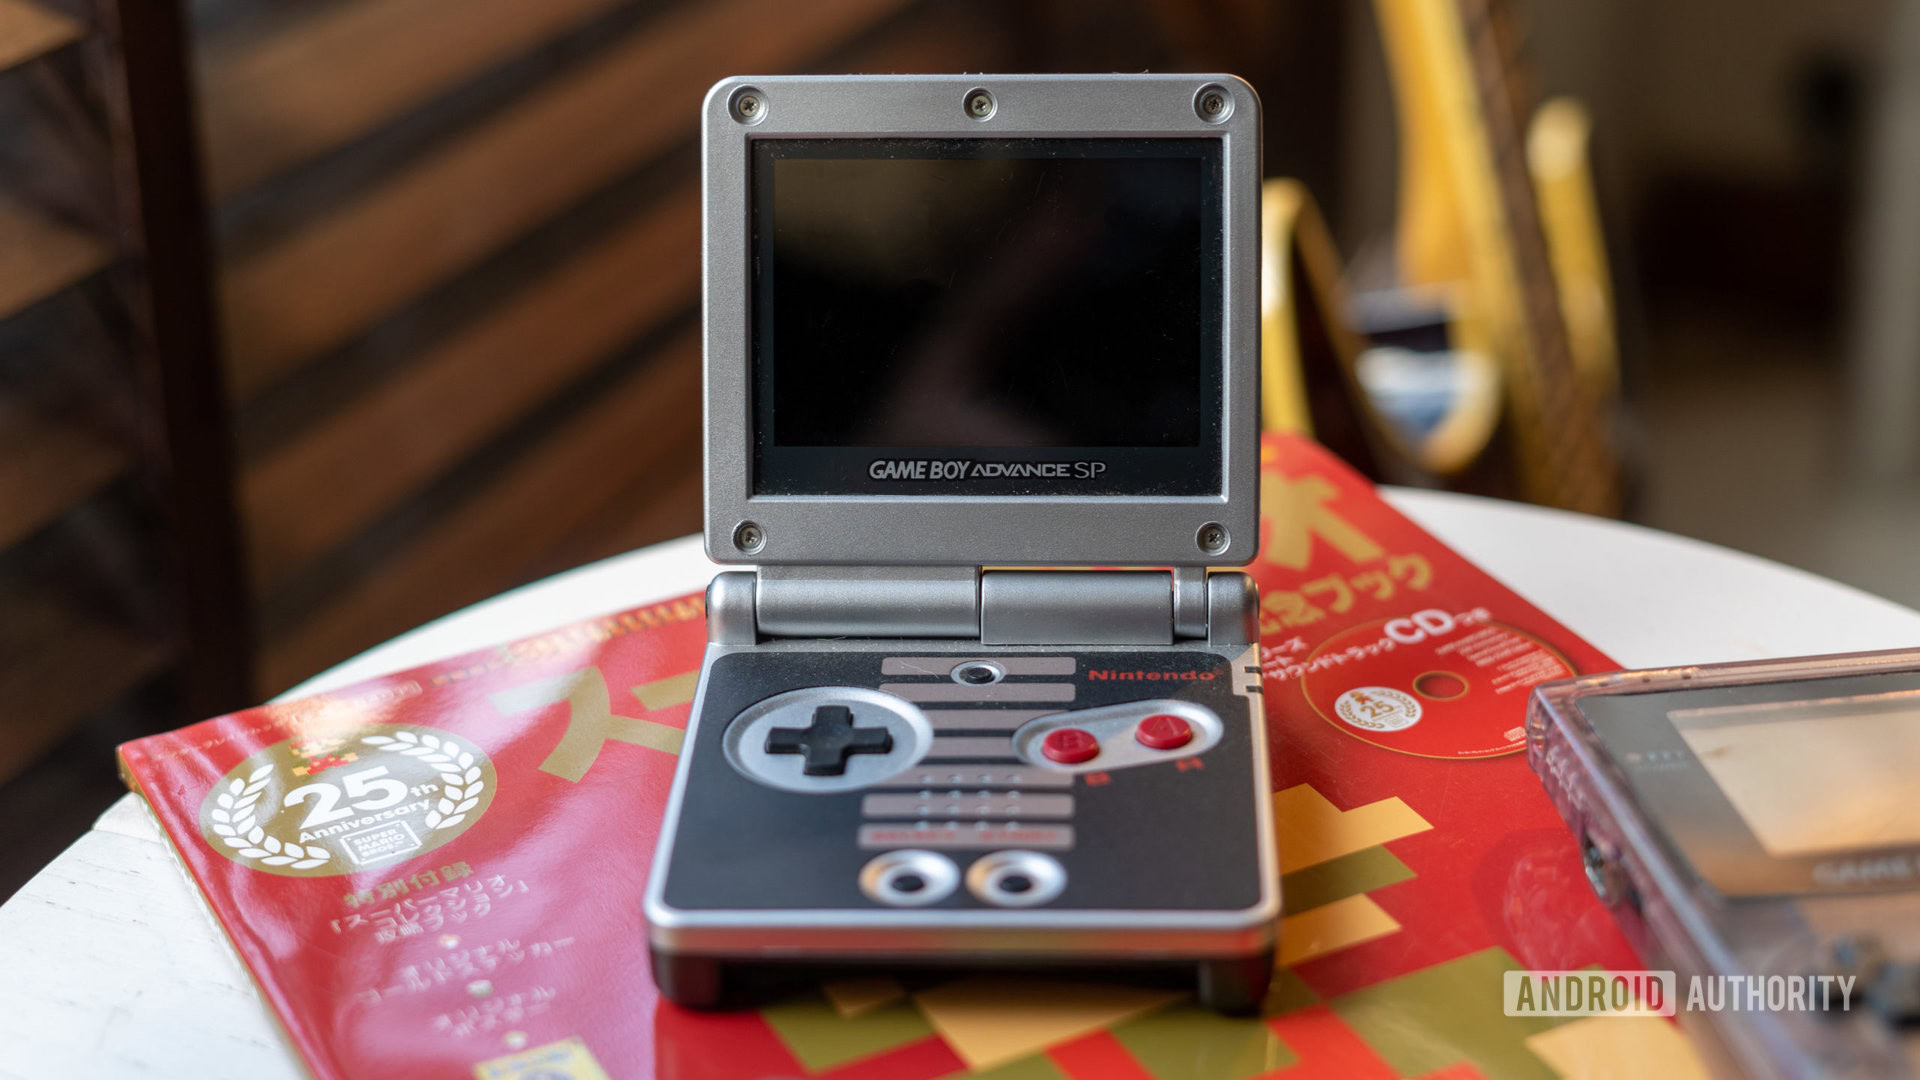
Once you’ve opened up your video game console, another thing to keep in mind is the location of the screws. Deep into the puzzle-like process of opening up a console, it can be rather complicated to track where each screw goes. My suggestion? Photograph each step of the process, and keep screws segregated for each section of the console.
Newer consoles tend to be fairly modular in construction, and swapping parts can be a simple unplug-and-replace experience.
Most consoles are fairly modular in their approach. It makes sense since companies had to ship millions of them out on launch day. This makes unplugging and replacing most components relatively easy. However, you’ll want to be especially careful around bits and bobs like shoulder buttons and hinges. Many older consoles used tension-loaded springs, which can be astonishingly hard to place in the correct position. Be patient, use a pair of tweezers, and don’t be afraid to take a break if you’re finding it too stressful. You definitely don’t want to be in a position like mine where you accidentally scrape off a component on a motherboard or lose a spring, necessitating weeks of waiting for a replacement. Been there, done that. Stuck somewhere? Follow a video guide.
I’d cut my teeth on repairing video game consoles as a hobby and for pocket money as a kid, so it didn’t take me much more than an hour to strip down the console, give the internals a nice bit of dusting, and replace all the external bits. The process is straightforward enough that it shouldn’t take a novice much more than a Sunday afternoon.
Is it worth the hassle?
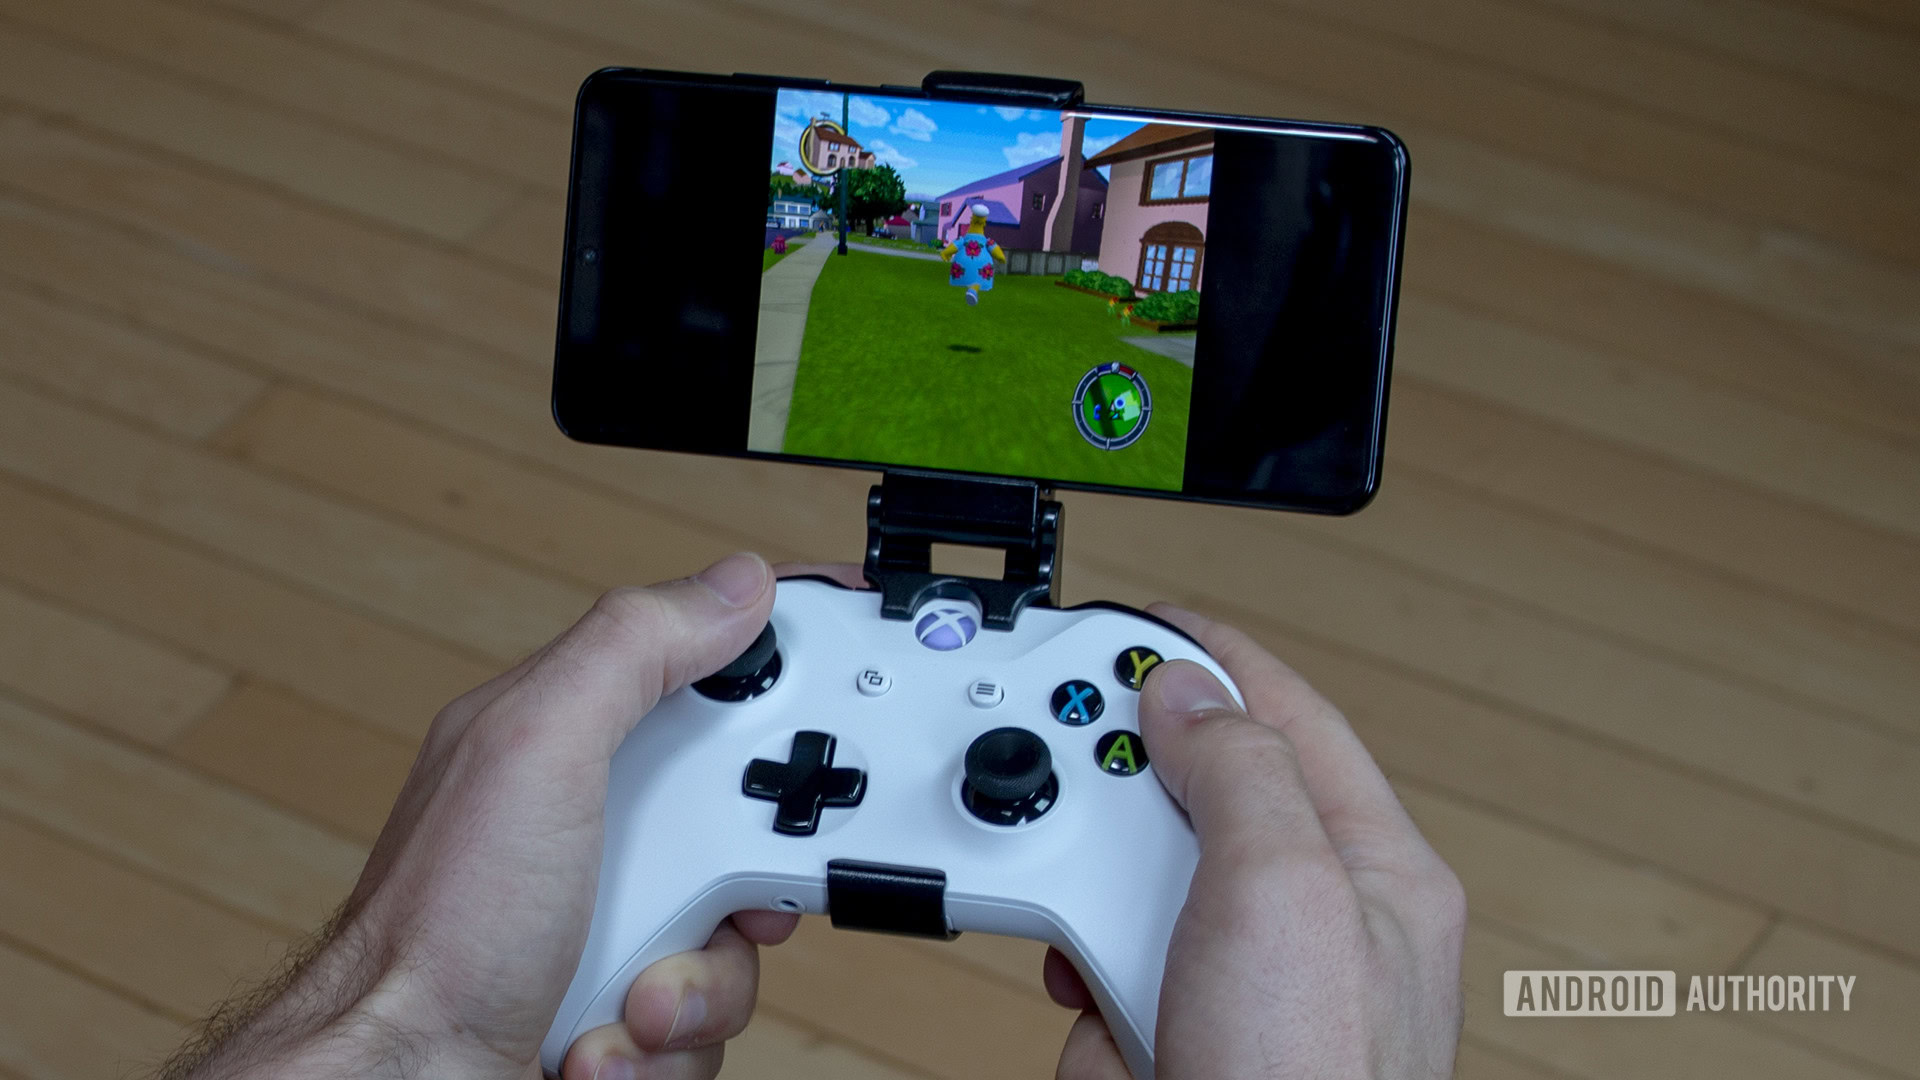
Now some of you might be questioning why I’d go through the long-winded process, and expense of repairing a long-dead piece of technology. Nostalgia is a powerful drug, and for me, having my first memory of a video game console in pristine condition was reward enough. However, there are other reasons to get going with a retro console. For one, as far as some of the best video game console emulators have come, they can’t quite replicate the imperfections associated with consoles from a bygone era. For those of us who played on the originals, those warts are a part of the experience, and the bit-perfect OLED experience can often take away from the charm.
Emulation has come a long way but can't replicate the feel of a well-loved D-Pad, or the blocky perfection of a low-resolution display.
Then there’s the matter of controls, and in this case, portability. Perhaps I’m looking through rose-tinted glasses, but even the best handheld controllers can’t quite replicate the tactility of a well-loved D-Pad on an original controller. There’s also the small matter of carrying yet another device with you if emulation is your jam. In the case of my Game Boy Advance, the no-fuss, slide-in a cartridge and get-gaming approach is a big plus. No notifications, no distractions, just gaming.
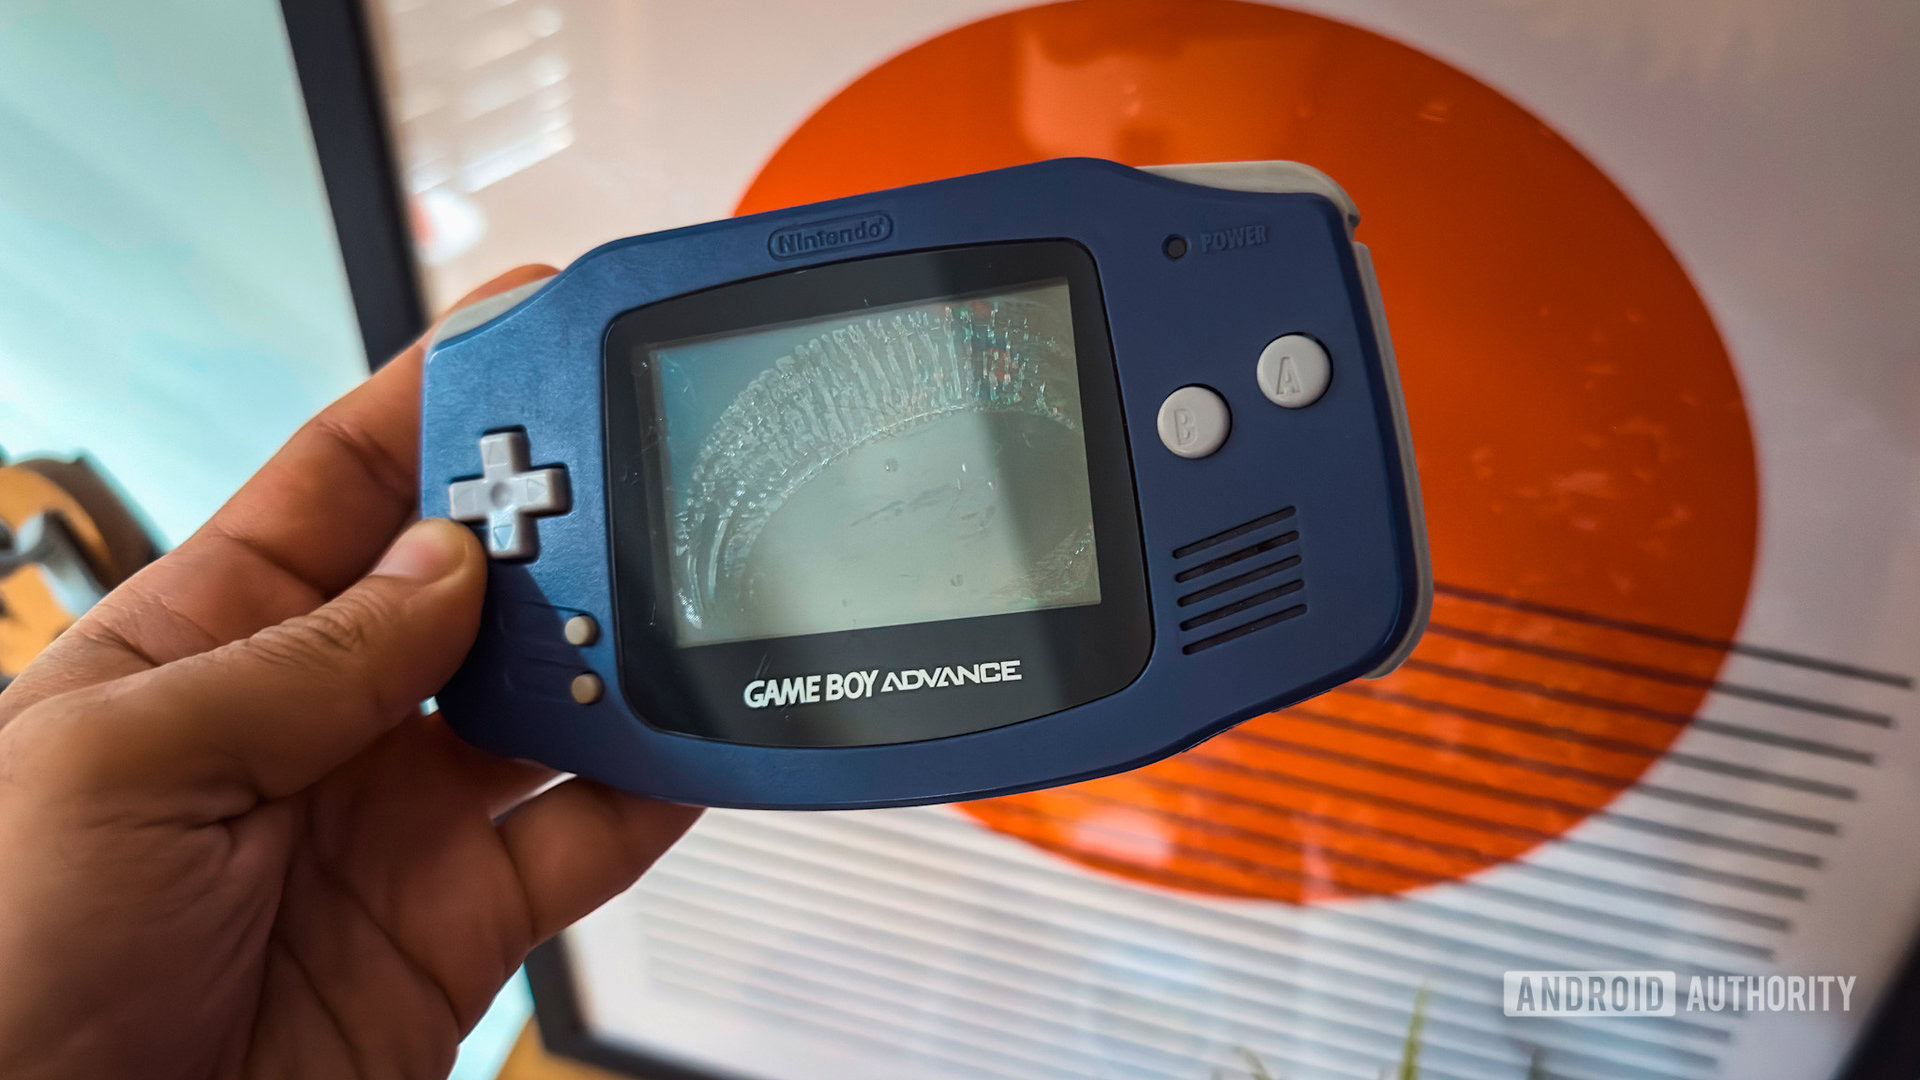
The million-dollar question, of course, is if it is worth it. And the only answer to that is, yes, for the right person. Modern-day emulation has gotten to a point where most casual gamers would be thrilled to load up a legally obtained copy of their favorite retro gaming, slap on a portable controller, and call it a day. However, for those who want the real deal, old-school experience, or want to take a trip down memory lane, only the joy of resuscitating a beloved piece of tech that has brought them hundreds, if not thousands of hours of joy will cut it. I know which camp I’m in.
Now, on to fixing that other Game Boy I picked up from a scrap yard.
Thank you for being part of our community. Read our Comment Policy before posting.