Affiliate links on Android Authority may earn us a commission. Learn more.
How to create Oculus Quest experiences in Unity
Published onJanuary 25, 2021
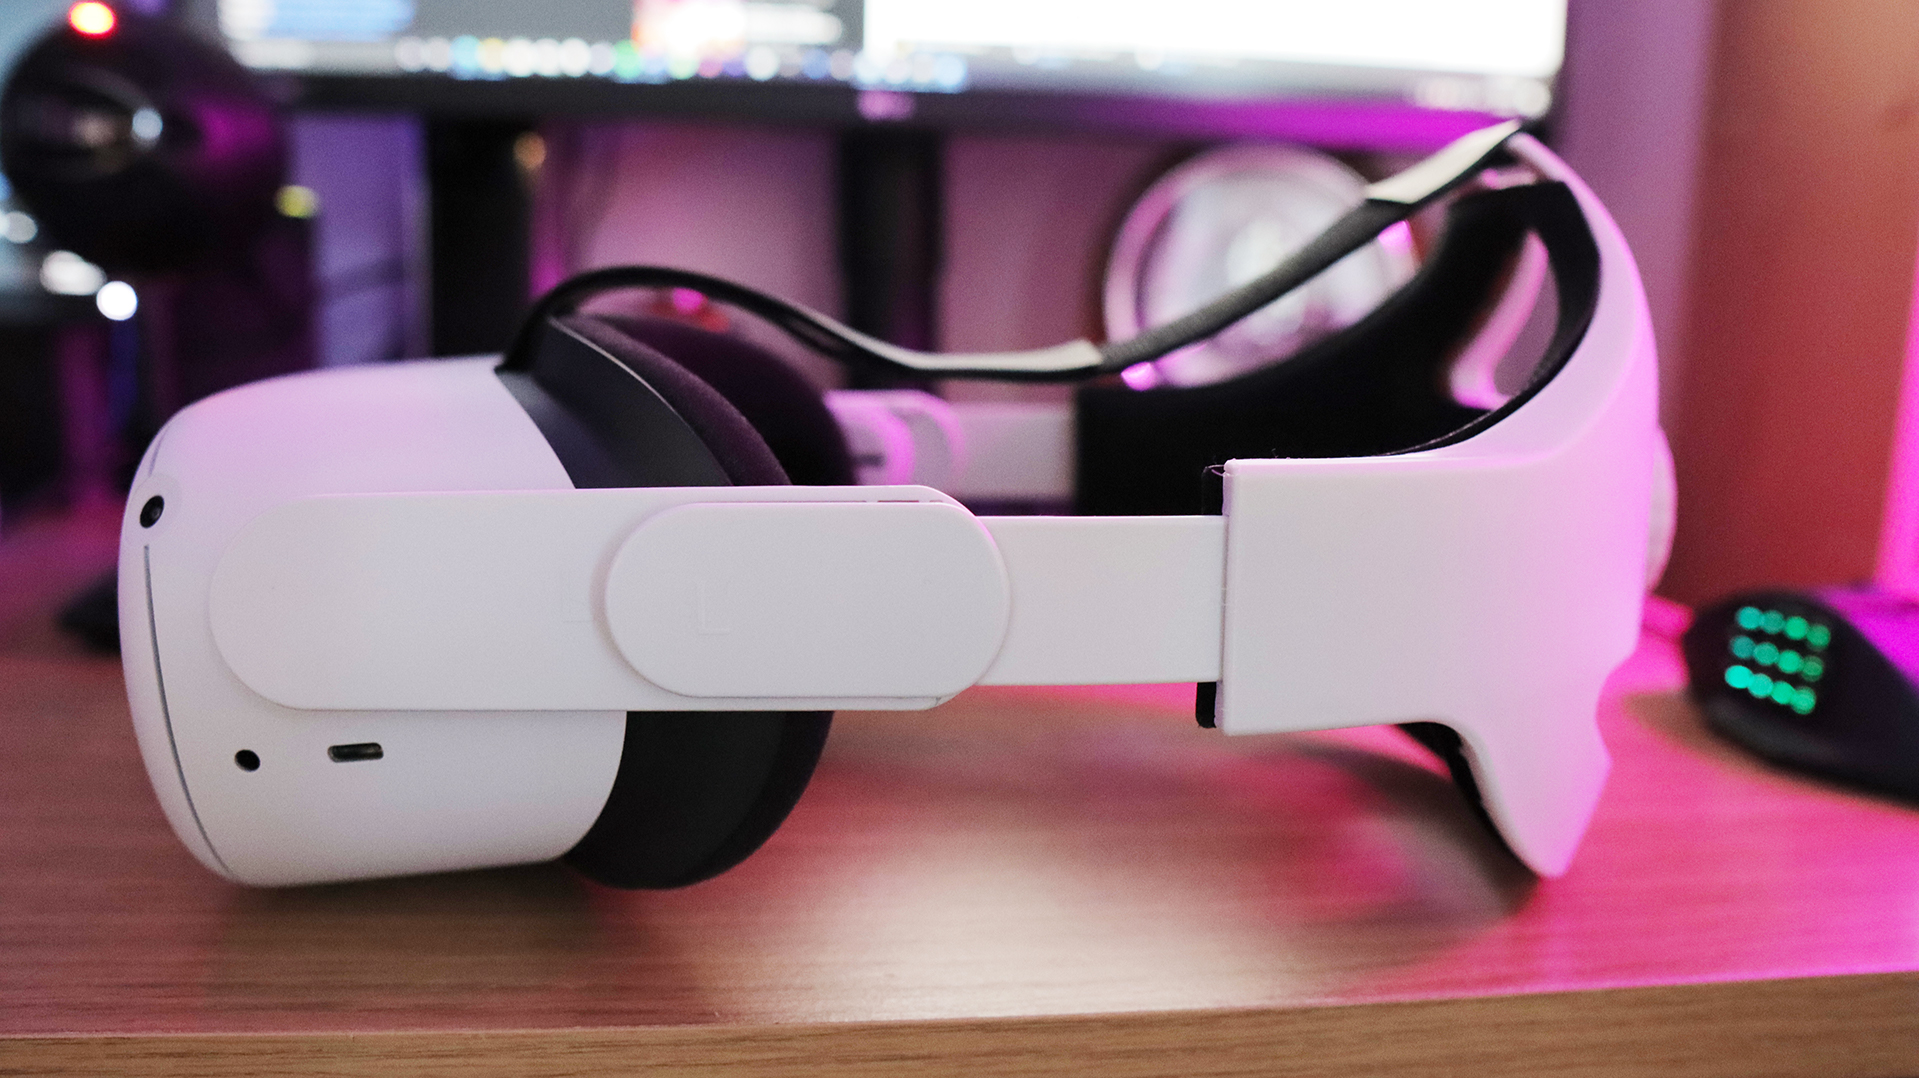
Unity is an extremely powerful tool that makes Android game development easy and fun. Seeing as the Quest and Quest 2 essentially run on a version of Android, it follows that we should be able to use Unity to build some cool VR experiences too. As it happens, Oculus Quest development is actually very simple and fun. Let’s dive in!
Before you begin – setting up your headset
Before you can begin Oculus Quest development, you’ll need to go through a few steps to prep your headset for testing new apps. Don’t worry, this isn’t going to brick your device or void the warranty! In fact, the process is very similar to enabling developer mode on Android.
See also: How to enable Developer Options on your Android device
Once you’ve set this up, you’ll also be able to install free games via SideQuest. That’s a bonus!
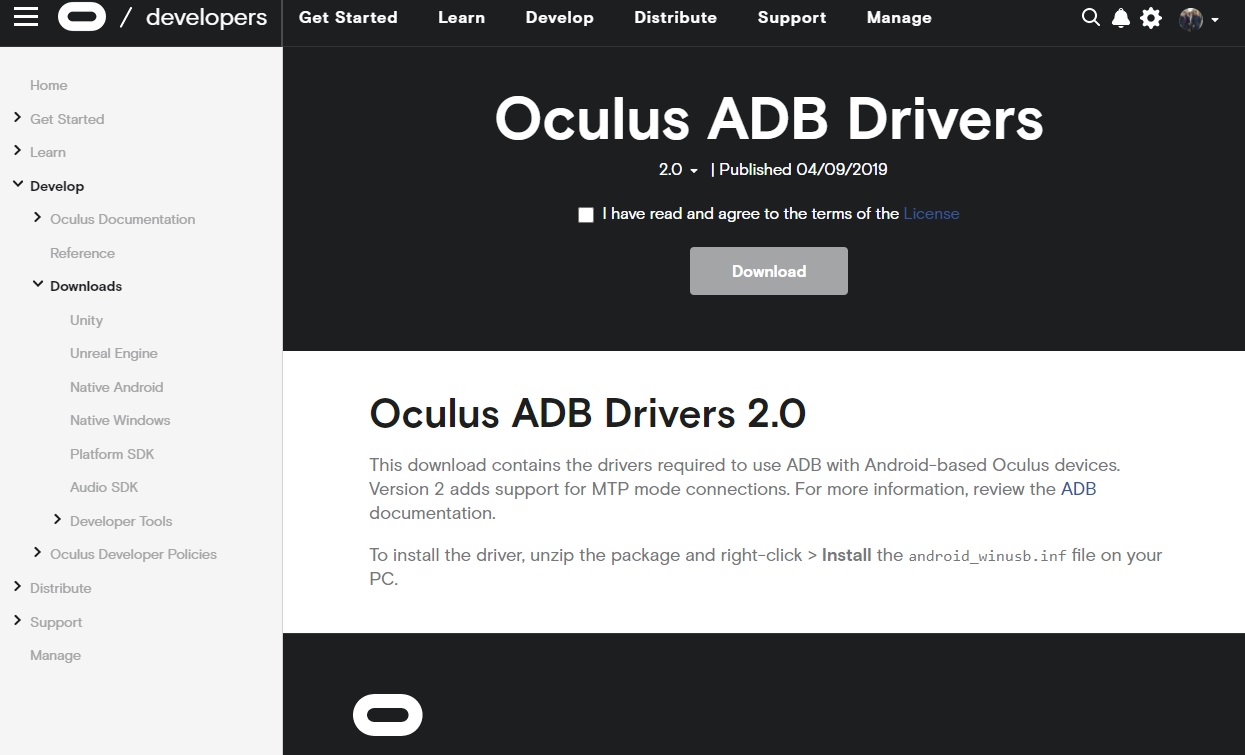
First, you need to create a developer account over at https://developer.oculus.com. This will let you download the ADB drivers that allow your PC to detect your Quest device and transfer files. You need this to begin Oculus Quest development. Install these and then restart your PC.
Next, you need to turn on the developer mode. This is fairly straight forward, as you can do it through the Oculus Quest app. Just navigate to the Settings tab along the bottom and then choose More Settings > Developer Mode. You’ll need to ensure your device is connected first.
Getting started with Oculus Quest development
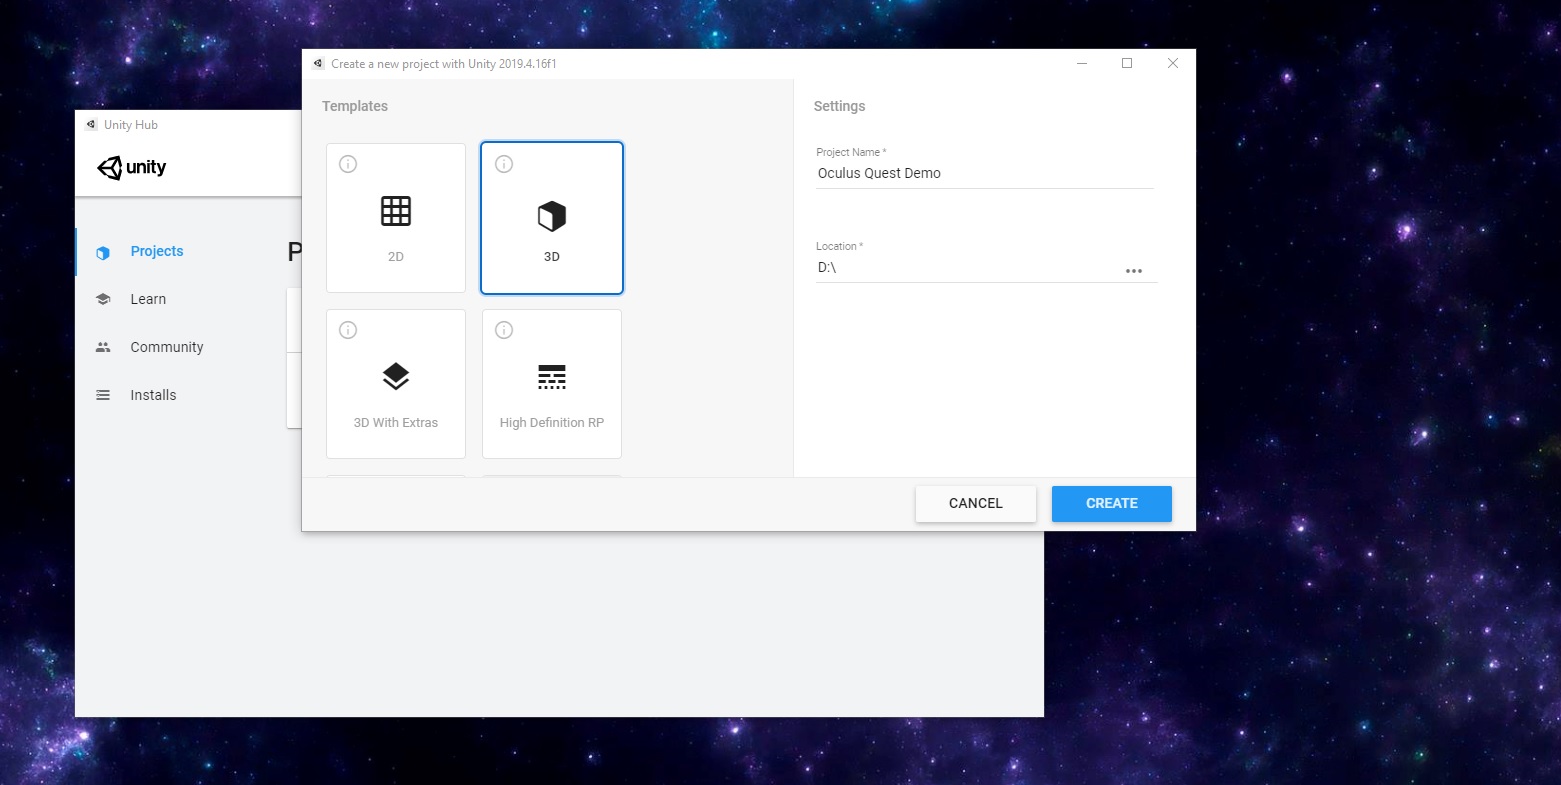
To get started with Oculus Quest development, create a new 3D project in Unity just as you normally would.
Next, you need to download the Oculus Quest development kit. Fortunately, this is easier than ever. You now only need to head to the Asset Store and download “Oculus Integration.” Installation and importing can take a little while, however.
Once that’s done, delete the main camera that is in the scene by default. Insert a plane to stand on and perhaps an object like a cube that you can look around at in 3D. I added a sphere with physics and a statue I made for another project.
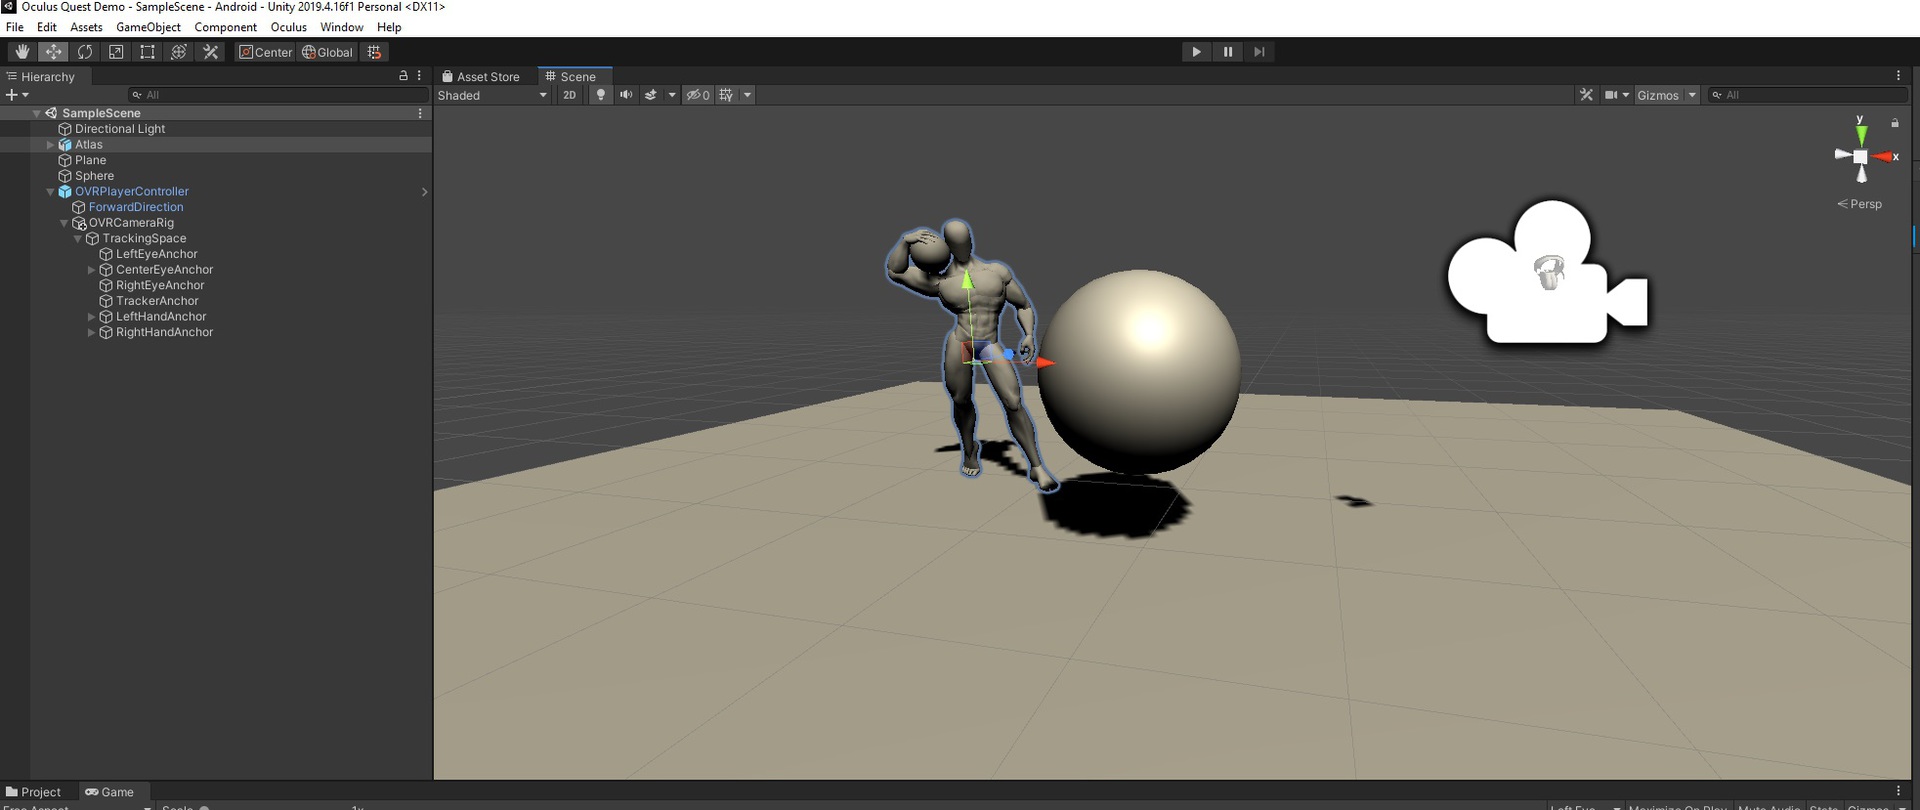
Now look for the OVRPlayerController object. This should be inside the package you just imported. Drop it anywhere in your scene. You can do this quickly by using the search box in your Assets folder. This is a ready-made asset, which means you need to only drag and drop it into your scene for it to work!
Testing your game
And that’s it! At this point, you already have a working VR experience that you can try out. Just plug the Oculus Quest or Quest 2 into the USB Type-C port on your computer and hit “Play.” You may need to select “Allow USB Debugging” from within the headset. Additionally, you might be required to give permission to your PC.
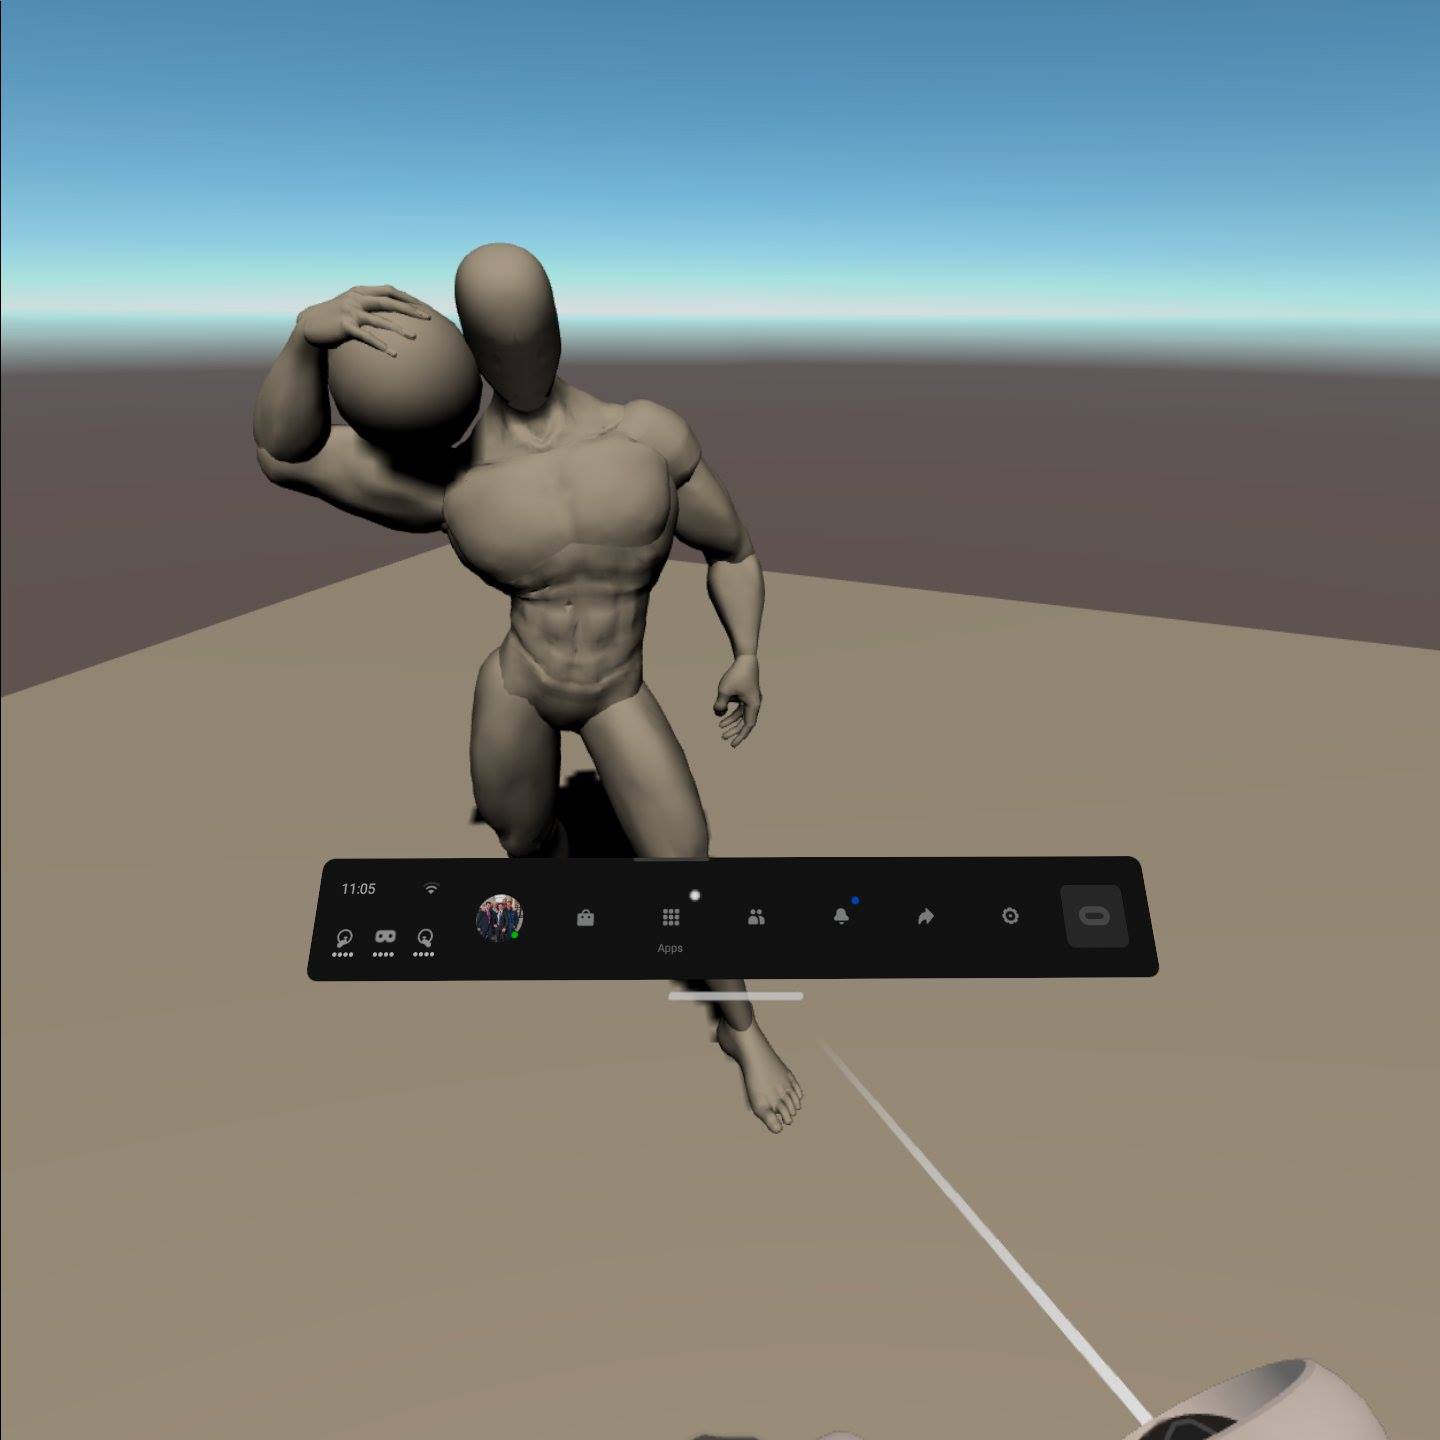
I told you Oculus Quest development was easy!
Once you’ve done that, you can test the app and start walking around in a 3D environment. The Touch controllers are supported by default, and everything behaves as you expect it to. Create a 3D ball, drop it into the scene with physics and a collider, and you’ll be able to knock it around and manipulate it (as long as you add objects with collision as children for your hands).
To take this further and start building an interactive game, check out our old tutorial on 3D game development with Unity!
Building your app
In order to actually install the app on your headset, you will need to go into Build Settings and make sure you are targeting Android. Remember: The Oculus Quest and Quest 2 are Android devices!
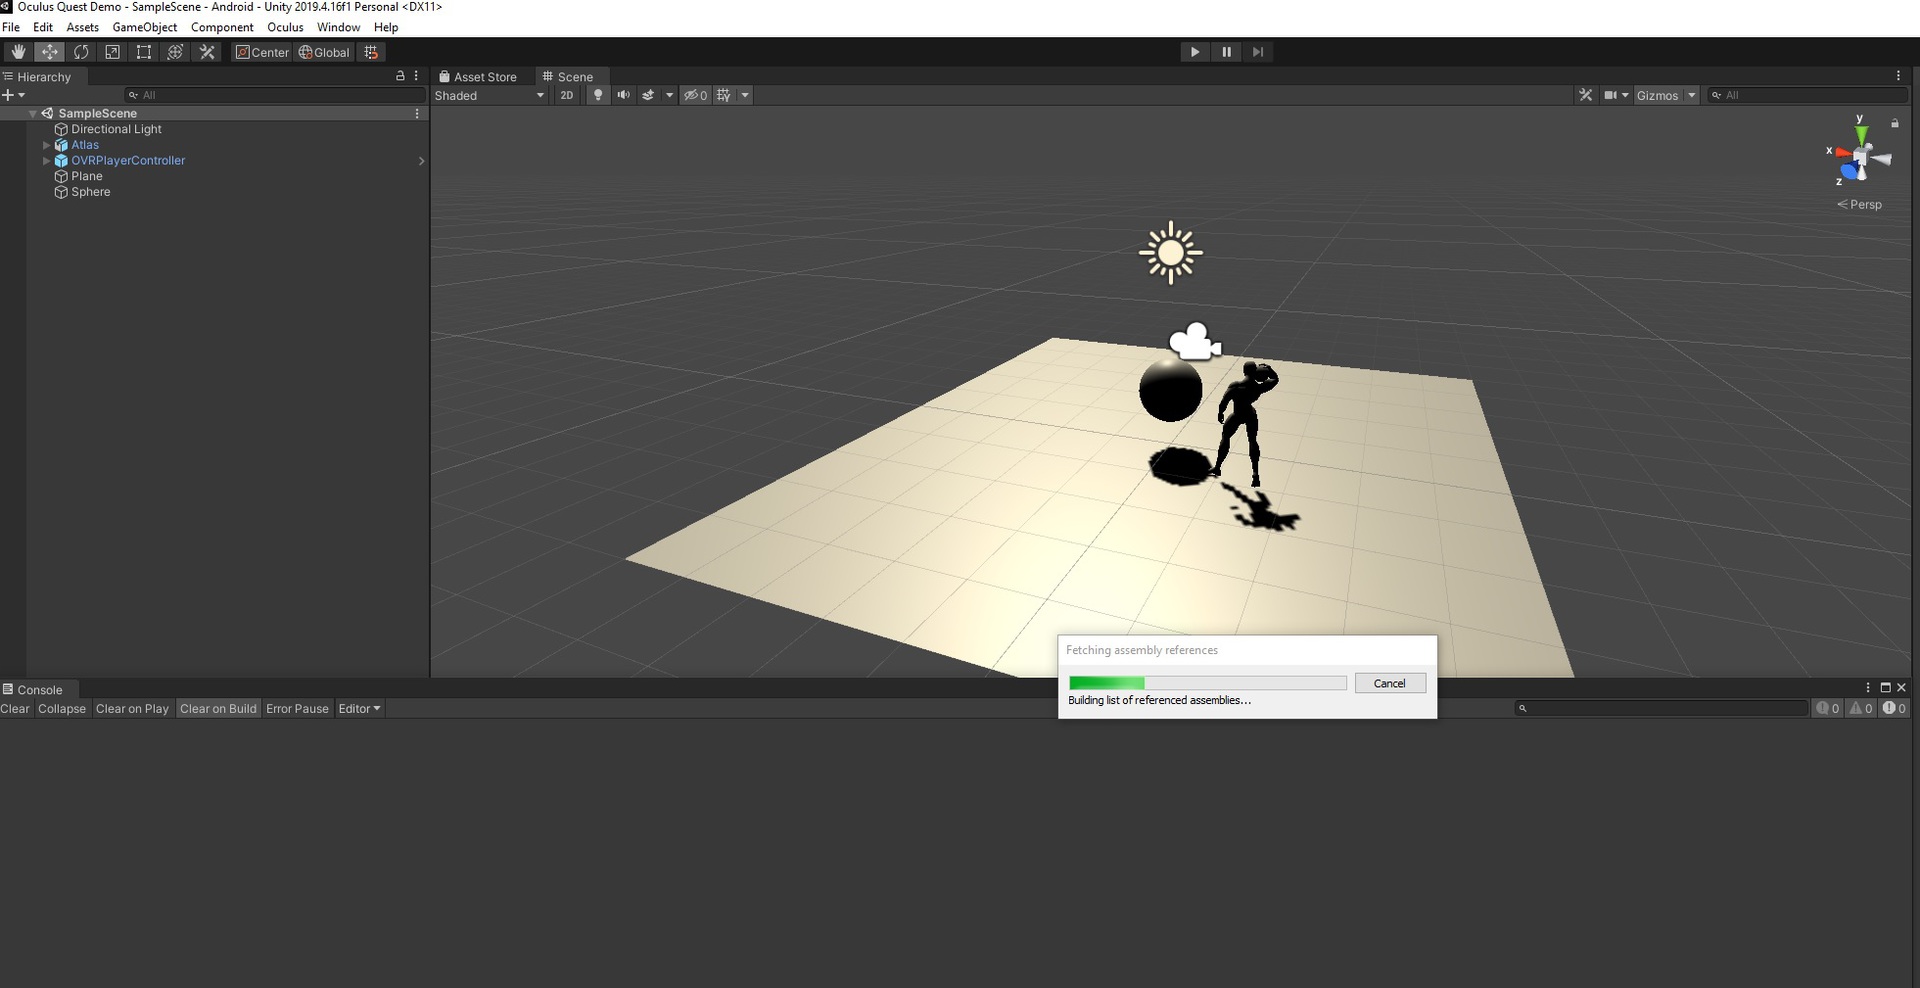
This also means you’ll need to have set up your Unity installation with Android Build Support.
Go into Player Settings and make sure that “Virtual Reality Supported” is ticked by default. Under “XR Settings” you should add Oculus. Although this is no longer required, it doesn’t hurt just to cover all bases. You also need to remove Vulkan from the list of Graphics APIs. Finally, add your scene to the build.
Once you’ve done all that, you can click “Build and Run”. You should now be able to export an APK and install it on your connected device. Alternatively, you can build the APK and then sideload it via SideQuest.
To find the app via your headset once it has been installed, just head to your apps as you normally would. Now use the menu in the top right and select apps from “unknown sources.” This will include any apps you installed via Unity, as well as anything you got from SideQuest.
So, that’s Oculus Quest development in a nutshell! Of course, you can add many more features on top of this, but for the most part, it will be similar to creating a regular 3D game. And if you run into any specific VR questions, YouTube is always there for you!