Affiliate links on Android Authority may earn us a commission. Learn more.
OnePlus 6 camera shootout (and a giveaway!)
July 17, 2018

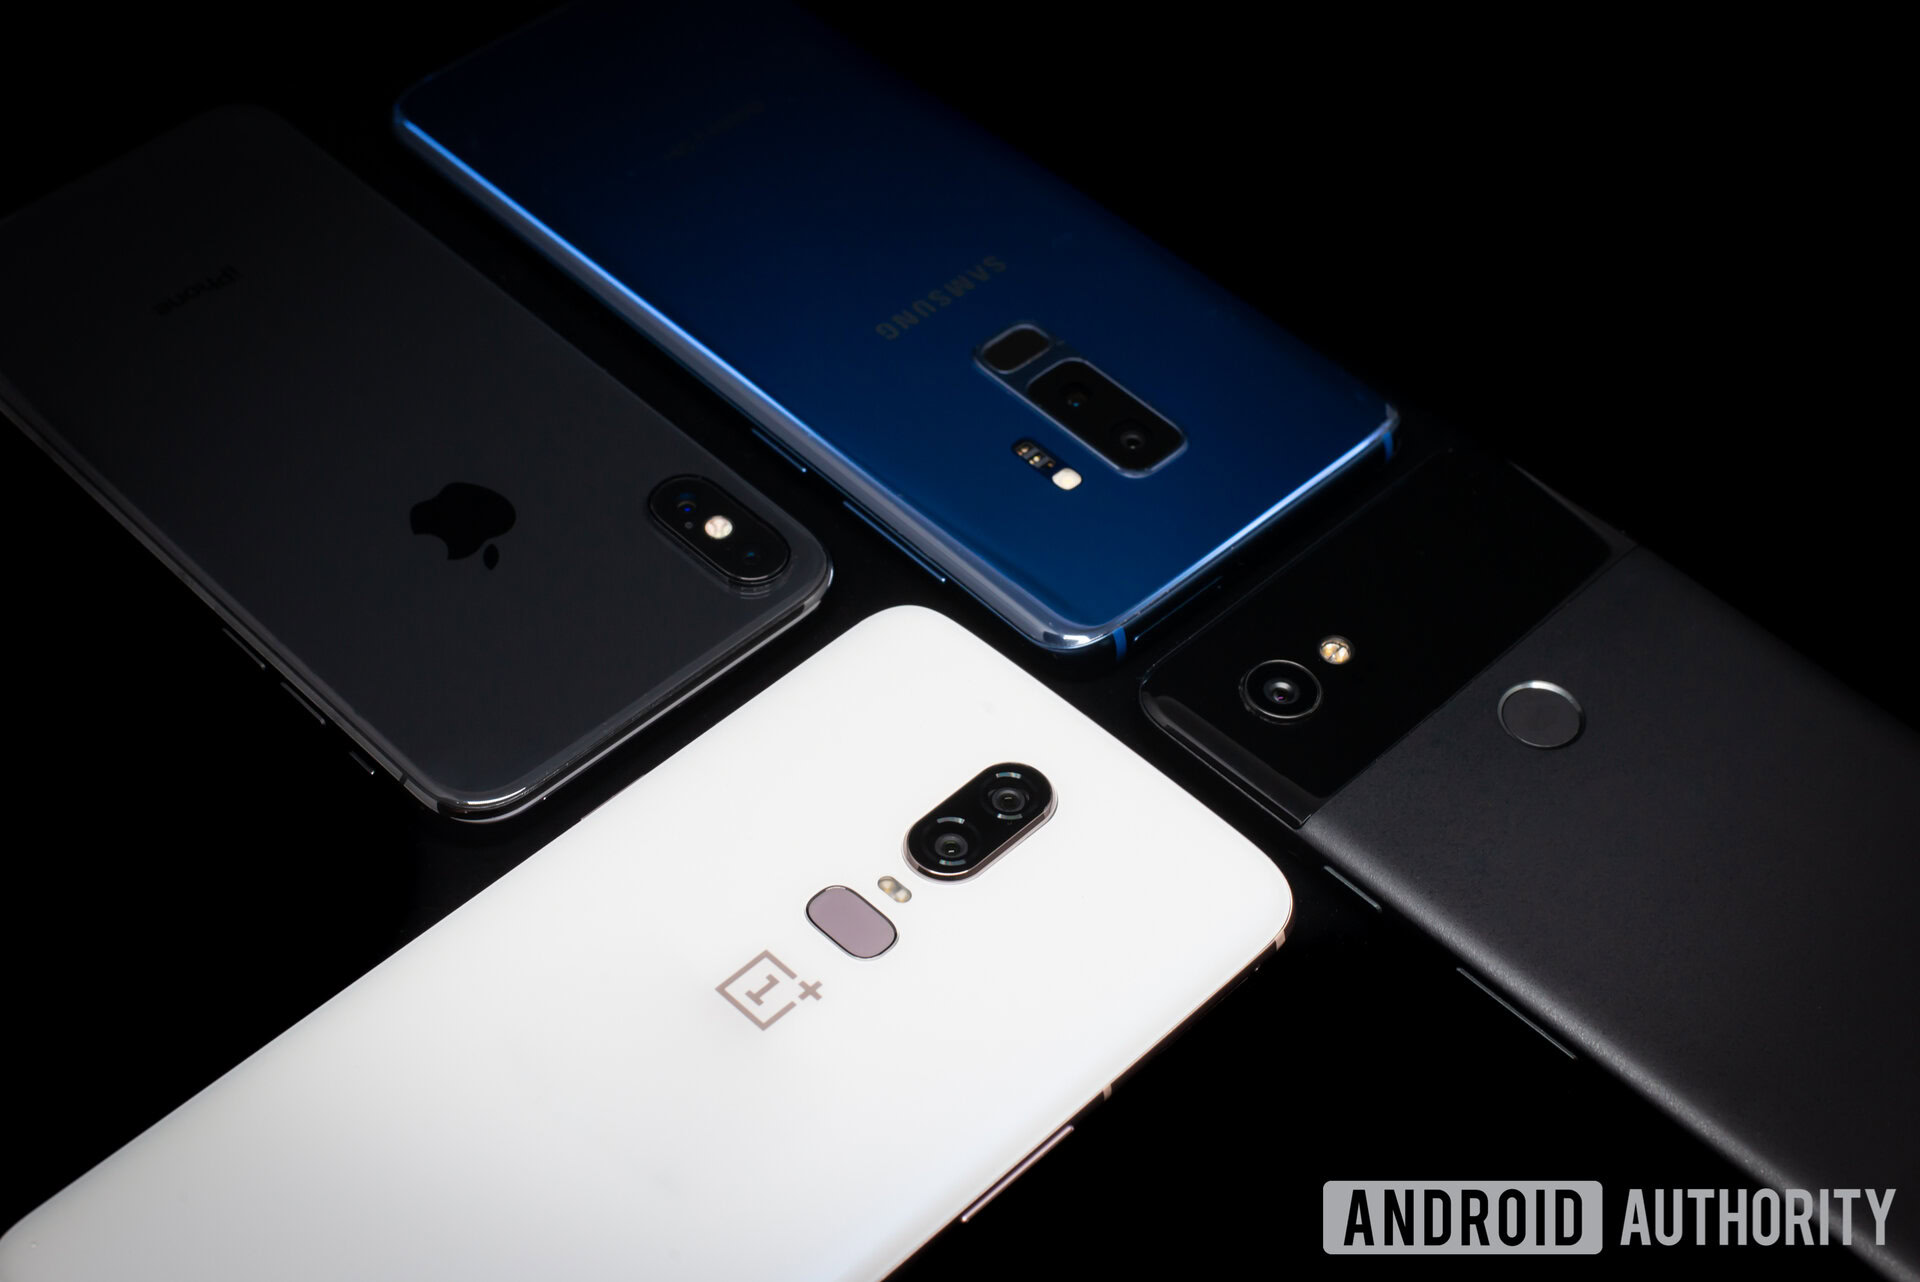
The OnePlus 6 has quickly become the company’s fastest selling smartphone with over a million units sold in the first 22 days. In good Android Authority fashion, we’re pitting the OnePlus 6 against its main competitors. How do the phone’s photos stack up against those of the Google Pixel 2 XL, Samsung Galaxy S9 Plus, and iPhone X? We are also giving away a OnePlus 6, so stick around for details on the giveaway at the end of the post.
With a $579 base price, the OnePlus 6 follows its predecessors’ footsteps to offer some of the best bang for the buck in the industry. Its main specs are on par with its $800-$1000 competitors.


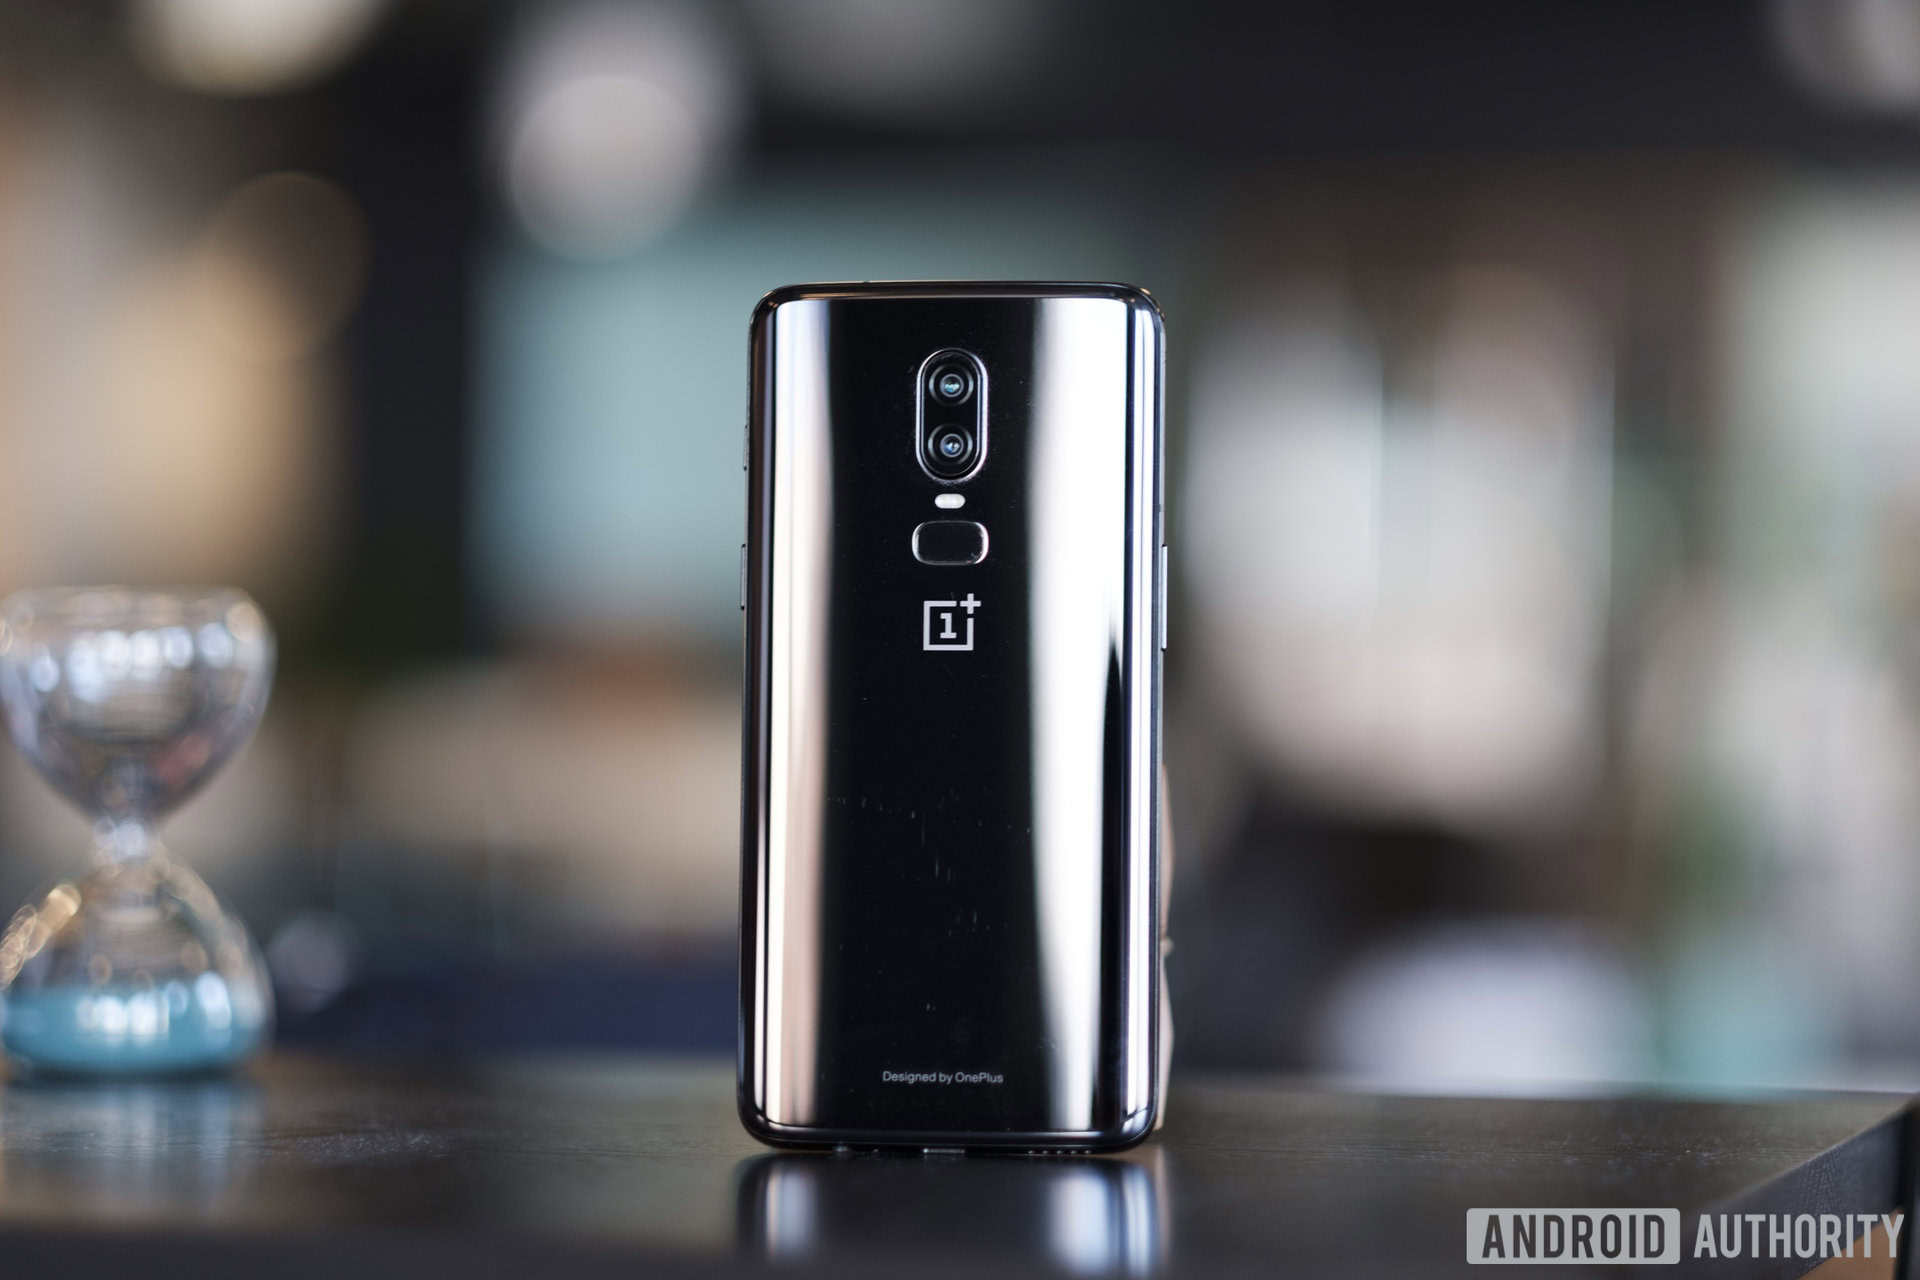
The camera has always been a department in which OnePlus hasn’t exactly excelled. The 6’s addition of dual 16 and 20MP shooters, an f/1.7 aperture, a Sony IMX 519 sensor, and 19-percent bigger 1.22mμ pixels could kick things up a notch. It’s also worth noting that the OnePlus 6 we’re using in this camera shootout is running the new OxygenOS 5.1.9 software, so images from the 6 should have improved clarity, better dynamic range, and more accurate edge detection in portrait mode. You can read all about the new camera update here.
We could do the fancy testing, give you the results, and tell you a bunch of reasons why one phone can take better photos than the others. At the end of the day, though, photography is a very subjective topic, and what matters most is how good images look to you, the consumer. This is why today’s winner will be chosen by the audience.
Here’s how it works
Below, we will publish seven photo categories: daylight, lowlight, landscape, portrait mode, food, pets, and selfie. Each category will come with a couple sets of images, and you can vote for who you want to win.
To keep the competition unbiased, you won’t know which phone took each photo. The shots will be labeled as Phone 1, Phone 2, Phone 3, and Phone 4. All EXIF data has been stripped away, so don’t try to look in there!
We resized the photos for web purposes, but nothing else has been edited. Color, white balance, detail, and all other factors have been left alone. We know some of you would rather do some pixel peeping before casting a vote, so we have uploaded the full resolution images to Google Drive and you can access them below.
Full resolution images
- Phone 1 full resolution images
- Phone 2 full resolution images
- Phone 3 full resolution images
- Phone 4 full resolution images
Cast your votes!
Ready? Let’s get started! May the best one win.
Daylight
The first image set was taken in Balboa Park, home of the famous San Diego Zoo. In this photo we can see one of the park’s many gardens, full of different plants, flowers, and trees. The Museum of Man tower is in the background.
All phones can take a nice photo in broad daylight. You have to look at the tiny details to find out which camera phone actually does a better job. Colors and exposure are important, but remember to look closely at the plants, as well as the tower, for intricate details.
Look at the dynamic range performance. In bright environments, some phones are better than others at catching details in the shade, which is why we picked this frame. The photo comes with well-lit areas, as well as shaded ones.
The second image was taken in a square in Balboa Park. This waterfall has a statue — it’s always nice to try and catch the details in the texture of sculpted stone. The shot has a nice view of the sky, plants, and mosaic, which are bright and colorful.
As with the other image, take a closer look at the shaded area and how much each phone catches there. You may also want to take a look at the water and see which device has a faster shutter speed and managed to better freeze the moment.
Lowlight
You can’t go to Balboa Park and simply ignore all the museums. I went to the San Diego Museum of Art and came across this photographic beauty.
The frame is under very low light and its surroundings are even darker, which made for a perfect lowlight photo environment. In addition, the painting has plenty of texture detail, as the paint strokes are rather thick. Which phone captures the effect better? Zoom in to find out.
You may also want to look to the left, where it is much darker. Can you see the wall corner? How about under the painting? Where the shade is pretty strong?
Just in case you want to know more about the art, the painting is “Nude” by Christian Rohlfs.
After the park, I rode across the Coronado bridge to look at the city’s skyline, which is rather stunning at night. All phones did a pretty good job at exposing this picture, as it was actually much darker than it seems in these photos.
To determine which image is better, take a look at color reproduction and exposure. More importantly, look for detail in the buildings, water, and clouds.
Landscape
The sun was setting and time was running out, so I had to find the right landscape photo. Any good photographer knows it’s not always about finding the right moment, but about letting it come to you. I sat down by the rocks, enjoyed the breeze, and let the sun drift away. Our star went behind the cliffs and the right moment for shooting simply came.
In this photo we can see part of the Coronado coast, with a strong source of light coming in from the background, rocks in the foreground, and the cliffs aligning the middle of the frame.
Most cameras have a hard time exposing a photo of the sunset, which makes this good for comparison. Look for the phone with the most evenly exposed frame, and detail in the rocks and the hazy cliffs. Don’t forget about detail in the clouds, either.
A good city should be surrounded by beautiful nature, and San Diego accomplishes this very well. The way to downtown from the 163 highway cuts right through Balboa Park, taking you through amazing views that frame the city perfectly.
There are different levels of lighting here, which is why I picked the frame as a test landscape shot. Most landscapes are open and evenly lit, but we are here to push these shooters to the limit. Look for details in the distant buildings, under the shade of the trees, and in the moving cars.
Portrait mode
Portrait mode only looks amazing when done right. Artificial bokeh can be like a slap in the face when the system messes up. The trick here is to look at the subject’s outline. Make sure anything within similar distance to the camera is sharper. Objects far away (or closer) from the subjects should start blurring out.
My crazy hair always confuses cameras in portrait mode, so take a close look around my head and see which phone is better at drawing the line between the subject and its background.
Food
In-N-Out is the west coast’s pride and glory. As a good Californian, I had to add a picture of the beloved burger joint’s signature items. Here are a couple burgers, with fries (one of them animal style) and drinks.
We ate indoors, which poses a challenge for the cameras. There is plenty of harsh light coming in from the windows, so we can look at the dynamic range to see which phone more evenly exposes the frame. Then you have the red and yellow hues bouncing off the walls, which makes it hard for a camera phone to get the right white balance.
Look at the exposure. Some cameras may have been thrown off by the harsh outside light. Of course, you can also see which device better handled the white balance. Then take a look at the details in the food to see which phone did a better job.
If you are ever in San Diego and love sweets, make sure to visit Extraordinary Desserts. Push the huge glass door open and you will be met by stands filled with all kinds of pies, cakes, tarts, cupcakes, and more — all covered in flowers, petals, chocolate, and even gold.
The lighting was not as bad here, but we can’t say it was a bright place. Look for detail in the shades, color reproduction, and yumminess to decide which phone is the rightful winner.
Pets
I may be considered a hoarder for keeping this old Christmas tree around, but my cat loves it. After all, she is the queen of the yard.
These were taken in the shade of a dry tree, with a bright background — something that often throws cameras off. Some cameras produced a hazy effect, while others had horrible exposure. Find the one you like best!
I have a couple guinea pigs the bengal cat hasn’t decided to eat yet (she is probably saving them for a rainy day), and this is one of them. Look for color reproduction and detail in the hair.
Selfie
We are facing away from the light, which always makes for harsher shooting conditions. Which camera can handle this situation better? It’s a plus whenever you can see more of my sweaty skin. I think.
By the way, I know one of the selfie photos is inverted. Some cameras get rid of the mirror effect, others don’t. We could have flipped it, but we wanted to keep the integrity of all photos. All shots are left how they came out of the phones, except for resizing and the removal of EXIF data.
What’s a trip to Coronado Island without a good selfie of the San Diego skyline? I had to get one, or four. I am right under a light post, which means some phones didn’t do a great job evenly exposing my face. Some photos also look a bit blurry and don’t catch the skyline very nicely.
Now for the fun part. We’re giving away a OnePlus 6 to one lucky Android Authority reader! We will announce the giveaway winner and the results of the photo contest one week from today, on Tuesday, July 24. Good luck!
