Affiliate links on Android Authority may earn us a commission. Learn more.
An overview of the new Paranoid Android 6.0
Published onJune 9, 2016
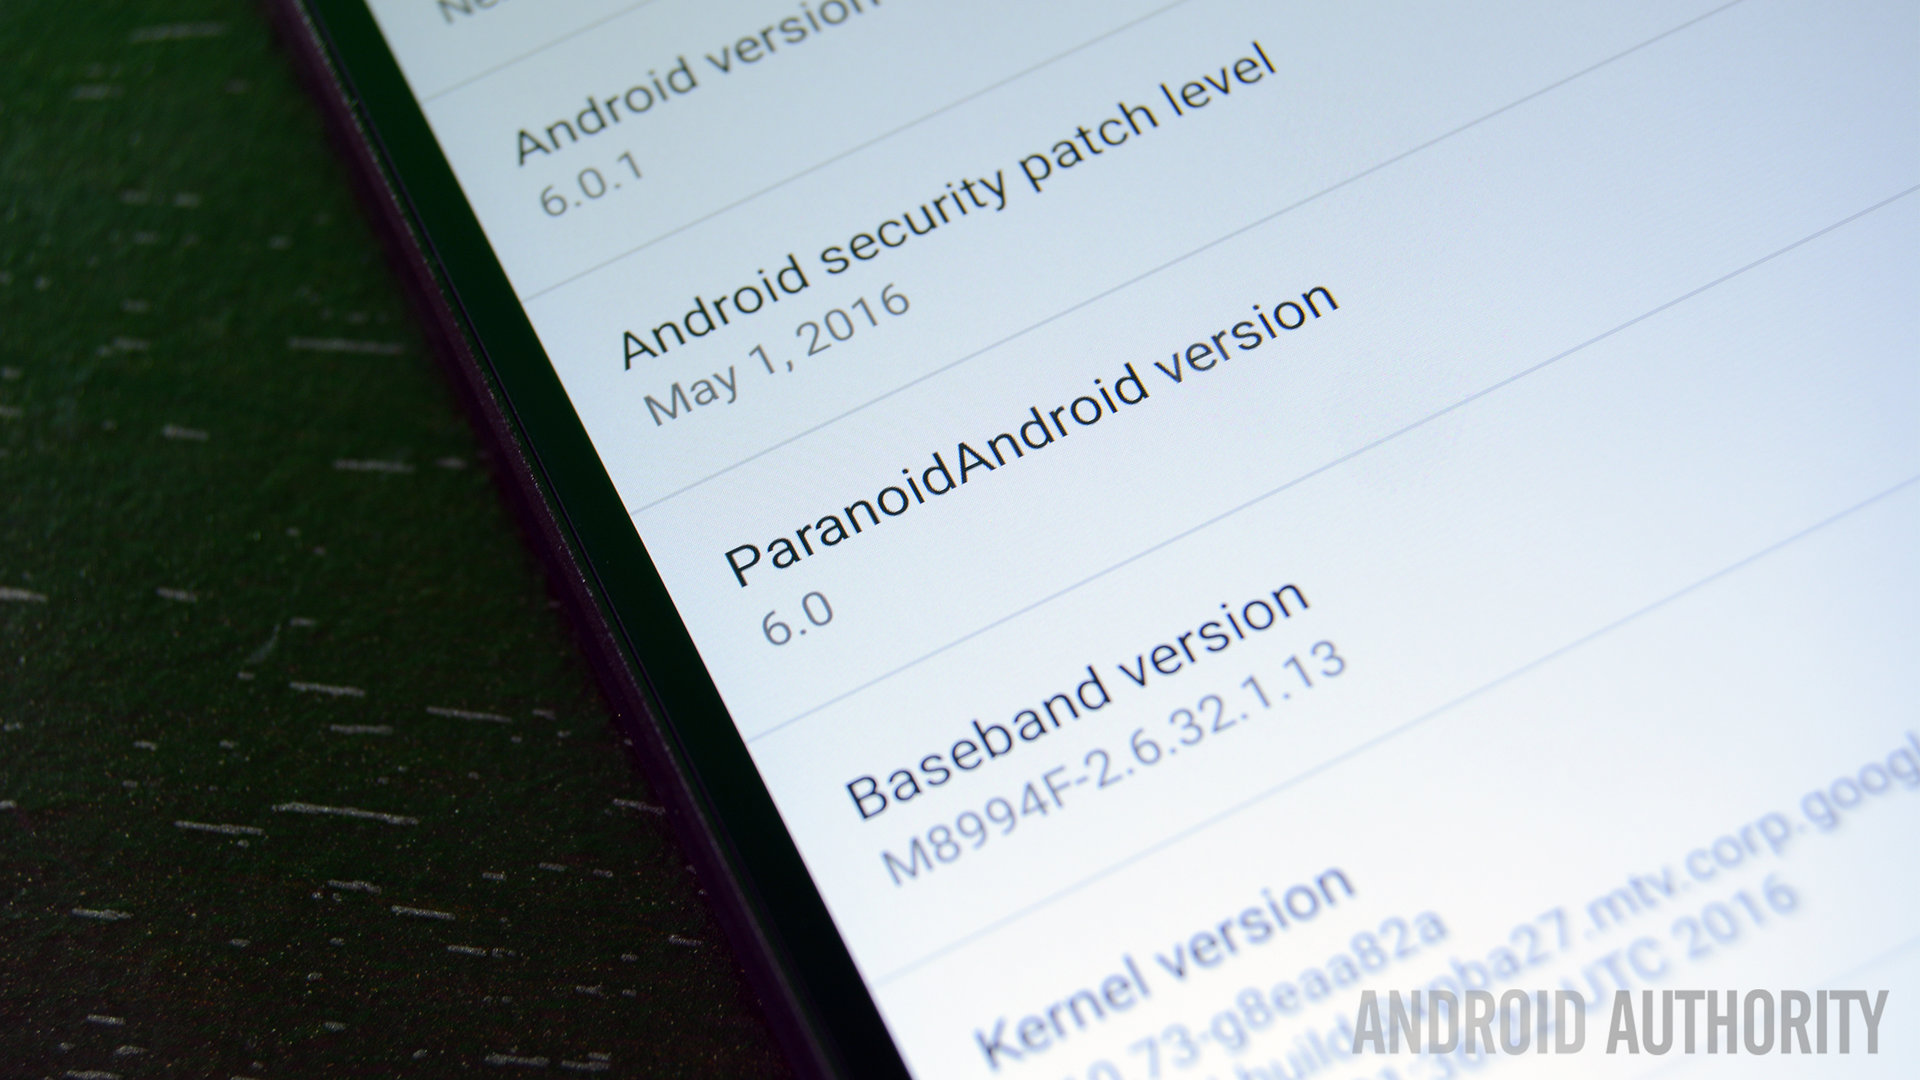
Nine months ago, the Paranoid Android team found some new life and began working on their next release. The idea was to bring some fun, new features that helped improve the user experience while maintaining all of the things that has made Paranoid Android one of the best AOSP ROMs out there. Instead of putting out builds as alpha and beta releases, the team decided to forego those and go straight for a stable release. That release is here and we’re going to take a quick look at it.
Floating Mode
Floating Mode is actually a floating window that you can use to view your applications without having to open the entire app. This is useful for things like replying to quick messages or checking something out on the fly without having to stop what you’re doing. The good news is that the window is large enough to make it useful for practically any app with the one downside being that you can’t really move it around all that much. There are three ways to make Floating Mode happen:
- The first is by long pressing any notification. It’ll turn dark and then you’ll see the option on the right side. Tap it once and the app will open in front of whatever else you’re doing. Do note that this does not work with all apps, but it should work with most.
- You can also go into the recent apps view and find the icon there. Each app has its own little box and the icon will be at the top bar next to the close button. Tap it once and the app will open in Floating Mode.
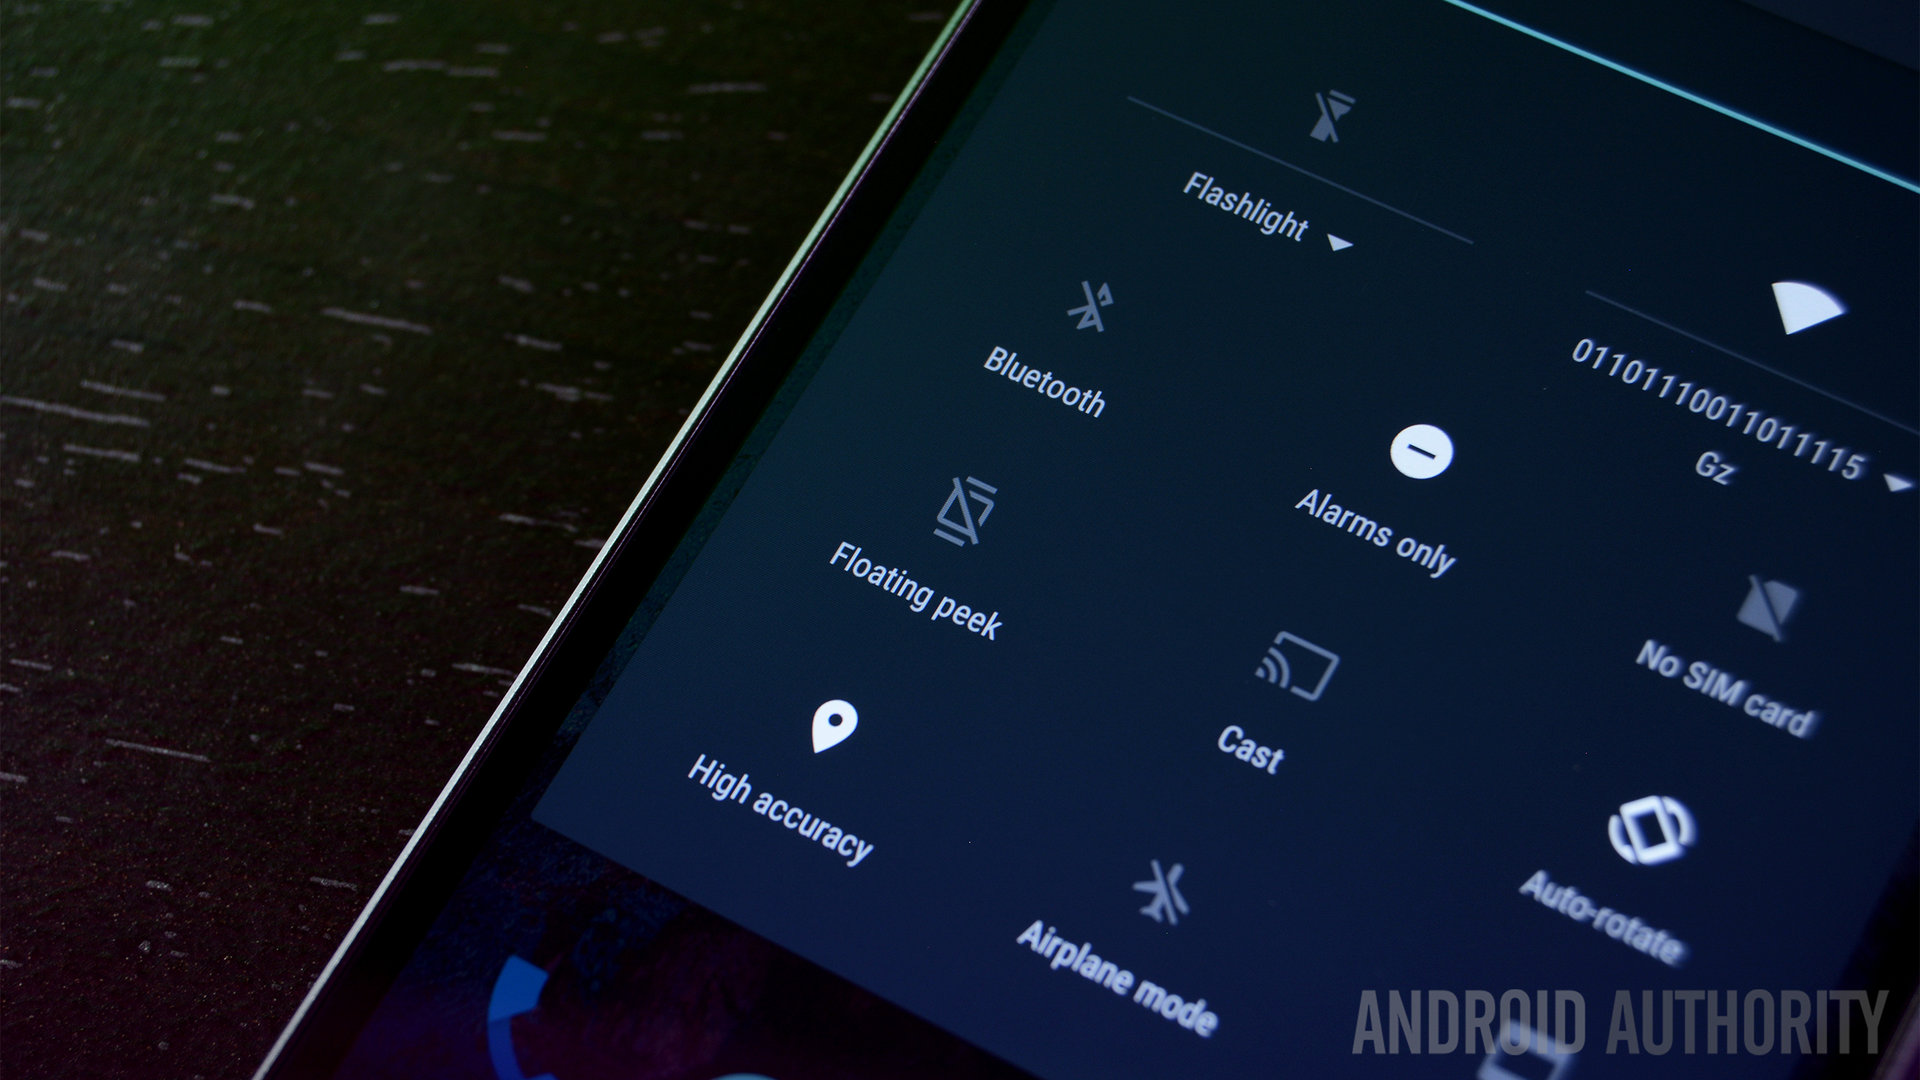
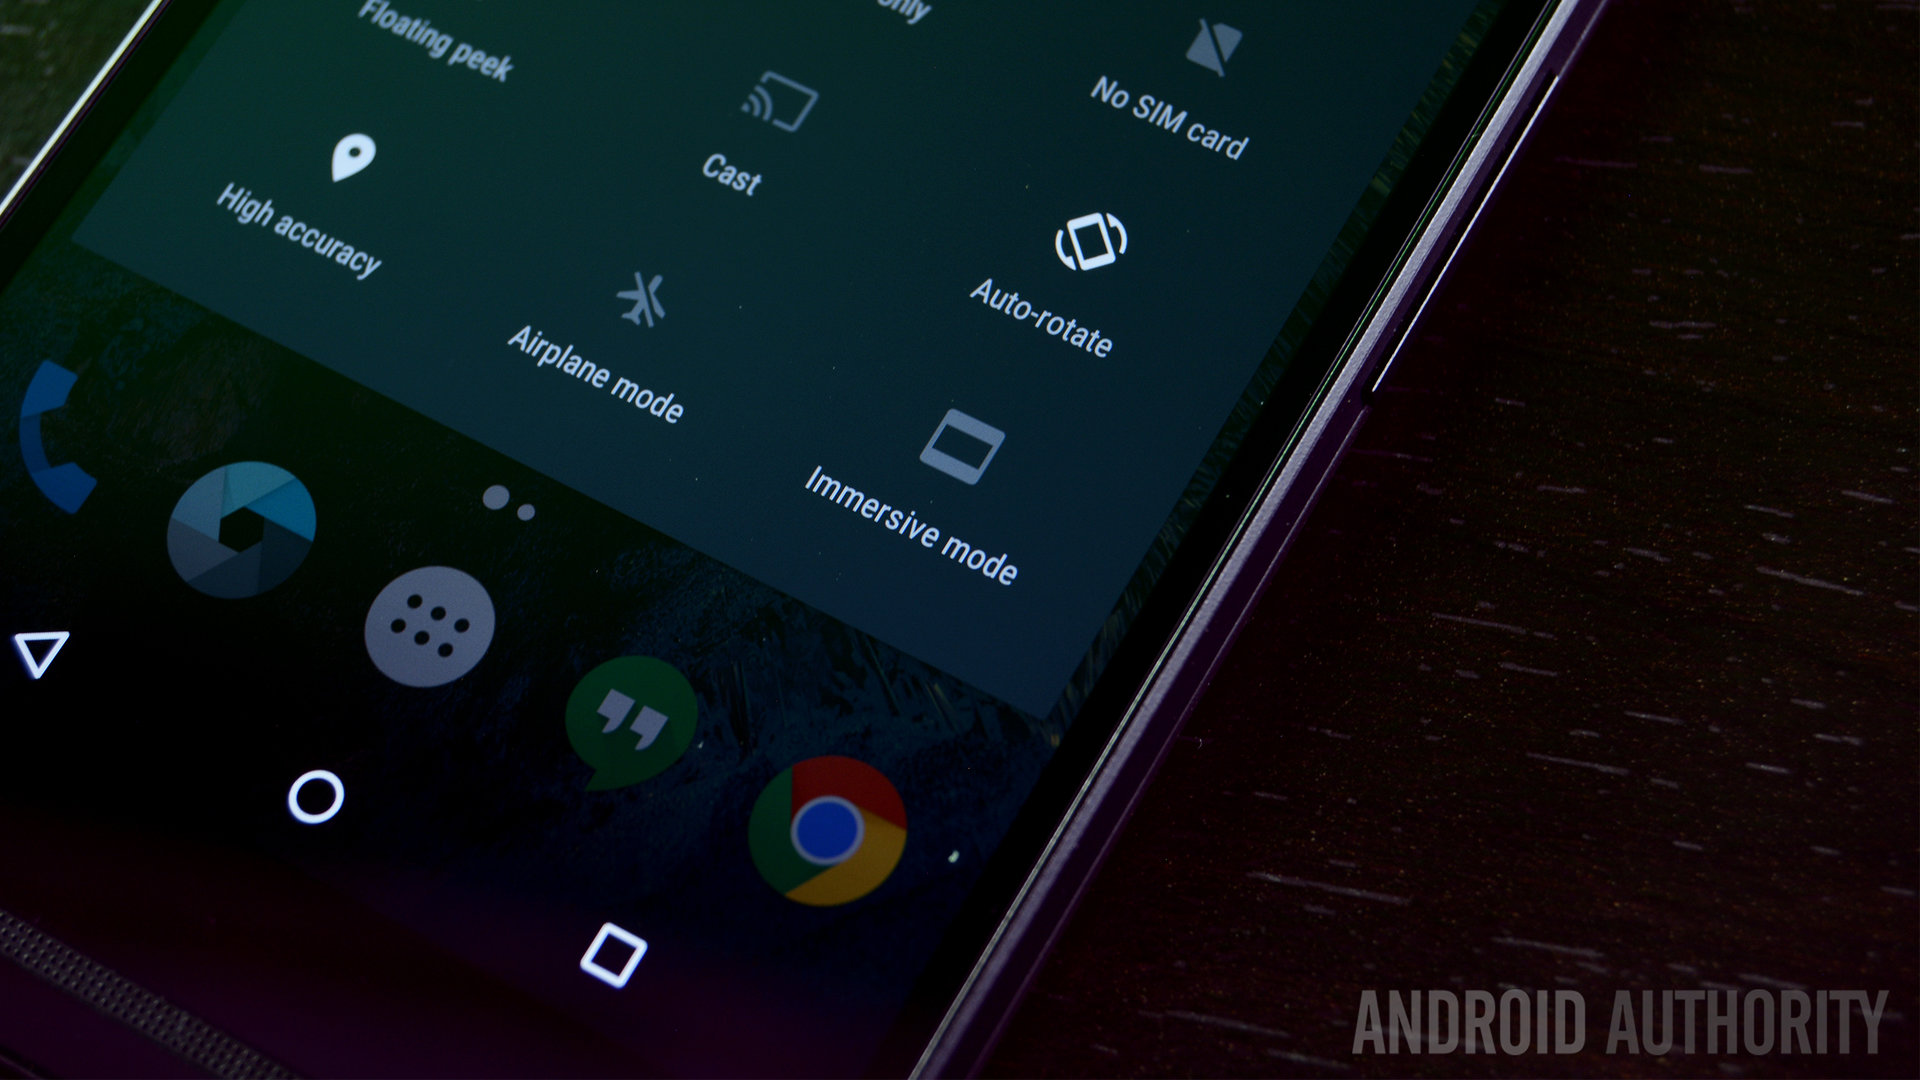
- The third way is by far the easiest and it’s a toggle in the quick settings called Floating Peek. You enable it in the Quick Settings and then when you get a notification, you can click on the “heads up” notification to automatically open a floating window.
Once it’s open, you’ll have full functionality across the entire app to do what you need to do. Once it’s done, you simply hit the back button to return to whatever it was you were doing before. We found that if you don’t have any apps open when you create a floating window, it’ll open your most recently used app in the background, just in case. Overall, it’s the best system-wide implementation of floating windows that we’ve seen and it’s really easy to use it or ignore it if you want to.
OTS Controls
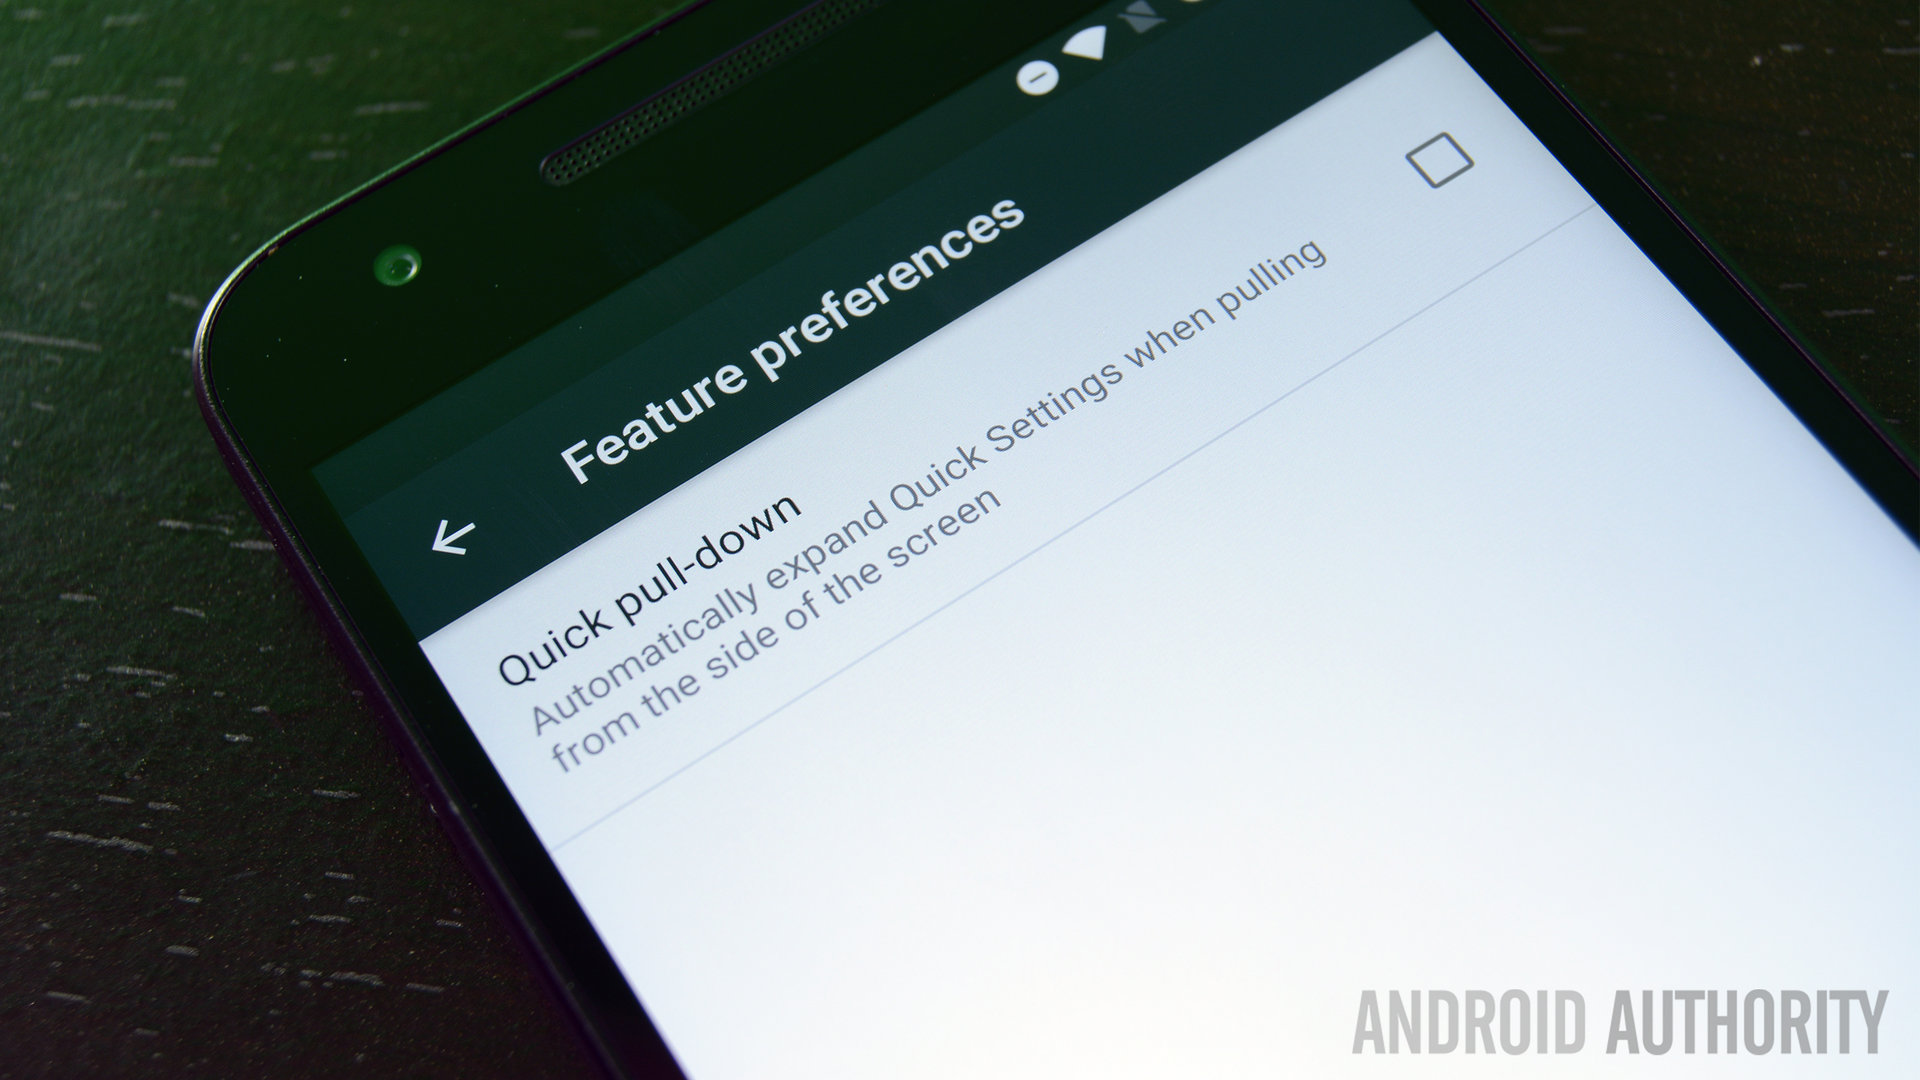
OTS (or “On-The-Spot”) Controls is a something that Android tablets have had for a while already to some degree. When you drag the notification shade down for the first time, you’ll be asked if you want to turn the feature on. If you miss the opportunity then, you can find the option by navigating to the system settings, then to Backup & Restore, and then finally to Feature Preferences.
This is a really simple feature. The way it works is when you slide down the notification shade like normal, you’ll see your notifications. No magic there. However, if you slide your finger down over where the clock usually sits, you’ll be able to draw down the Quick Settings in one swipe. It’s true that this mimics the functionality of just swiping down with two fingers, but that’s difficult to do when you’re holding the phone in one hand.
The only issue we found with it is if you’re using larger phones and your thumb may not make it close enough to the center to pull down just the notifications. However, if that does become an issue, you can always turn the feature off. Otherwise, we recommend you leave it on because it’ll save you a couple of swipes once you get used to it.
Quick Settings add and remove
In Android Marshmallow, you have the capacity to move your Quick Settings tiles around. However, if you want to delete them or add more, you have to go into the System Tuner and do it the hard way. In Paranoid Android, this functionality is baked directly into the Quick Settings. You’ll be able to move Quick Tiles around as usual, but you can also drag them up to the top and throw them away like you do icons on your home screen.
At the top of the status bar, there is a plus symbol where you can see all the Tiles that have been removed and re-add them to the Quick Settings at your discretion. This is turned on by default and is usable immediately after boot so you can customize as soon as you want to.
Additional features
Of course, there are plenty of features carried over from prior releases that are still there now.
- Paranoid Android has CyanogenMod’s theme support and virtually any CM13 theme from the Google Play Store should work on this ROM.
- System-wide Immersive Mode is still present and you can set the status bar and navigation bar to disappear pretty much whenever you want it to. It will reappear when you swipe up from the bottom or down from the top just like it usually does.
- The ROM also retains support for layers. If you want to know more about that, we took a closer look in our Diving Into Android M series.
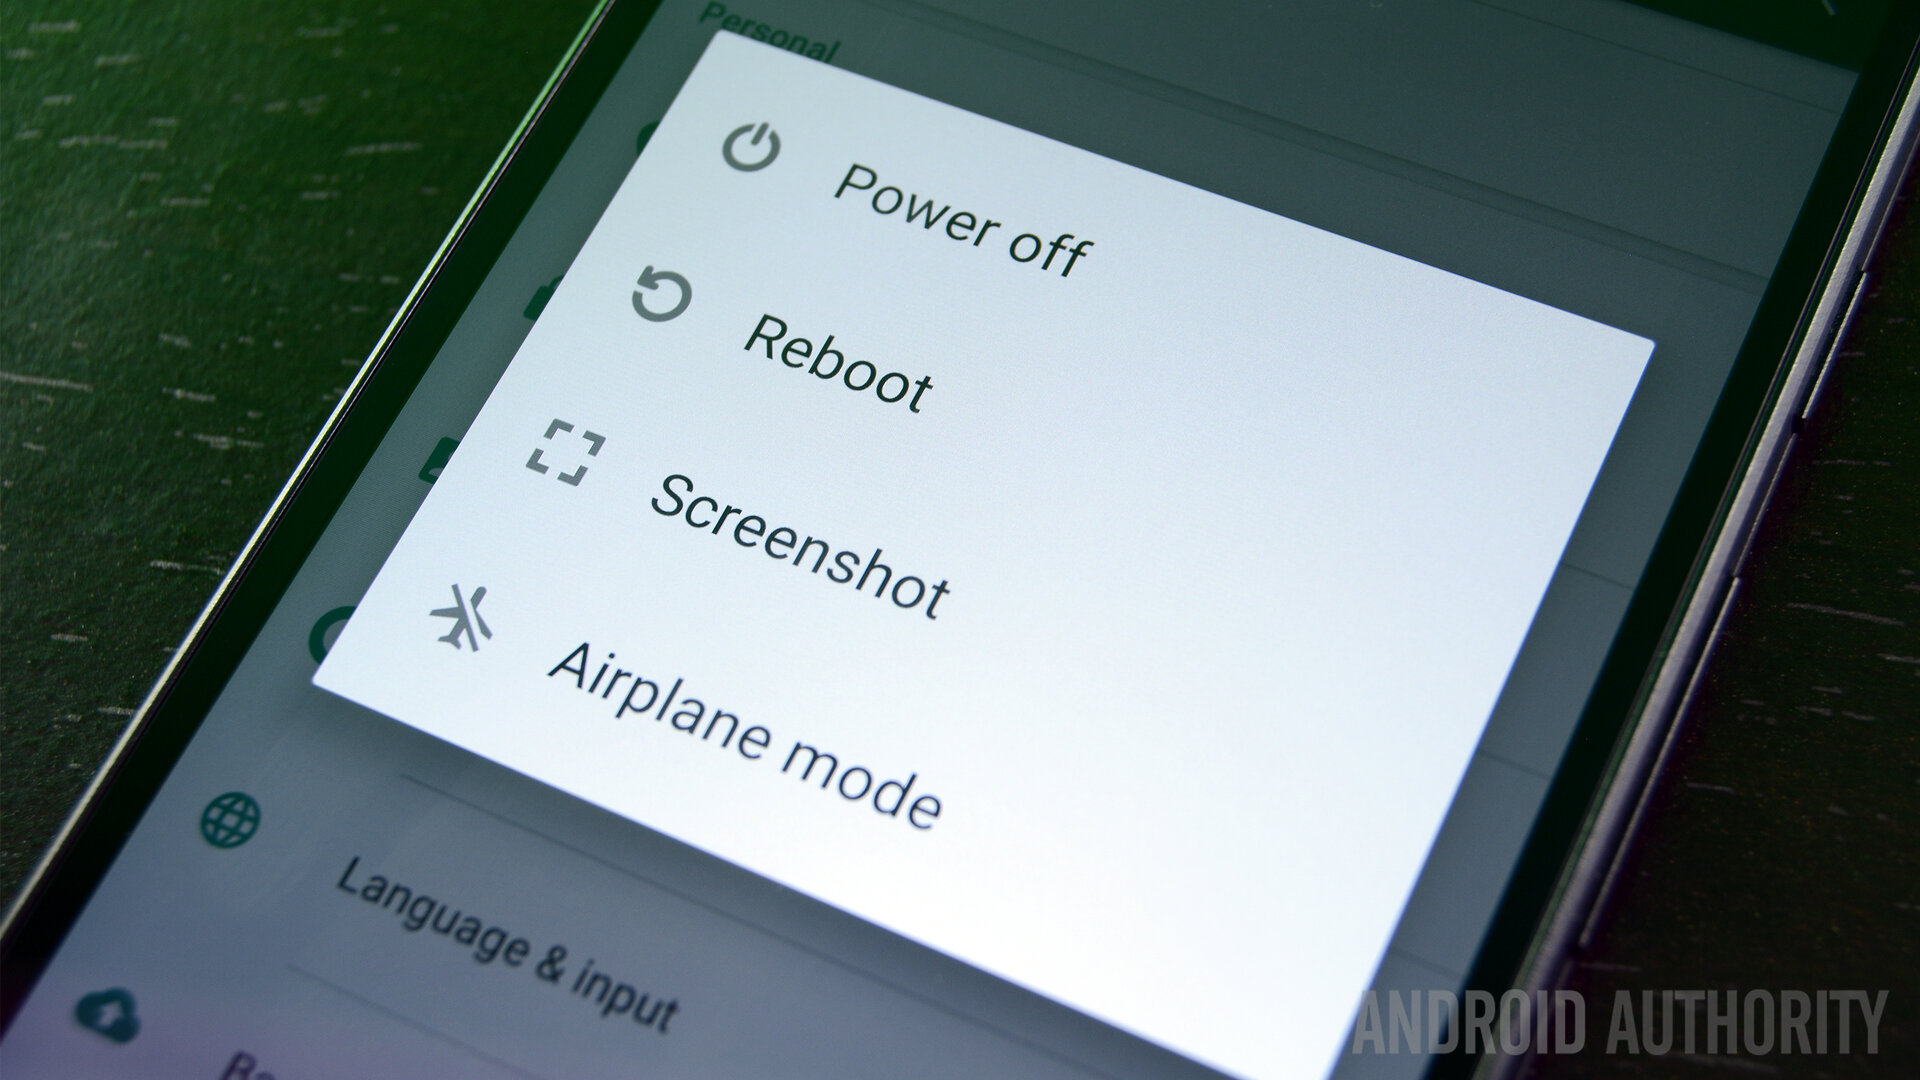
- The power menu has been altered to include a reboot option, a screenshot option, and an Airplane Mode toggle.
- Interestingly, the ROM doesn’t appear to come with root access by default. You’ll likely want to flash the latest SuperSU.zip along with the ROM (and Gapps!) if you want to keep root.
- It’s also worth noting that there are additional features for OnePlus and OPPO owners, such as gestures and more involved kernel features.
Paranoid Android Final Thoughts
Overall, Paranoid Android seems like a very competently done ROM. It maintains a lot of the features that made it really good in the first place, but also adds in a few new things for people to play with. We were especially impressed with how the new features have been integrated. Everything feels like an extension of the OS with a natural fluidity that isn’t generally typical for a custom ROM.
It seems to work well and we didn’t have any force closes or performance issues, but to be fair, we’ve only been using it for a few days and your results could vary. That said, it is stable enough for daily driver use if you’re interested. The following devices are supported right now with more to likely come in the future:
- Nexus 6P
- Nexus 5X
- Nexus 6
- Nexus 5
- Nexus 4
- Nexus 7 2013
- Nexus 9
- OnePlus One
- OnePlus 2
- OnePlus X
- Some Sony devices
If you want to try it out for yourself, you can download the latest releases by clicking here.