Affiliate links on Android Authority may earn us a commission. Learn more.
Philips Hue setup: A guide to getting started
Published onJuly 28, 2023
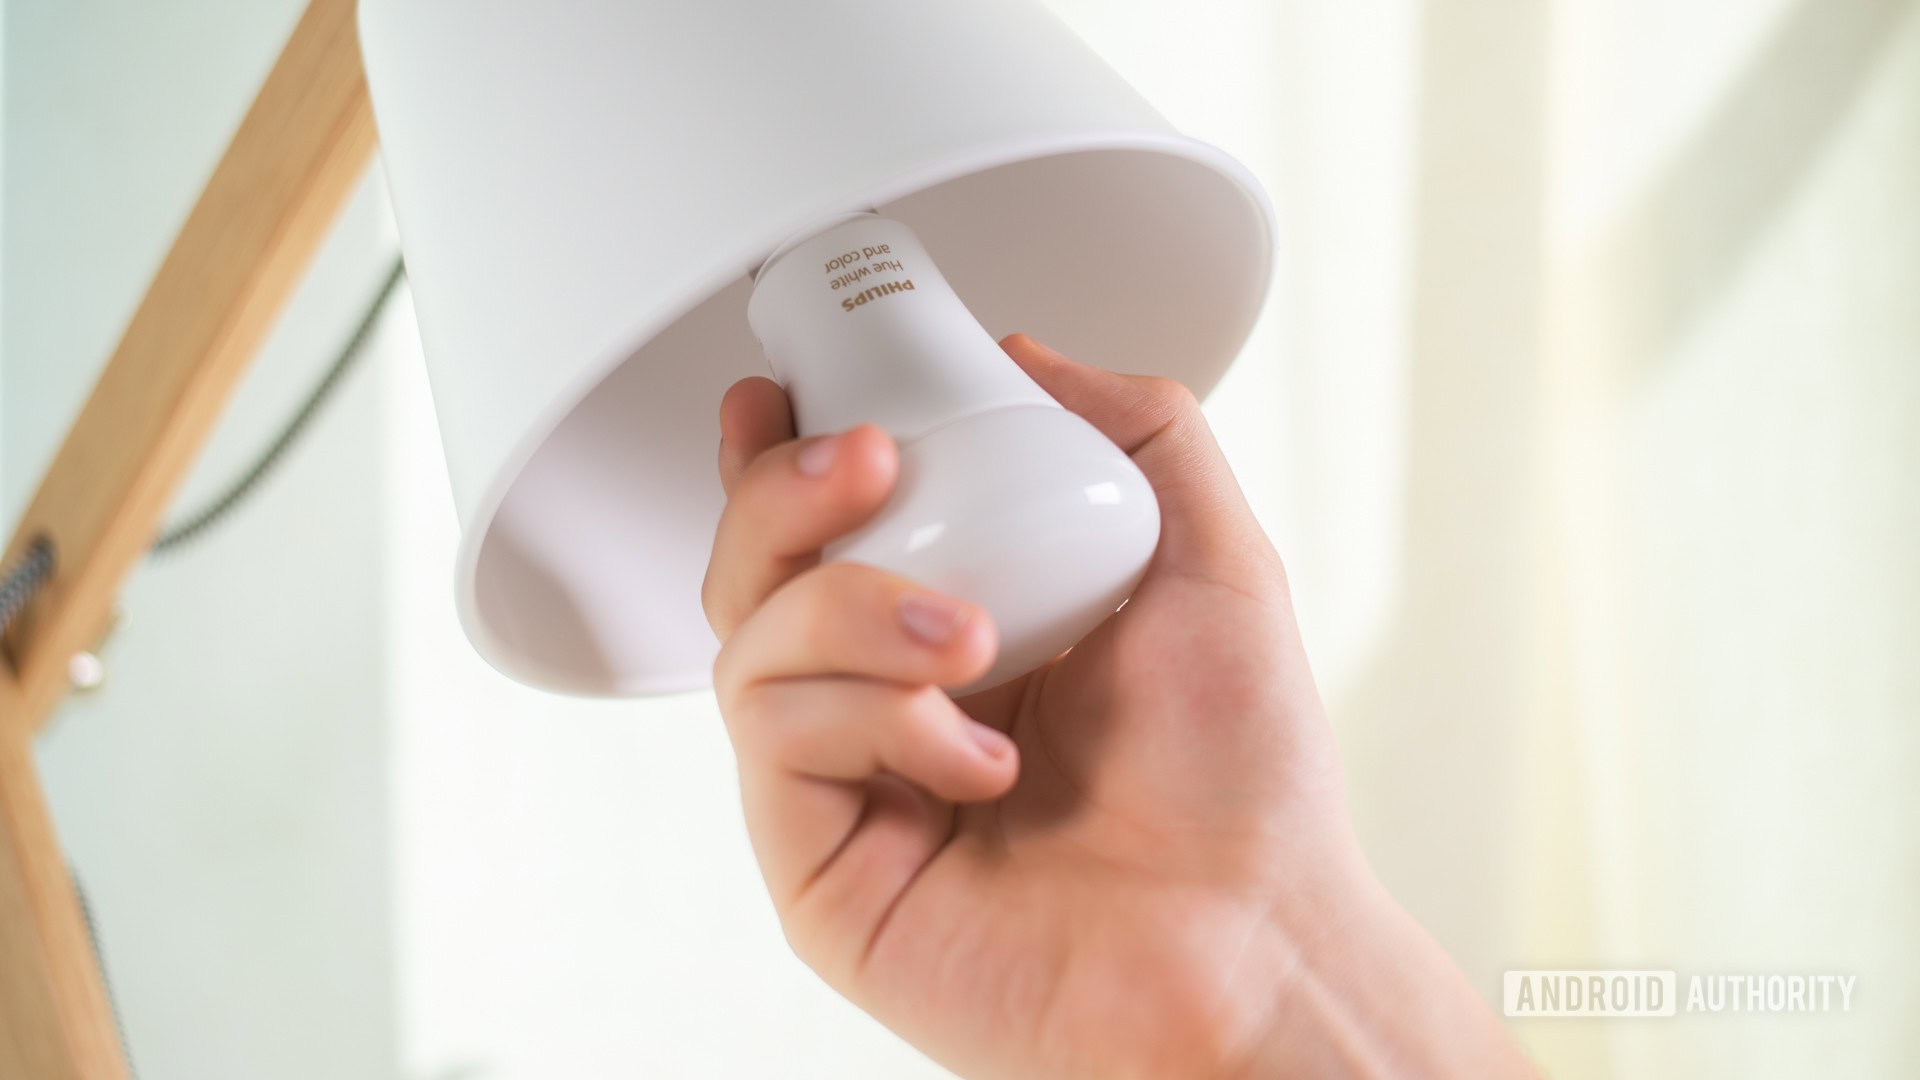
Philips Hue is one of the most popular smart lighting systems on the market, thanks to its compatibility with a range of smart home platforms, and a multitude of form factors. You can buy everything from simple smart bulbs to smart lamps, lightstrips, and outdoor lights. This guide will help you with Philips Hue setup, adding lights to various rooms, and creating scenes and automations.
QUICK ANSWER
To set up Philips Hue, you'll need the mobile app, a Hue Smart Hub/Bridge, and at least one Hue light. Once you've plugged the Hub into power and your Wi-Fi router, you can open the Hue app to configure it. Next, add lights to your system by physically installing them, turning them on, and selecting Add lights from the triple-dot menu in the Hue app's Home tab.
JUMP TO SECTIONS
What is Philips Hue?
Philips Hue is a smart lighting system first introduced back in 2012. There have been several revisions since then, but newer generations are generally backwards-compatible with old ones — older devices aren’t automatically obsolete, in other words. Lights can be linked to all major smart home platforms, including Apple HomeKit, Google Home, Amazon Alexa, and Samsung SmartThings. There’s no Matter support yet, but with such wide existing compatibility, it’s not a big deal.
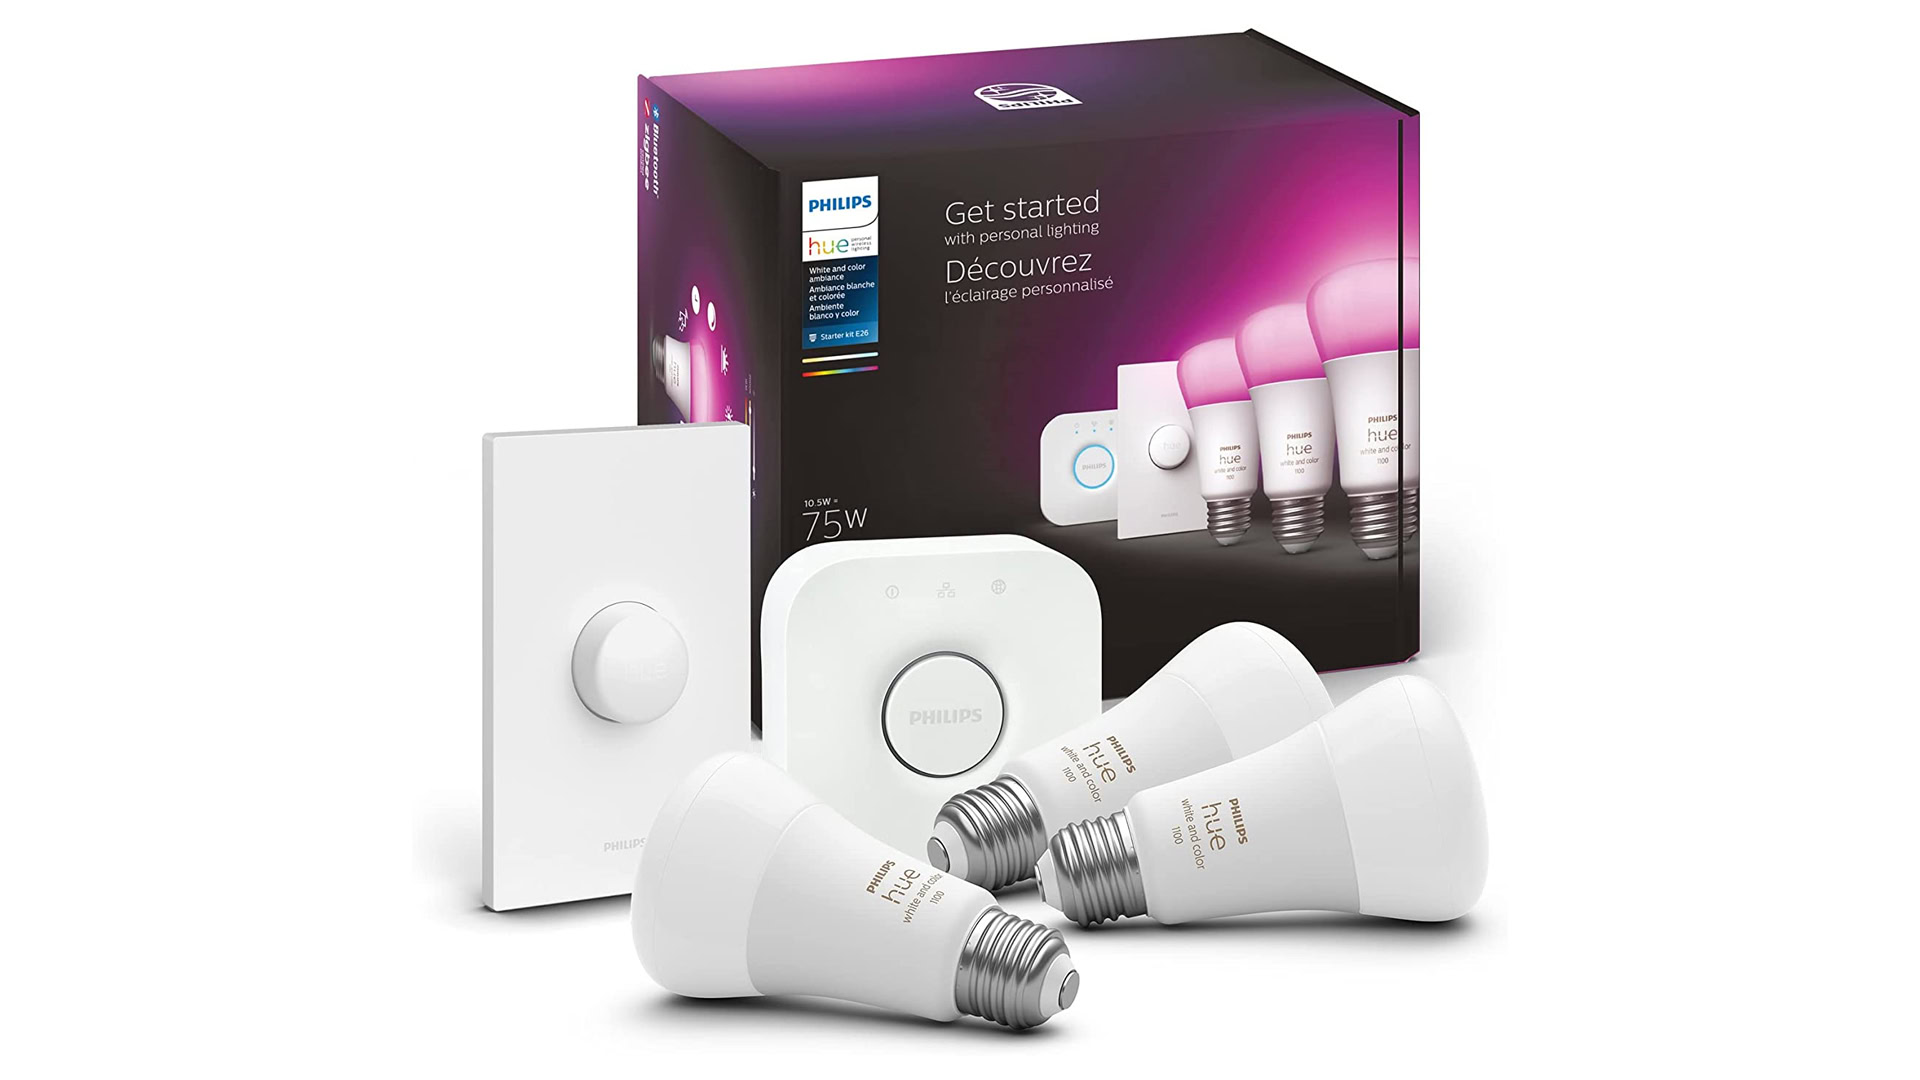
There are too many products to list here, but the bulbs are the most popular ones, particularly full-color E26 models. We’ve linked a related Starter Kit below. You can save money by going with white or “White Ambiance” lights, the latter of which support cool and warm tones. Philips also sells lightstrips, lamps, and accessories ranging from switches and sensors to an HDMI Sync Box. Some of these are designed to be used outdoors if you want to illuminate your balcony, backyard, or front step.
How does Philips Hue work?
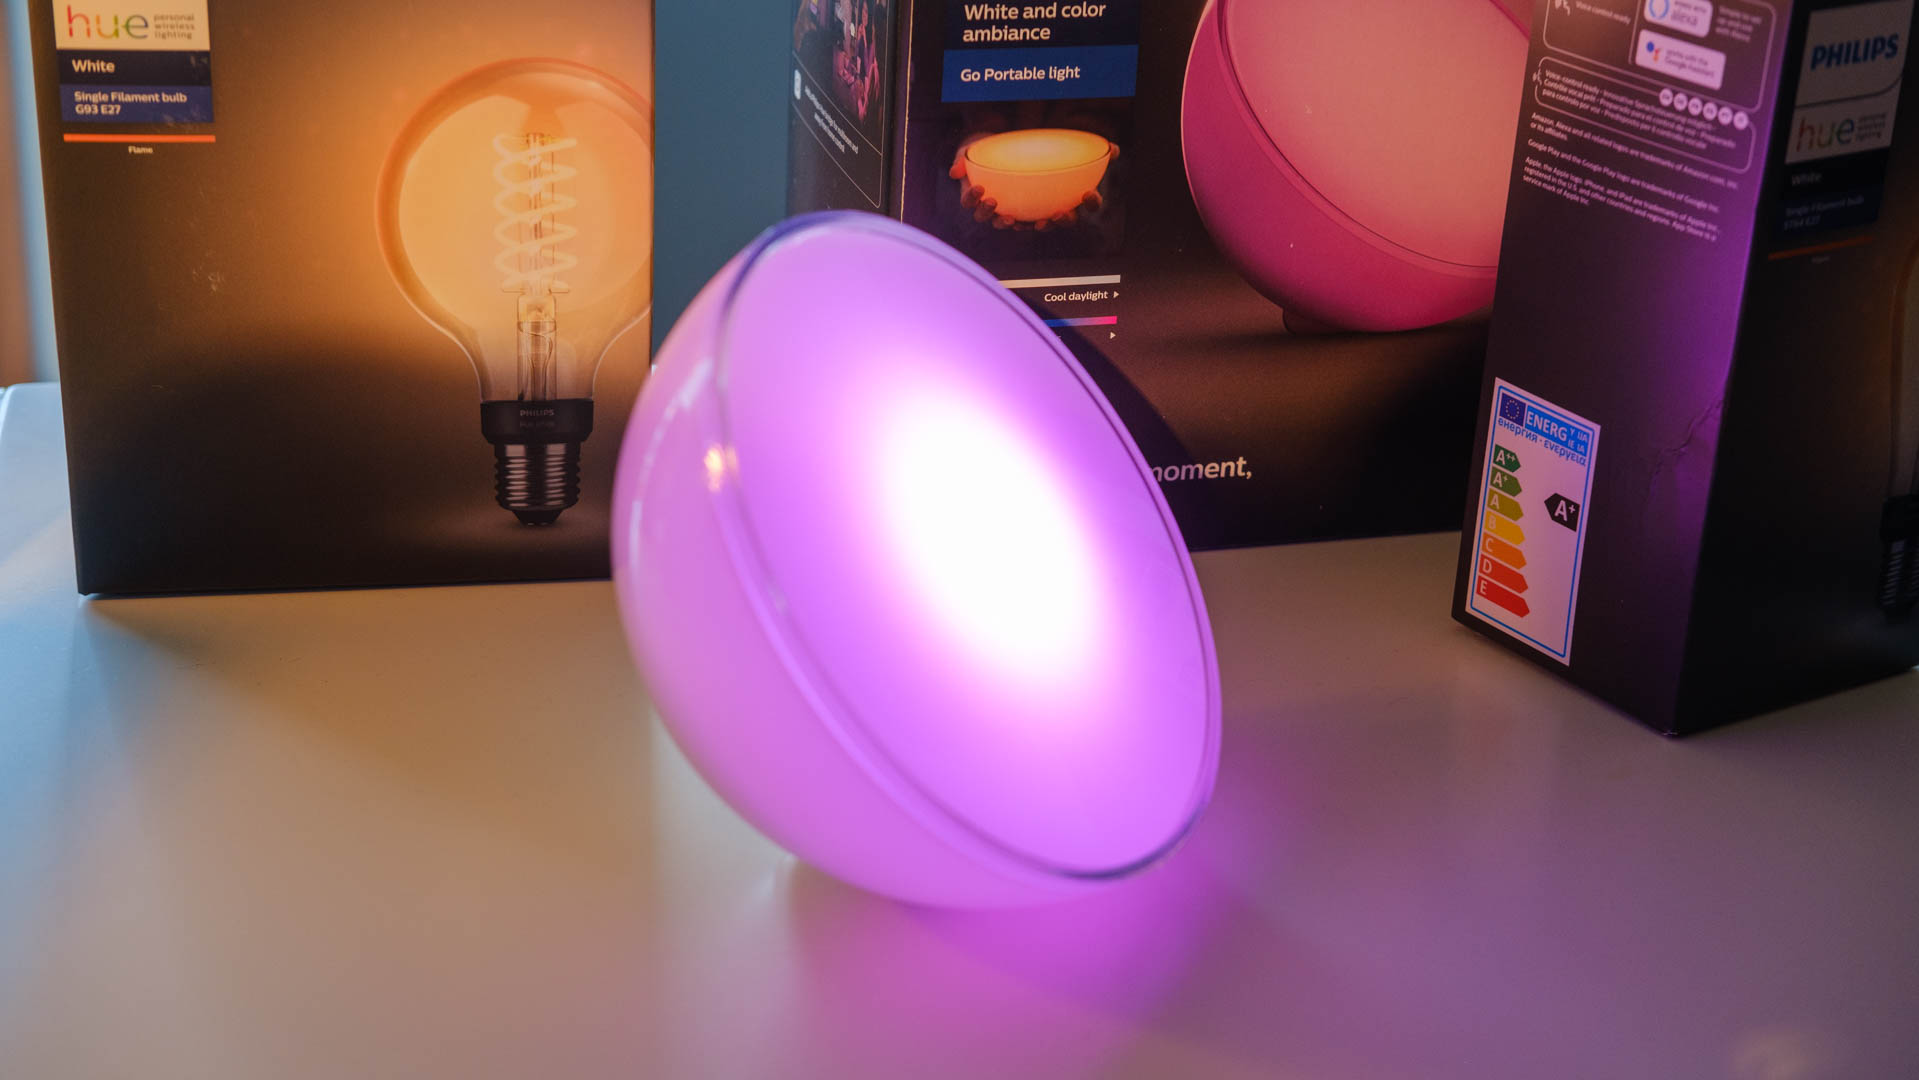
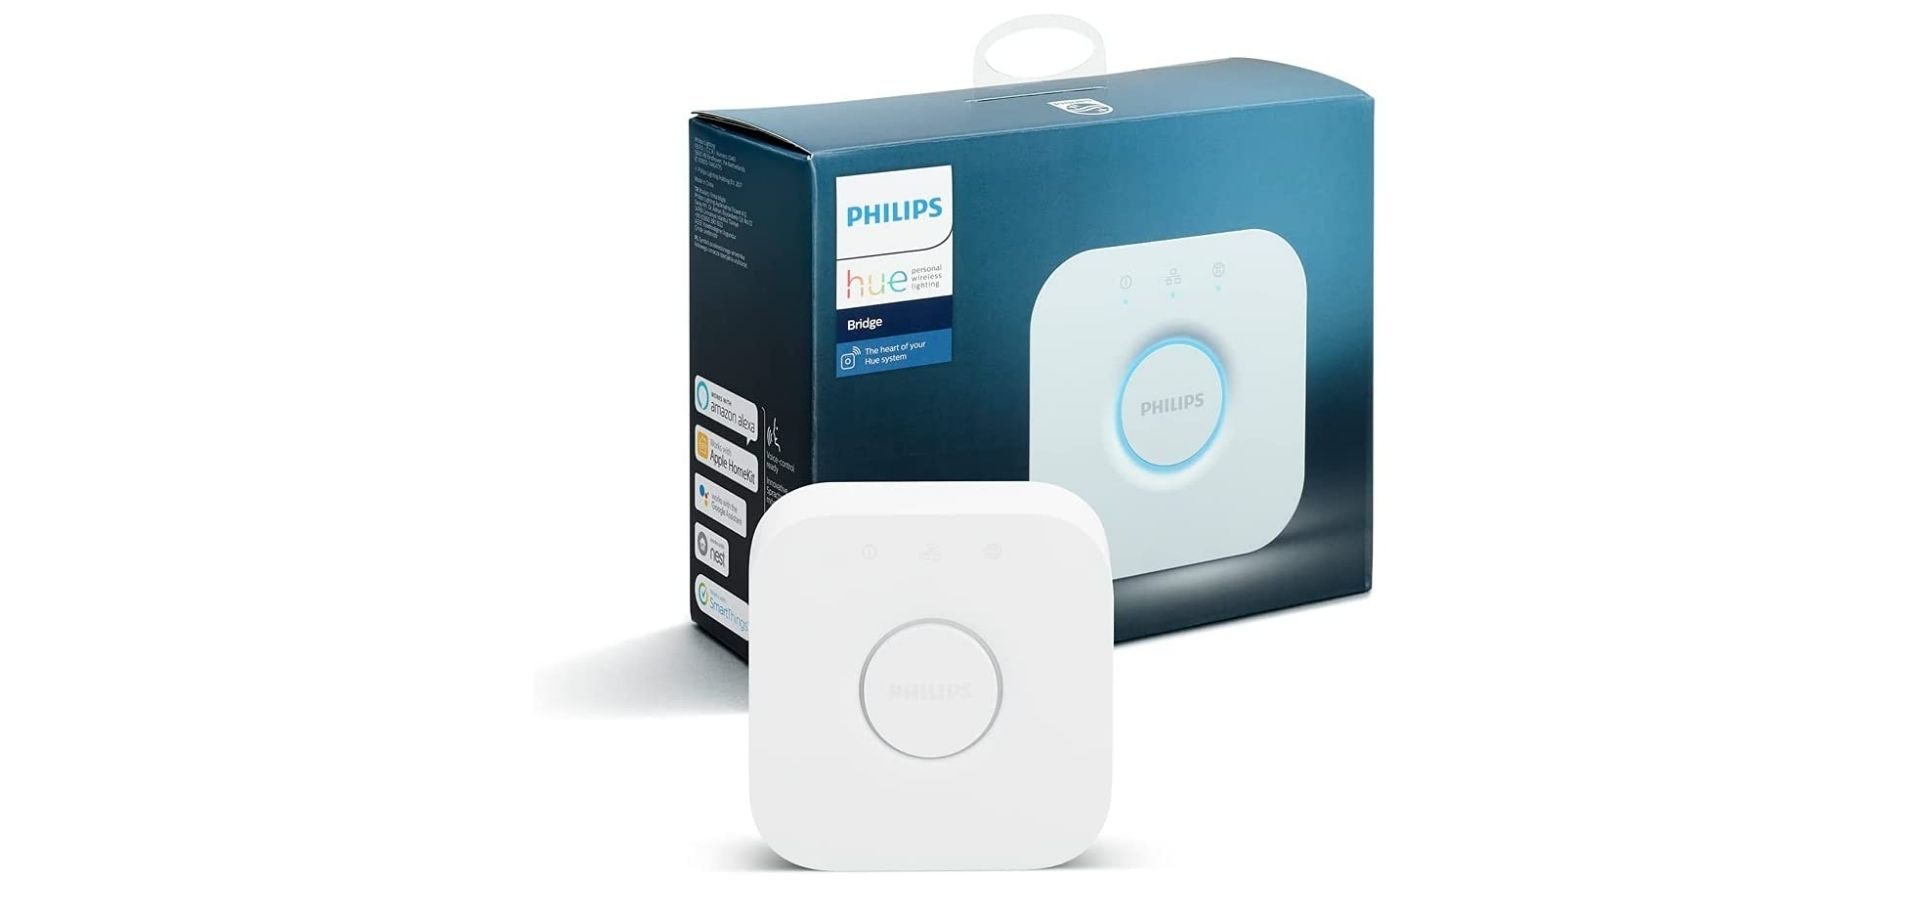
While some Hue products support Bluetooth-only functions in a pinch (like the Hue Go above), whenever possible, they should be connected to a Hue Smart Hub, commonly known as a Hue Hub or Bridge. You’ll probably only need one of these, since each can handle up to 50 lights, but extras may be useful if a light is too far for your main Hub to reach.
Since it’s a bridge to your Wi-Fi network, a Hub is mandatory for controlling any Hue light remotely, or linking with platforms like Alexa, HomeKit, and Google Home. It also manages automations, and should be able to trigger some of them regardless of whether you have internet access.
Note that you don’t need to connect a Hue system to any third-party platforms — it’s perfectly controllable using just the Hue app for Android and iOS. If you link it to other platforms, though, you gain access to more complex automations, not to mention voice controls through smart speakers and displays.
Prerequisites
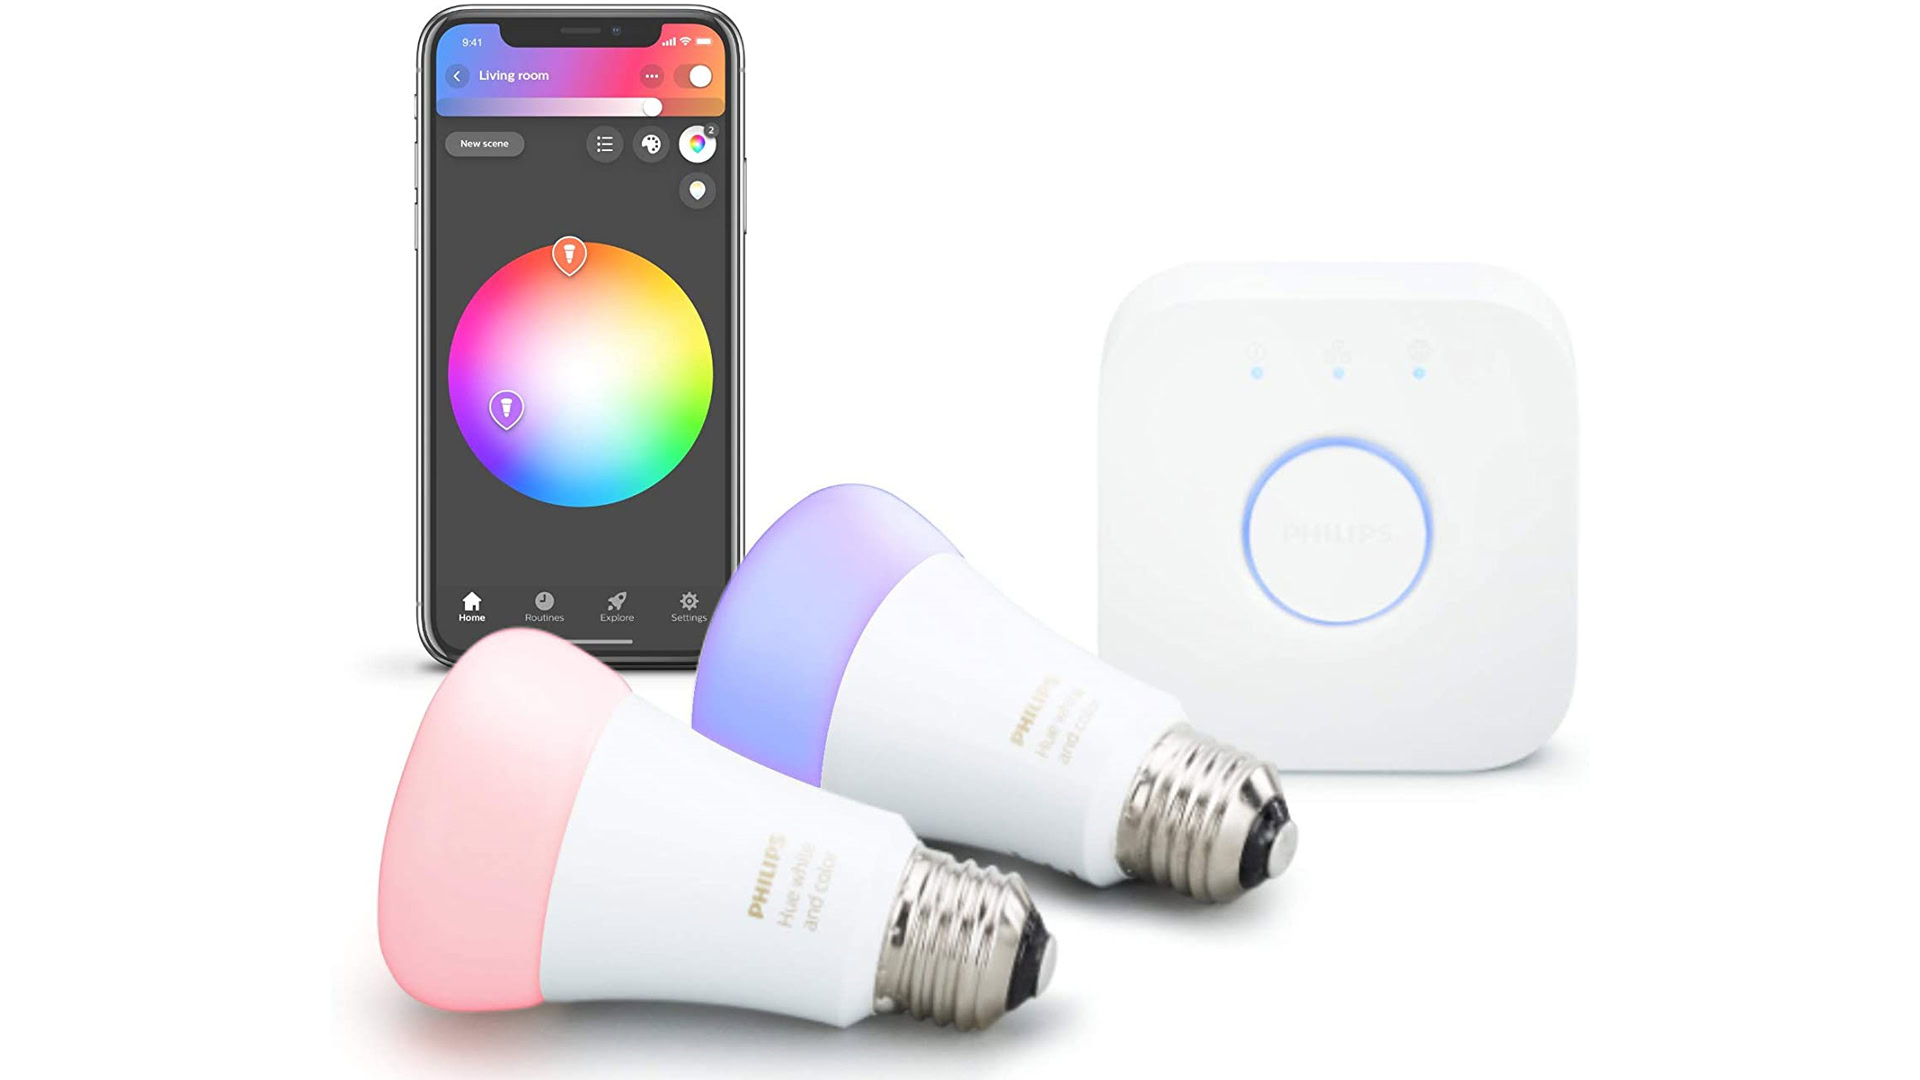
You need three main things to get a Philips Hue system up and running.
- At least one light, naturally. This can be anything with Hue branding.
- A Hue Smart Hub. This is the magical box that connects everything. You usually get one in any Starter Kit, but you can also buy one separately on Amazon.
- The official Philips Hue app for Android or iOS.
If you want to use third-party platforms like Alexa or Google Home, you’ll need appropriate accounts and apps. After the initial Hue app setup, you’ll want to ensure your Hue account is linked to whichever platforms you prefer. Alexa, for example, requires you to enable a Hue skill, while Google Home asks you to add Hue as a new “Works with Google” device.
Initial Philips Hue Hub setup
The first thing to do with any Hue system is getting a Hub up and working. Luckily, the setup process is pretty easy.
- Plug your Hue Hub’s power cable into a wall outlet, and its bundled Ethernet cable into your Wi-Fi router (not your modem, unless the two things are the same).
- Wait for all three Hub lights to turn on, then open the Hue app on your phone or tablet. After a few moments, the app should notify you of a new device found, so long as both the Hub and your mobile device are on the same network.
- Follow onscreen prompts, then press the large top-side button on your Hub when asked.
After this, you shouldn’t need to touch or mess with your Hub beyond setting up lights. If you find yourself having trouble during setup, unplug everything and start over again.
Adding lights
Setting up lights is more complicated than a Hub, but that’s a relative term — it’s not difficult. Just follow the steps below.
- Plug a light into a socket if it’s a bulb, or into an outlet if it’s a lamp, lightstrip, or other product. Make sure any associated power switches are turned on.
- Open the Philips Hue app. Select the triple-dot menu up top, then Add lights.
- Tap Search to automatically discover lights. Select Use serial number only if you’ve previously had trouble with a light.
- Once a light is found, tap Start configuration, then assign it a name and lighting type. Make each name short yet unique and descriptive.
- Tap and drag a light to assign it to an existing room grouping. If need be, you can create new rooms.
- Repeat steps 1 through 5 as necessary to add all your lights.
It’s important to add lights to rooms not just for organizational purposes, but because the Hue app’s Home tab defaults to controlling lights that way. It also greatly simplifies things like scenes and automations. To control individual lights, tap on a room’s name in the Home tab to see granular controls.
Creating a scene
Scenes in the Philips Hue app trigger different colors and brightness levels, usually across multiple lights simultaneously. While Philips offers several premade scenes, creating your own is a piece of cake.
- Select a room from the Hue app’s Home tab.
- Above My Scenes, tap the plus icon.
- Tap Use photo to automatically generate a scene based on an image’s color palette, or else tap Create custom scene. We’ll continue with the second option, since many steps are similar regardless.
- Name your scene. While you can get creative, it needs to be something you can remember, and potentially something you can pronounce for a voice assistant.
- Toggle off any lights you don’t want to use, and set an overall brightness for the scene.
- Tap on each light to set its individual color and brightness, and any special effects.
- Hit Save to sync the scene with your Hue system.
With that done, your new scene should automatically appear in the My Scenes gallery for the room you created it in. Just tap on it to trigger it at will.
Creating automations
Automations are one of the primary reasons to buy smart lights, whether you want to sleep better, keep your home more secure, or stop flipping switches. To get started with them in the Hue app, select the Automations tab, then tap the plus icon in the upper-right.
There are five preset automation types:
- Wake up with light gradually brightens rooms and can optionally shut lights off again after a set duration. Unless you’re a light sleeper, you should probably use this in tandem with an audio alarm.
- Go to sleep is the reverse, except that you can specify whether lights shut off, switch to a nightlight mode, or simply dim.
- Leaving home will shut off one or more groups of lights when tracked devices leave your home geofence. Be careful with this one, since you can accidentally leave partners or family in the dark.
- Mimic presence controls lights in a way meant to deter potential intruders. It’s most useful for vacations and night shifts.
- Timer triggers a scene after a selected interval. These are only semi-automatic, since you have to start them manually.
If none of these fit the bill, there’s also a Custom option. You pick start and end times, days of the week, a scene, and which lighting groups to use. Some people might not need Custom automations, but they’re the only way of syncing lights with sunrise or sunset (including offsets), which can be particularly handy for outdoor lighting.
That’s all you need to know about Philips Hue regarding the basics. If you’d like to learn more about integrating Hue into third-party automations, check out our guides for Alexa routines, Google Assistant routines, and HomeKit automations.
See also: The best smart home devices you can buy
