Affiliate links on Android Authority may earn us a commission. Learn more.
Raspberry Pi Zero W review
March 27, 2017
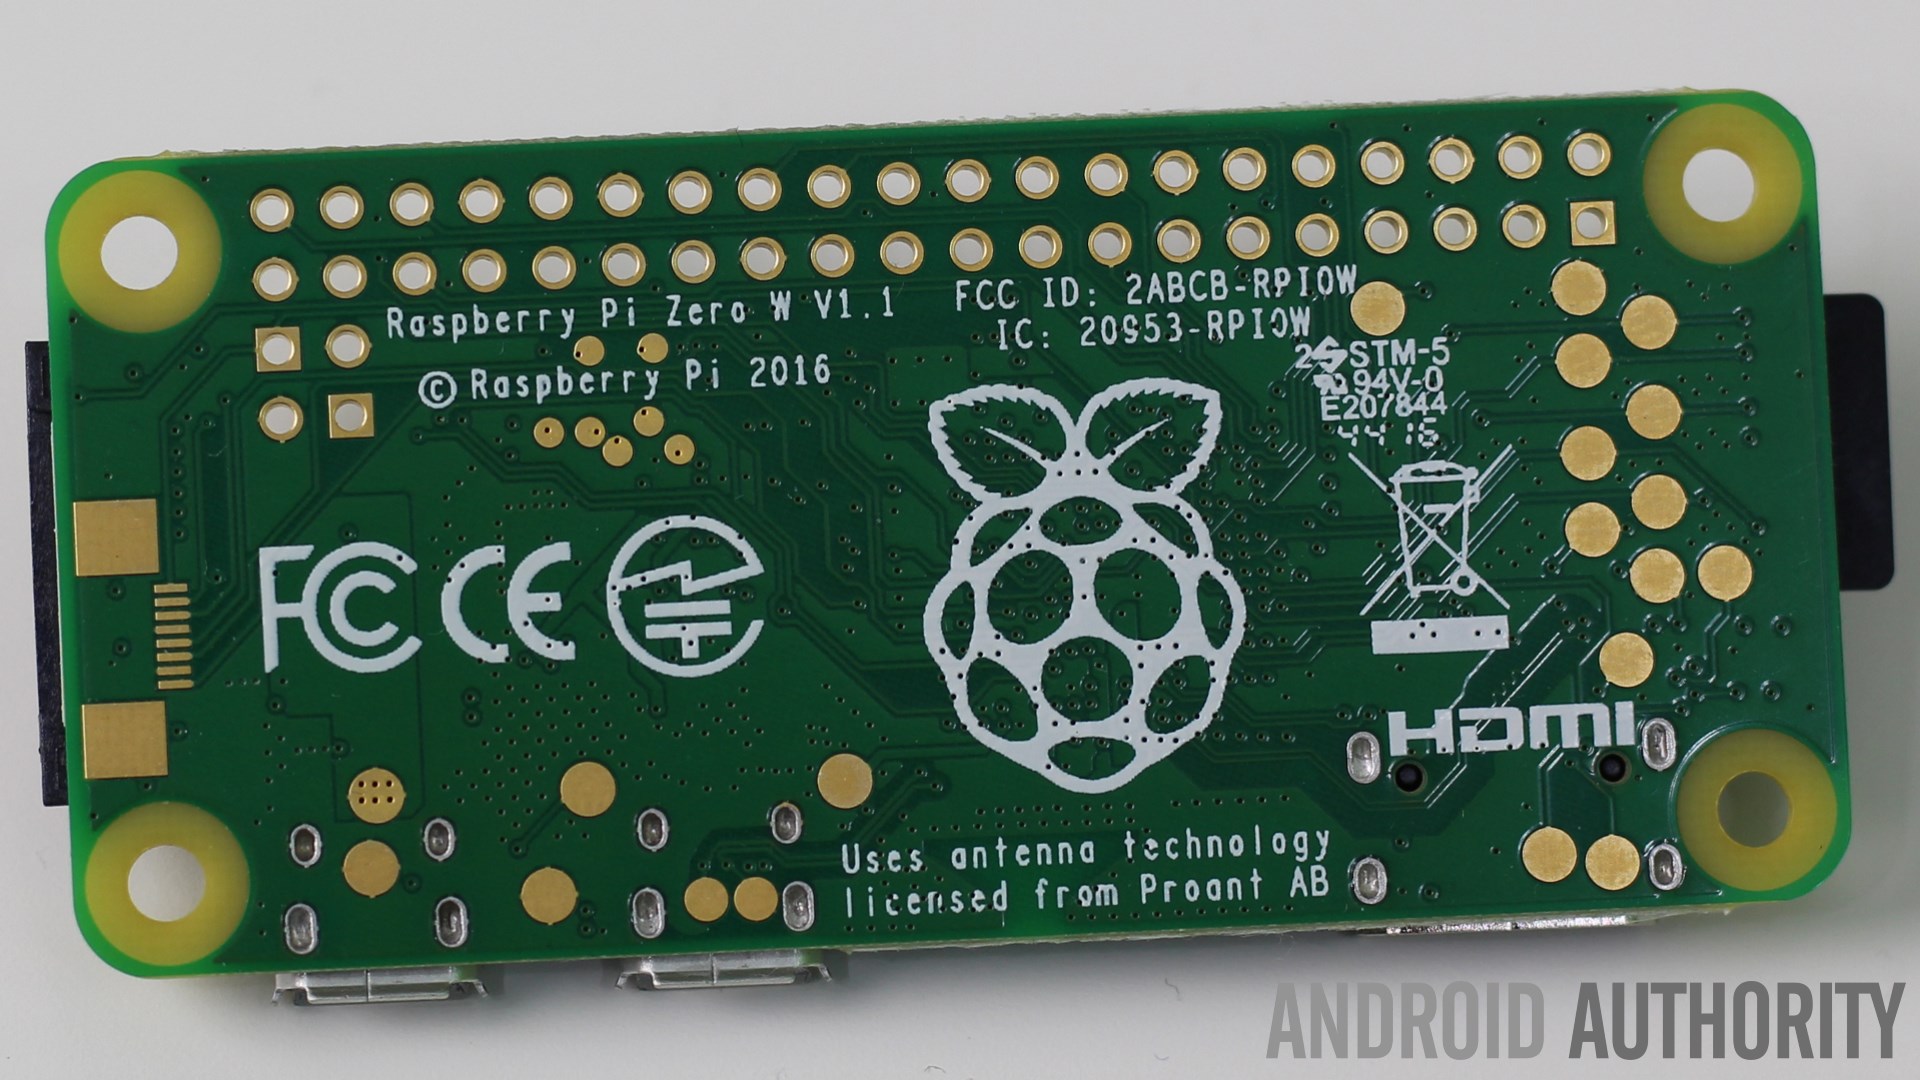
The Raspberry Pi Foundation recently launched the Raspberry Pi Zero W, an improved version of the original Raspberry Pi Zero that adds built-in Wi-Fi and Bluetooth. These have been two features many Raspberry Pi fans have been requesting for a long time, and now, thankfully, they’re finally built into the wonderful Raspberry Pi Zero.
Since the Raspberry Pi Zero W is simply a variant of the Raspberry Pi Zero, this isn’t going to be a full, in-depth review. Instead this review will focus on all the new features the Zero W brings to the table. If you’re looking for detailed performance metrics on this board, I’d suggest heading over to my original Raspberry Pi Zero review. It’s also worth reading my review of the Raspberry Pi 3 as it was the first Raspberry Pi to feature built-in Wi-Fi and Bluetooth.
When I reviewed the Raspberry Pi 3, I wrote, “I can only hope that Wi-Fi and Bluetooth become a standard for all future Raspberry Pi boards. Anyone want a Raspberry Pi Zero+ with Wi-Fi and Bluetooth, even if it costs $15? Yes please!” The Raspberry Pi Foundation not only beat my expectations on price, it seems they also ignored my naming suggestion!
Without any further delay, here is my Raspberry Pi Zero W review.
Specifications
| Device | Raspberry Pi Zero W | Raspberry Pi Zero | Raspberry Pi 3 | Raspberry Pi 1 |
|---|---|---|---|---|
| Device CPU | Raspberry Pi Zero W 1 GHz ARM11 Broadcom CPU | Raspberry Pi Zero 1 GHz ARM11 Broadcom CPU | Raspberry Pi 3 1.2 GHz quad-core ARM Cortex-A53 CPU from Broadcom | Raspberry Pi 1 700 MHz ARM11 Broadcom CPU |
| Device GPU | Raspberry Pi Zero W Videocore IV | Raspberry Pi Zero Videocore IV | Raspberry Pi 3 Videocore IV | Raspberry Pi 1 Videocore IV |
| Device Memory | Raspberry Pi Zero W 512 MB | Raspberry Pi Zero 512 MB | Raspberry Pi 3 1 GB | Raspberry Pi 1 512 MB |
| Device Storage | Raspberry Pi Zero W microSD card slot | Raspberry Pi Zero microSD card slot | Raspberry Pi 3 microSD card slot | Raspberry Pi 1 SD card slot |
| Device Connectivity | Raspberry Pi Zero W 1 x microUSB, mini-HDMI, 802.11n wireless LAN, Bluetooth 4.0 | Raspberry Pi Zero 1 x microUSB, mini-HDMI | Raspberry Pi 3 4 x USB, HDMI, Ethernet, 3.5mm audio jack, Wi-Fi, Bluetooth | Raspberry Pi 1 4 x USB, HDMI, Ethernet, 3.5mm audio jack |
| Device OS | Raspberry Pi Zero W Linux | Raspberry Pi Zero Linux | Raspberry Pi 3 Linux, Windows 10 IoT core, Android Things | Raspberry Pi 1 Linux |
| Device Connectors | Raspberry Pi Zero W Unpopulated 40-pin GPIO header, SPI, I2C, Camera interface (CSI), | Raspberry Pi Zero Unpopulated 40-pin GPIO header, SPI, I2C, Camera interface (CSI), | Raspberry Pi 3 Camera interface (CSI), GPIO, SPI, I2C, JTAG | Raspberry Pi 1 Camera interface (CSI), GPIO, SPI, I2C, JTAG |
| Device Price | Raspberry Pi Zero W $10/£9 | Raspberry Pi Zero $5/£4 | Raspberry Pi 3 $35/£30 | Raspberry Pi 1 $25/£20 |
Design
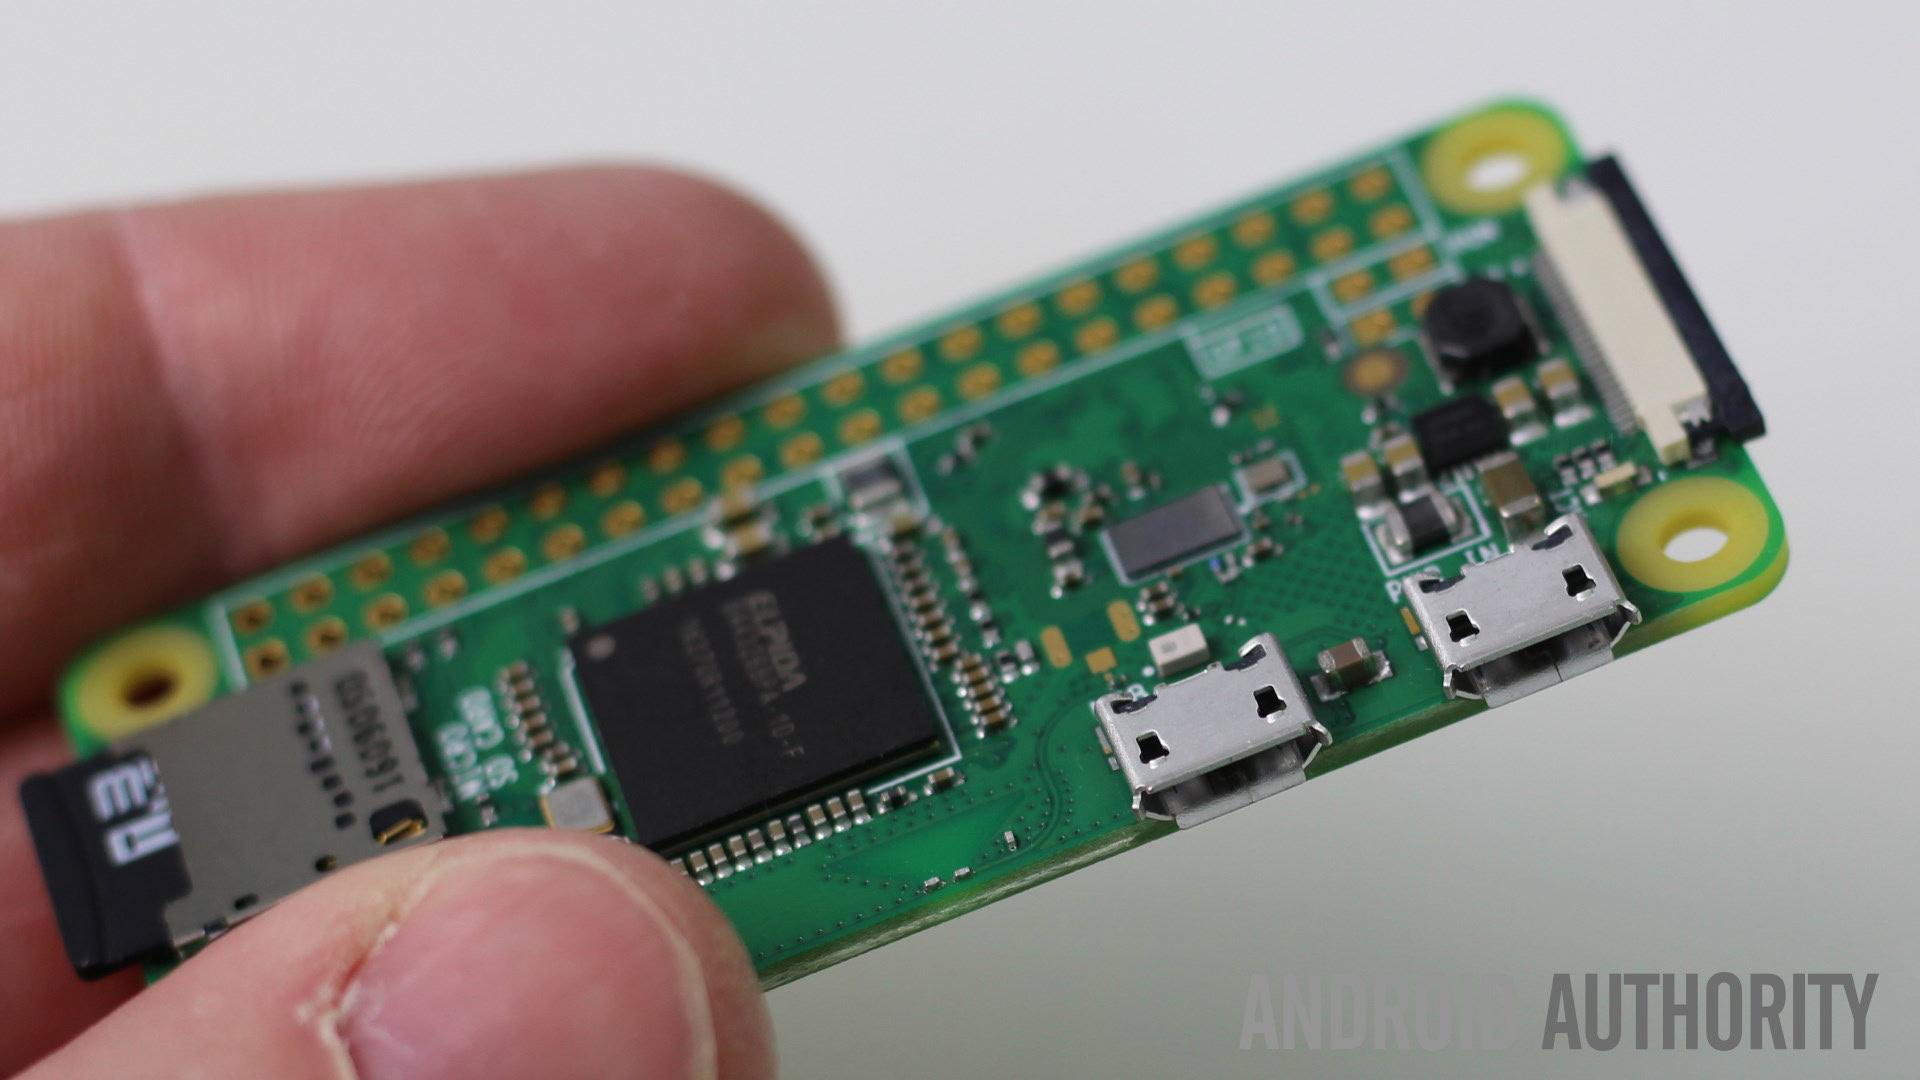
If you were expecting anything other than a small circuit board then you have come to the wrong place. For $9, you don’t get any kind of case or anything resembling a consumer-level product. However, that’s sort of the point of Raspberry Pi products. The Zero W is meant to be bare bones, cheap, and versatile, so hobbyists and professionals alike can make anything they’d like.
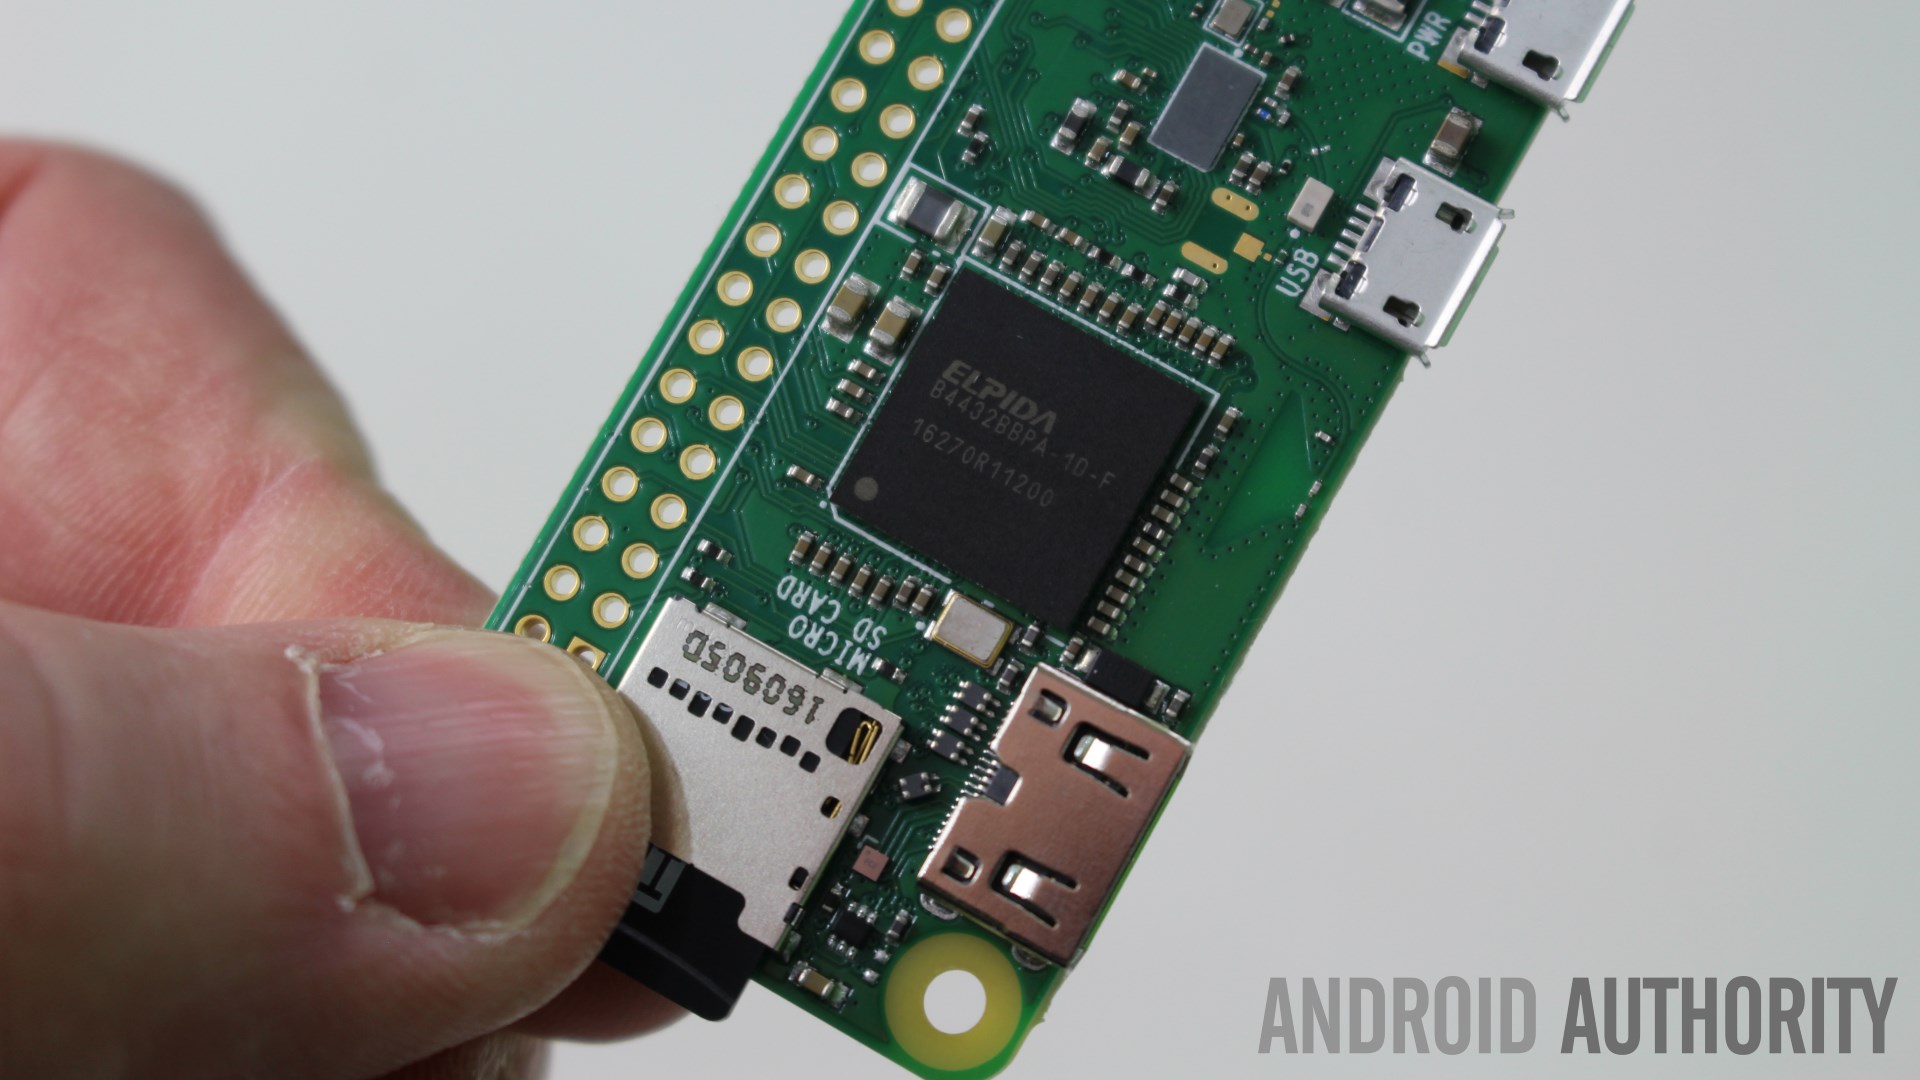
Like the original Pi Zero, the System-on-a-Chip (SoC) is near the middle of the board, while the various ports are found towards the bottom. There is a mini-HDMI port for the display (mini now rather than full sized HDMI) as well as two micro-USB ports – one for power and the other for data (i.e. it is a normal USB port). To use the micro-USB port to connect peripherals like a keyboard or mouse you will need a micro-USB B male to USB A female adapter.
To the left of the board is the microSD slot. There is no built-in flash memory on the Pi Zero (just like the other Pi boards) so you need to get hold of a microSD card for the OS and for data storage. Without a microSD card the Pi Zero W won’t boot.
There is no Ethernet port, just like the first Pi Zero. However, now that the Zero W has built-in Wi-Fi capabilities, you can connect to the board without using a USB Wi-Fi dongle or a USB Ethernet port.
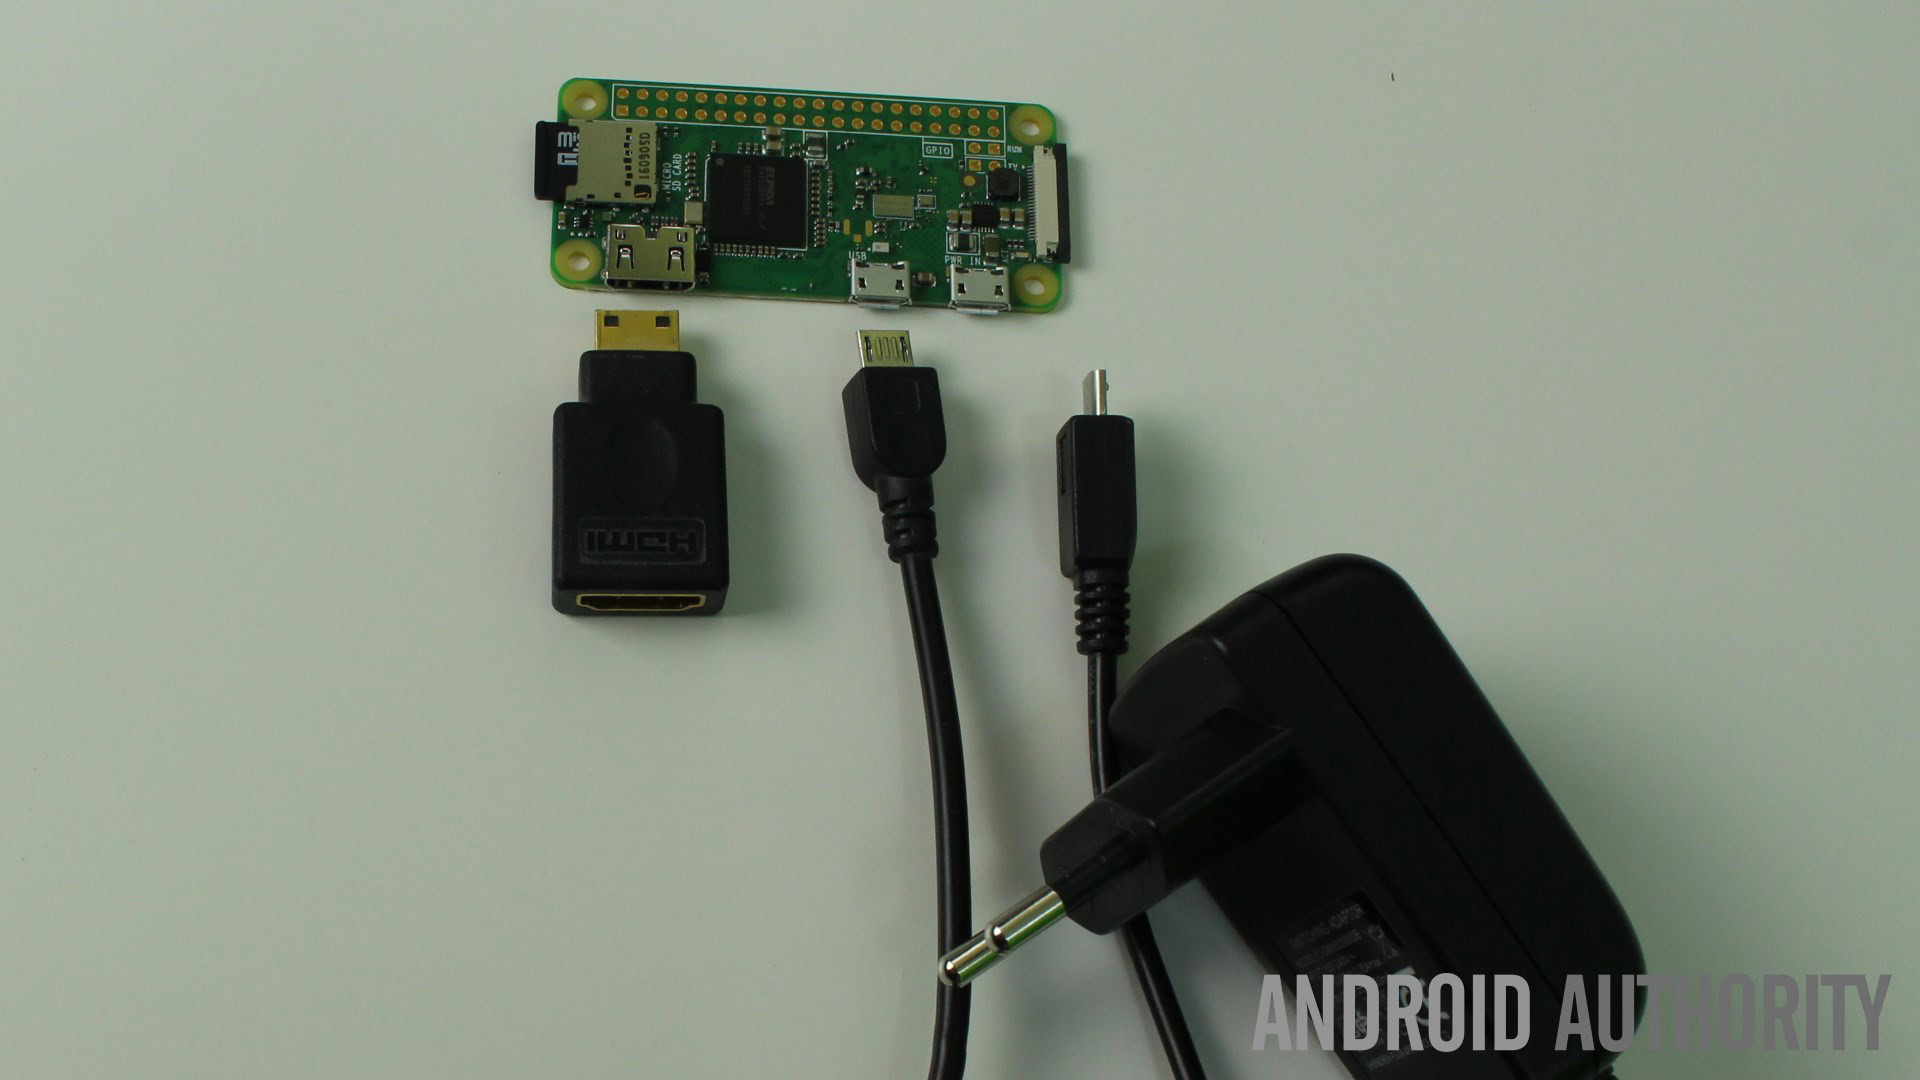
To get the Raspberry Pi Zero W up and running you need a micro-USB power supply (like a phone charger) and a microSD card (at least 4 GB), as a minimum. You will probably also need a mini-HDMI to HDMI adapter, an HDMI cable, a monitor/TV, a small USB hub, a mouse and a keyboard. All of these latter items can be removed once you have the board setup and running “headless.” You can also use a Bluetooth mouse and a Bluetooth keyboard.
Hardware
Just to recap on what you get with the Raspberry Pi Zero W. It is a fully working 32-bit computer with a 1 GHz ARMv6 single core microprocessor (ARM1176) , a VideoCore 4 GPU, and 512 MB of memory. The GPU is capable of driving a full HD display at 60 fps. You also get access to the 40 General Purpose Input and Output (GPIO) ports, however the header is unpopulated, meaning there are no pins.
Because of its size and use of an energy-efficient ARM-based processor, the Raspberry Pi Zero can be powered from an external battery pack, like the ones you use to charge your mobile phone on the go. This is a great solution for “headless” setups for use on robots or other embedded projects.
To earn the “W” moniker, the Zero W uses the Cypress CYW43438 wireless chip as Raspberry Pi 3 Model B meaning it has 802.11n wireless LAN and Bluetooth 4.0 connectivity.
Software
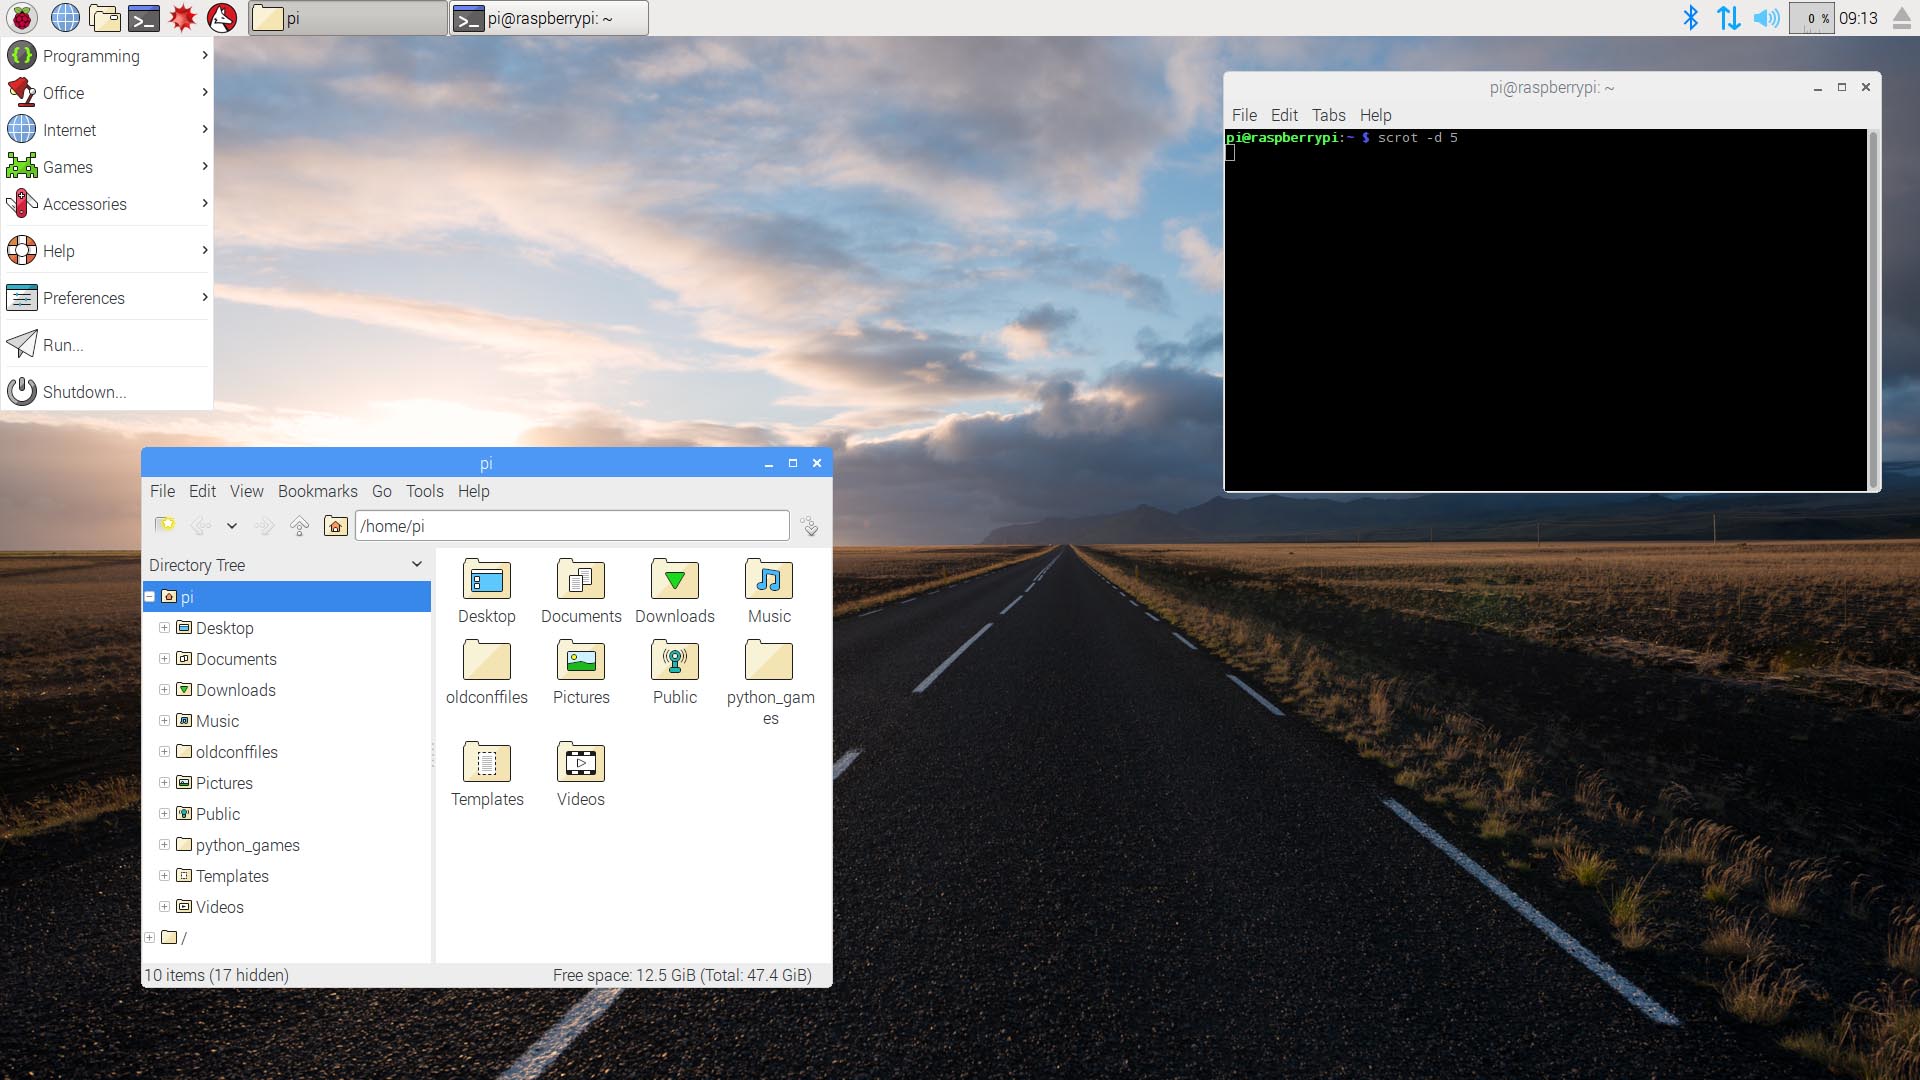
The operating system of choice for all Raspberry Pi boards is Linux, specifically the Debian based Raspbian. Installing Raspbian is a breeze. You need to download the New Out Of the Box Software (NOOBS) zip archive and extract it onto a blank microSD card. Boot the Pi Zero W from the card and follow the on screen instructions. Once complete the Zero will reboot into the Raspbian desktop environment.
When the desktop appears you will probably want to configure the networking. Click on the network icon (near the clock at the top-right of the screen) and you will see a list of all available wireless networks. Select the one you want and enter the password. If you right-click the network icon and choose the Wireless & Wired Network Settings option from the pop-up menu, you can manually enter a static IP address.
If you are using your Pi Zero for an embedded project then you might not want the desktop to start by default. You can configure this using the “Raspberry Pi Configuration” program. Click Menu (top-left of the screen), then Preferences, then Raspberry Pi Configuration.
In the middle of the System tab you will see the option to boot to Desktop or to CLI. If you do opt to keep the desktop then you should consider enabling VNC (on the Interfaces tab) so that you can access the desktop remotely.
While you are in Raspberry Pi Configuration, you can also set the hostname of your Pi Zero W and also configure the auto login options. Under the Interfaces tab you should also enable SSH login which will allow you to connect to your Pi Zero W over SSH.
With the Wi-Fi network configured and SSH enabled, you are now ready to disconnect the keyboard, mouse and monitor, and reboot to access your Zero W remotely.
Final thoughts
Having built-in Wi-Fi and Bluetooth makes the Raspberry Pi Zero W versatile and flexible, and at $10 you can’t fault the price. The possible uses and projects for the Zero W are endless and it lends itself well to Internet-of-Things projects. Sensor data gathering (via the GPIO ports), plus a 1 GHz 32-bit processor, plus wireless connectivity equals a winning formula.
As with the original Raspberry Pi Zero, the desktop performance of the Zero W is poor, plus there are the hidden costs in terms of adapters. If you want more performance and a full set of ports, including wired Ethernet, then you should opt for the Raspberry Pi 3. However for any IoT project that requires a cheap processor board with built-in wireless connectivity, I suggest you buy a bucket load of Pi Zero W boards.
Thank you for being part of our community. Read our Comment Policy before posting.