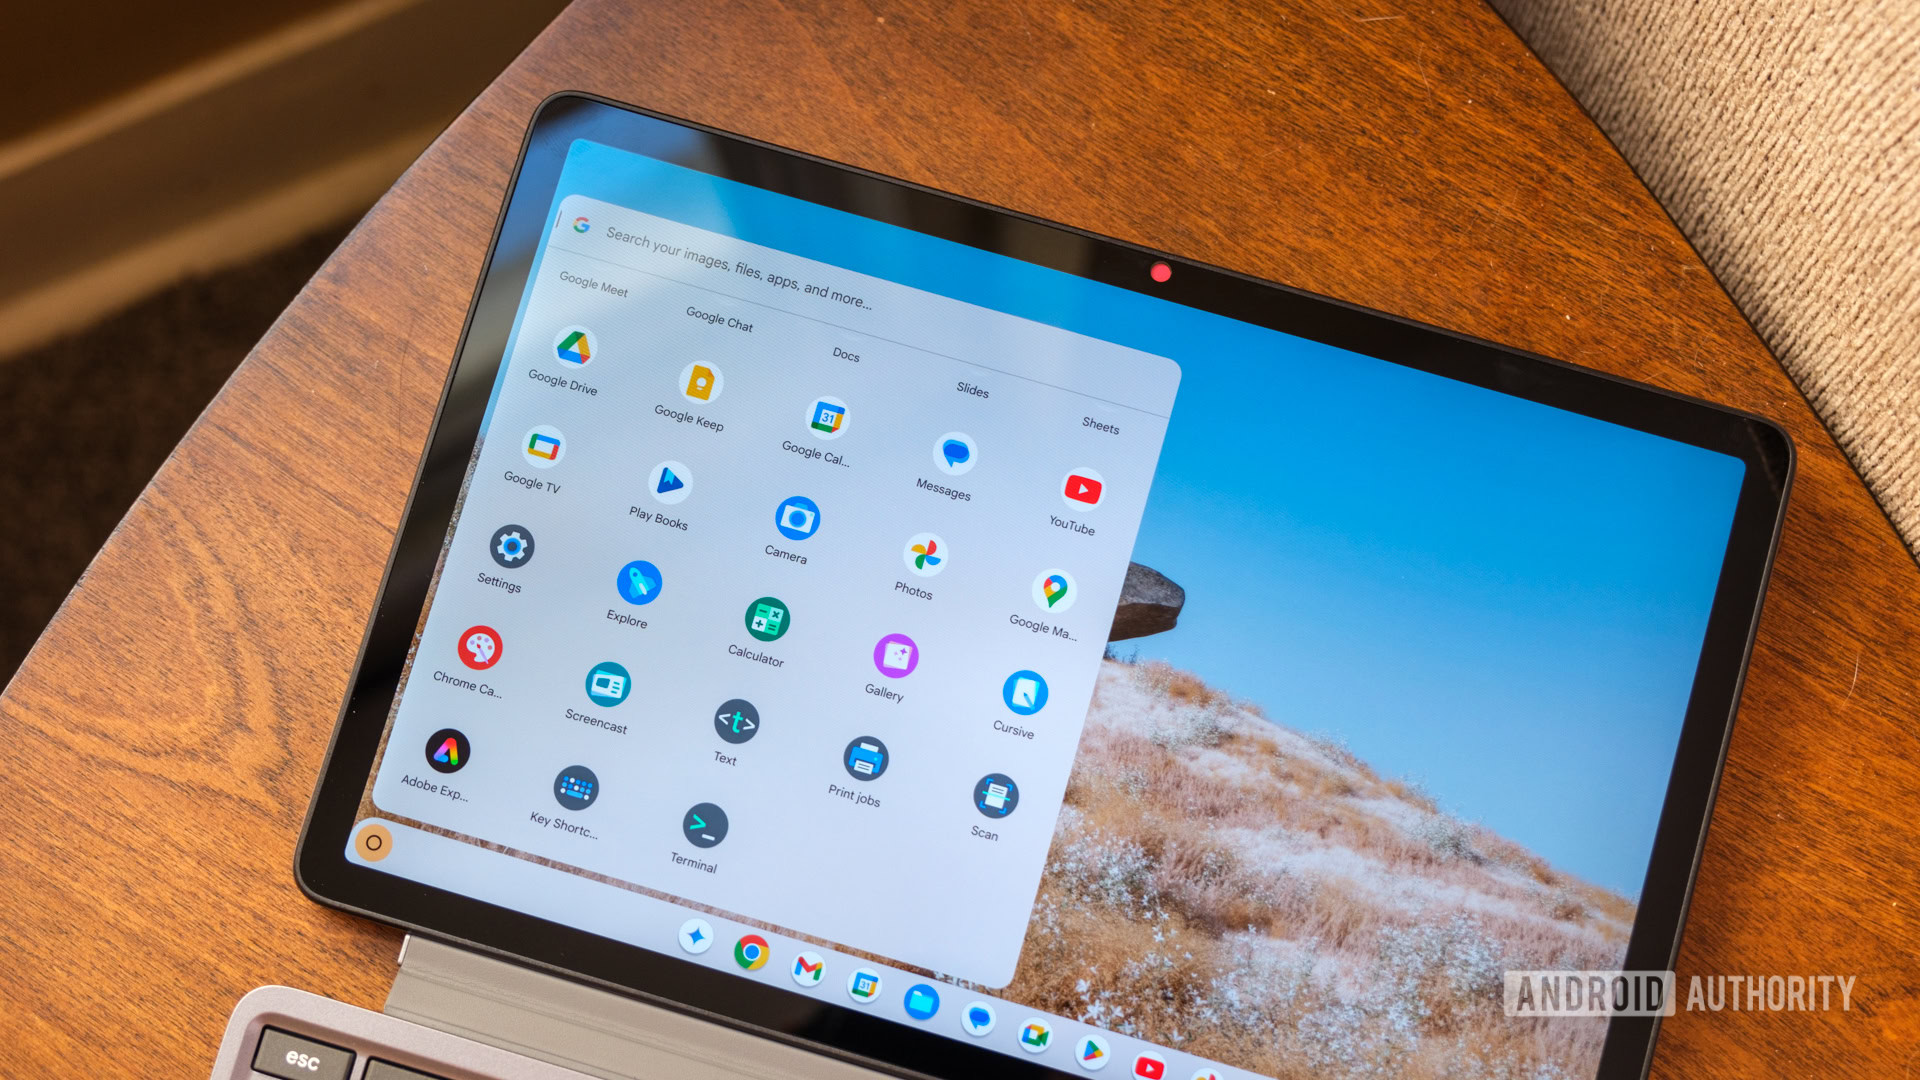
Chromebooks
Chromebooks and ChromeOS guides and product recommendations. For people who are not afraid of trying something different.
Reviews
Guides
How-to's
Features
All the latest
Chromebooks news
How to change the wallpaper on your Chromebook: A step by step guide
Mitja RutnikApril 24, 2025
0
How to play Fortnite on a Chromebook
Palash VolvoikarApril 14, 2025
0

How to connect a Chromebook to a TV
Palash VolvoikarApril 8, 2025
0
Chrome OS dark mode: Here's how to enable it
Mark O'NeillApril 7, 2025
0
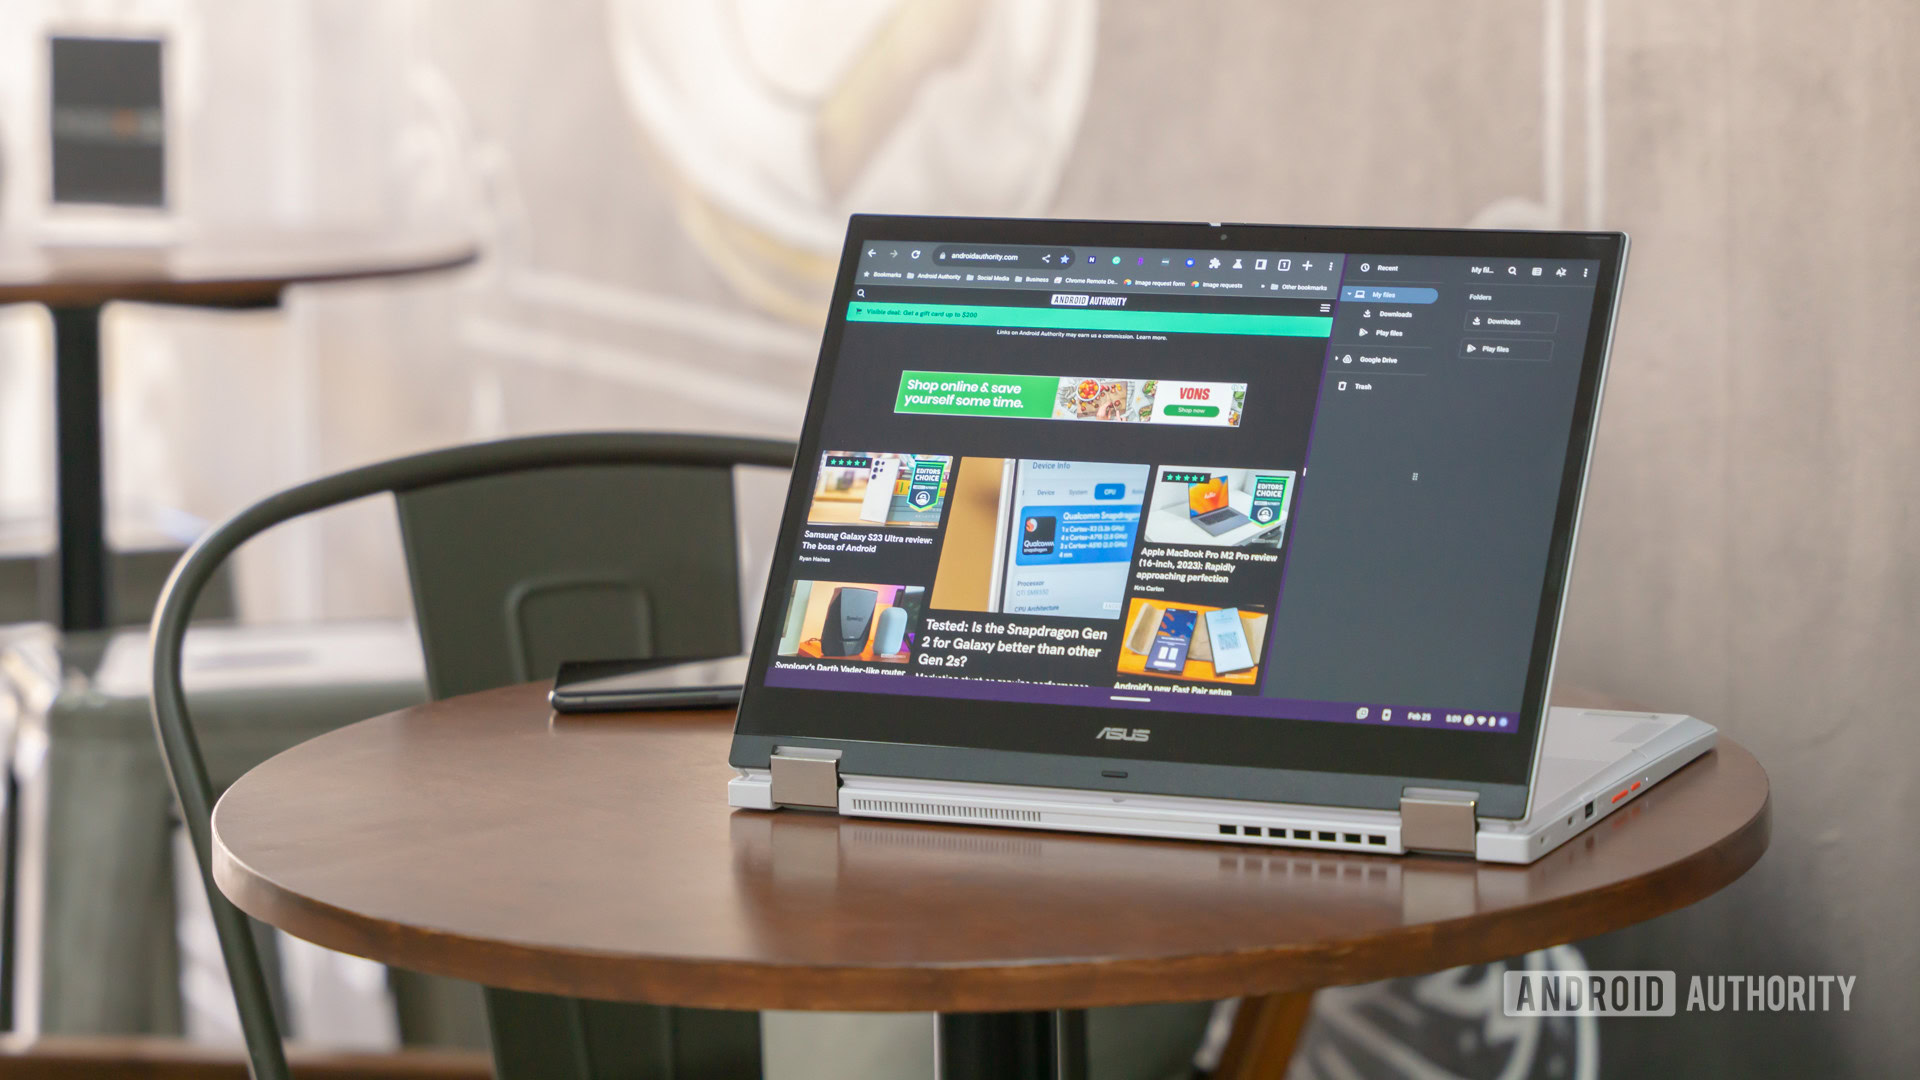
How to turn on, sign out, or turn off your Chromebook
Edgar CervantesApril 3, 2025
0

The best emulators for gaming on a Chromebook
Edgar CervantesApril 1, 2025
0
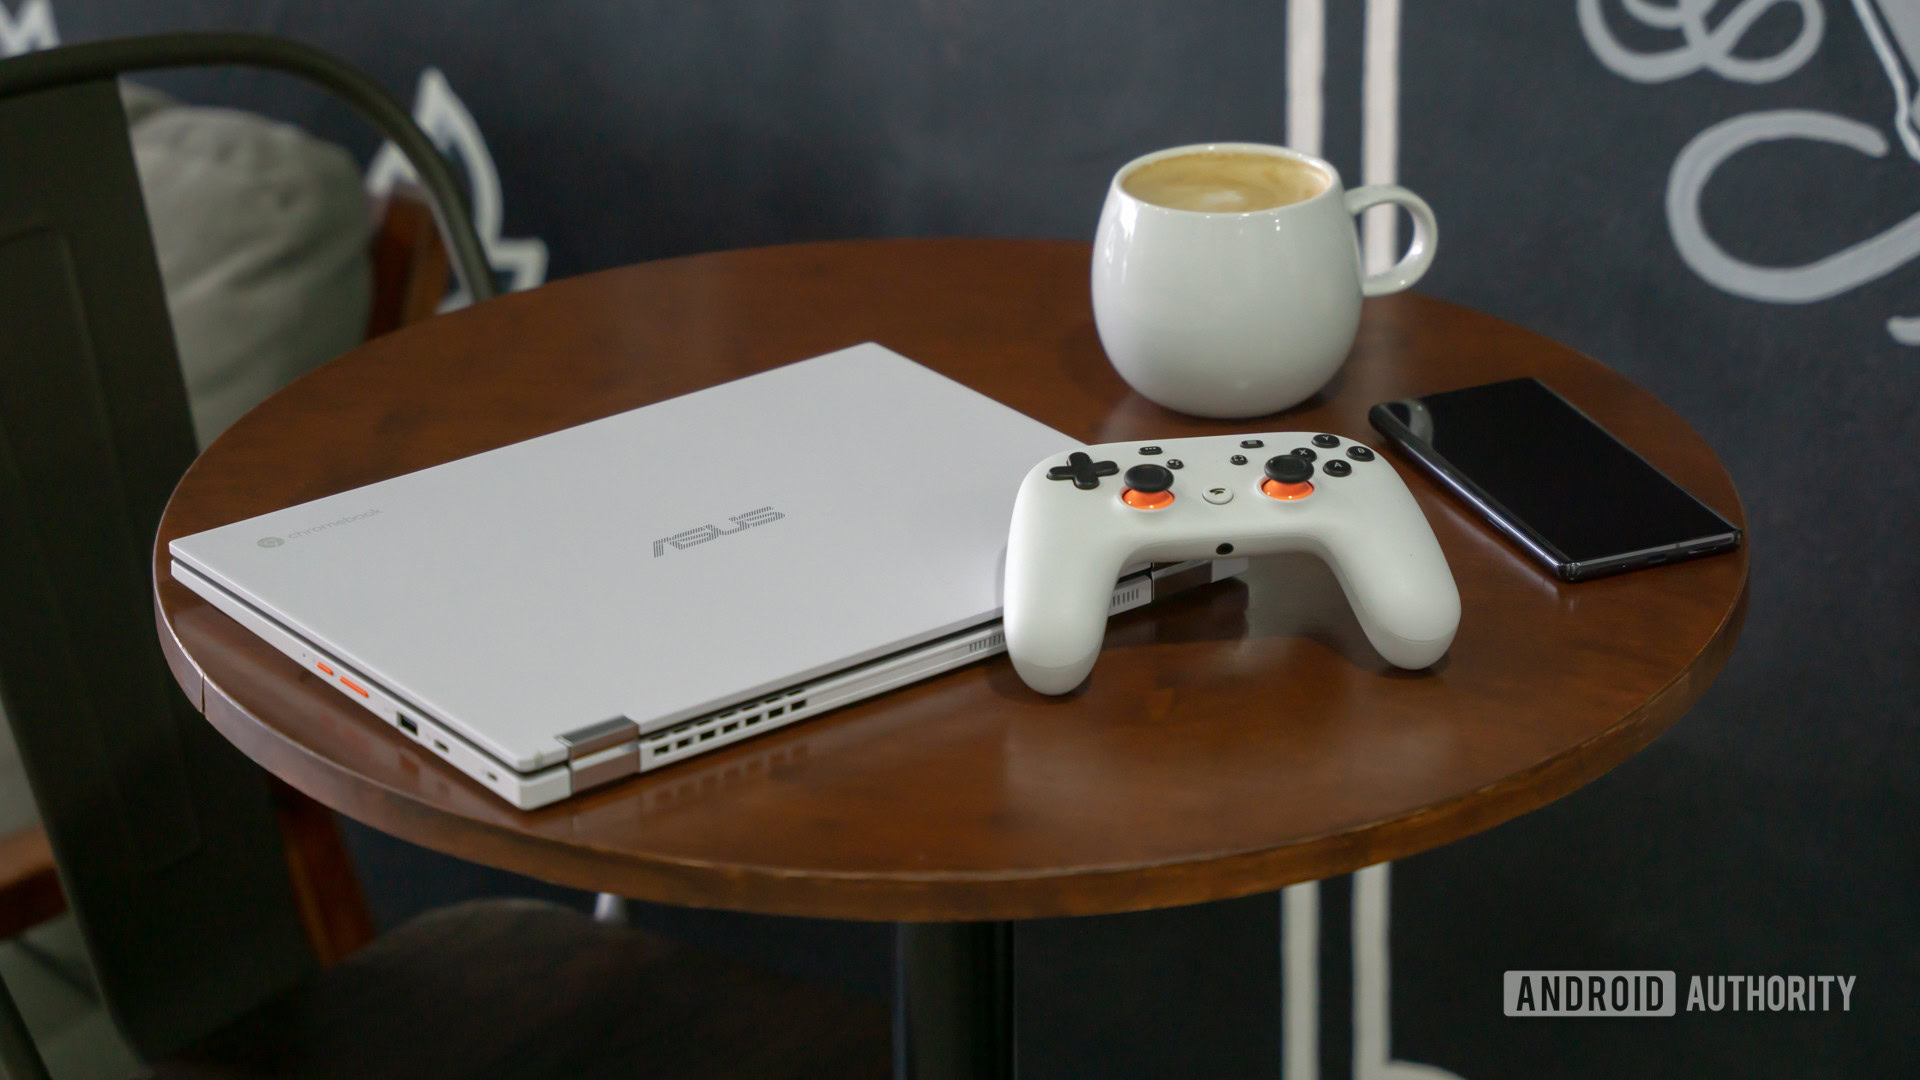
How to change your cursor on a Chromebook
Palash VolvoikarMarch 25, 2025
0
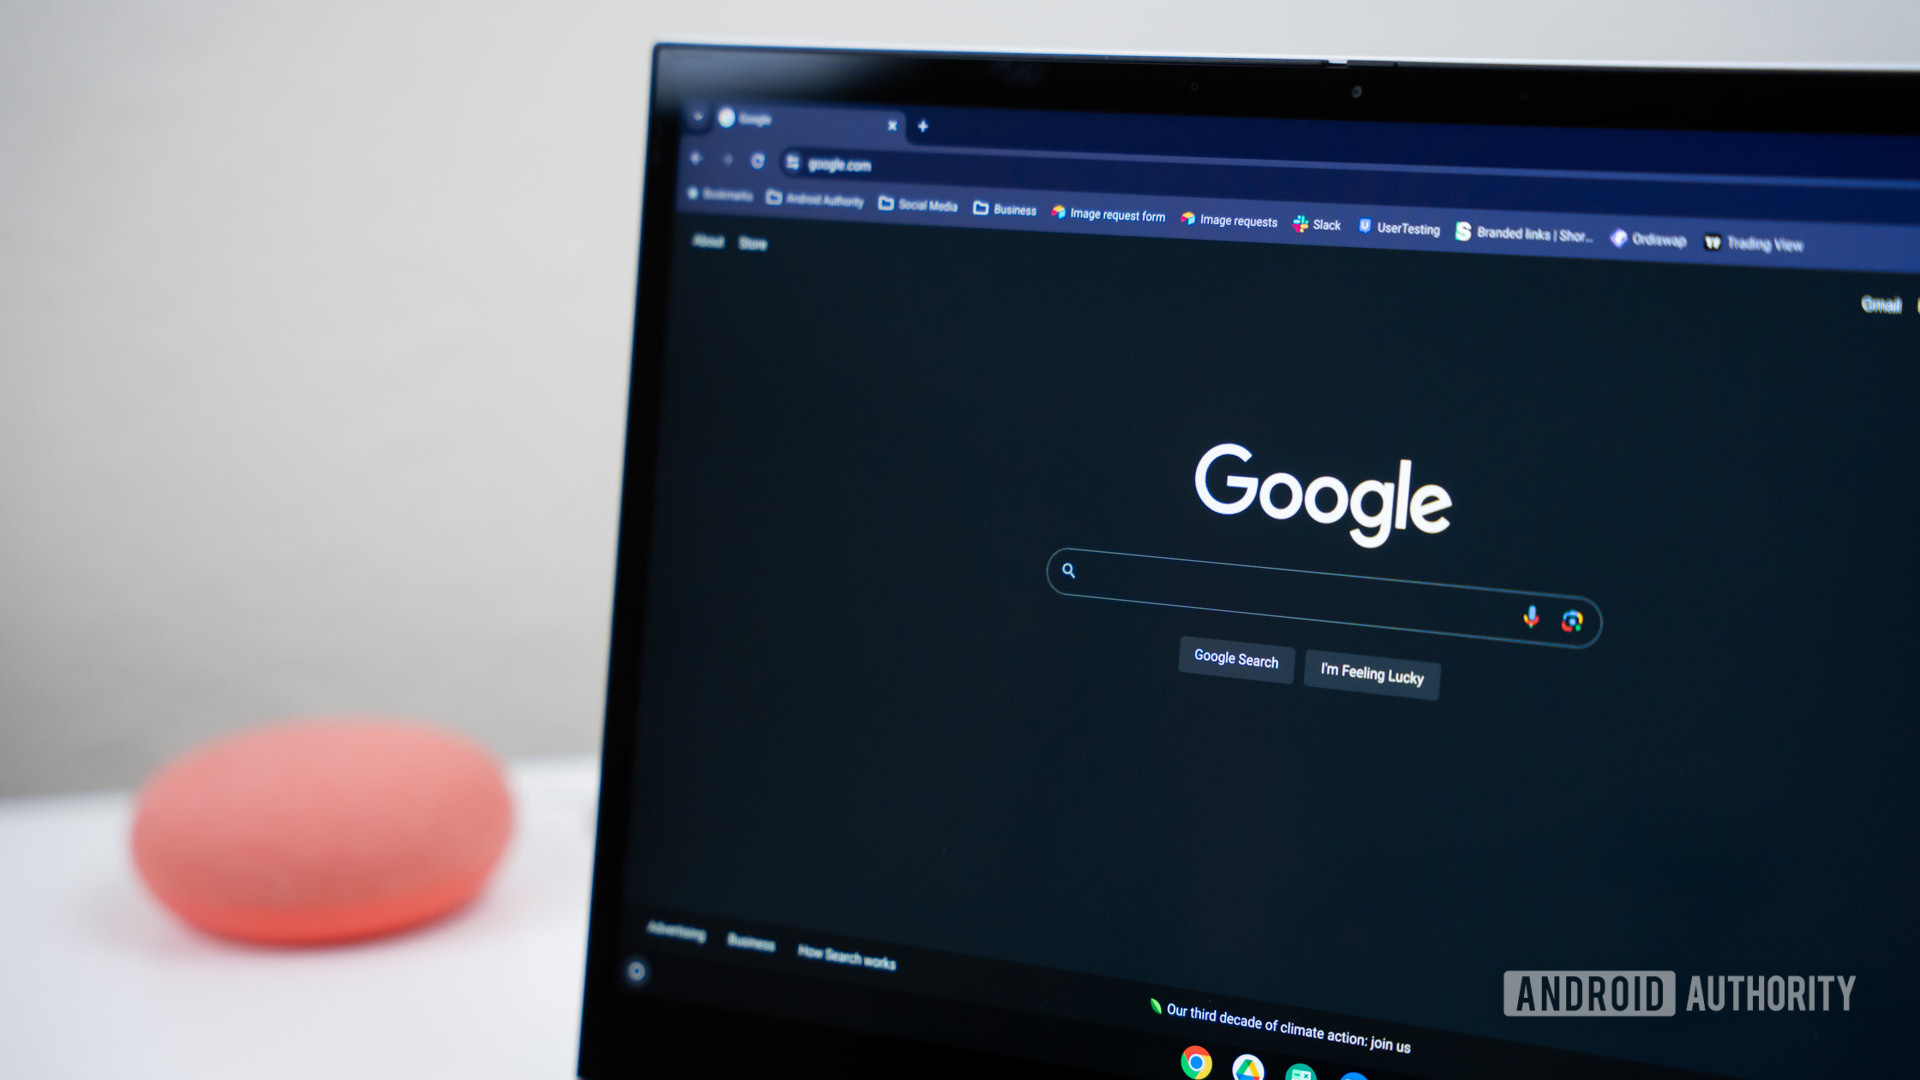
How to take a screenshot on the Chrome browser
Curtis JoeMarch 19, 2025
0

What is a Chromebook and how does it compare to a laptop?
Palash VolvoikarMarch 7, 2025
0
How to turn on Chrome OS Developer Mode on your Chromebook
Palash VolvoikarFebruary 27, 2025
0

The new Acer Chromebook Plus 516 comes with a free year of Google One AI Premium
Edgar CervantesApril 23, 2025
0
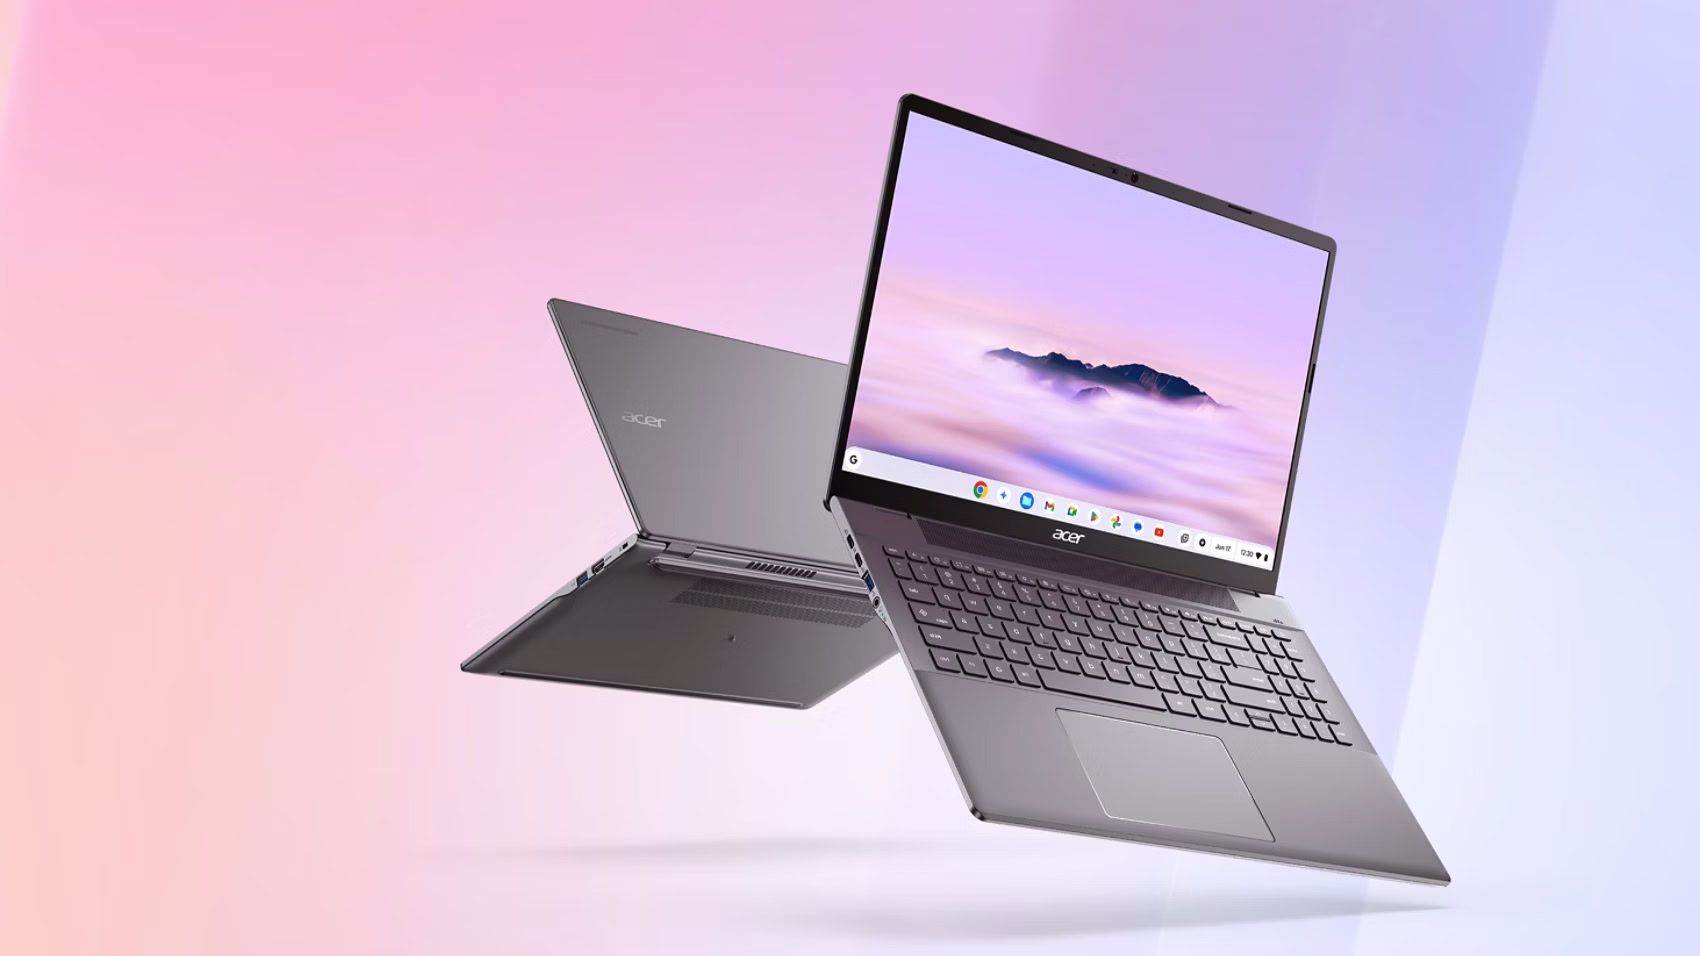
This overkill chip opens the door to enhanced Gemini on Chromebooks
Hadlee SimonsApril 2, 2025
0

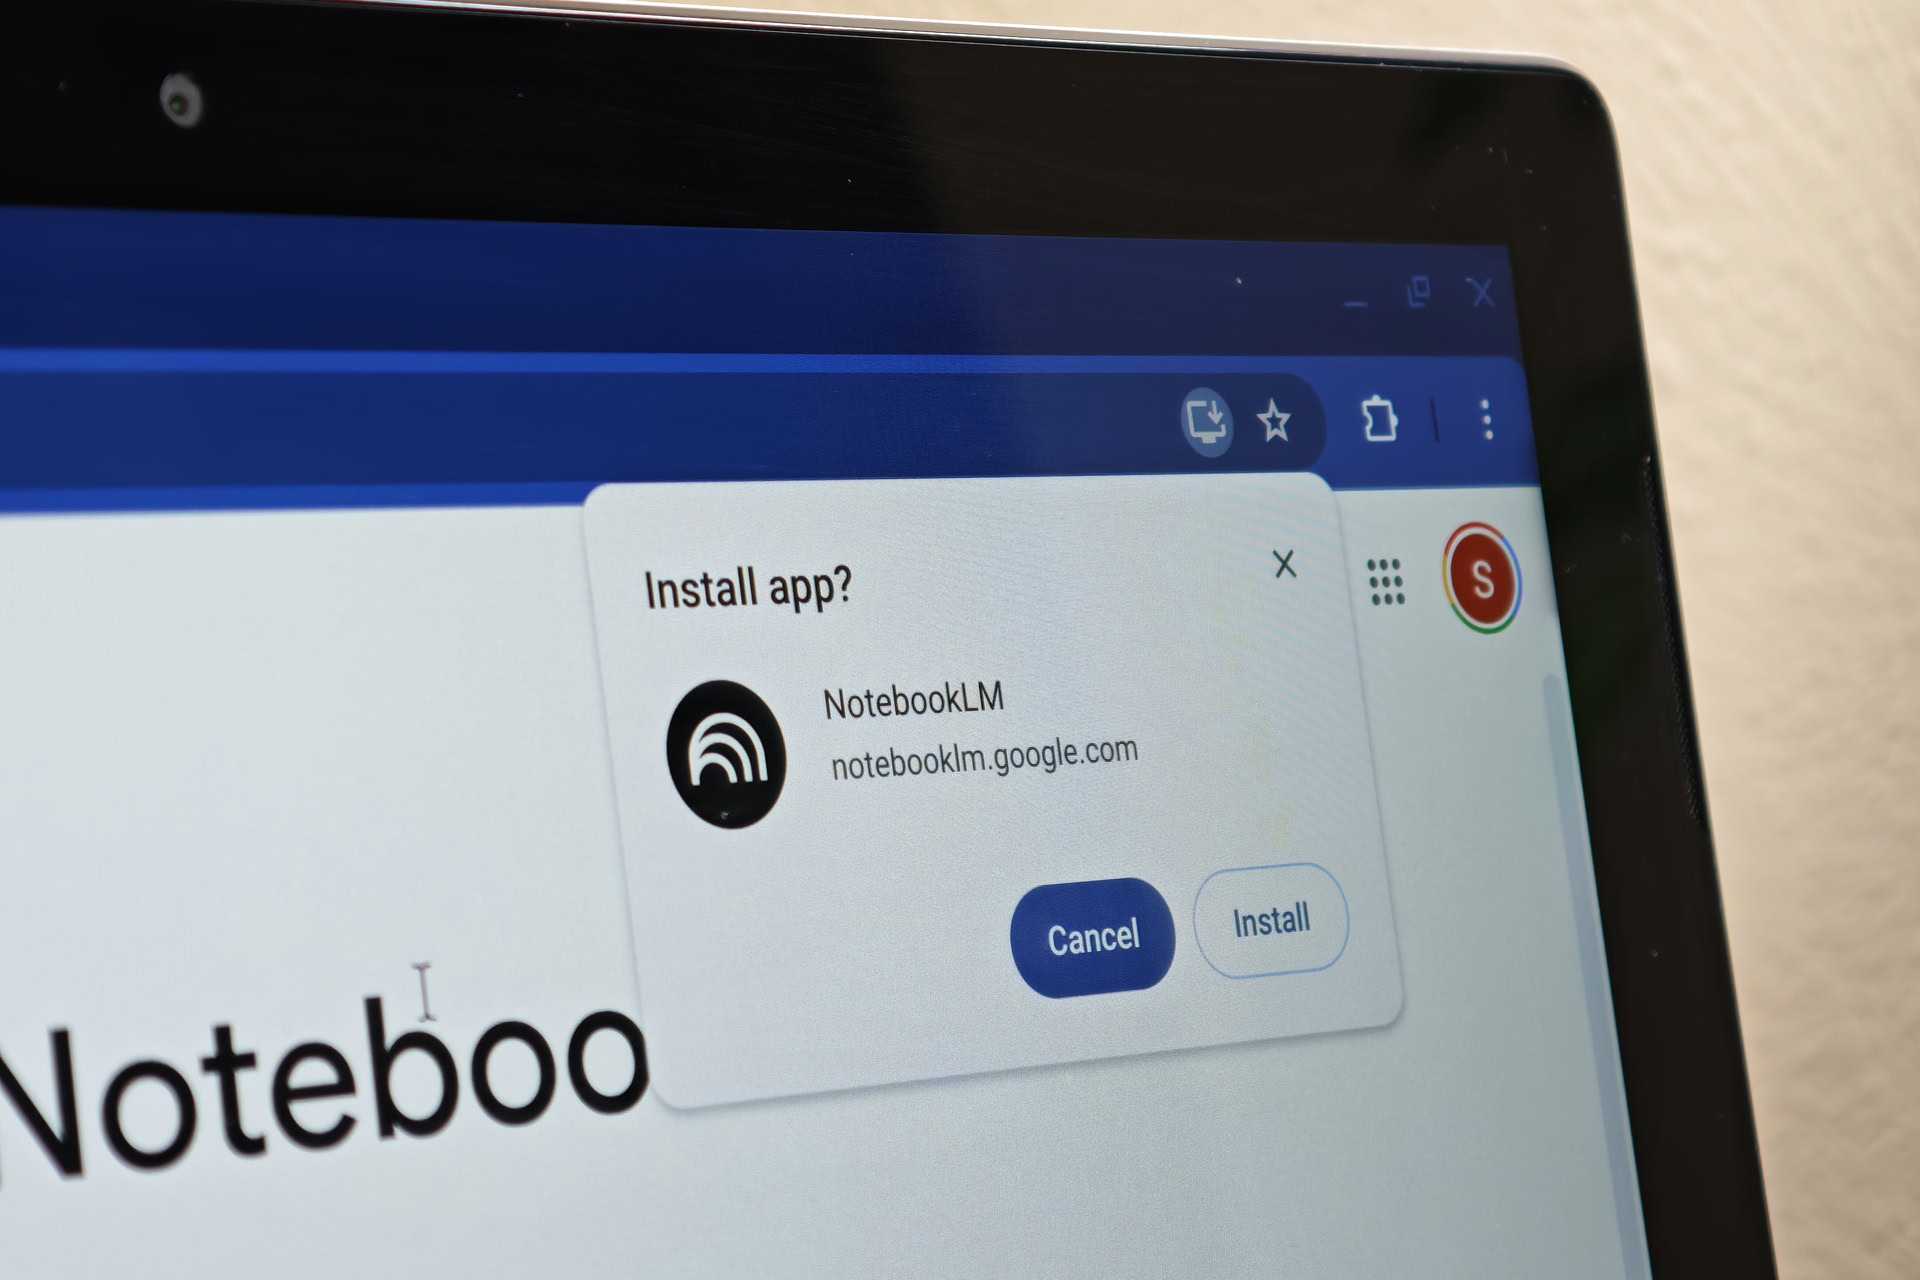
Chromebooks will soon have Google's powerful NotebookLM installed by default
Mishaal RahmanMarch 20, 2025
0
Chromebooks are about to borrow this smart Pixel feature
Rushil AgrawalMarch 7, 2025
0
Only today: Save $250 on the Acer Chromebook Plus 516 GE gaming laptop
Edgar CervantesJanuary 30, 2025
0
Deal: Save a record $200 on this excellent Acer gaming Chromebook
Matt HorneJanuary 24, 2025
0

Your Chromebook now lets you control it without lifting a finger
Rushil AgrawalJanuary 17, 2025
0
Save $200 on an Apple MacBook Air M2 or M3
Edgar CervantesJanuary 3, 2025
0
Chromebooks are getting a safety reset feature that doesn't wipe your data
Matt HorneDecember 16, 2024
0
Turns out most of you are pretty OK with Google merging Chrome OS with Android
C. Scott BrownNovember 22, 2024
0
