Affiliate links on Android Authority may earn us a commission. Learn more.
How to remove and replace side plates on a PS5
Published onApril 26, 2023
Whether you want to expand your internal storage space with an M.2 SSD card or give your PS5 a makeover with some colorful new plates, you’ll need to know how to remove the side covers. Here’s how to slide them off and pop them back on quickly.
QUICK ANSWER
To remove the PS5 cover plates, turn your console off and disconnect all cables. Lay the PS5 on a flat surface, hold the bottom left and top right corner of the plate with your fingers, and slightly pull up and slide to the right. To replace a plate, align the pointy ends inside the cover with the holes on the console and slide to the left until you hear a click.
How to remove and replace side plates on a PS5
When the PS5 first launched, many third-party manufacturers made custom plates to replace the only available white options. Sony was not too happy with them and quickly released a line of colorful options for players. We recommend going with Sony’s official plates because they are guaranteed to be compatible, but if you want custom covers, make sure they will fit the PS5 before buying.
See the video below for a demonstration of removing and replacing the PS5 side plates.
How to remove and replace the top PS5 console cover
You can identify the top PS5 console cover by the big PlayStation Logo in the corner.
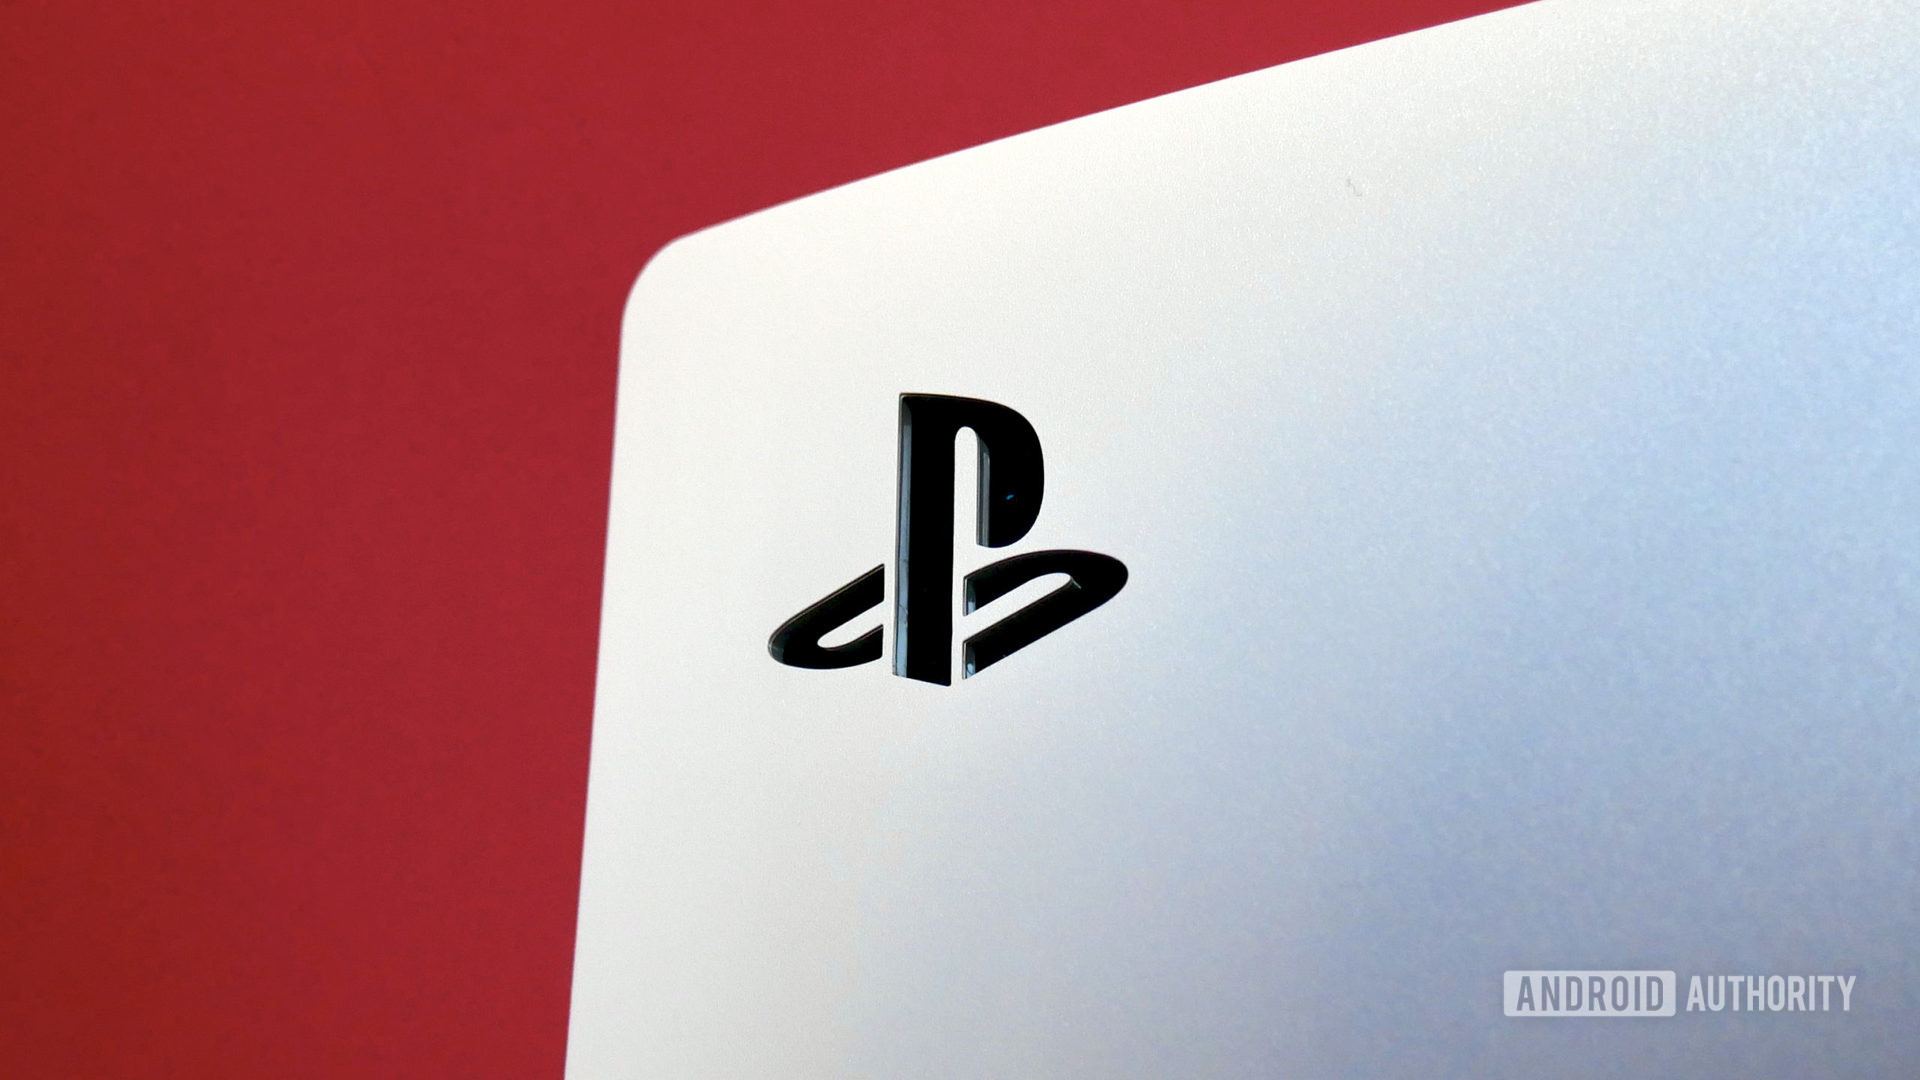
To start, turn off your PS5 console and unplug all cables and devices. Remove the base and wait a minute or two for your PS5 console to cool down.
Clear off a flat surface, such as a workbench or table, and place your PS5 on its side so that the PS logo faces up and the power button faces away from you. In other words, you should be facing the backside of the console.
Grip the bottom left corner of the cover with your left hand and the top right corner with your right hand, and remove the PS5 plate by slightly pulling up and to your right. The cover will lift away.
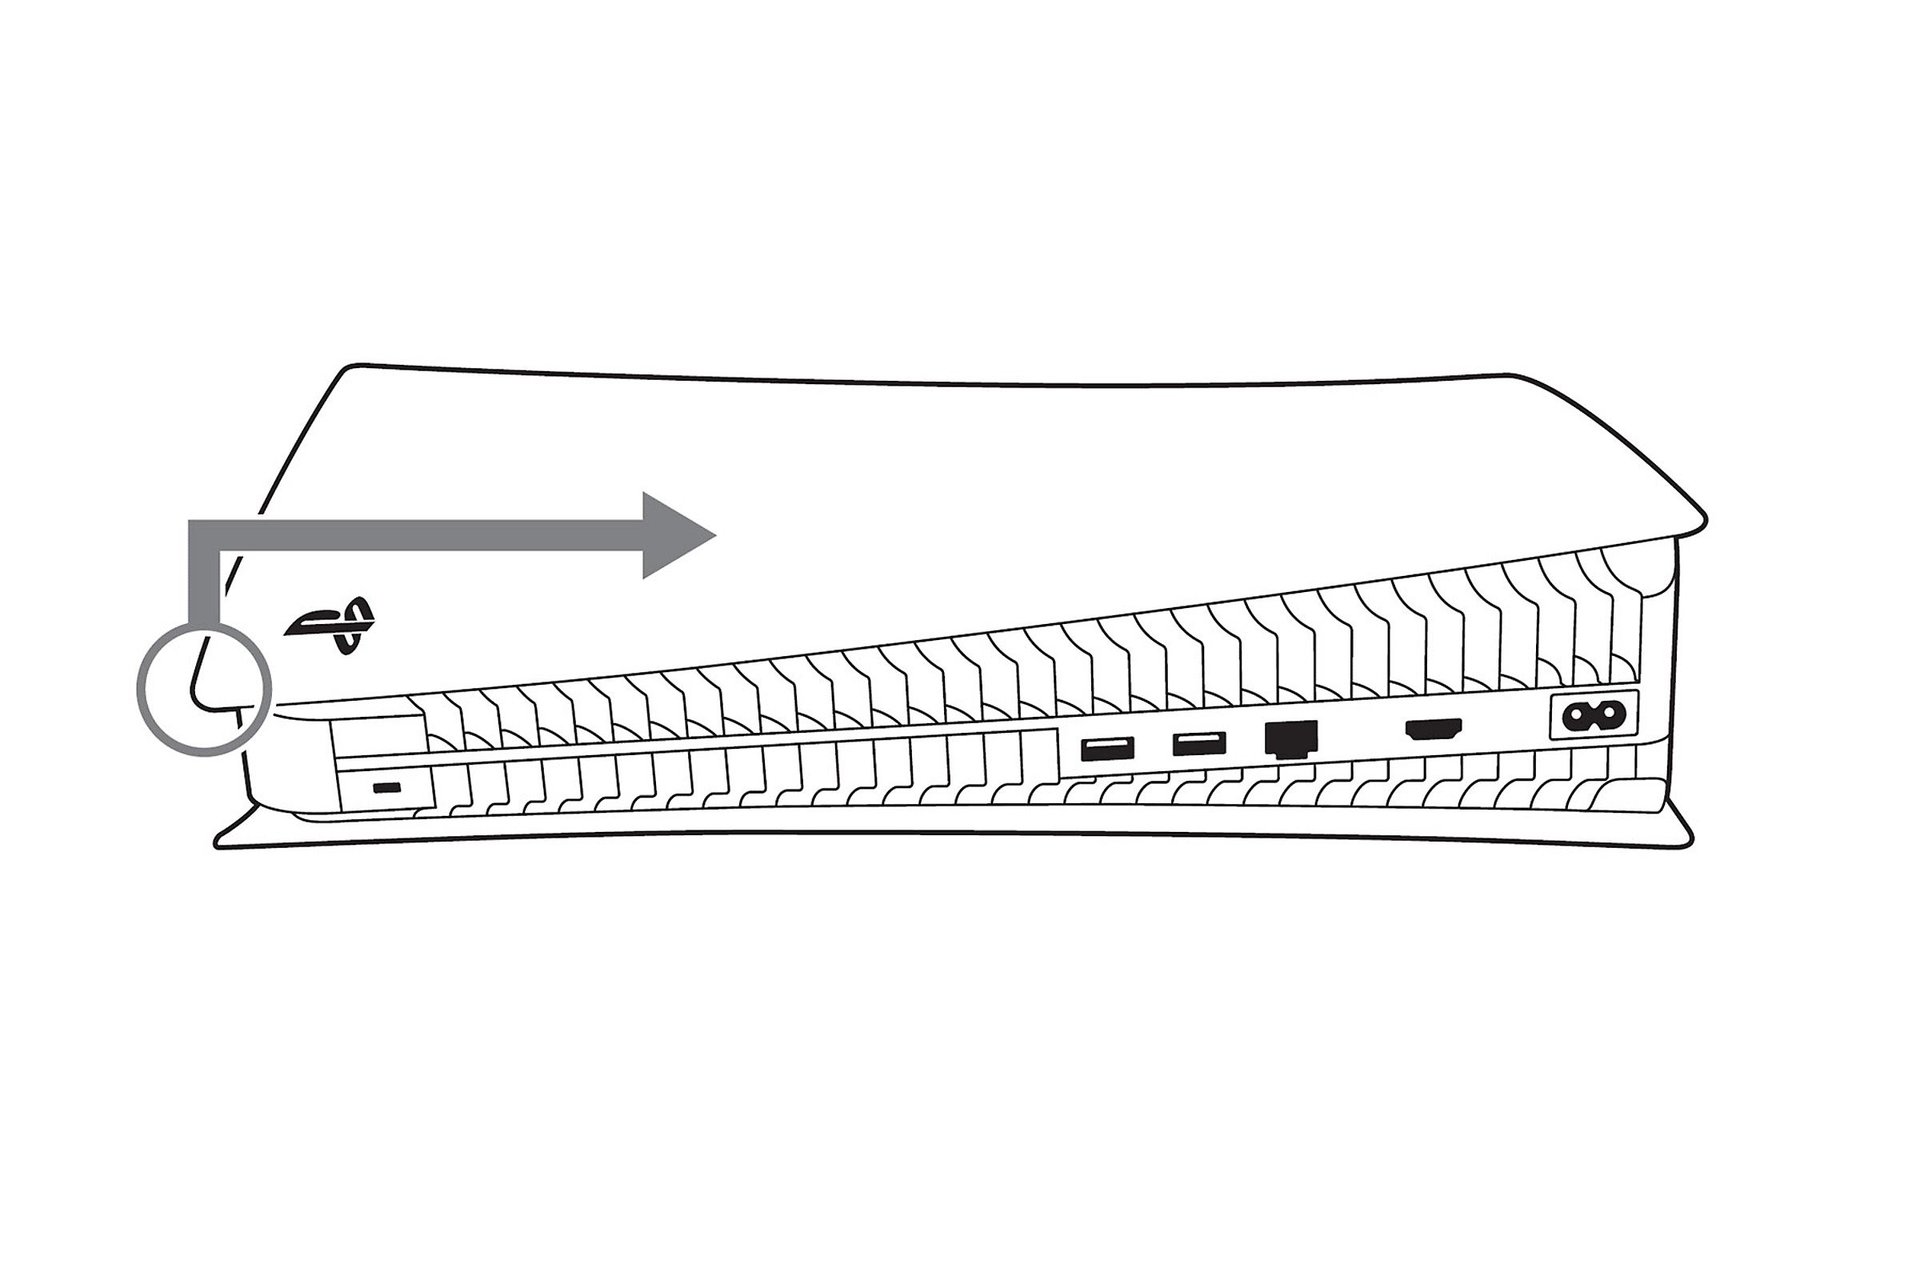
Attach the new top cover by sliding it on from right to left. Align the pointy ends on the inside of the plate with the holes. You’ll hear a click when the cover is secured.

Once the plate is back on, connect the AC power cord, cables, and base, and then turn on the power to get back to gaming. Or, to attach a new bottom cover, follow the steps below.
How to remove and replace the bottom PS5 console cover
The bottom PS5 console cover doesn’t have a PlayStation Logo, but a Sony stencil is inside to identify it.
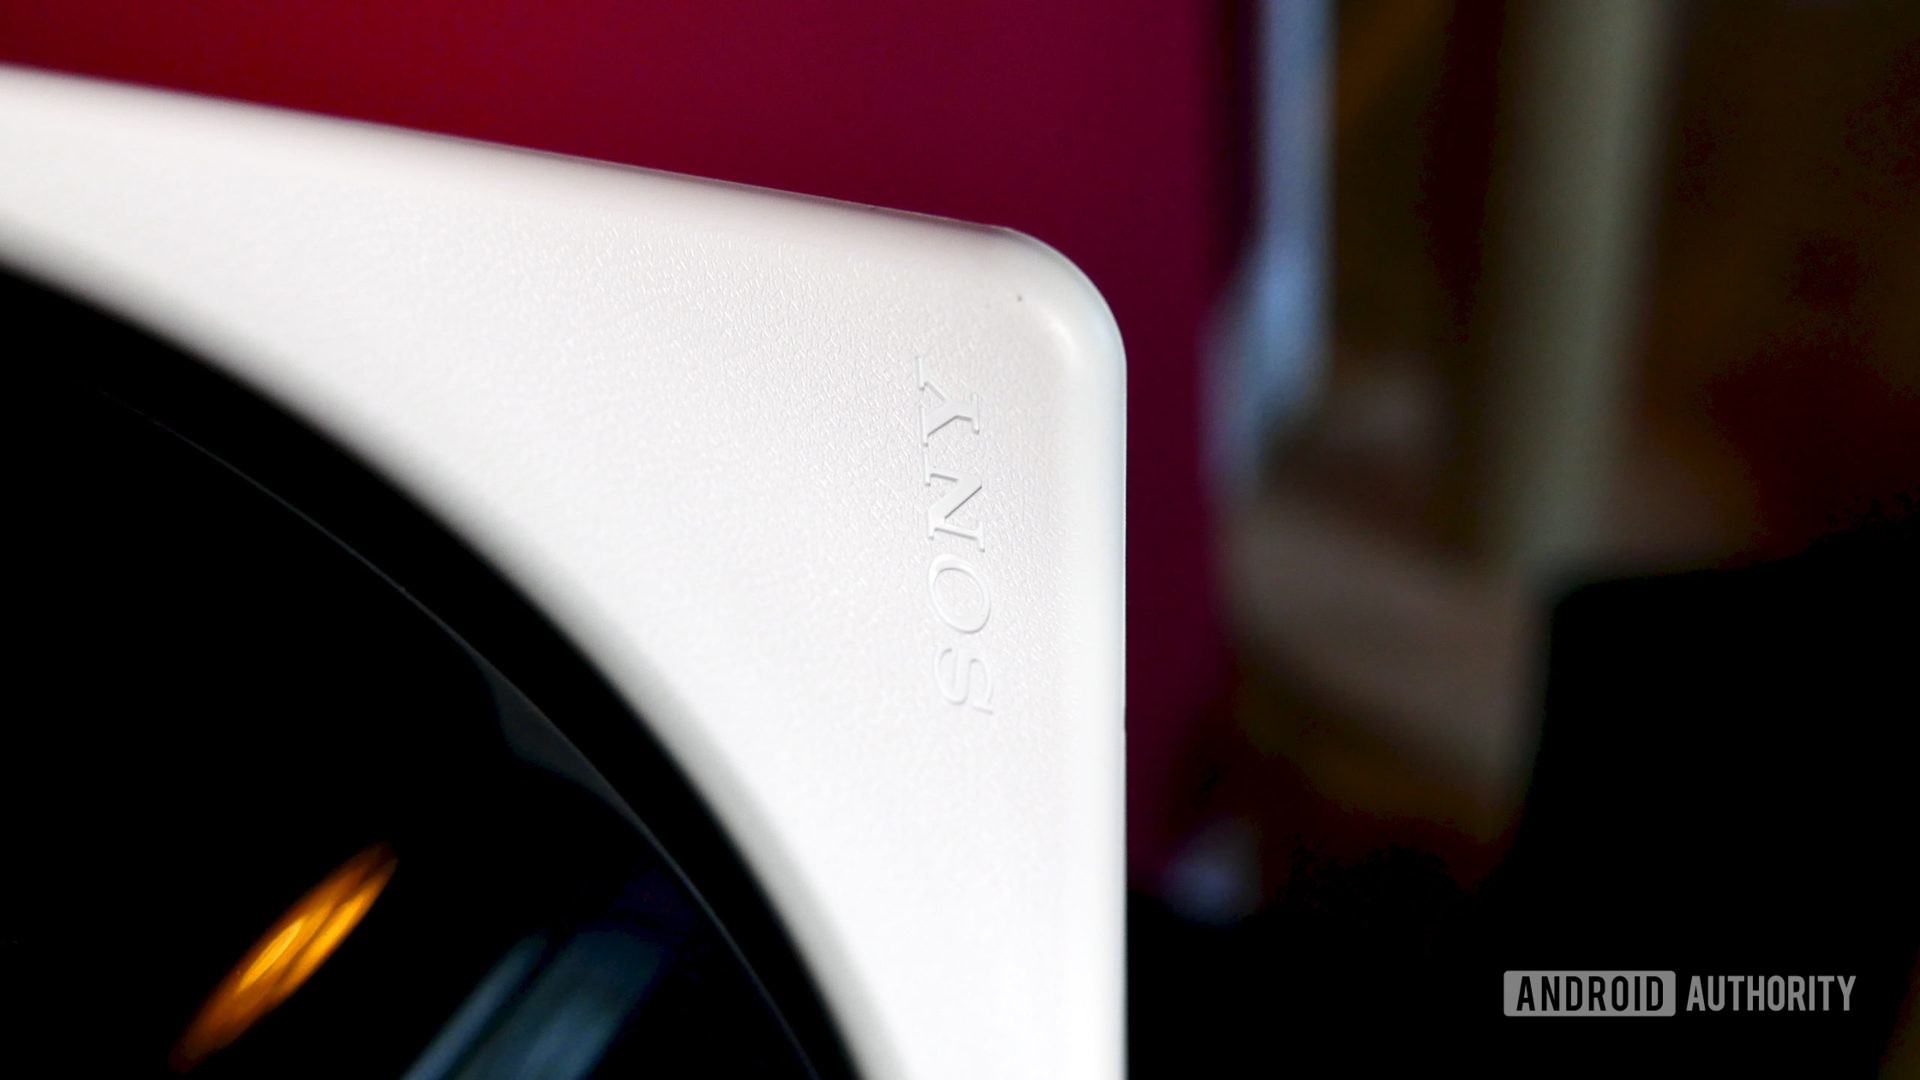
First, turn off your PS5 console and unplug all cables and devices. Remove the base and wait for your PS5 console to cool down completely.
Place your PS5 console sideways on a flat surface so the PS logo faces down and the power button faces towards you. In other words, you should be facing the front of the console.
Grip the top left corner of the cover with your left hand and the bottom right corner with your right hand, and remove the PS5 plate by slightly pulling up and to your right. The cover will lift away.
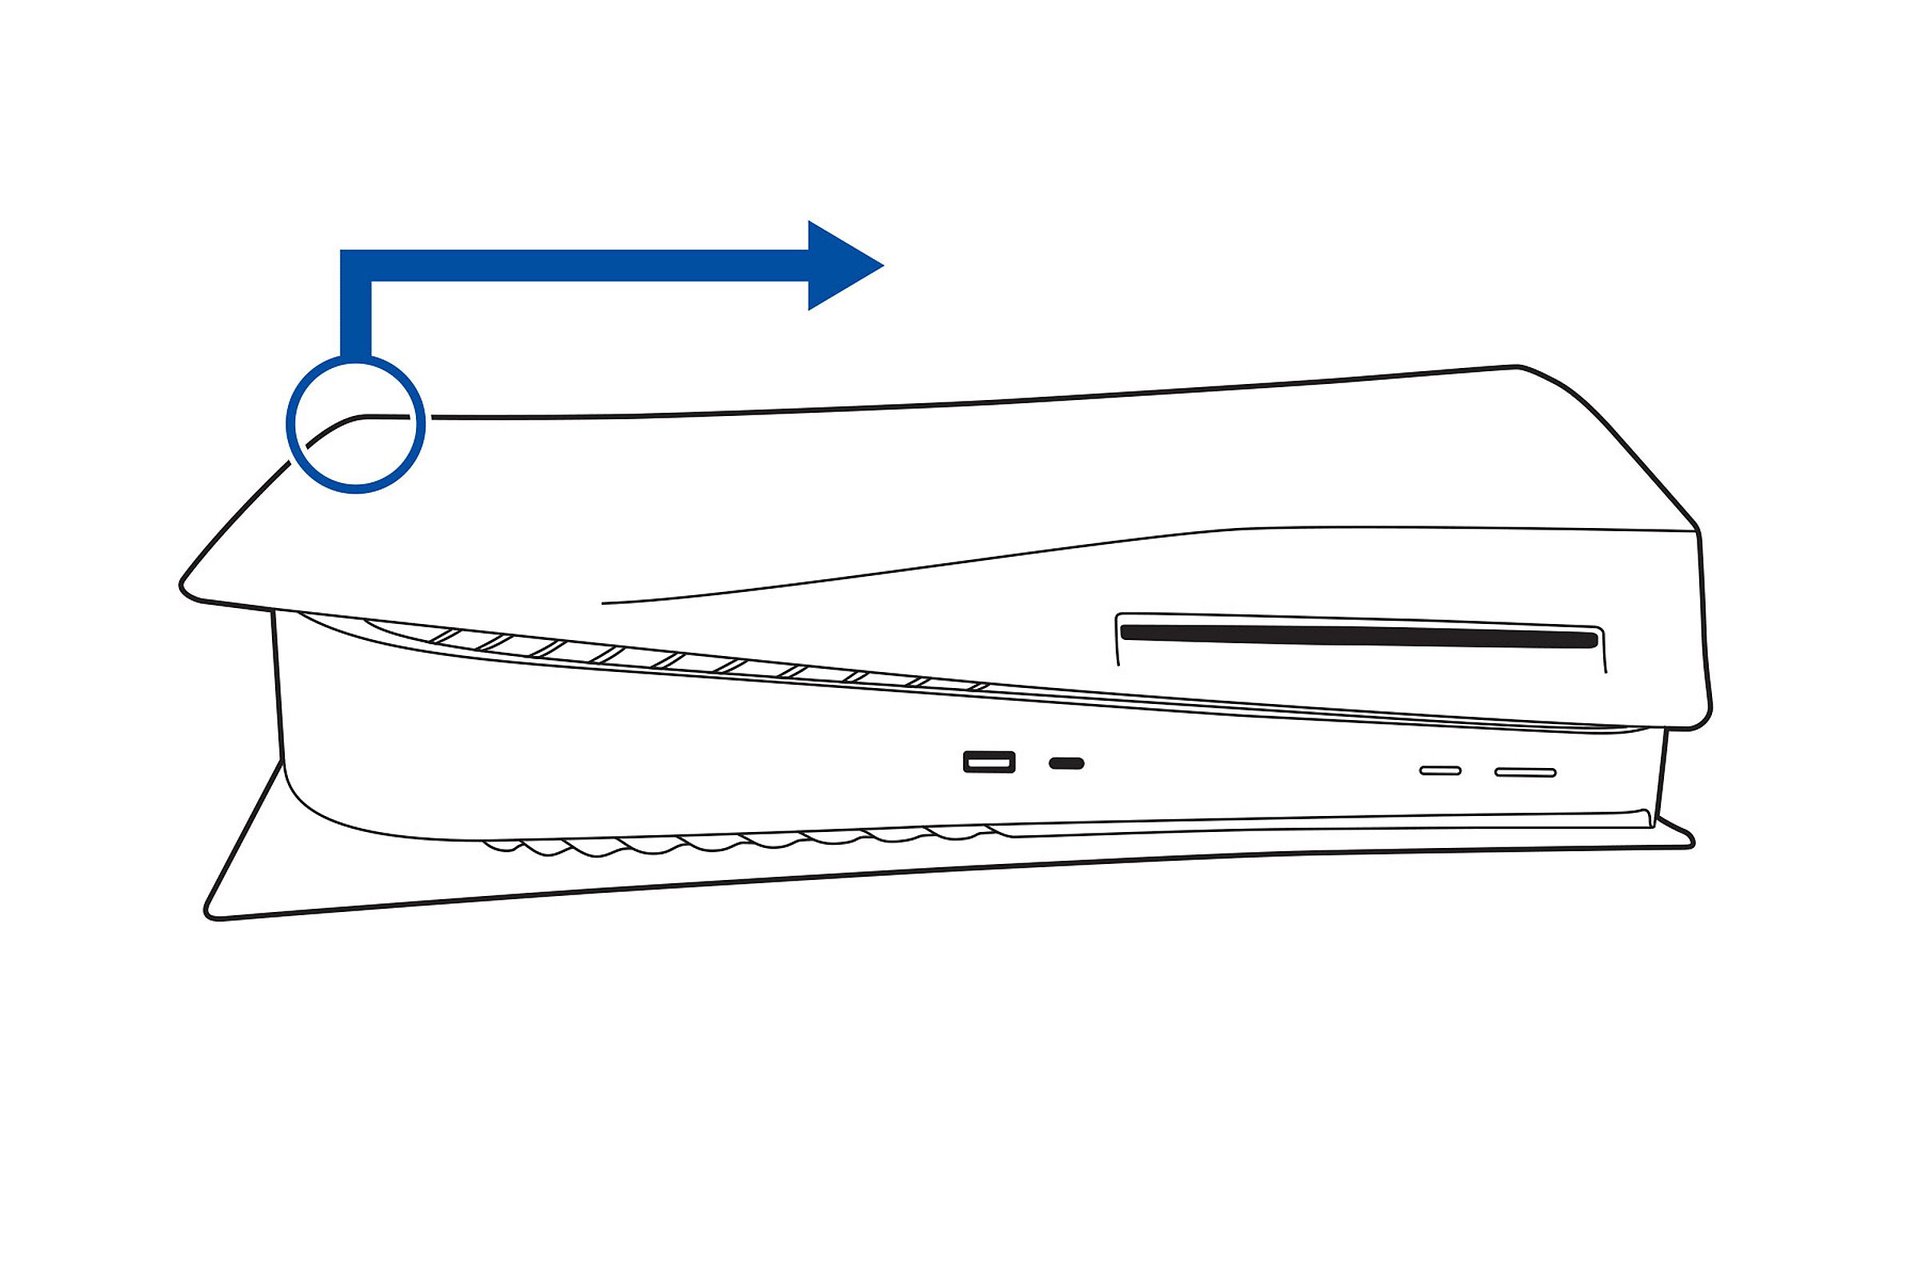
Attach the new bottom cover by sliding it on from right to left. Again, align the pointy ends inside the plate with the holes. You’ll hear a click when the cover pops into place.
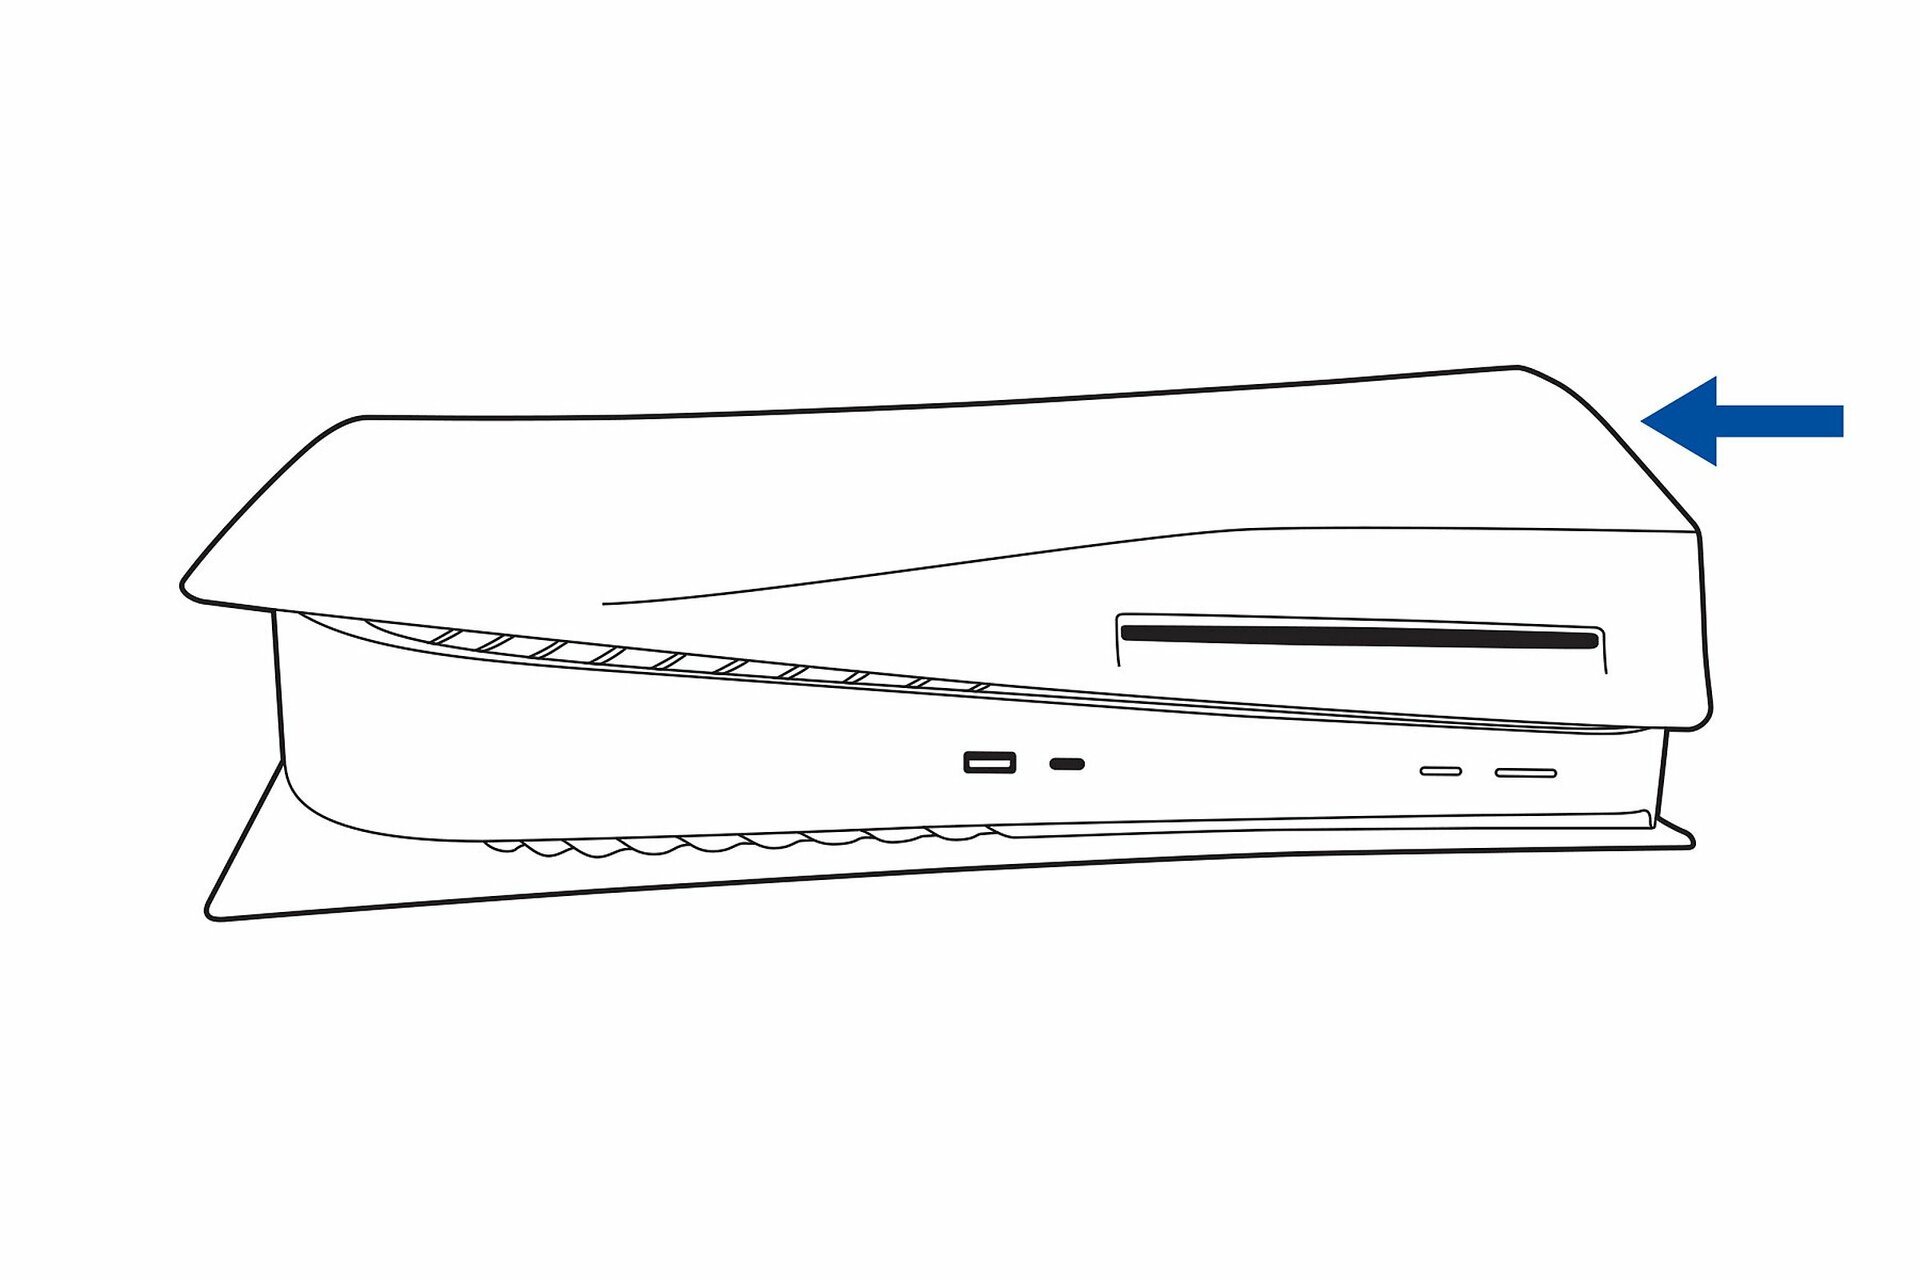
Now that both plates are secured connect the AC power cord, cables, and base. After that, you can turn on the power to boot up the PS5.
FAQs
Yes, you can buy black, red, blue, purple, and pink PS5 plates from Sony. They even sell matching controller colors.
Yes, the PS5 plates are made out of matte plastic. and the front side of the console is covered with glossy plastic.