Affiliate links on Android Authority may earn us a commission. Learn more.
Samsung Galaxy S10: First 5 things to do with your new smartphone
Published onSeptember 27, 2019
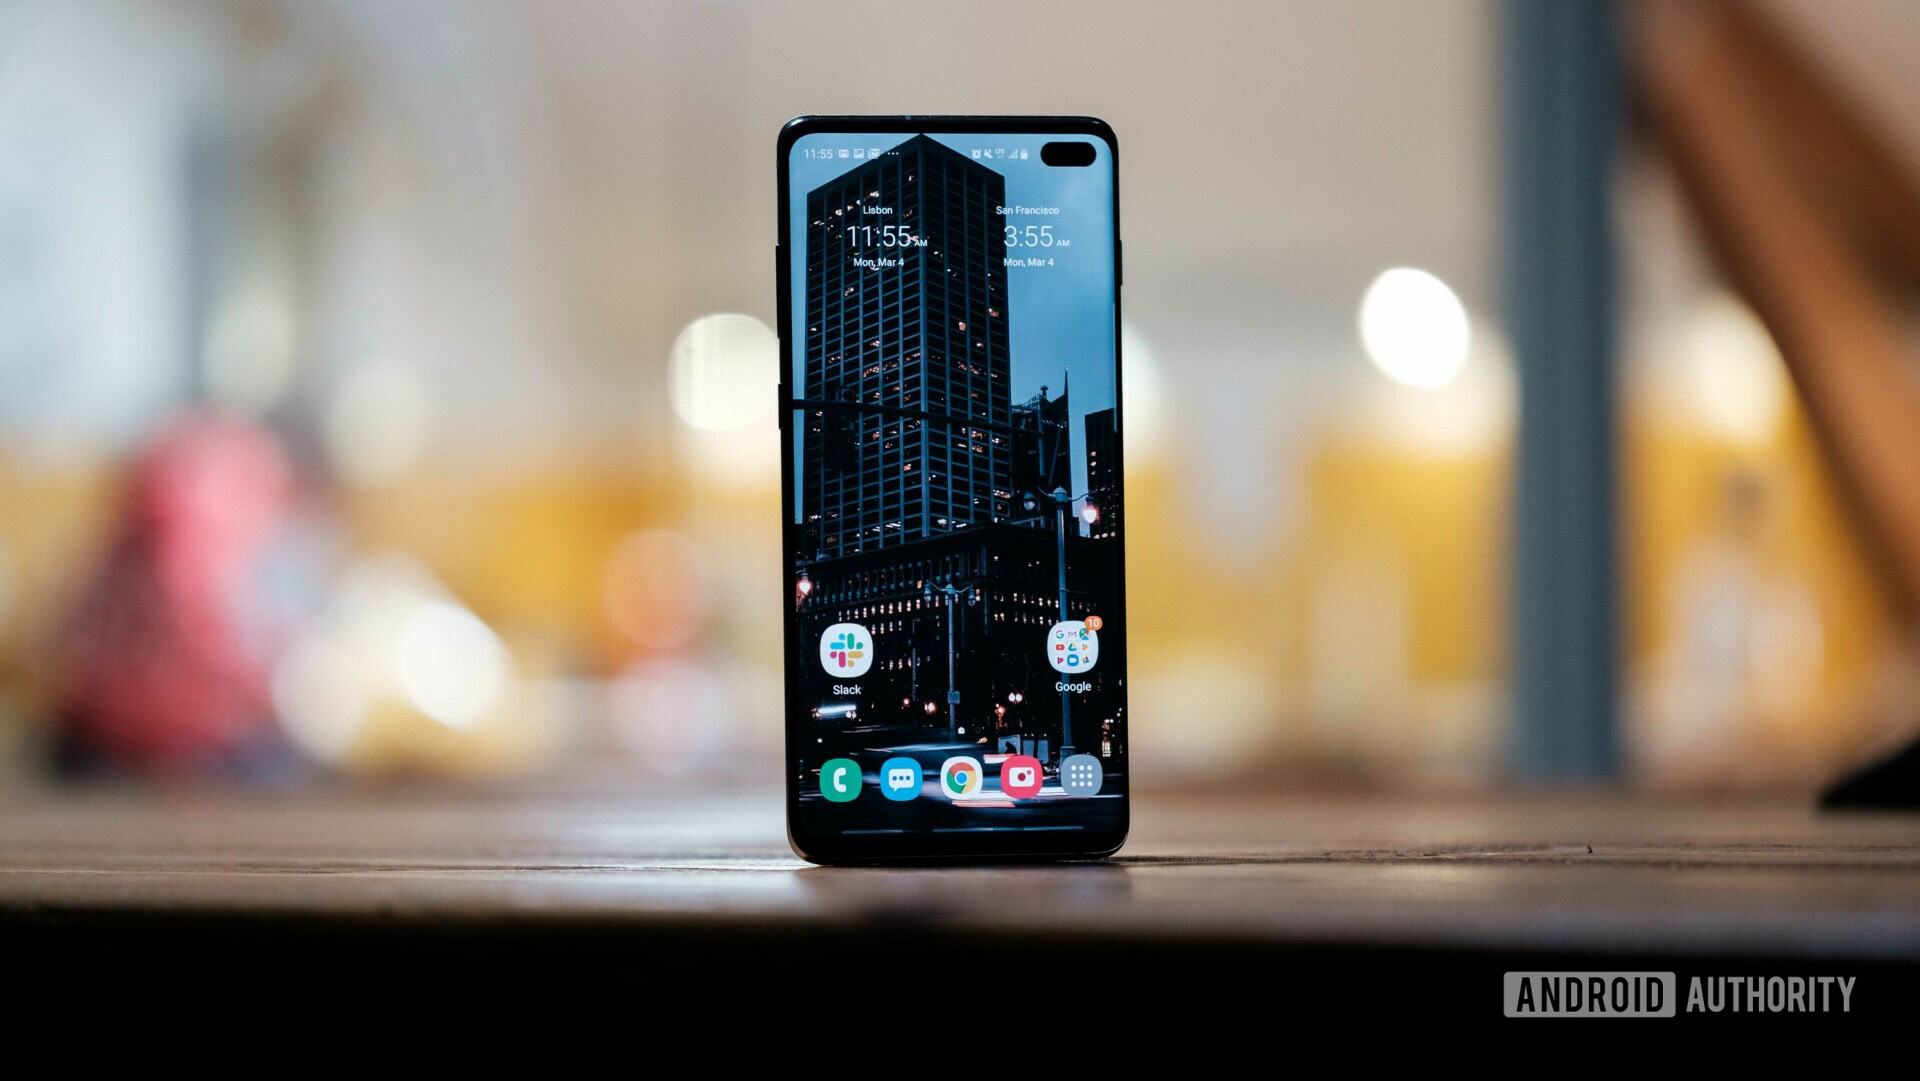
The Samsung Galaxy S10 isn’t the lastest hotness from Samsung, that honor goes to the Galaxy Note 10 and 10 Plus. Don’t let this fool you, the Galaxy S10 is still a great phone and unless you need an S-Pen, it’s really the better fit for most folks. So you decided to buy it and took it out of the box, peeled off the plastic, and examined it from all angles — it’s exciting, I know. But what happens next?
Samsung’s flagship has so many features it’s hard to figure out which one to play with first. Although you’ll get to all of them eventually, it’s best to start off with the basic but important features and settings listed in this post. Let’s dive in.
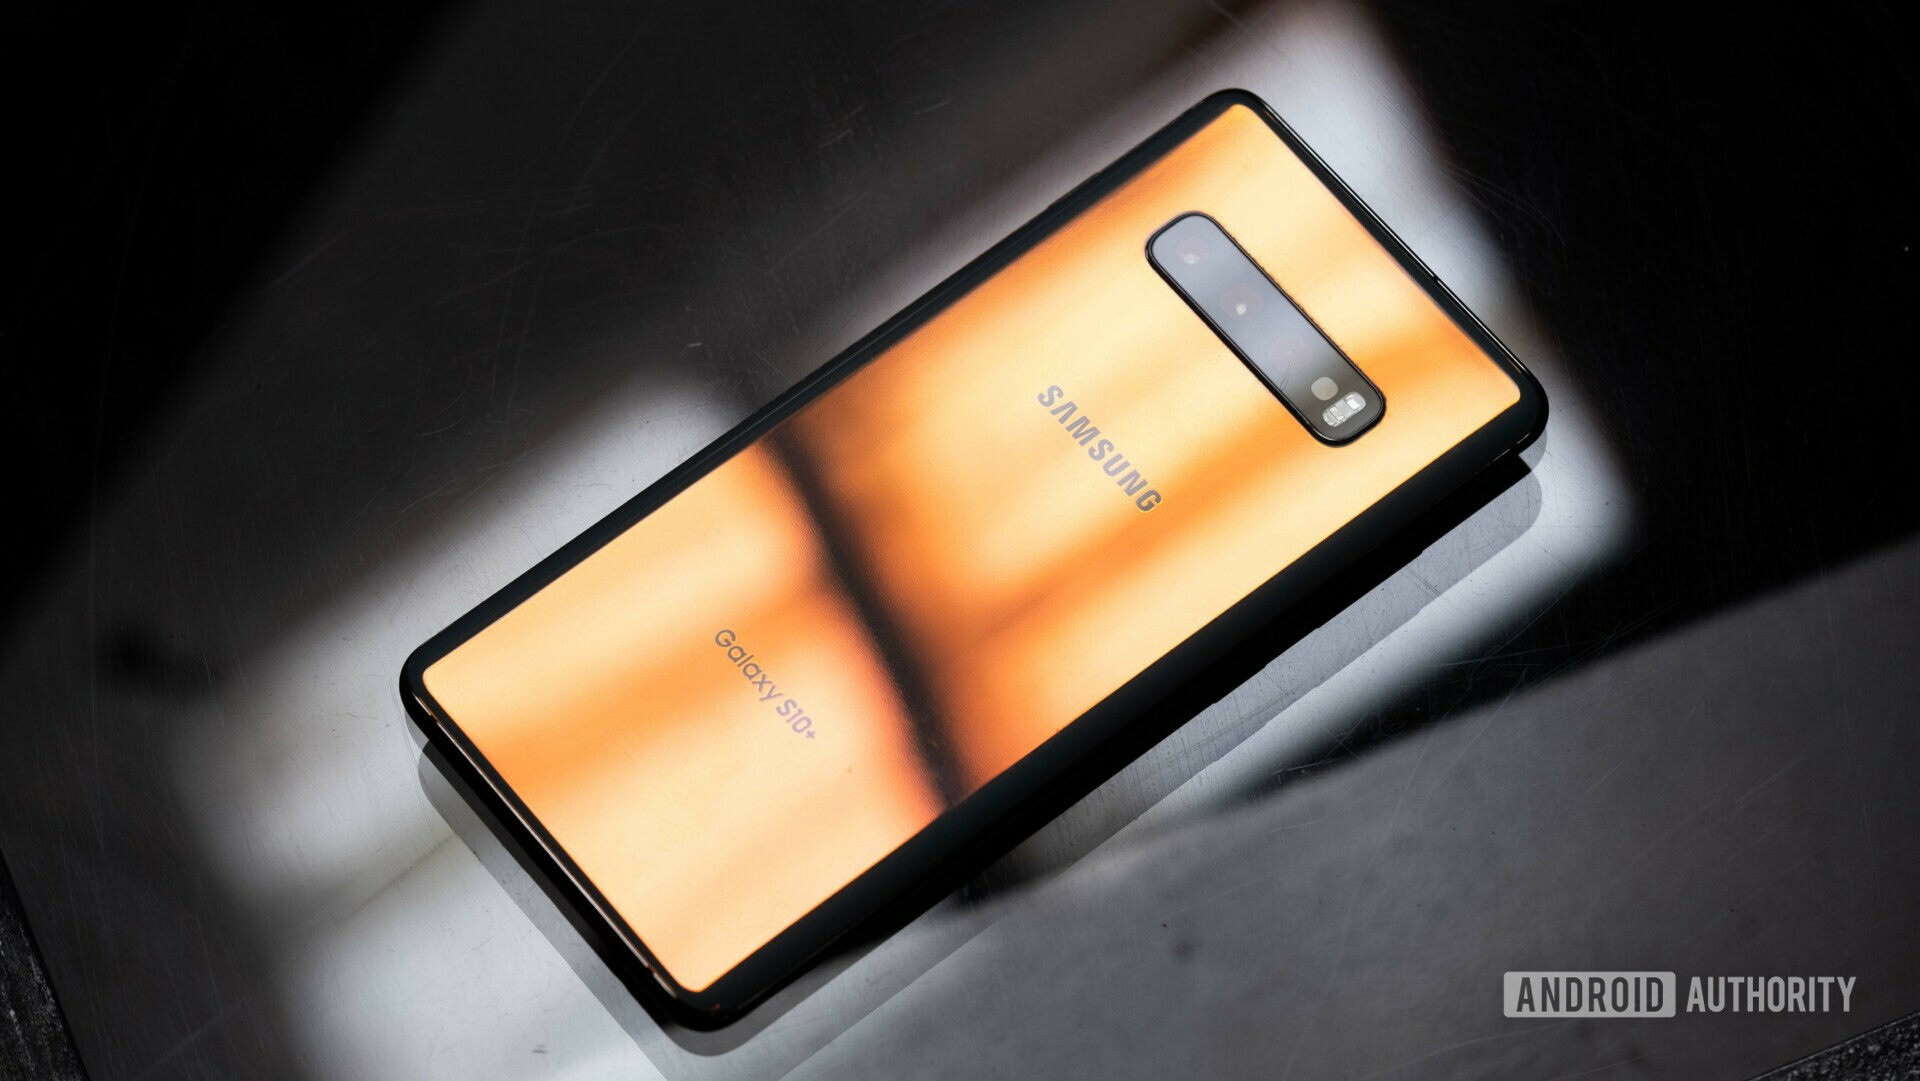
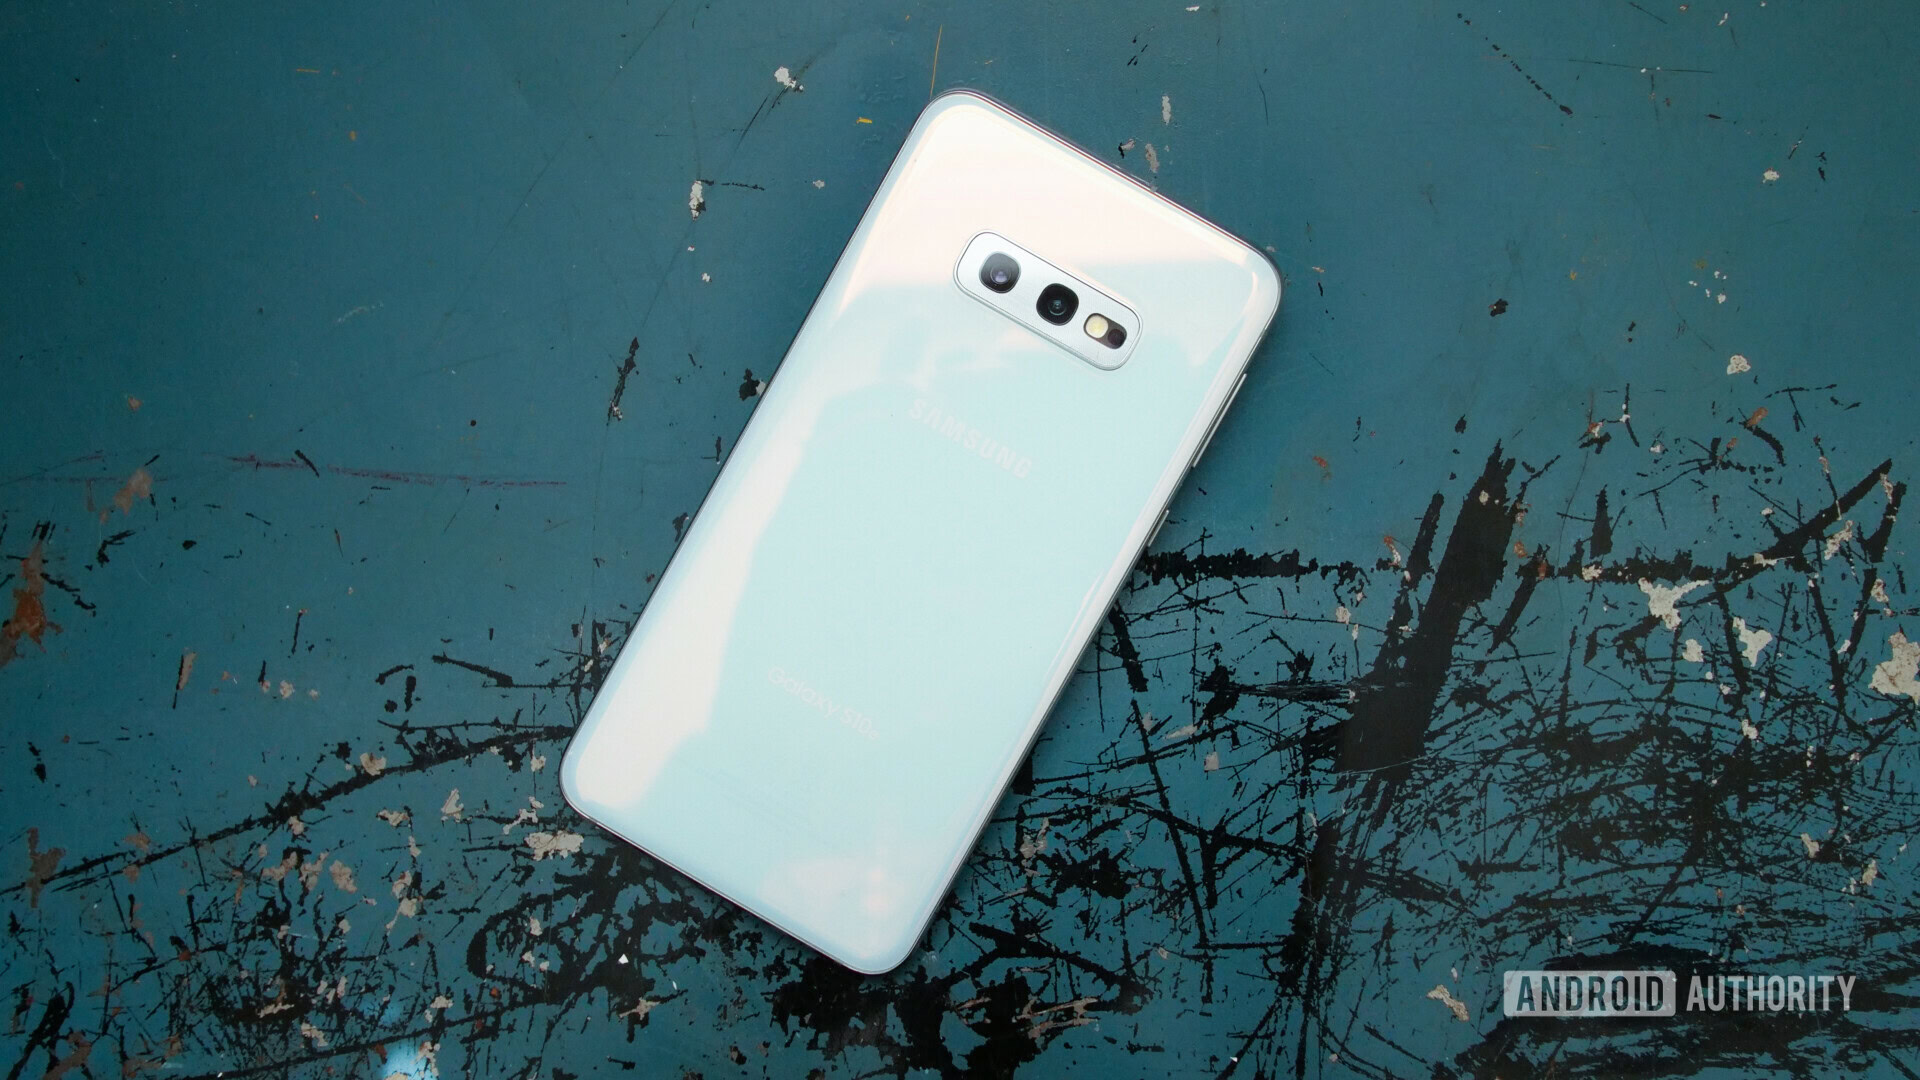
1. Take the time to set it up
I know it’s tempting to turn on your Galaxy S10, skip the entire setup process, and start playing with the rear triple-camera setup or watching YouTube videos. But it’s best to take things one step at a time by setting up the basic things on your device first.

Start off by putting a SIM card into your Galaxy S10 and then charge the battery. You’ll be downloading loads of stuff, so it’s better to make sure the device has enough juice. Then turn on your phone and go through the entire setup process. This means setting the language and date, signing into your Google account, and connecting to a Wi-Fi network. You should also set up a biometric authentication such as a fingerprint scanner and download a software update if available. Don’t let the fact that the Galaxy S10 is a new phone fool you — lots of phones get software updates soon after their launch.
You’ll have to set up these things eventually anyhow, so it’s better to get them out of the way right away. It’s a lot easier as well since you can go through the most important settings one by one instead of searching for them in the Settings menu later on.
2. Make it your own
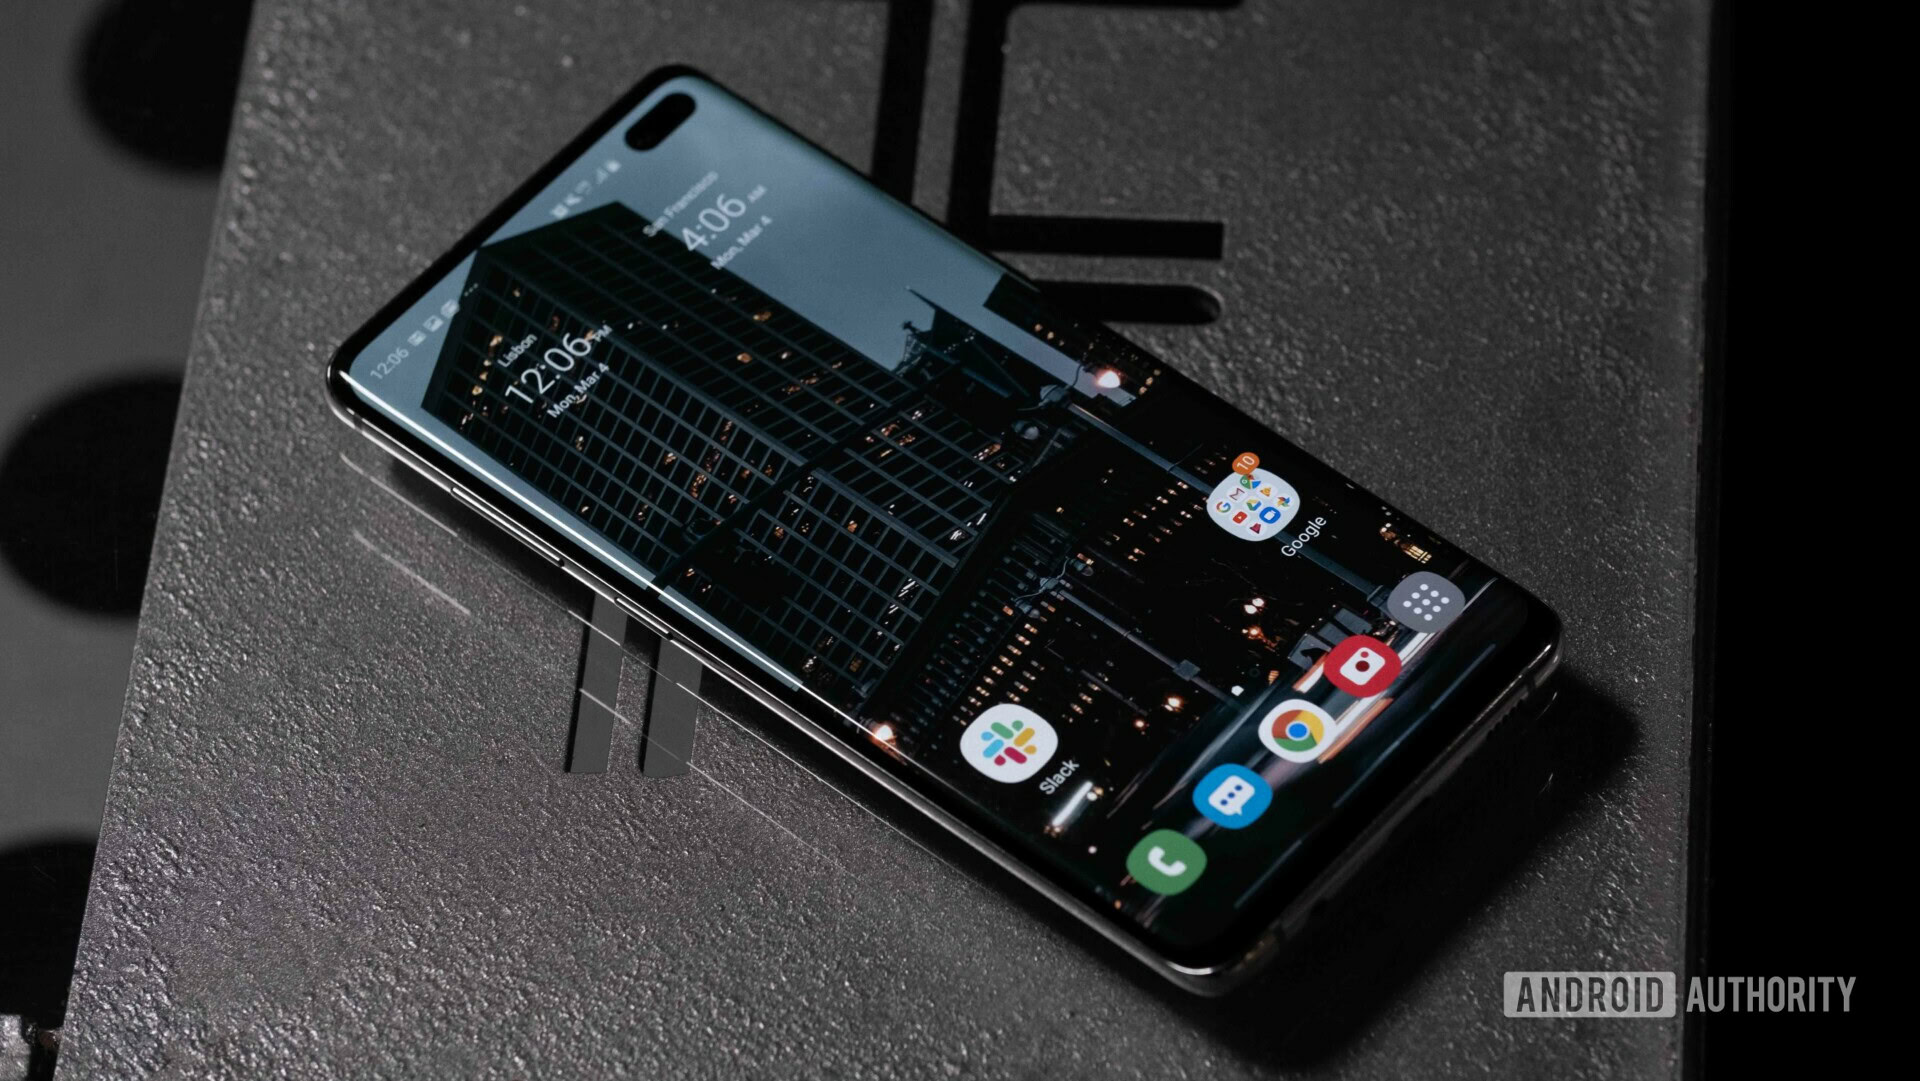
Now it’s time to have some fun and customize the phone to your liking. The best place to start is with apps. If you’ve selected to back up the data from your previous handset during the setup process, all your apps will be downloaded automatically. If you didn’t, it’s time to hit the Play Store and download them manually. This is a great chance to do some exploring and perhaps try something new — replace an app you’ve previously used and is not up to your standards with an alternative. You can head over to the Apps section of our website and check out our recommendations for categories like productivity, fitness, and more.
Customize your Galaxy S10 by changing the wallpaper, ringtone...
The next step is to customize your home screens. Start by choosing a wallpaper and then adding app shortcuts and widgets for easy access. Again, don’t be afraid to try out something different than you’re used to. Go crazy. Also, make sure to configure Edge panels if you plan on using them by heading to Settings > Display > Edge screen > Edge panels.
Once that’s done, head into the settings and change the sound for calls, notifications, and alarm. There are a number of them to choose from, but if none are to your liking, you can download an app like Zedge to discover new ones. The last thing we advise you to do is customize the always-on display by heading to Settings > Lock screen and then playing with the options under the “Always-on display” section.
3. Remap the Bixby button

Your Galaxy S10 comes with a dedicated Bixby button on the left side that launches Samsung’s digital assistant. The good news is that you can remap it, which is what we recommend doing if you don’t plan on using Bixby.
The process is quick and easy and can be done by heading to Settings > Advanced Features > Bixby key. You can remap the button to open an app of choice or run a quick command that can turn on Bluetooth, for example.
However, you can’t completely disable Samsung’s digital assistant — a long press of the button will always bring up Bixby Voice. The other issue is that you can’t remap the button to open Google Assistant, as Samsung has blocked this option.
4. Set up mobile data tracking
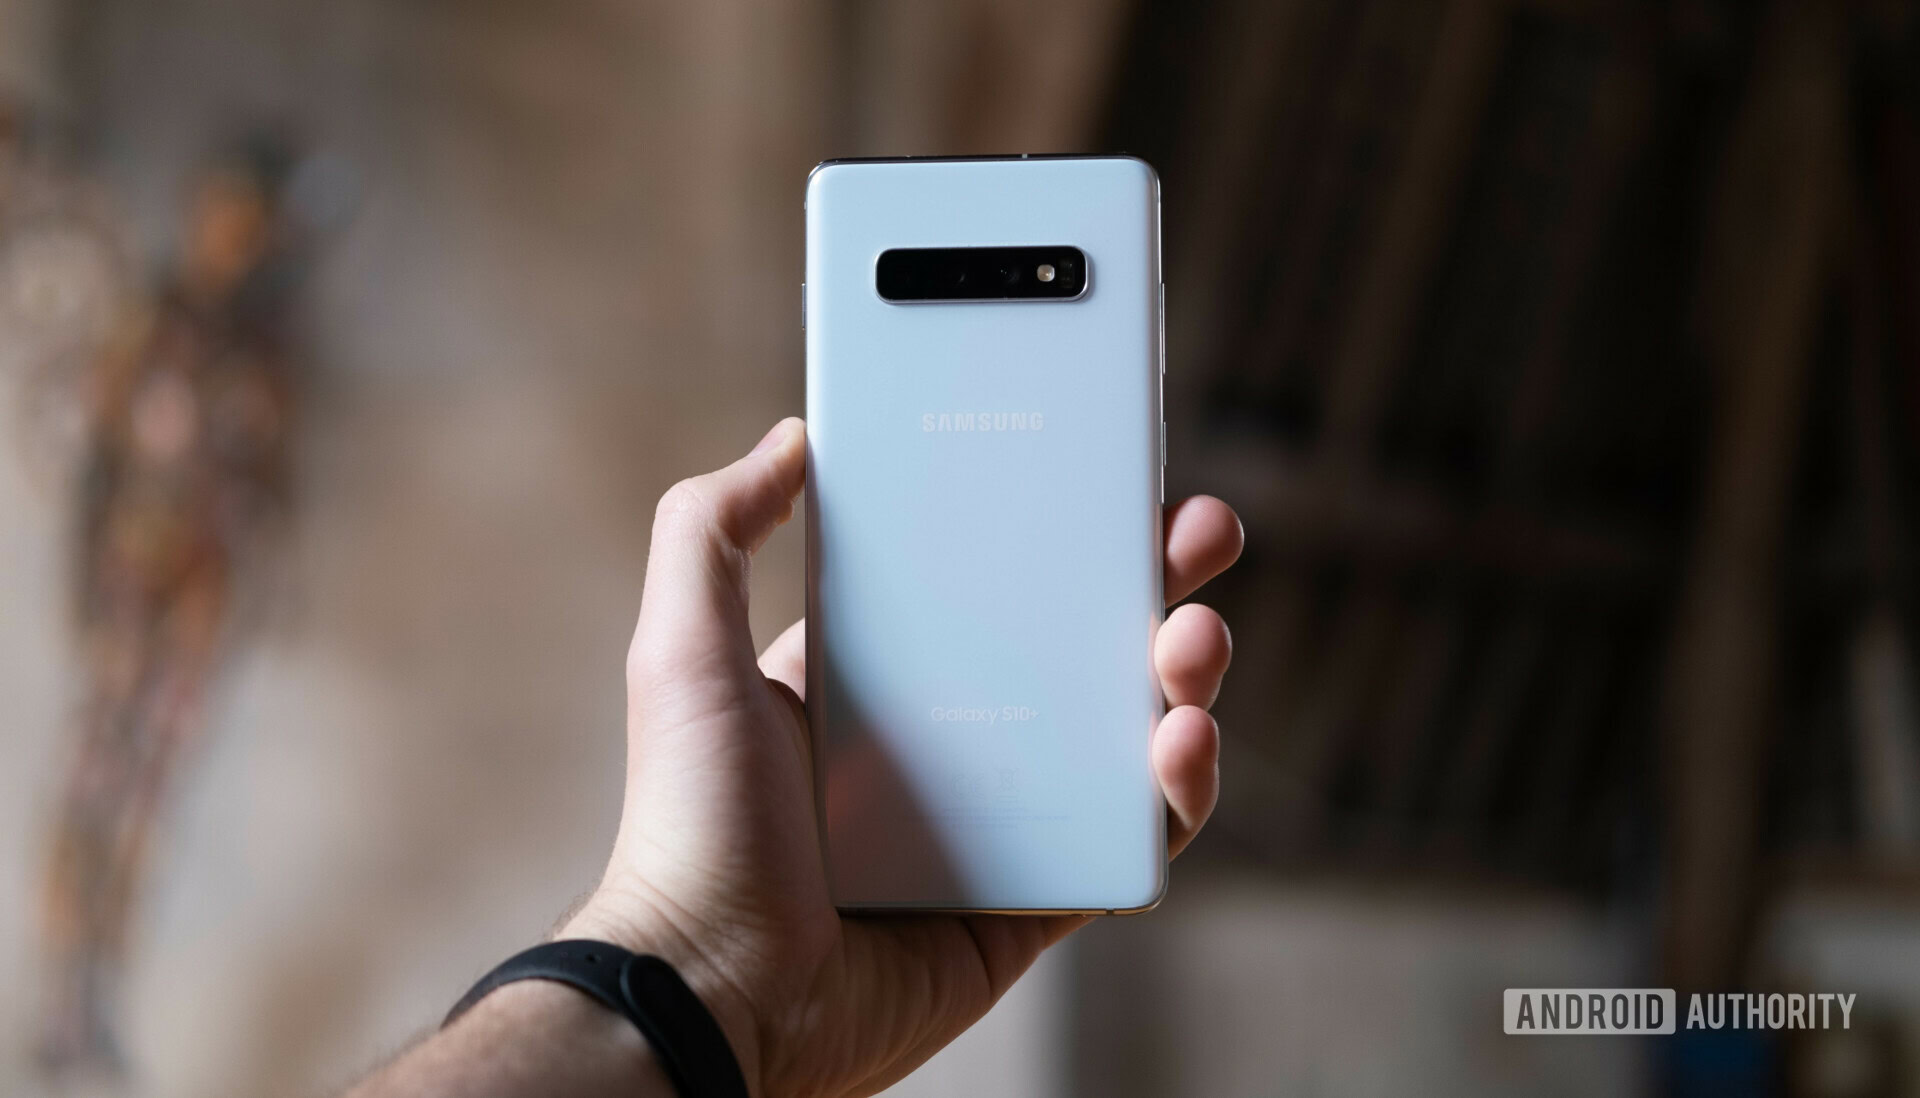
If you don’t have an unlimited plan, setting up a monthly data limit is the way to go. This will make sure you won’t go over the limit and get a hefty bill from your carrier.
You can use Samsung's built-in data tracker or download a third-party app from the Play Store.
To get started, head to Settings > Connections > Data usage > Billing cycle and data warning. From there, you can set your billing cycle and the amount of data your plan offers. You can also enable a data warning that will notify you when you have used a predefined amount of data.
If you don’t want to use Samsung’s built-in data tracker for whatever reason, you can download an app from the Play Store for your data tracking needs. We recommend My Data Manager, which is free and packed with features — check it out via the button below.
5. Set up Secure Folder
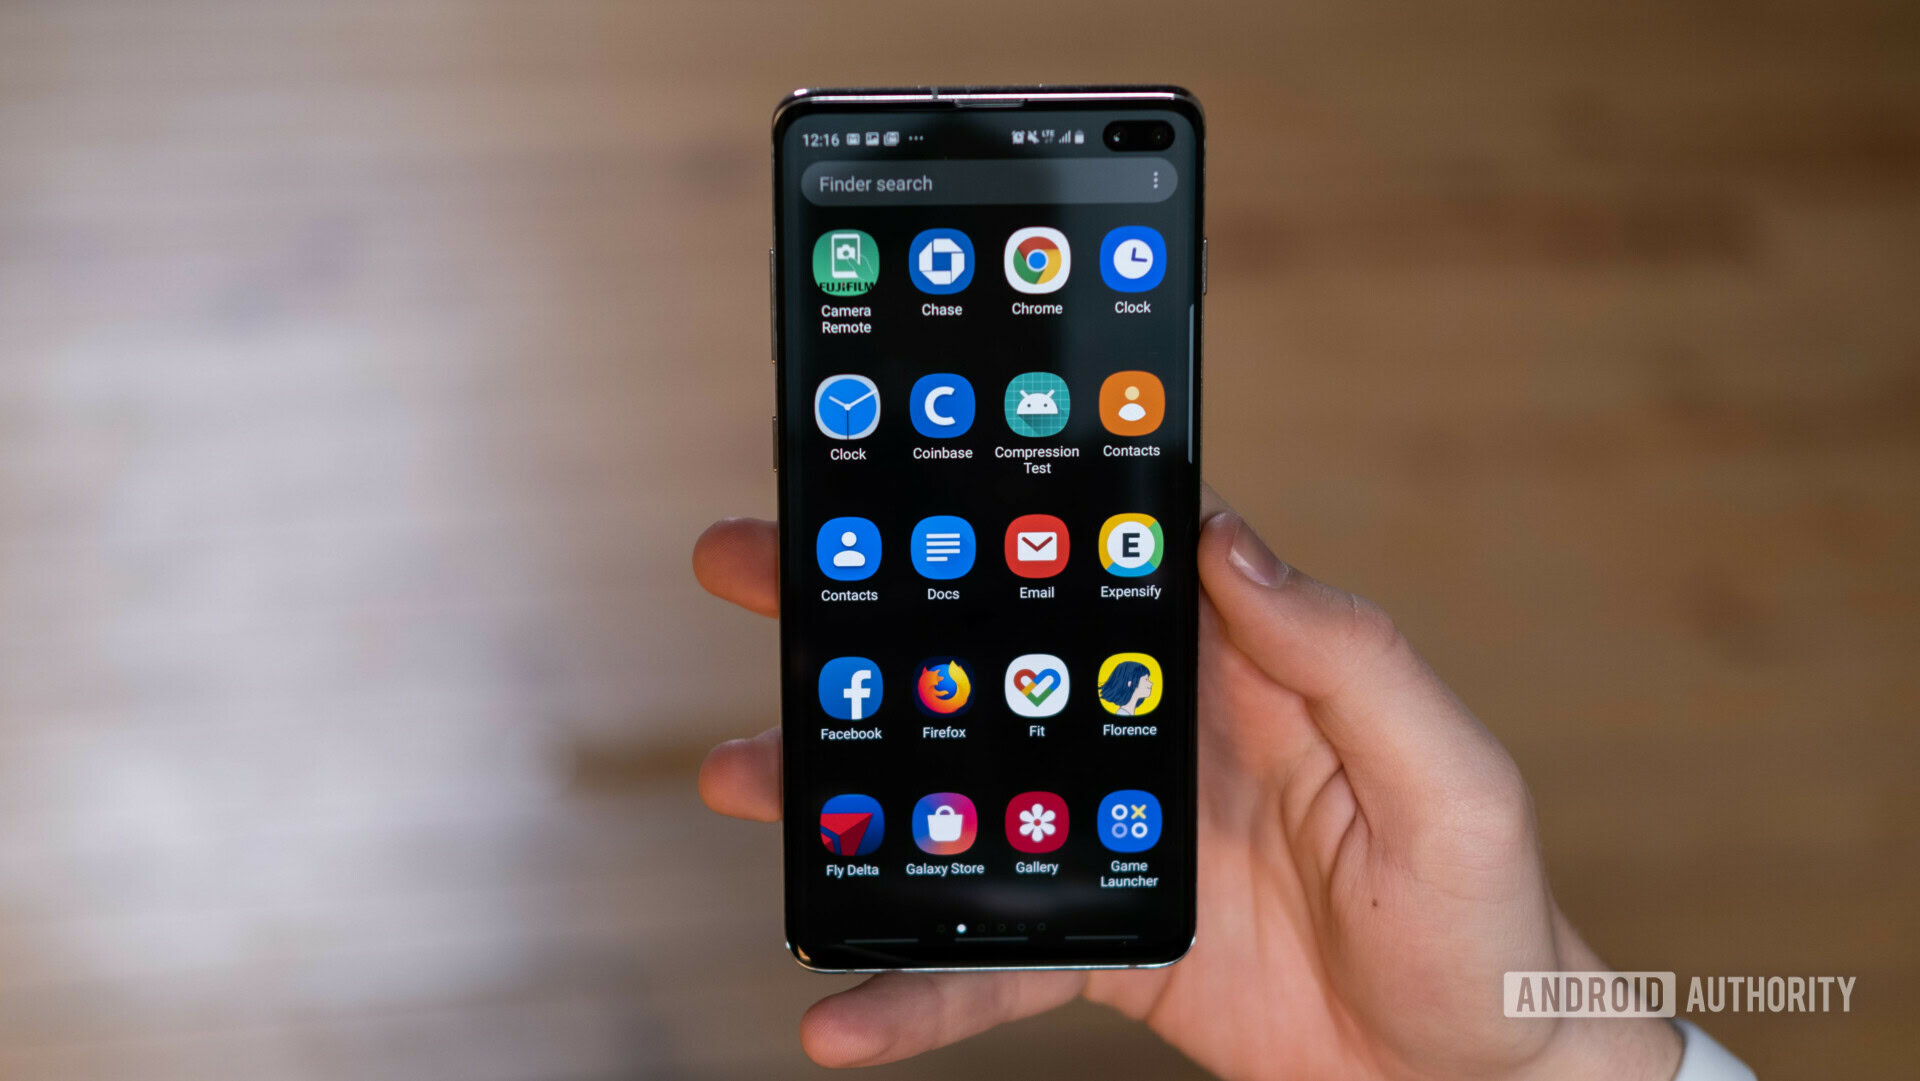
Secure Folder keeps all your sensitive files private. It’s an encrypted space on your Galaxy S10 for storing files, images, videos, and apps you don’t want anyone else to see. Most of us have those on our phones, so it makes sense to set up the service.
To get started, the first thing you need is a Samsung account — you can create one for free here. Then just find the Secure Folder in the app drawer, launch it, sign in with your Samsung account, choose the authentication method you want (fingerprint, PIN, pattern), and you’re good to go.
Once it’s set up, you can start adding images, videos, documents, and other files to Secure Folder. You can check out exactly how to do that by reading our dedicated post at the link.
Now that you’ve set up all the basic but important things on your new Galaxy S10, it’s time to discover the rest of the features the phone offers. You can try out the triple-camera setup, play a demanding game to test out the performance of the device, and jump into the settings to enable other cool features like Dark Mode. Explore the ins and outs of the device and have fun.
We also suggest getting a case for your expensive Galaxy S10 to protect it from bumps and bruises. You can check out the best ones by clicking here.