Affiliate links on Android Authority may earn us a commission. Learn more.
How to save an image on a Mac
Published onDecember 20, 2022
Saving images is simple on a Mac — just as simple as saving them using a Windows machine. We all like to keep copies of images that we find on our web travels, whether it’s a funny meme, a cool GIF, or an inspiring idea on Pinterest. So what are the various ways to save an image on a Mac? Let’s have a look.
Read more: How to easily resize images on a Mac
QUICK ANSWER
The easiest way to save an image on a Mac is to right-click on the image and select Save Image As in the pop-up menu. Then select where in your hard drive you wish to save it, rename it (if you want), and click Save. Alternatively, you can hold down the Control key and also click on the image to bring up the same menu. You can also screenshot the image, use the Snip tool, or use Preview to convert a file to an image.
JUMP TO KEY SECTIONS
Save an image on a Mac with right-click or Control-click
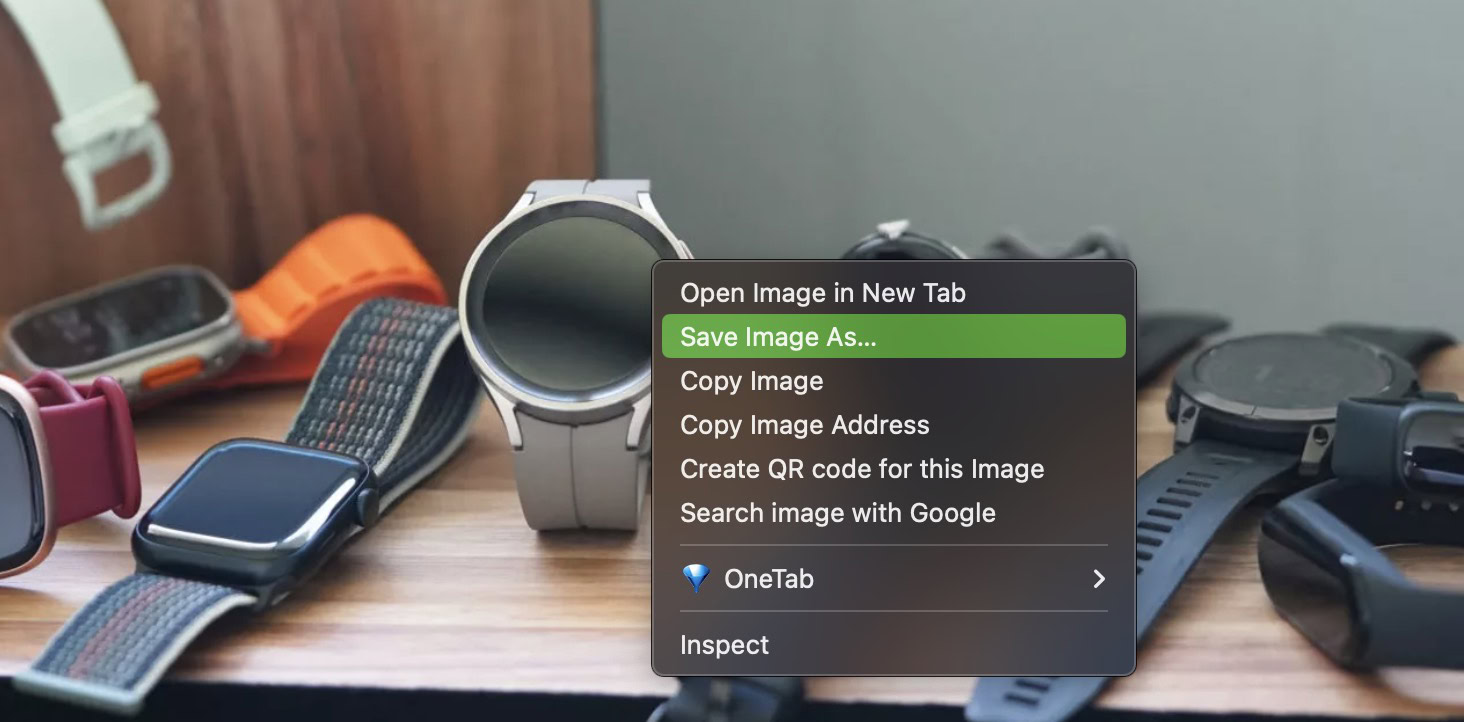
The easiest way to save an image on a Mac is to right-click the image. A small menu will pop up with saving options. The usual one is Save Image As, but as you can see, there are other options, too, including generating a QR code, searching Google with the image, and more.

Selecting Save Image As will bring up a Finder box. Navigate to the location you wish to save your image. You can rename the image if you want before clicking Save.

Save an image on a Mac by screenshotting it

The next easiest way to save an image is to screenshot it. You may find this preferable if the image turns out to be in an awkward format (such as WebP). Screenshotting it will instead provide you with a copy in your preferred file format, such as JPG.
We have already written up an extensive tutorial on how to screenshot an image on a Mac. But the two shortcuts you really need to remember are:
- Command + Shift + 3 — this screenshots the entire screen. You can then crop the screenshot down to what you need.
- Command + Shift + 4 — this gives you crosshairs where you can select a portion of the screen that you need.
The snip tool

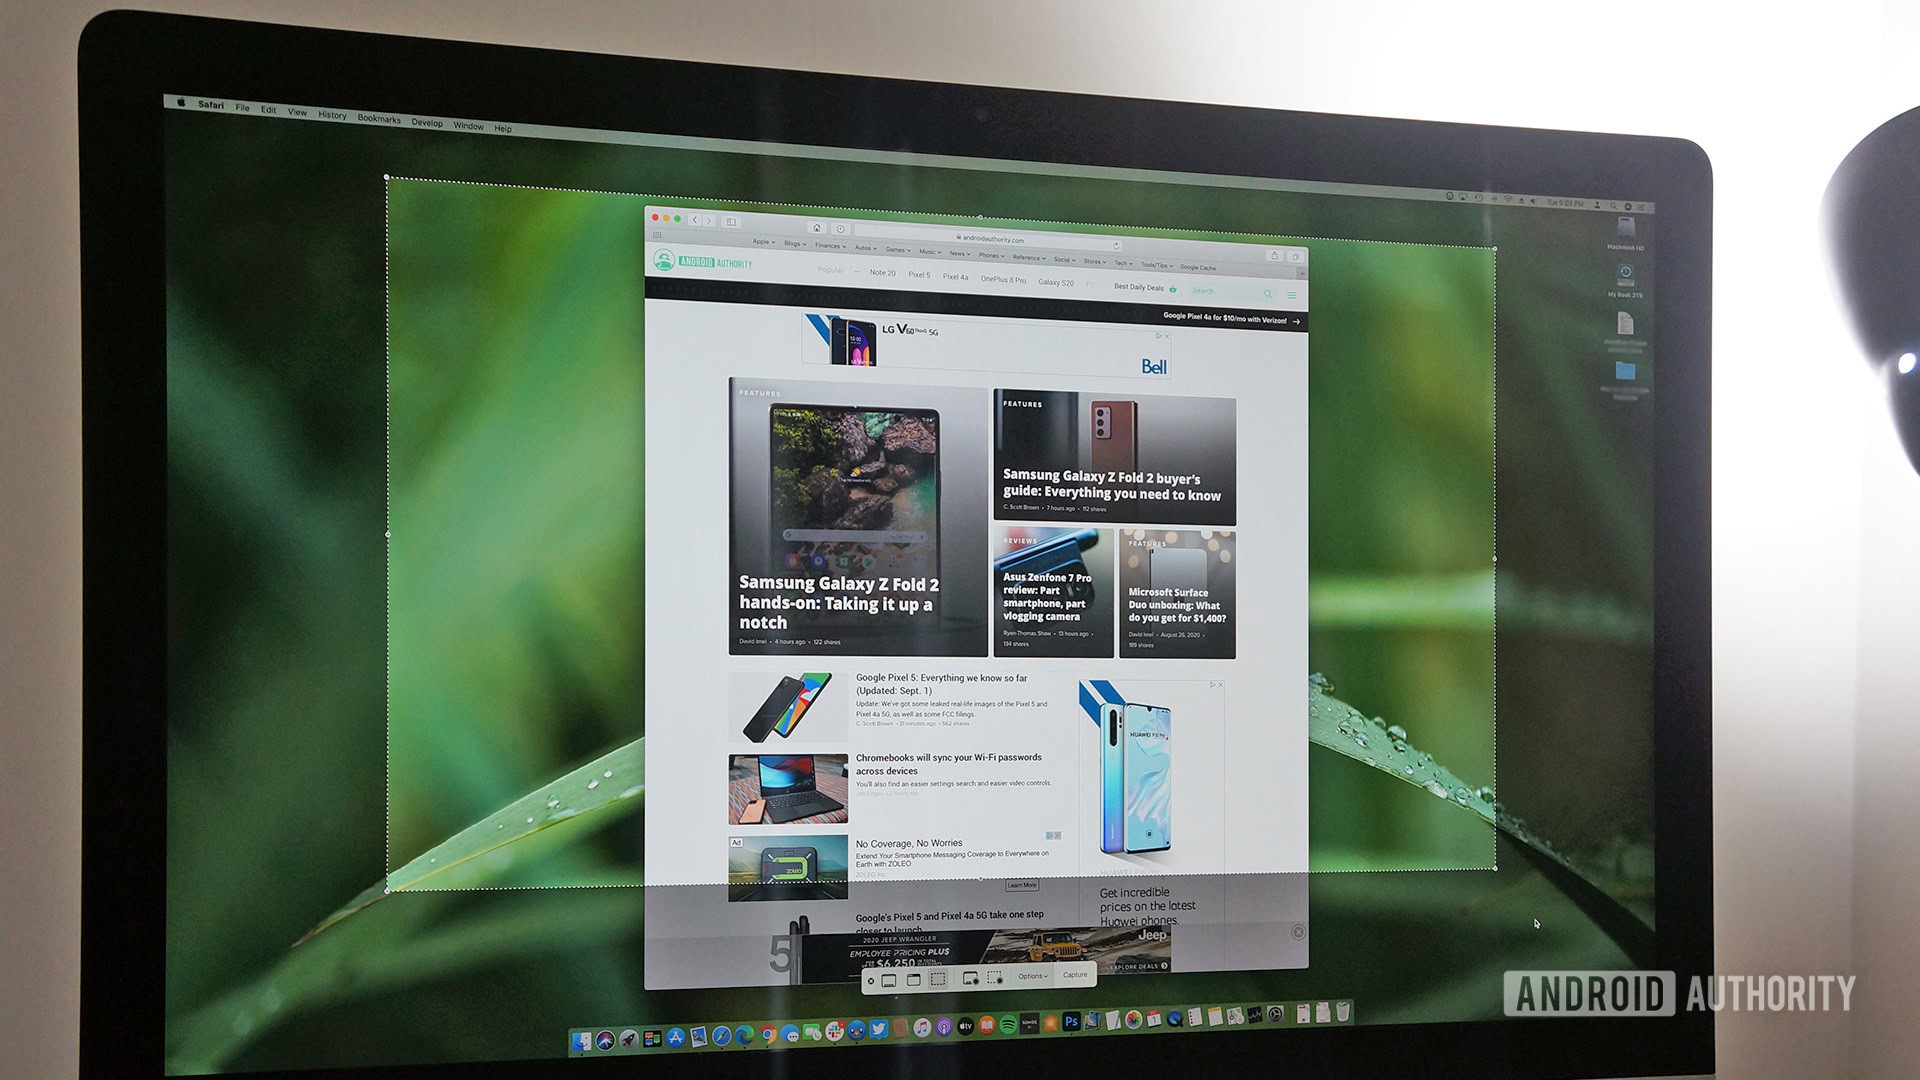
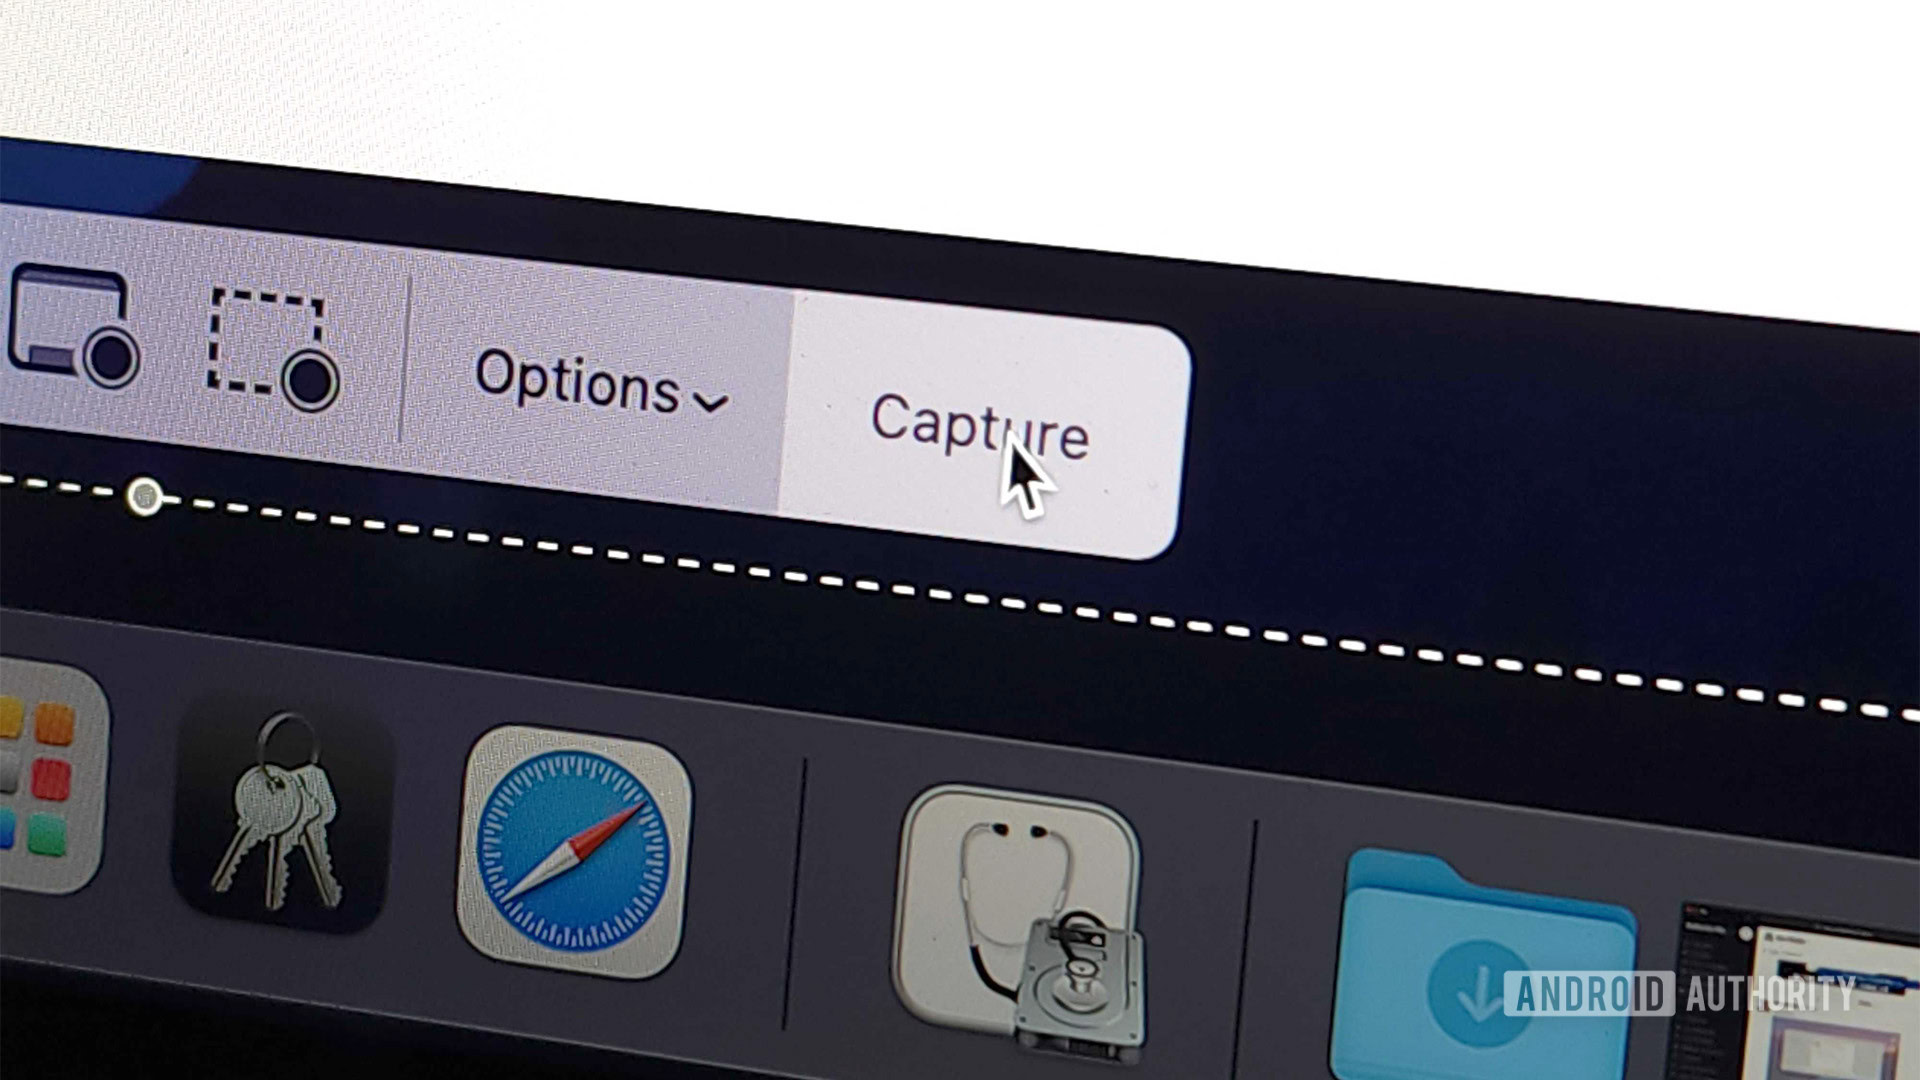
macOS also has a built-in ‘snip tool.’ It’s more or less the same as doing Command + Shift + 4, except to get the snip tool, replace that 4 with a 5. A dotted window will now appear — drag it to the part of the screen you want to capture and click the Capture button. The snip tool can also be used to record your screen if you are doing a screencast.
Use the Preview app to convert a PDF file to an image

If the image you want has been saved as a PDF file, you can convert it back to an image format by using Preview.
- Open the file using Preview and click File at the top of the screen. If you now hold down the Option key, you’ll see a Save as option. Select that.
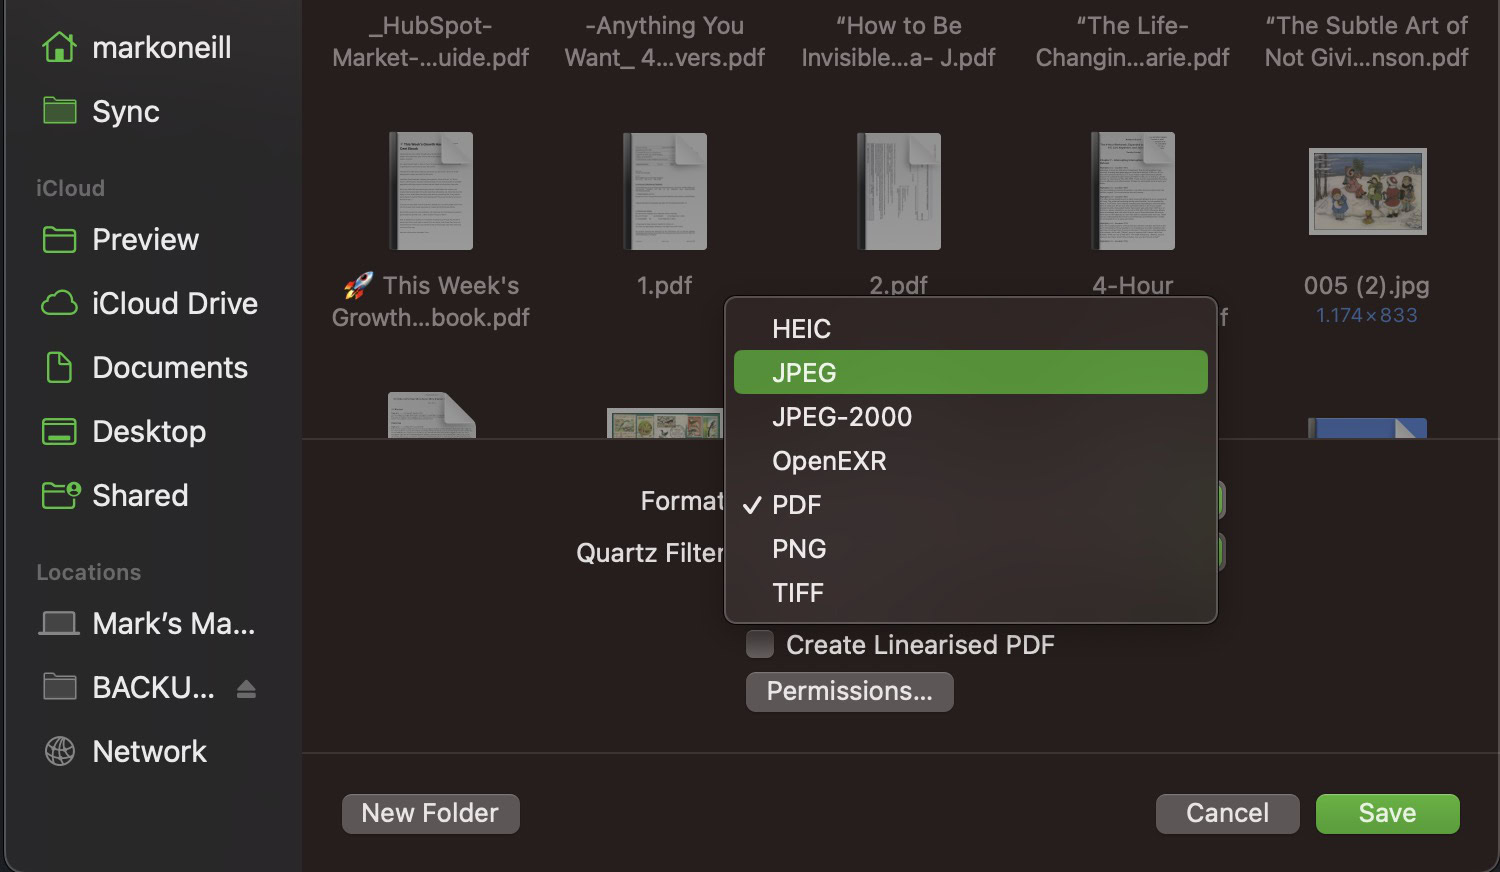
- Drop down the Format menu and select your preferred format. For images, you can choose JPG, PNG, HEIC, or TIFF.
- Click the Save button, and your PDF file will now be saved as an image. This also works for files other than PDFs that have an image inside.
Read more: How to extract images from a PDF file
FAQs
By default, all saved images will be placed in the Pictures folder. To change the default download folder, go into your browser’s settings. There will be an option there to change the downloads folder. Note if you use more than one browser, you will have to change this setting for each one.
There are third-party apps that can do it, but Apple has built-in functionality to convert HEIC images to other formats.