Affiliate links on Android Authority may earn us a commission. Learn more.
How to set up your Narwal Freo X Ultra robot vacuum and mop
March 12, 2024
Did you just get yourself a shiny new Narwal Freo X Ultra robot vacuum and mop? We’re sure you are excited to try out your new $1,400 investment (or $1,200, if you get the deal we’ll mention at the end of the article). While expensive, it’s one of the best robot vacuum and mop combos we’ve ever tested, and we loved it during our Narwal Freo X Ultra review. If you’re ready to enjoy the pleasures of automated floor cleaning, just like we did, keep reading to learn how to set up your Narwal Freo X Ultra.
How to set up your Narwal Freo X Ultra robot vacuum and mop
Prepare the base and robot before turning anything on
Unboxing the Narwal Freo X Ultra
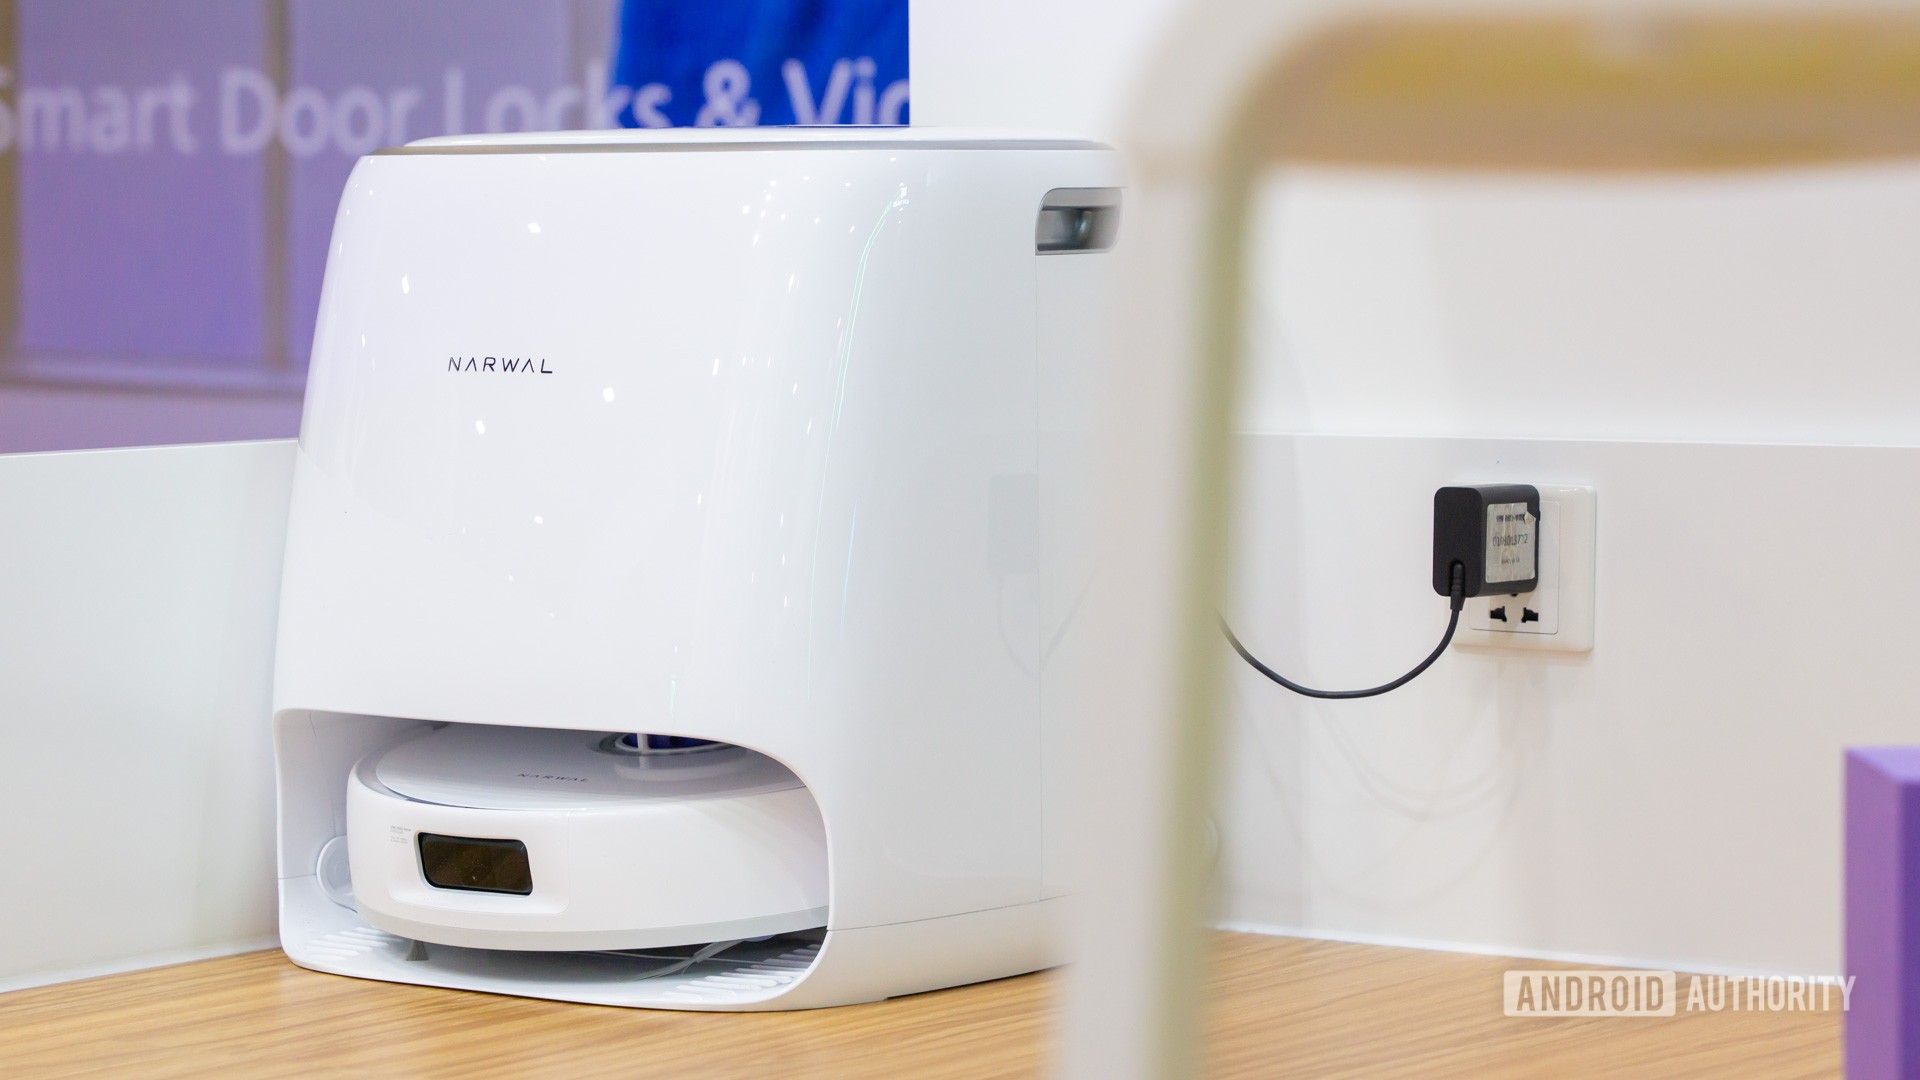
First things first, you’ll need to unbox your brand-new Narwal Freo X Ultra! This is undoubtedly one of the funnest experiences whenever you get a new product. Set the box upright and uncover the lid. Pull out the robot, two side brushes, and a power chord. Set them to the side on a flat, safe surface.
Go to the next layer below, and you will find the base station. It has handles on each side, so use them to pull it out safely and set it on a flat surface, as well. The base station will also hold an accessory box inside it, in the robot’s dock. This box contains the dust bin and dust bag. Pull them out and set them next to your robot.
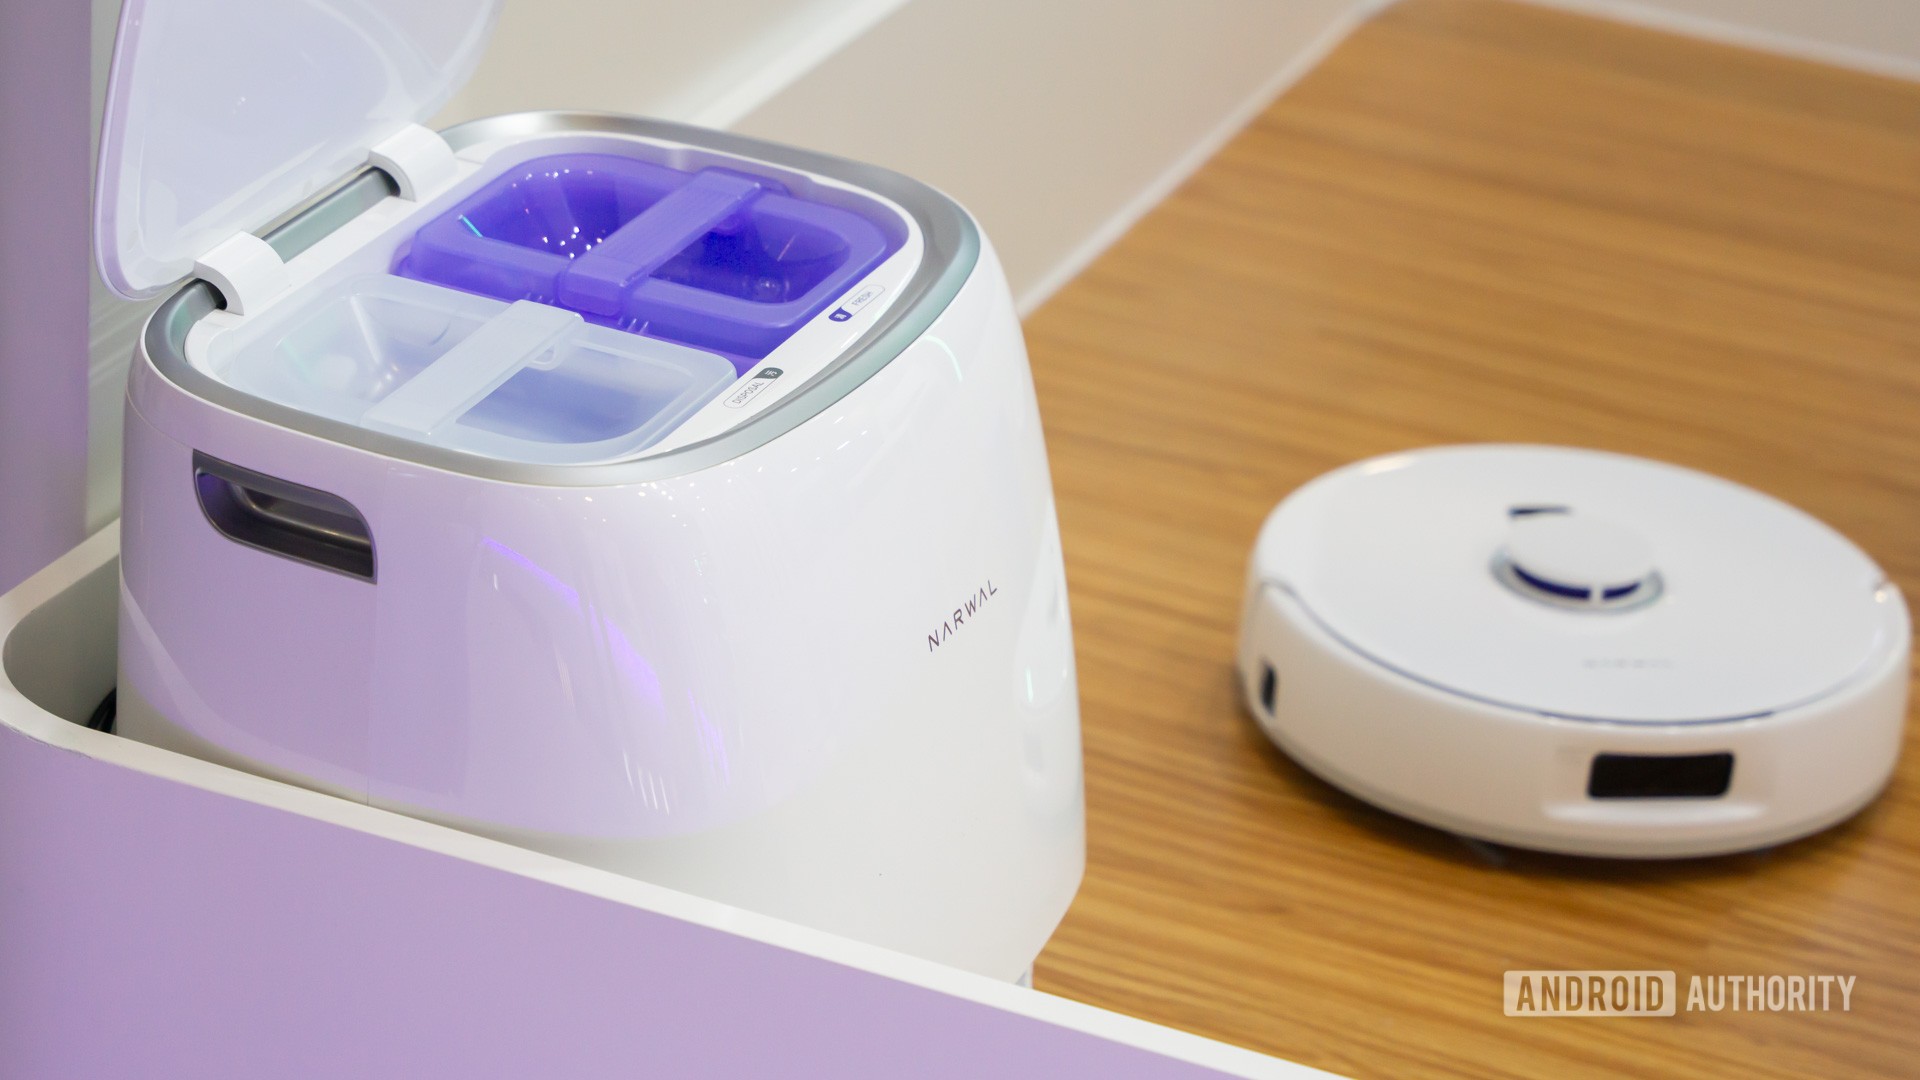
Unwrap everything and get it all ready for prime time. Oh, and don’t forget to uncover the base station’s lid, on top. Pull out the clean water tank, which also comes with the cleaning solution inside of it. You can leave the dirty water tank in there. However, make sure to remove any of the packaging materials.
Assembling your Narwal Freo X Ultra
Now that you have all the units and parts laid out, it’s time to assemble everything together. Flip the robot upside down. Preferably set it on a soft surface, to avoid scratching the top. This could be a rug, or a couch. Grab the side brushes. You’ll notice one is orange and the other is purple. These colors indicate which side each brush goes on. Match the colors in the robot and brushes, and simply snap them in place. You just need to place the brush on top of each knob and push it down.
Now it’s time to decide which dust container you’ll want to use. You have two options: the hard plastic dust bin or a disposable dust bag. During our Narwal Freo X Ultra review, we mentioned the disposable dust bag is nicer, as it requires no cleaning on your part, and reduces dust. It has a HEPA air filter, and can store several weeks worth of debris. Of course, the downside is these are disposable, and replacing them costs $20 for a pack of three.
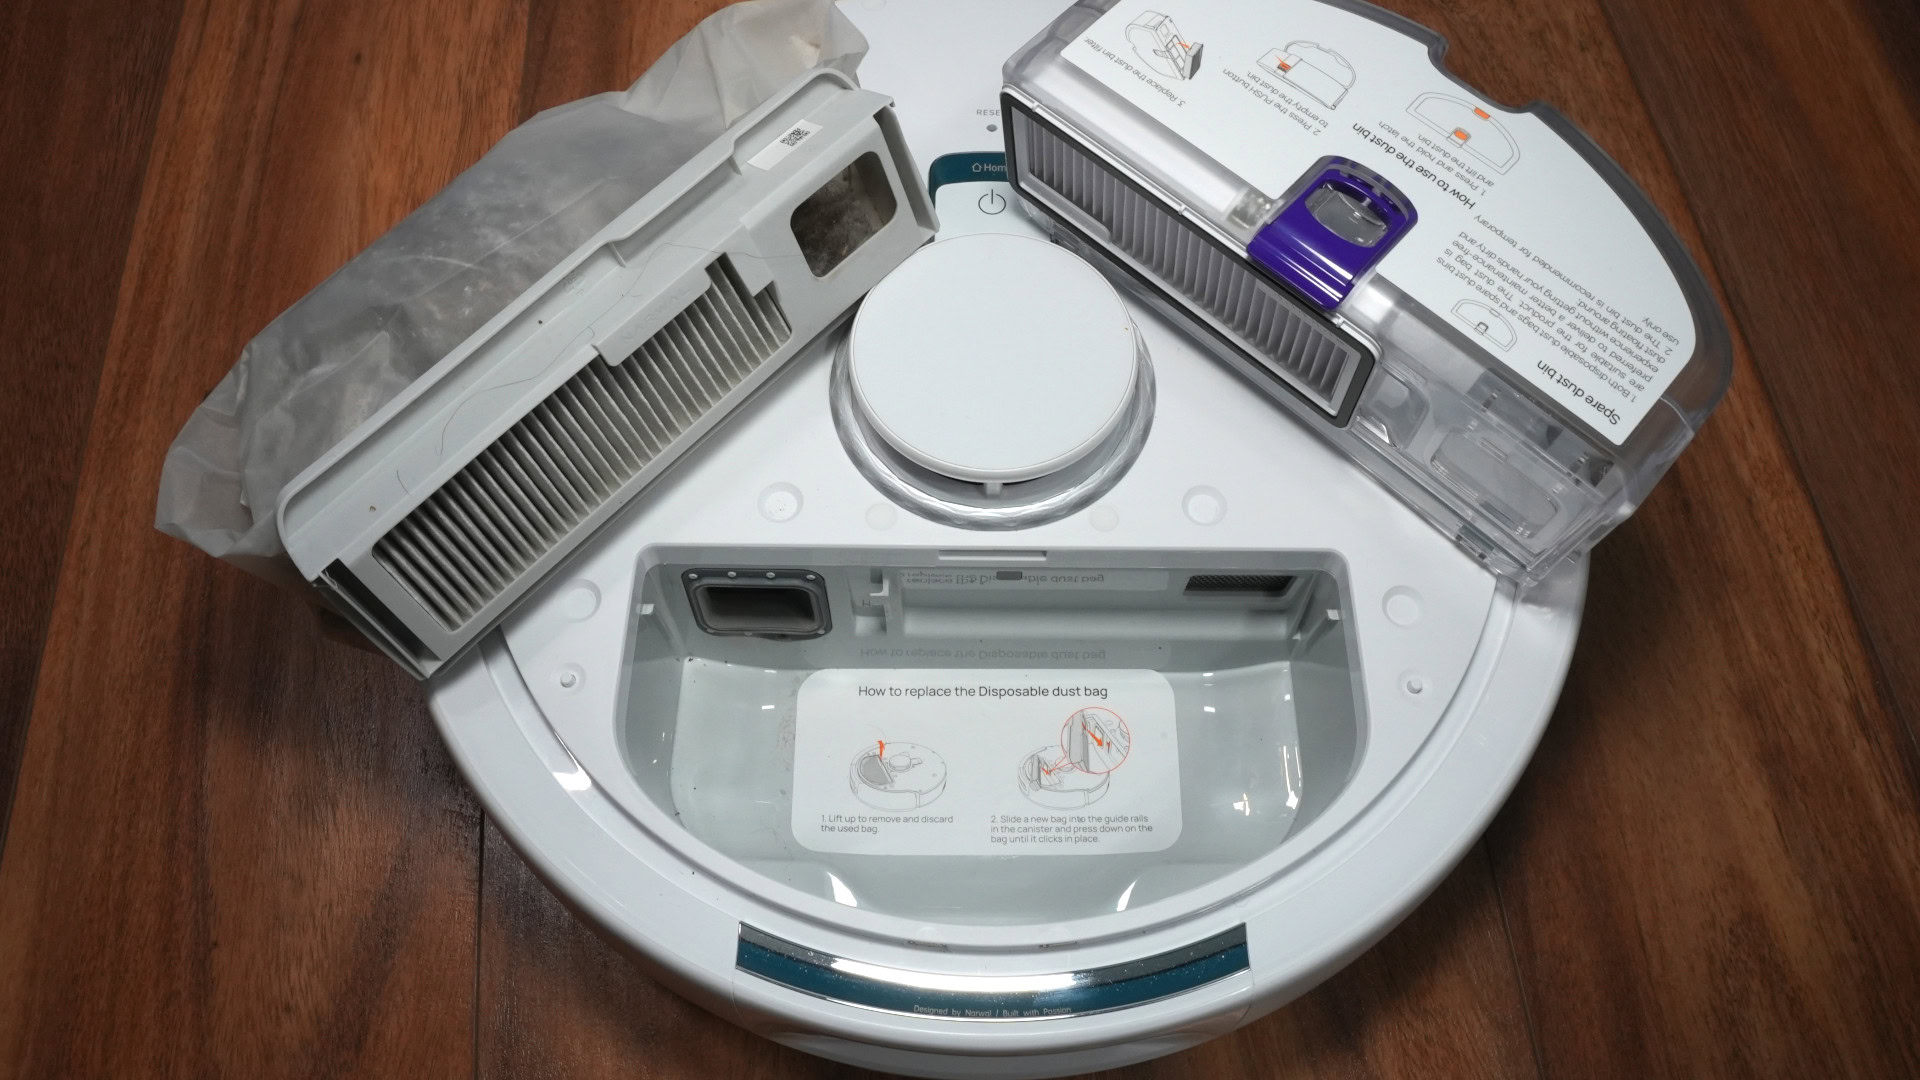
If you choose to go for the regular, plastic dust bin, this won’t be a dust-free experience, and will require more maintenance. You’ll have to manually clean it, and either clean or replace the filter every so often.
Once you make up your mind, grab your dust container of preference and open the robot’s top cover. It just comes off. Dock your bin or bag into the dedicated slot. Also, make sure to remove the foam in the anti-collision sensor. Your robot is ready!
Set up the Narwal Freo X Ultra base station
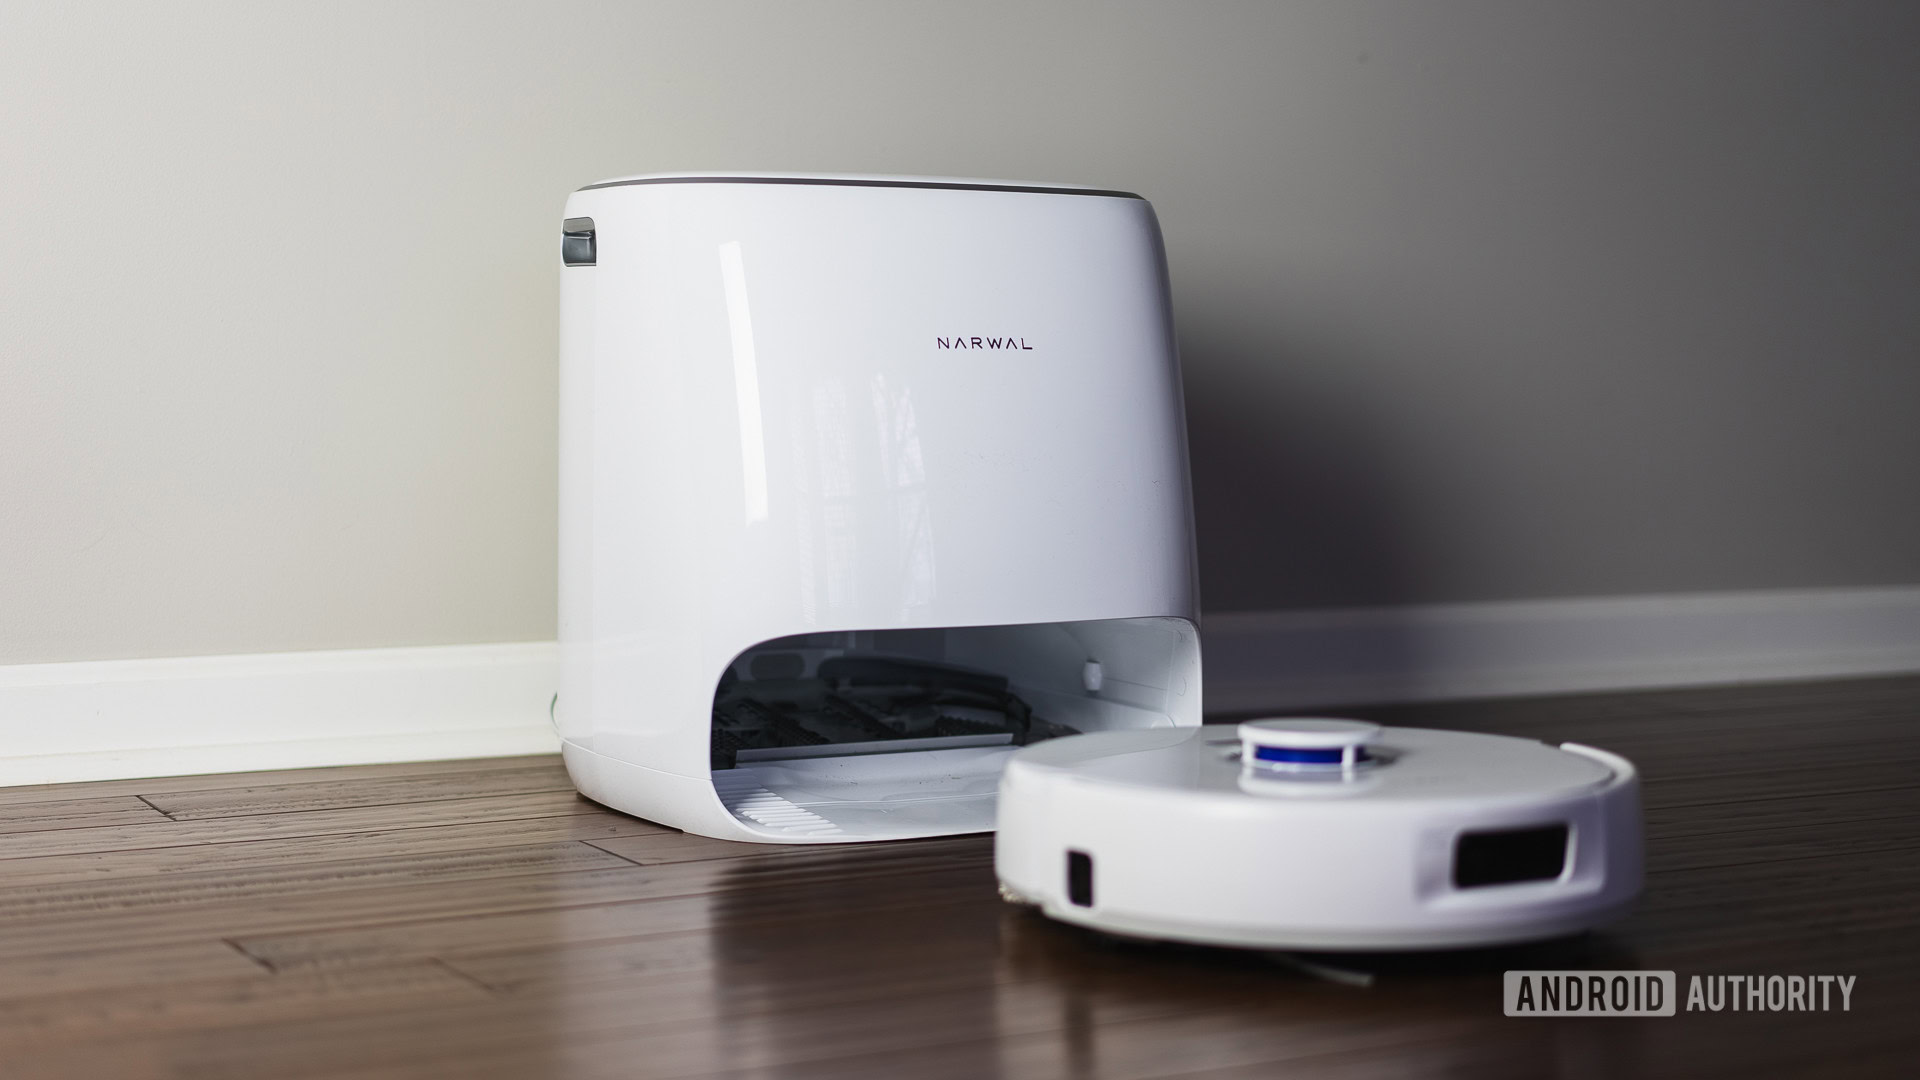
Of course, the robot is only half the equation. Now, it’s time to get the base station ready. Find a location for the base station. It can be anywhere, but just be conscious that it needs to have at least a meter of clearance right in front of it. Take the power cable and plug it in.
Fill up the clean water tank (the purple one) with water. There is a “Max” label on the side of the clean water tank. Ensure the water level doesn’t go over this line.
Before installing the clean water tank back in the base, go ahead and install the detergent. It goes in front of the clean water tank, on the inside of the base. It has a self-dispensing mechanism that allows for super simple installation. You just flip it upside down, slide it in, and it docks. It should stay in place without tipping over.
After this, go ahead and install the clean water tank in place. And also place the empty dirty water tank on the other side. Grab the robot and slide it into the base station, with the side brushes facing outward. Now, let the robot charge, and let’s move on to the app to finish setting everything up.
Go through the initial setup in the app
You’re almost there! Just a few minutes more. Let’s go over the initial app setup process together. You should have your new robot cleaning away in no time.
How to create an account in the Narwal app:
- Download the official Narwal Freo app from the Google Play Store.
- Open the Narwal Freo app.
- Select your country and language, then hit the arrow button.
- Read the terms and hit Agree and proceed.
- Enter your email address, the tap on the Send button in the Enter verification code section.
- Check for an email from Narwal. It will include a verification code.
- Go back to the Narwal Freo app and enter the verification code. Make sure both disclaimers on the bottom are checked, then hit Login/Register.
You have your account now! It’s time to add your new robot vacuum to the app.
How to add the Narwal Freo X Ultra to the Narwal app:
- Under Add a Device, tap on the + button.
- Select the Freo X Ultra.
- Read the IoT Device Privacy Policy and hit Yes.
- Select Enable now to activate location services and Bluetooth.
- Hit Next to start the Wi-Fi configuration.
- Select your Wi-Fi network, enter the password, and tap on Next.
Your device is now added to the application. This means it is technically ready to go, but we advise that you let it charge up to 100% before continuing.
How to map and start using your Narwal Freo X Ultra
The next step is to let the robot map your home. This takes time, and you don’t want the robot to die midway. In the meantime, get your home ready for the mapping.
Remove all random items that may be lying on the floor. This may include random shoes, your kids’ toys, boxes, random furniture that may not be where it will usually be, etc. Open doors to rooms you will want the robot to clean in the future, and close ones you don’t want it to access. When the house is ready, and the robot is charged, we can move on to the next steps.
Mapping your house with the Narwal Freo X Ultra:
- Launch the Narwal Freo app.
- The app should prompt you to start the mapping process as part of the initial setup. Tap on Start Mapping.
- If it’s no longer showing the initial setup screen, just tap on the Start button, which looks like a play button. It will automatically start mapping if it has no recorded map.
- Additionally, you can do this from the base station. Just tap on the base’s screen to wake it, then select Begin.
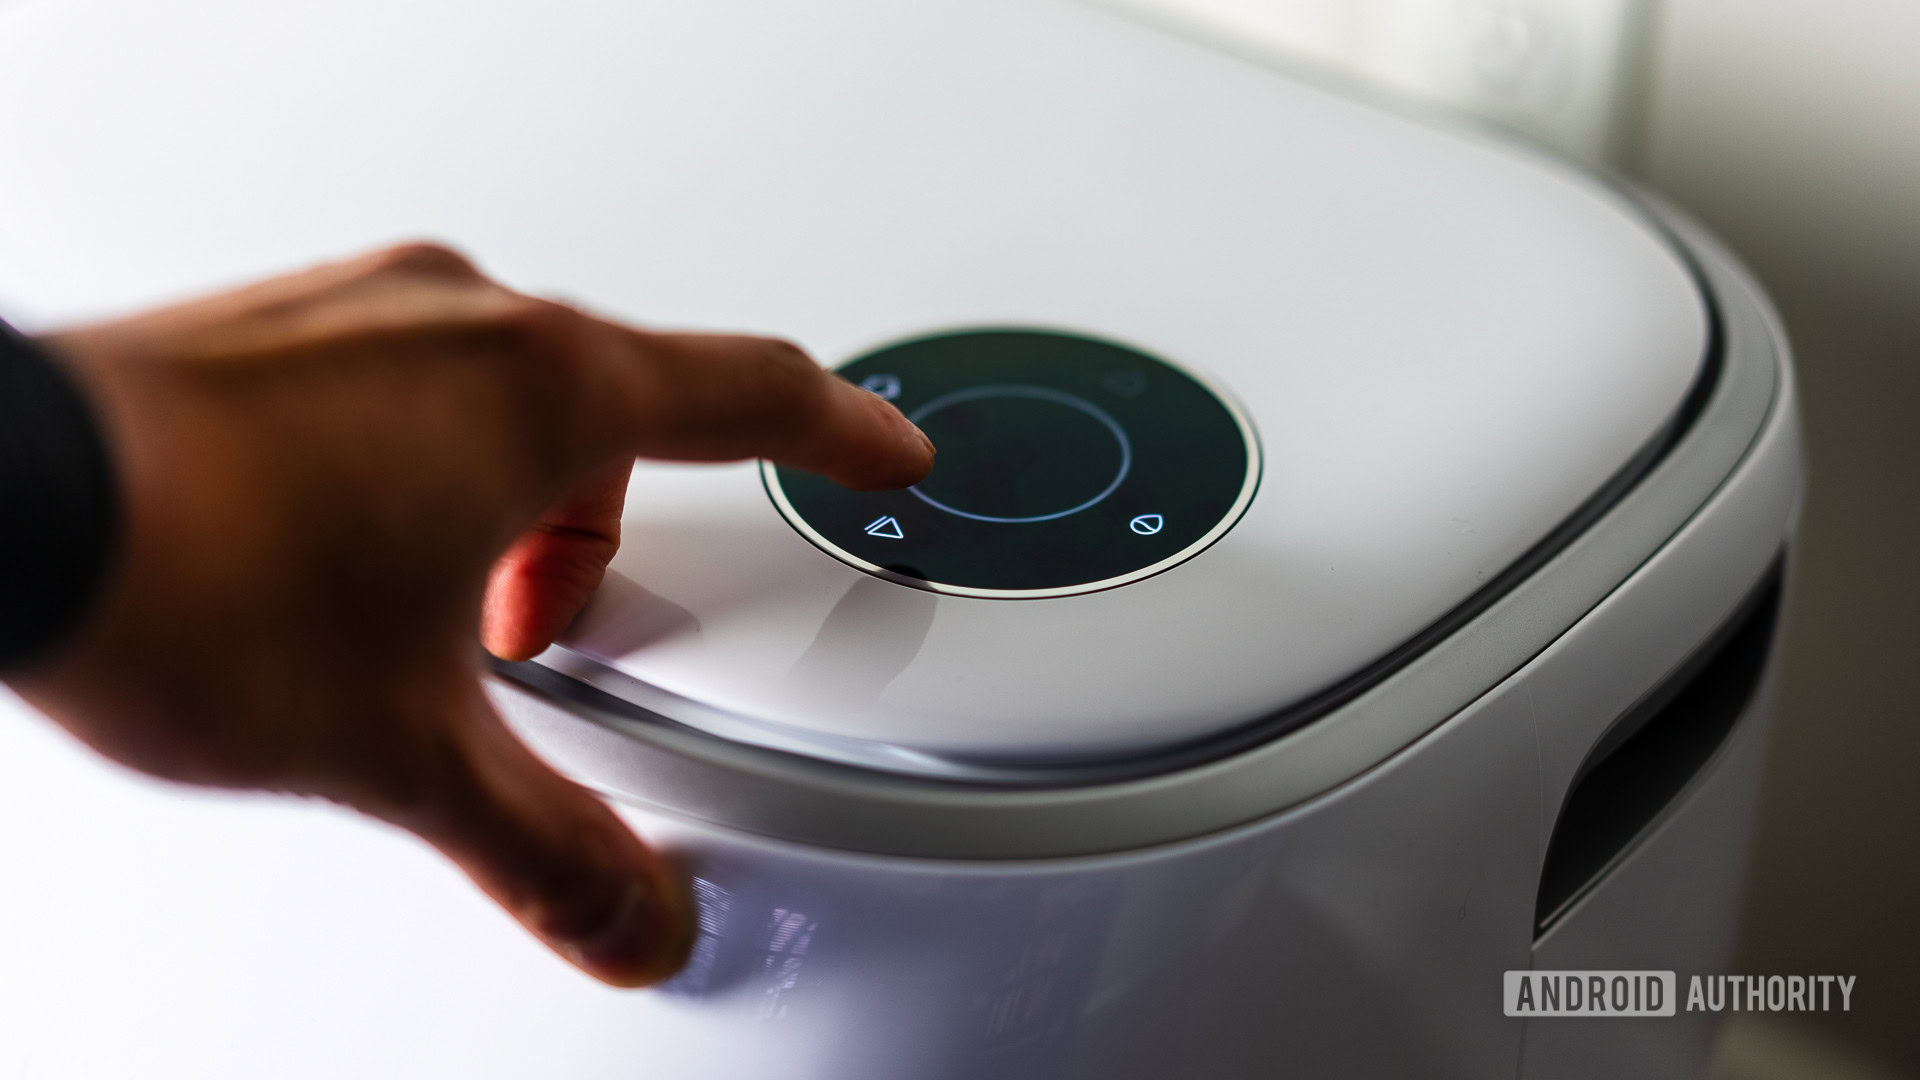
The Narwal Freo X Ultra will roam around your house and learn every space, nook, and cranny during the mapping process. It should take a little while, especially if you have a larger home. Let it do its thing until it returns to the base station. Then, let it charge again.
You can go ahead and tap on Edit map if you want to set no-go zone, name rooms, and more. Otherwise, select Edit later. Now, you’ll be welcomed by the standard home page, which offers multiple cleaning options. Take your pick and let the Narwal Freo X Ultra clean while you enjoy your newly liberated time!
Maintaining the Narwal Freo X Ultra
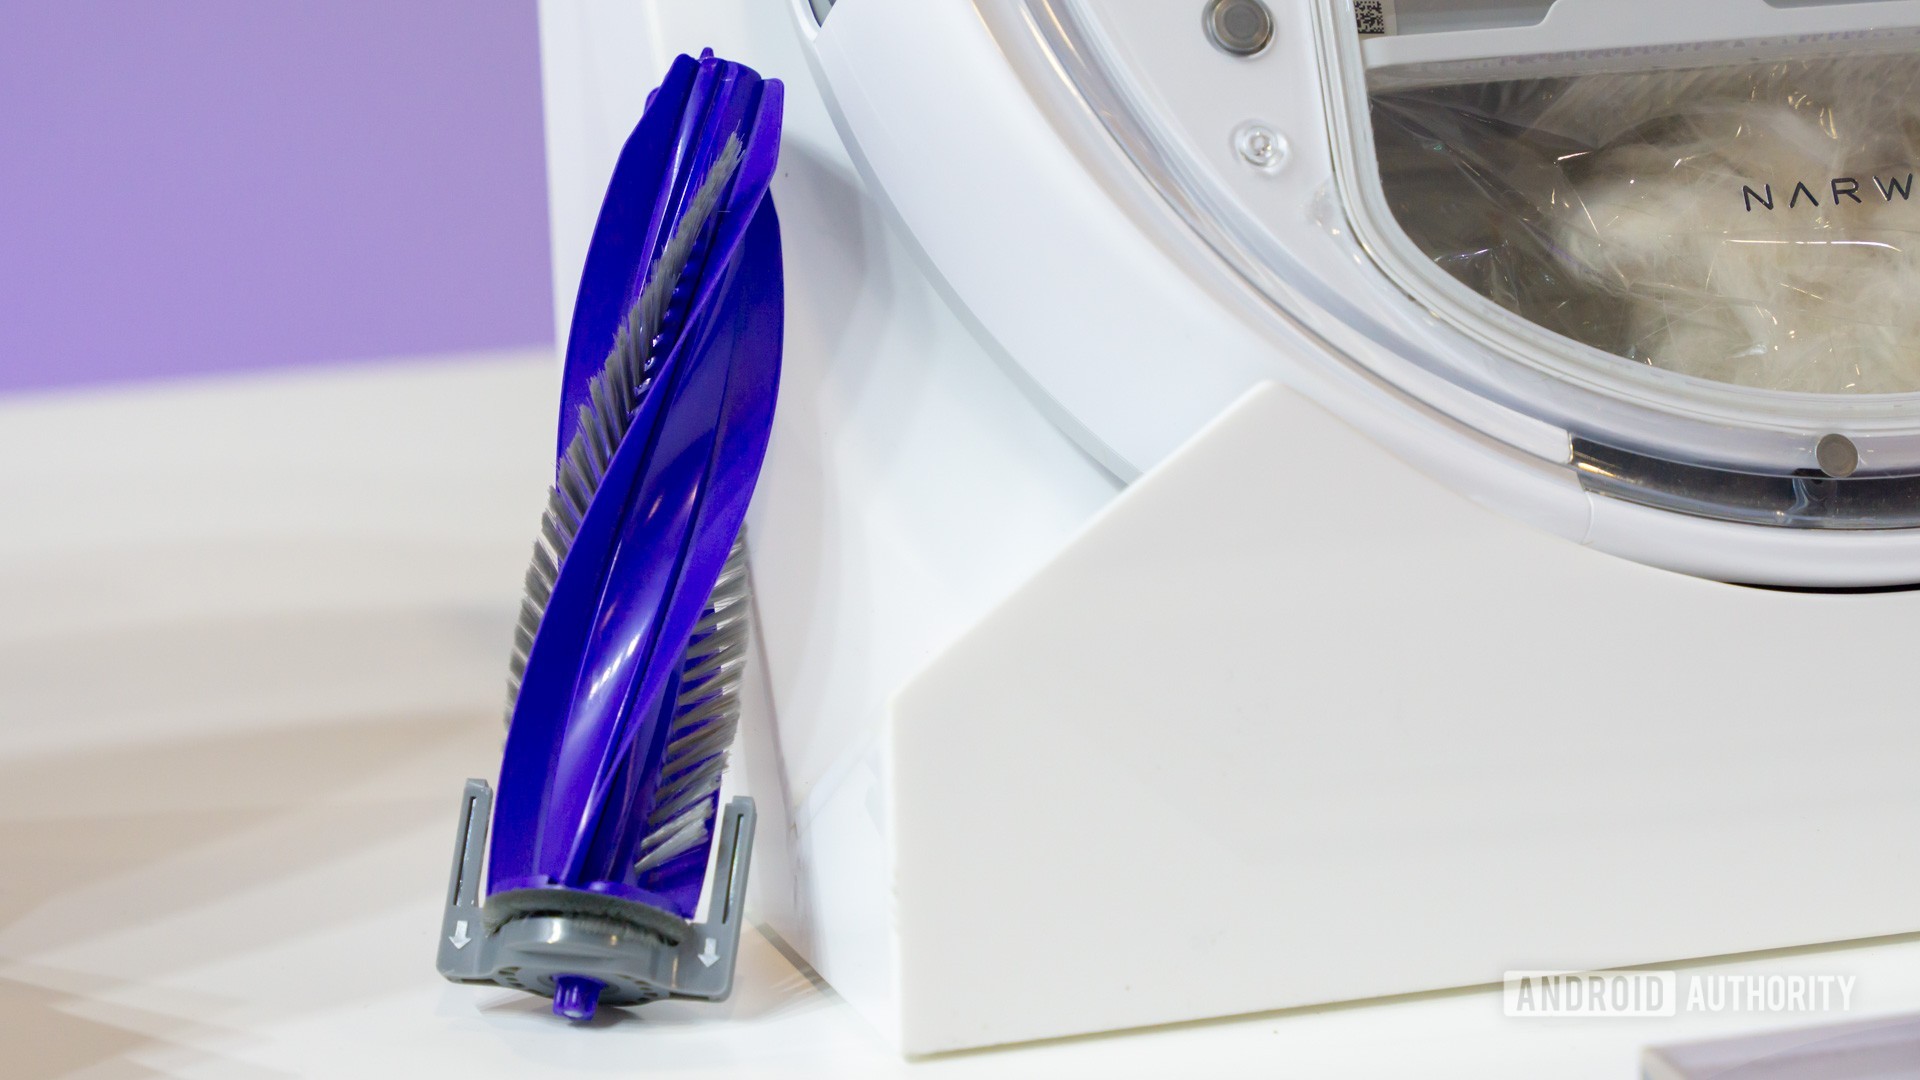
The Narwal Freo X Ultra is excellent at being pretty self-sustainable. In our review, we found that we only needed to replace the vacuum bag about every 7-10 weeks, and the detergent will require a replacement every few months. The roller brush should last about a year, and both the side brushes and mop pads will need to be replaced every two years or so. You can buy these Narwal accessories straight from Amazon.
The only thing you’ll have to worry about on a more constant basis is disposing of the dirty water and refilling the clean water tank. That said, Narwal also offers the Freo Automatic Water Exchange System. This system connects directly to your water pipeline and the drain. It will automatically refill with clean water and dump all the dirty water out without you doing a thing. You can get it straight from Narlwal’s website.
Still don’t have a Narwal Freo X Ultra? Here’s a deal!
Maybe you read this setup tutorial before buying the Narwal Freo X Ultra robot vacuum and mop. We can understand, as it can be a significant investment, and you can learn more about the device here if you need more info.
You don’t have to pay $1,400, though! You can save $200 for a limited time. Until March 15th, 2024, you can a $200 discount clip-on coupon on Amazon before adding it to your cart. So, if you’re going to pull the trigger on this investment, it’s probably best to do it sooner rather than later.

FAQs
Most of the time, yes. The Narwal Freo X Ultra battery should last about 2.5 hours when both vacuuming and mopping. This should cover most homes unless the floor space is enormous.
Another thing to consider is that the Narwal Freo X Ultra is determined to really clean your floors, and will use all its sensors to ensure this is the case. For example, the first time we tried the robot, it had to clean for over two hours, and it used about 75% of the water in the tank. The next day, the same process lasted about an hour, and only used 20% of the water.
This means that how long the robot takes to clean a place will highly depend on how dirty it is, and how quickly it gets dirty.
The Narwal Freo X Ultra will constantly analyze what type of surface it is cleaning. It will automatically turn off mopping when it notices it’s cleaning a carpet. Additionally, it will increase the suction power when cleaning a carpet, so as to really get the dirt and particles out of the threads.
Yes, the Narwal Freo X Ultra can be controlled using Alexa, Google Assistant, and Siri.