Affiliate links on Android Authority may earn us a commission. Learn more.
Six things to do before selling your Android device
Published onDecember 1, 2014
While selling your Android device may seem like a no-brainer, there are actually quite a few steps you should take before you simply hand over your old phone to its new owner. It’s important to make sure all of your information is backed up, removed, and safely in your hands.
Let’s face it, there are some sketchy people out there. A lot of them are well-intentioned, trustworthy people that just want a sweet, inexpensive Android device. But then there are the bad eggs – people who want not only your device, but the data that comes with it – and there are a few things you can do to prevent that from happening.
Here are six important steps you should take before selling your Android device.
Deactivate your phone from your wireless carrier
First and foremost, this step should be done before you even mess with your device. It’s the step that many people forget to do, though it’s one of the most important steps. Not only does it set your buyer up for success, it causes a lot of headaches – for both parties – if skipped over.
If you neglect to remove the device from your service provider, your buyer won’t be able to activate it when the time comes to do so. What if they try to contact you to get it straightened out? They may not have your email address or your new number. In many cases, this will be done automatically if you transfer your existing number to your new phone, or if you have a GSM device and remove the SIM card. It would also be difficult to “forget” that you have an extra line on your account that you’re paying for. But it still does happen, so here’s your reminder to do so!

Back up your data
Before backing up your data to an external drive, it might be best to wait until you get your replacement device first. If you’re replacing a phone or a tablet, the easiest way to complete this step is to simply transfer all of your important data to your new device, rather than transferring it later. Android 5.0 Lollipop makes this step extremely easy, allowing you to copy all of your data to the new device during the set up process. If you aren’t replacing your device, here’s what you’ll need to do.
For most, the most important data is pictures, videos, and music, and that can be done as simply as removing your SD card and putting it in a computer to back up. If your current device doesn’t have an external memory card, you’ll need to connect the device to a computer with your MicroUSB cable. From here, you can drag and drop the files you need to your computer. If you’re using this method, many Android devices store multimedia files in the DCIM folder, so pay attention to that when you hook up your device.
Transferring contacts is even easier, since most users’ contacts are likely already synced with their existing Google account. Once you add in your Google account info to the new device, your contacts will appear automatically. One way to make sure your contacts are backed up is to head to Settings>Accounts>Google>your email address, then make sure “Contacts” is checked and synced.
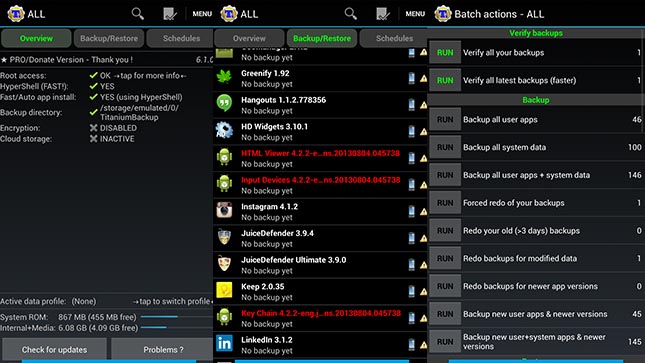
For those looking for a ‘deeper’ backup solution, there’s plenty of solid software solutions out there to get the job done, including Titanium Launcher or Carbon.

Remove SIM/microSD cards
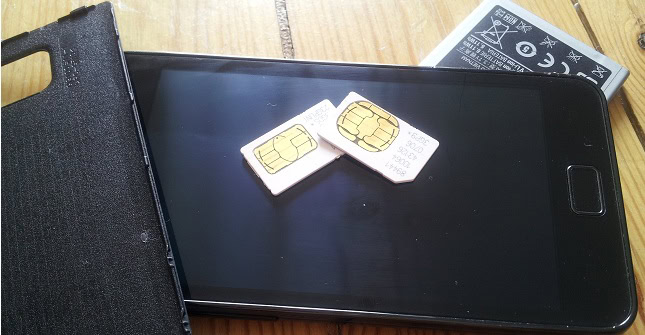
On some devices, contacts and call logs can be stored on your SIM or microSD cards, so it’s really important that you remove these before selling. Chances are, you’re not going to want to give up either of these when selling the device, so keeping them to yourself is a great way to ensure security.
If you do plan to give away your microSD card, be sure to at least back up the contents and thoroughly wipe the card.

Encrypt/factory data reset
Now here’s the fun part. Completely erasing your data, or performing a “factory data reset”, is the no-turning-back point of the process. Doing so can’t be reverted, so make sure you’ve followed the above steps before you perform this step. Before we get into the process of erasing your data, you’ll need to decide how trustworthy your buyer is. This can be hard to grasp, but there are a few extra steps you can take to ensure none of your data is compromised.
First, let’s start with the basics. Performing a factory data reset will be enough for most users, as it erases everything on the device. Once you perform one, your device will be back to factory settings and all of your information will be removed. The easiest way to do this is to head to Settings>Backup & reset> Factory data reset. You’ll likely need to enter in your PIN or passcode (if you have one set up). After this, your phone will get to work. It usually doesn’t take more than a few minutes for the process to complete. Keep in mind, if you kept a removable SD card in the device, the reset process likely didn’t erase the contents of the card.
A way to more deeply secure your data from being stolen is to encrypt the device before performing the reset
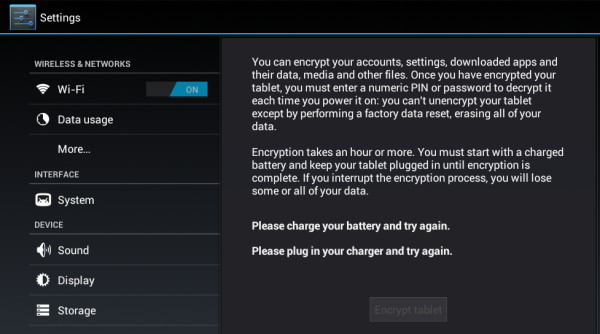
When it comes to factory data resets, it erases most of the data on the device. There is a way to recover some leftover data that the reset likely missed, though it requires some digging. A way to more deeply secure your data from being stolen is to encrypt the device before performing the reset. Encrypting the device will ensure the data won’t be able to be recovered by anyone (except for maybe a super-hacker extraordinaire, but the odds are pretty low..). If you choose to encrypt, use our easy-to-follow guide on how to encrypt your Android device. After you encrypt the device, you can then perform a factory data reset.
Simply resetting the device will be enough for most users, but if you want some added comfort, encryption prior to the reset is the way to go. It’s also worth noting that you might need to relock your bootloader and perform other similar steps if you are someone that has modded your device, though really it depends on the buyer. Some buyers won’t mind if you leave your phone’s bootloader unlocked and/or have a custom ROM on there instead of the ‘default’.

Include/remove any spare accessories
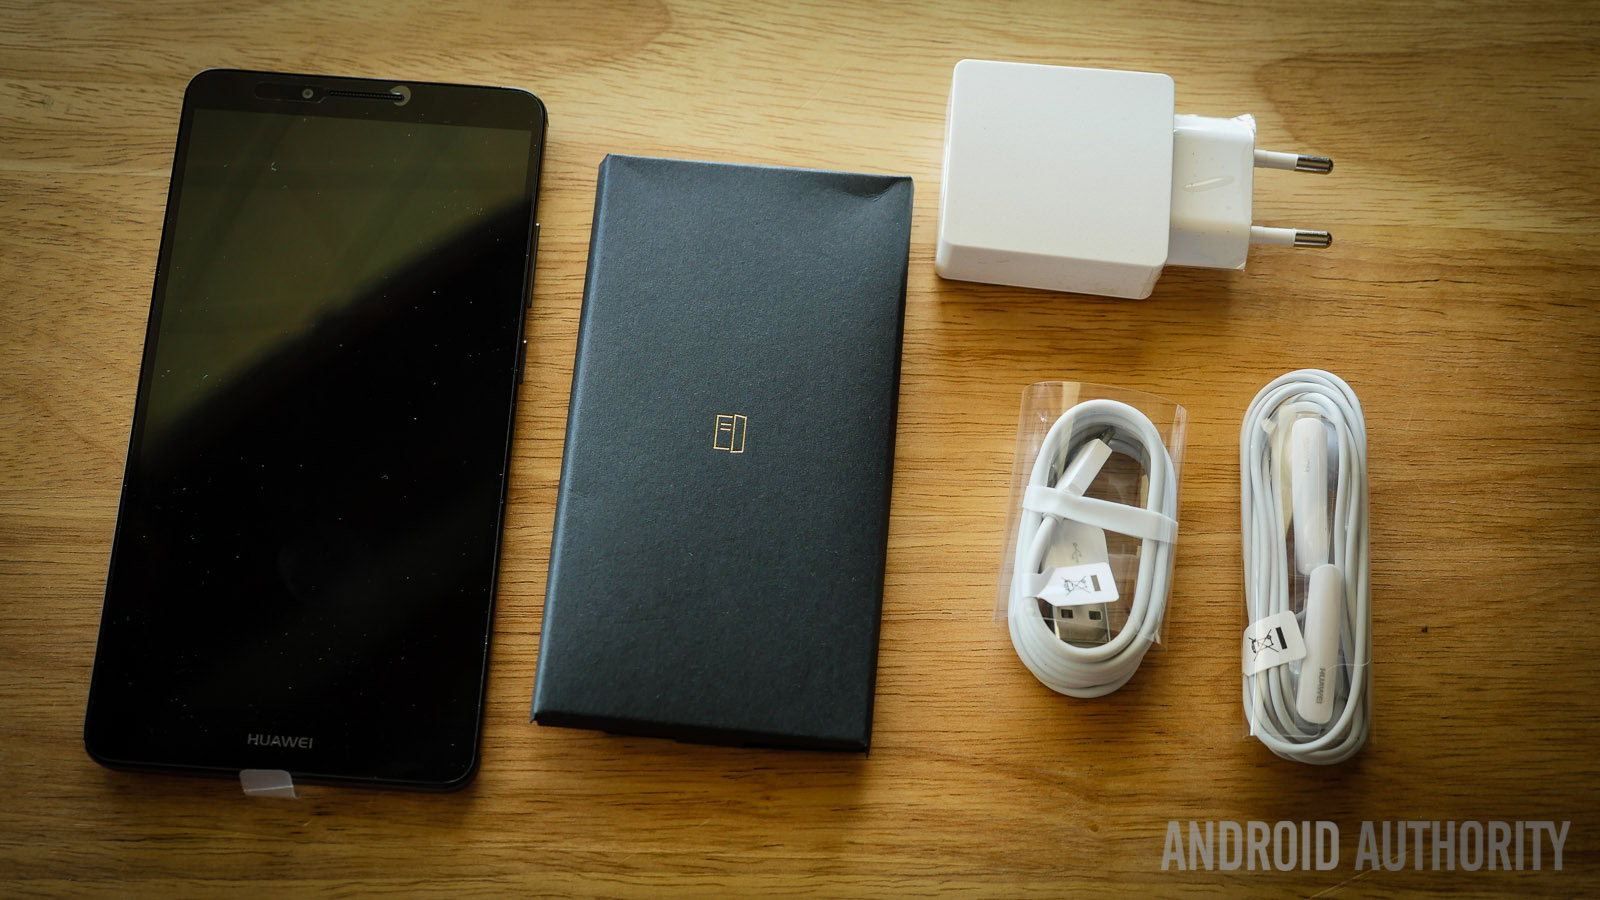
When selling your device, it’s always important to include the stock accessories and extras that originally came with it, unless you’ve clearly told the buyer otherwise. Make sure to take out any aftermarket batteries you’re currently using. If it’s the only working battery you have for the device, make sure the buyer knows prior to the sale.
Clean it!
This is a small step, but we still find it important. Cleaning your device is a nice gesture, and makes the buyer feel like they’re getting their money’s worth. Wiping of the screen, removing any dust or build-up, and cleaning inside the ports is a great way to ensure your customer will be happy. In addition to cleaning it, it doesn’t hurt to have the device fully charged and ready to go for the new owner once they get their hands on it.
Well there you have it. If you follow these steps, your data will be safe and your selling process will go more smoothly than ever. If you have any questions or suggestions regarding any of these steps, or any additional steps you’d like to share, feel free to tell us about them in the comments.