PC/Windows
Best lists, buying guides. and explainers on Windows and Windows-powered machines from ASUS, Dell, Lenovo, and more.
Reviews
Guides
How-to's
Features
All the latest
PC/Windows news
How to transfer photos from Android to a Windows PC
Adam BirneyFebruary 7, 2026
0

The best Nintendo 3DS emulators for PC and Mac
Nick FernandezJanuary 30, 2026
0

8 ways to control your Android from a PC
Palash VolvoikarJanuary 28, 2026
0
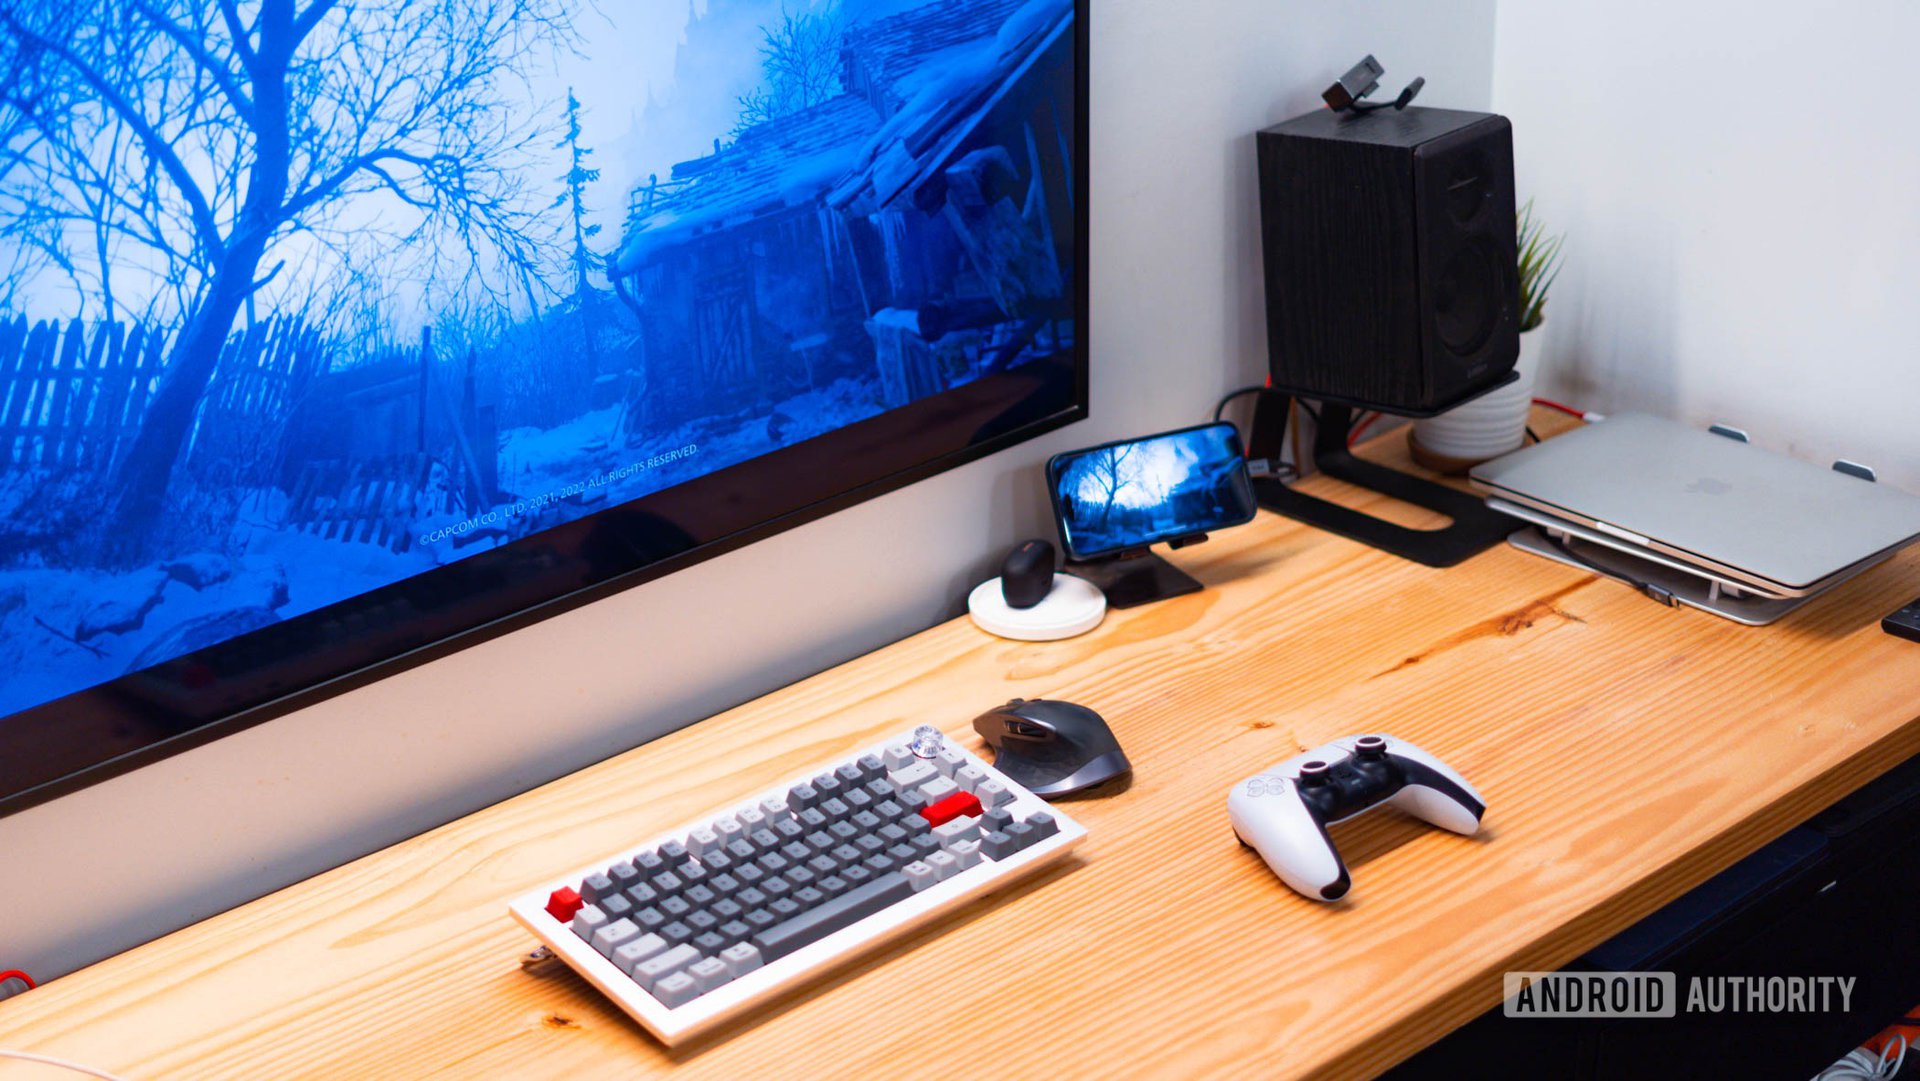
These are the Android emulators for PC and Mac I recommend in 2026
Nick FernandezJanuary 16, 2026
0
These 3 features made me drop Chrome for Samsung’s new PC browser
Andy WalkerNovember 10, 2025
0
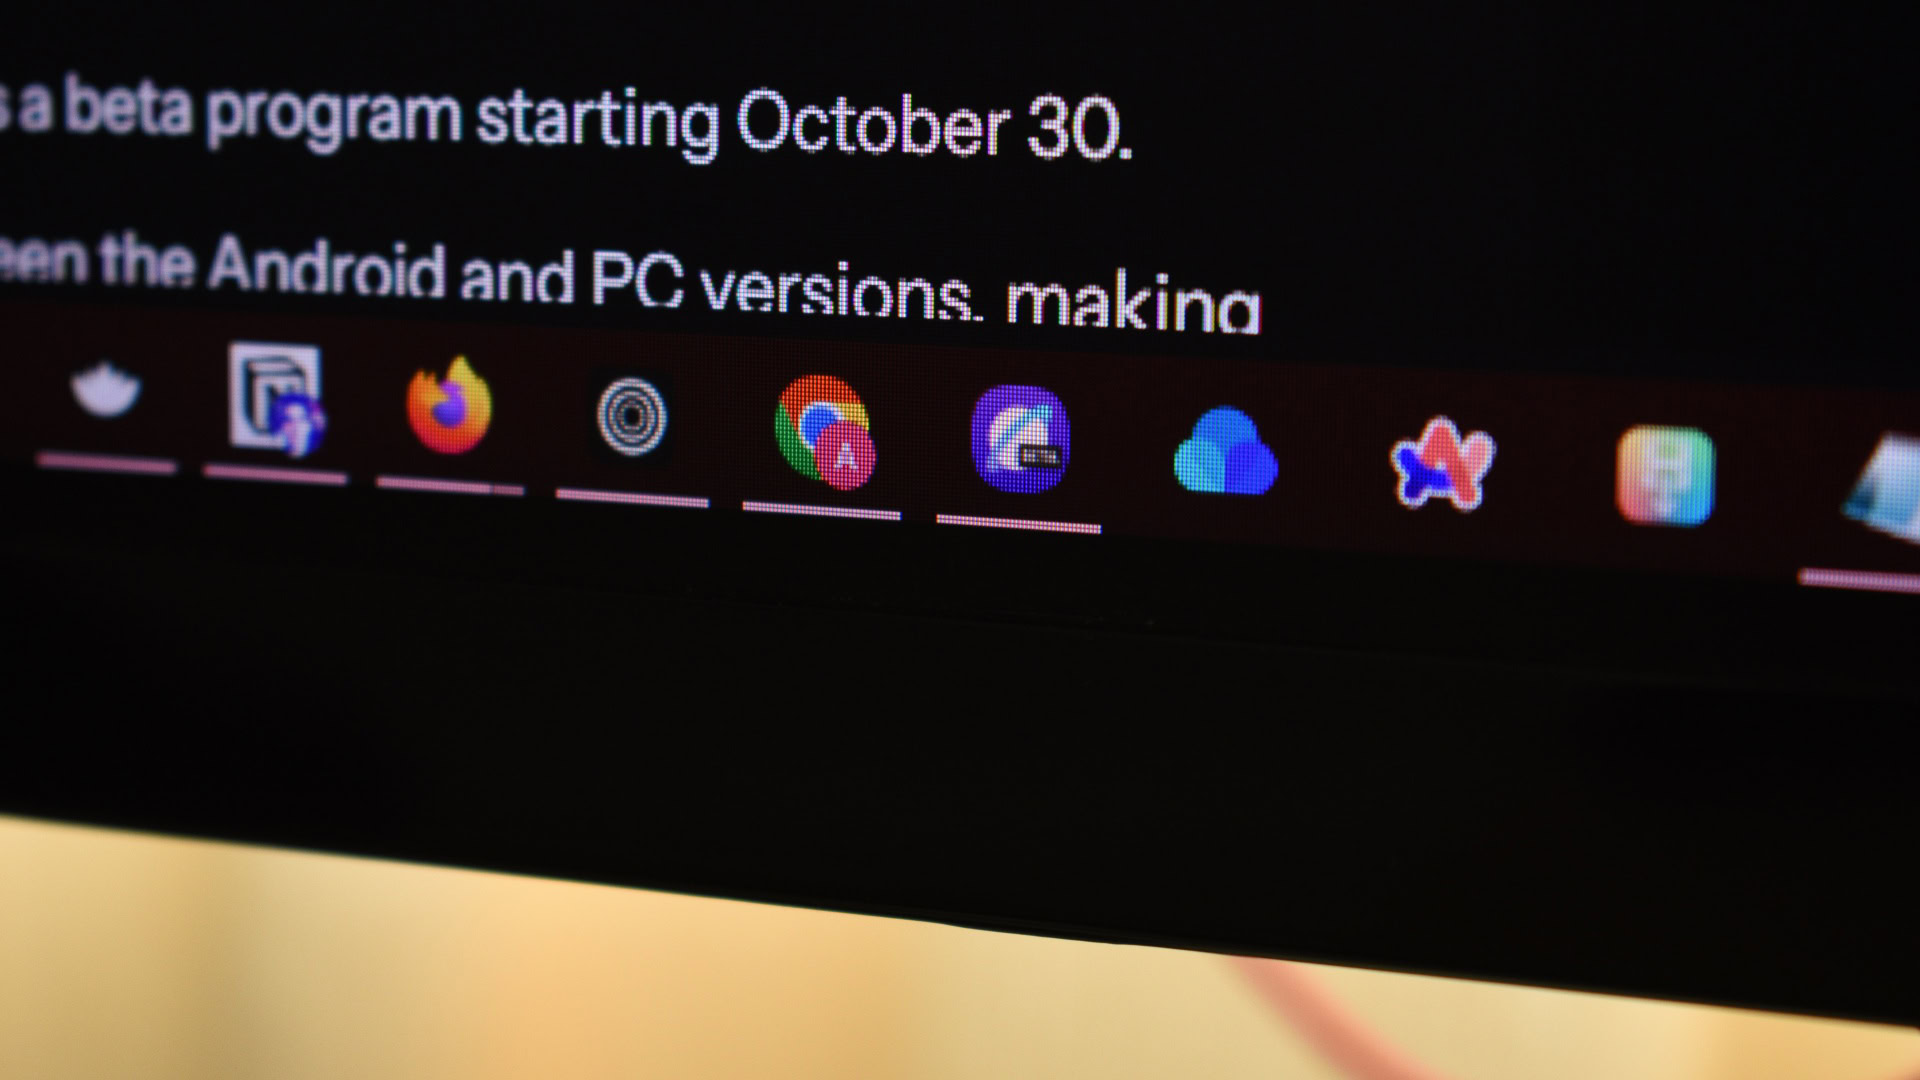
How to run Android apps on Windows 11: Official and APK methods
Palash VolvoikarNovember 9, 2025
0
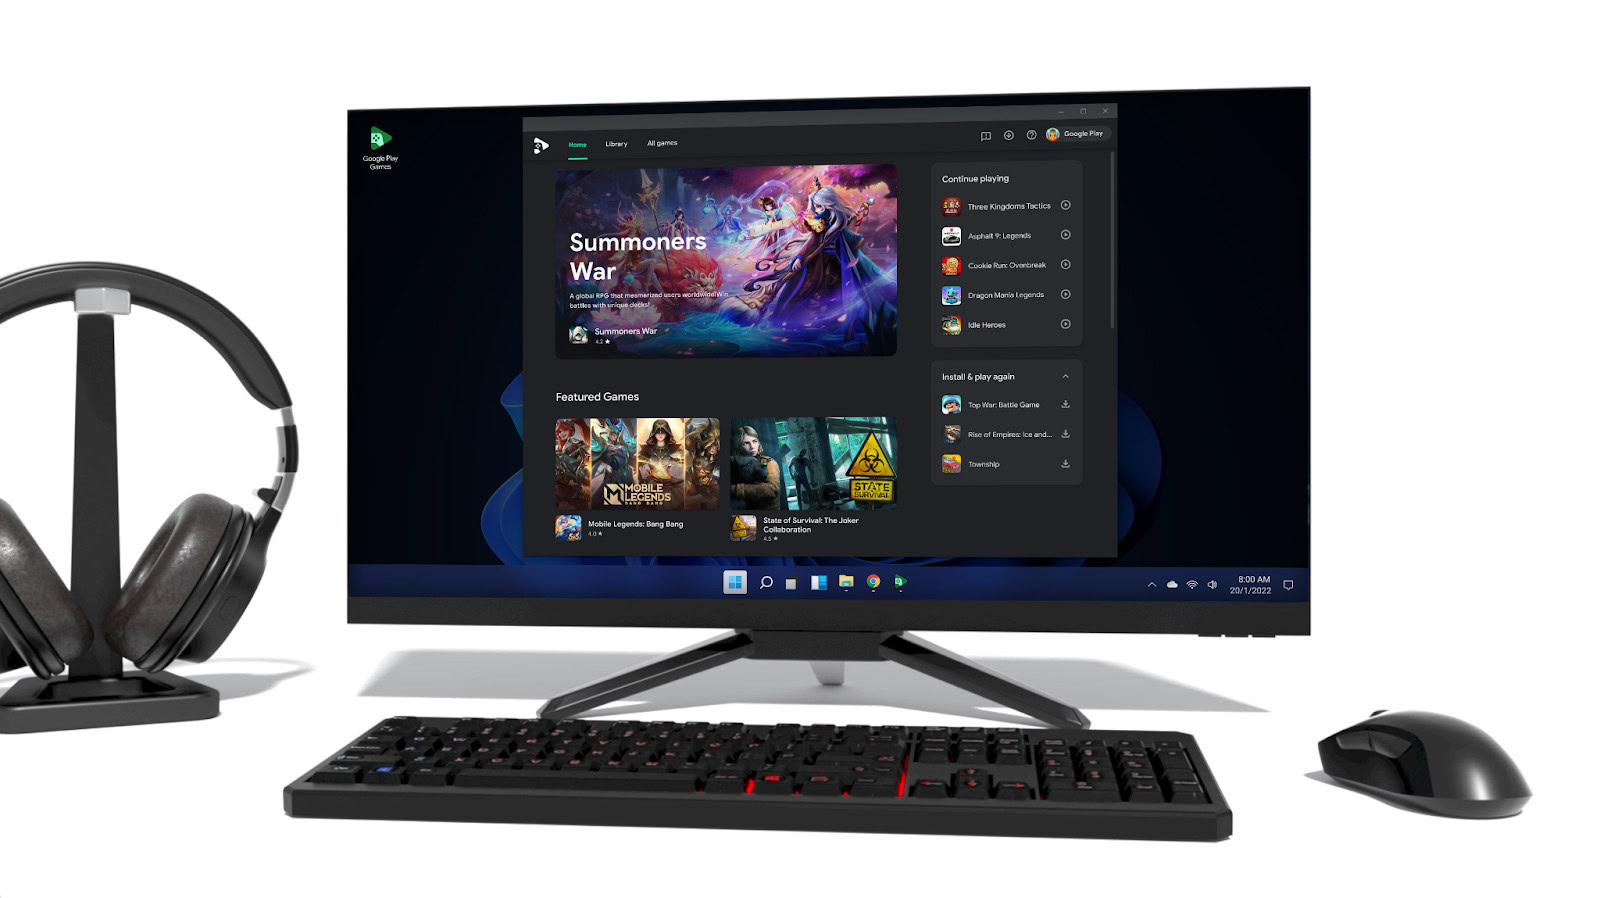
I almost ditched Chrome for Samsung’s new PC browser, but one missing feature is stopping me
Zac Kew-DennissNovember 9, 2025
0

How to use Android apps on Windows 11 without the Play Store
Andy WalkerNovember 6, 2025
0

Why Apple should be terrified if Gemini comes to macOS
Karandeep SinghOctober 16, 2025
0

There's already a big concern about Google's Android-powered PCs
Joe MaringSeptember 25, 2025
0

Windows 11 is getting close to resuming your Android apps like Apple Handoff
Ryan McNealJanuary 28, 2026
0
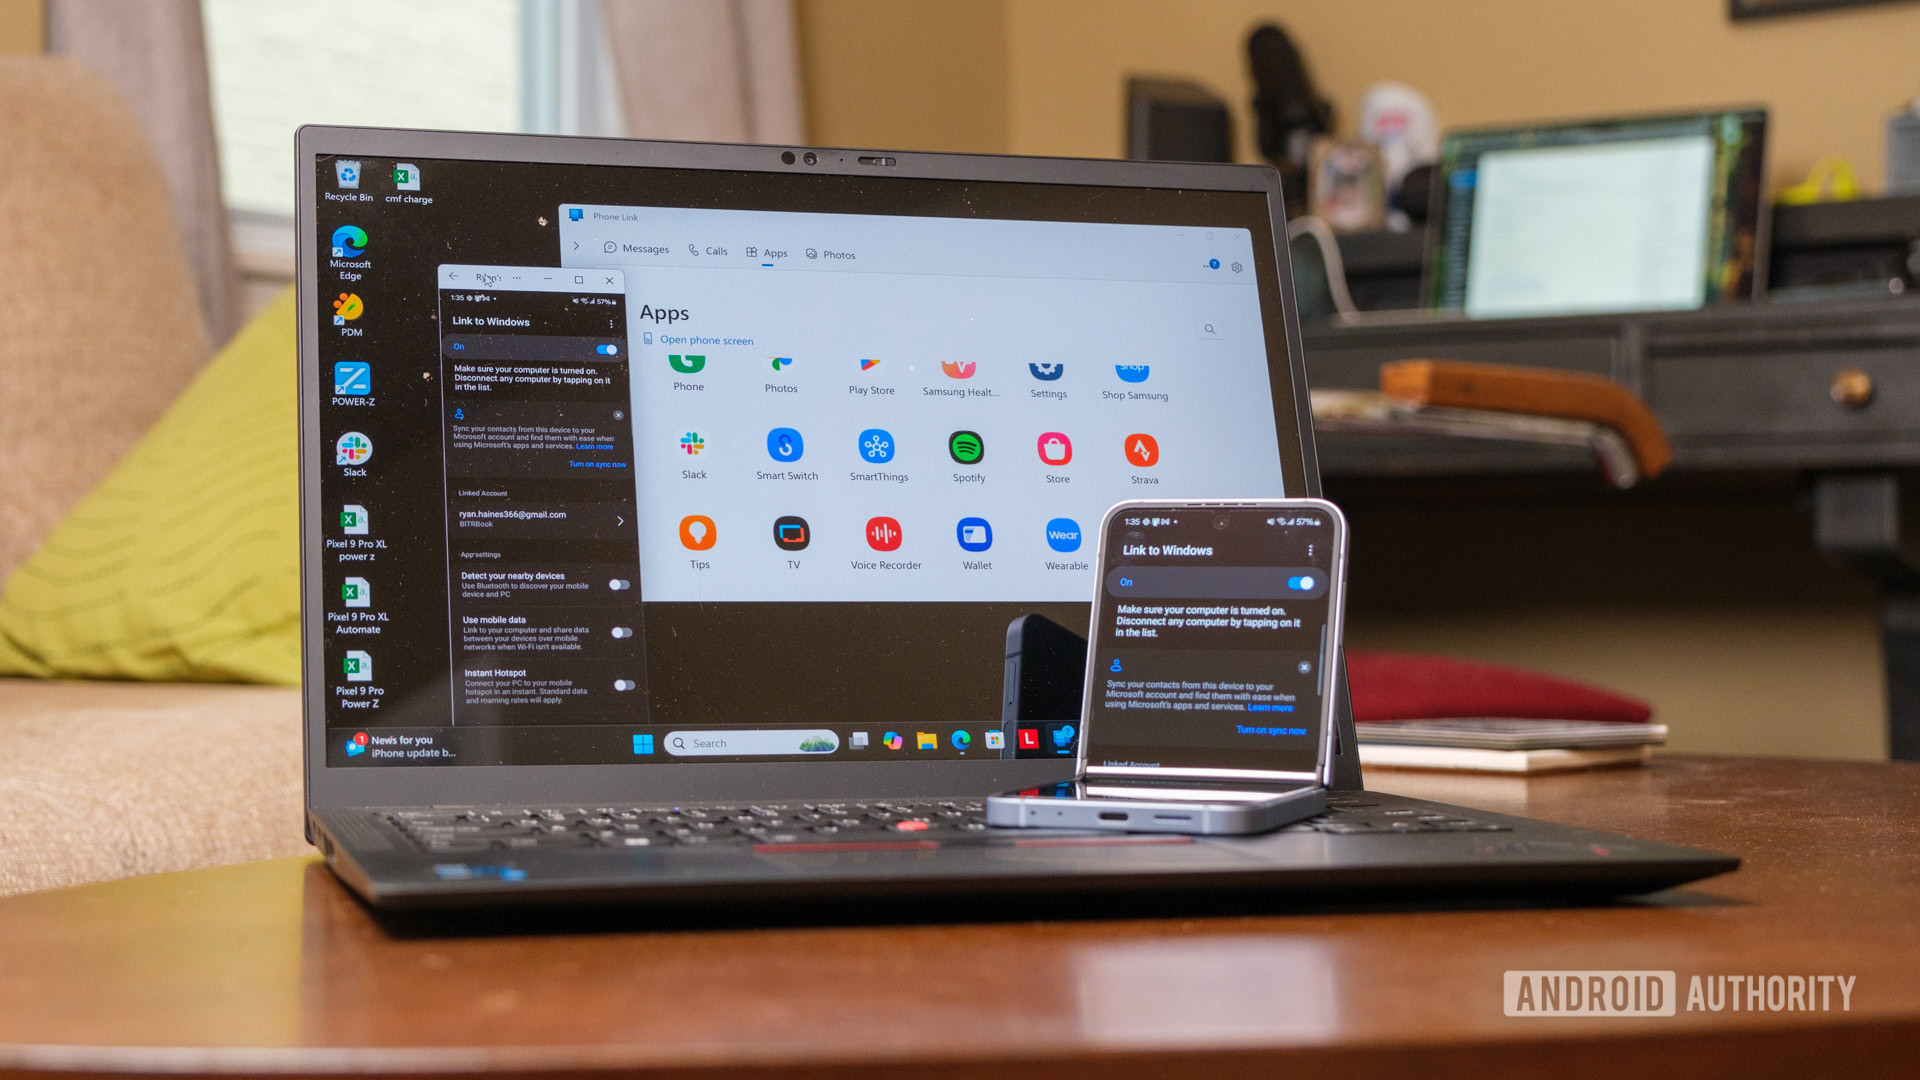
Gemini finds a new home in Chrome — along with one of our favorite Gemini tools
Stephen SchenckJanuary 28, 2026
0

Chrome will borrow Gemini's cross-app powers in upcoming agentic upgrade
Tushar MehtaJanuary 28, 2026
0

What RAM crisis? Google now lets Chrome eat your RAM as soon as you turn on your PC.
Hadlee SimonsJanuary 28, 2026
0

Razer's new web tool removes the worst part about owning PC peripherals
Stephen SchenckJanuary 27, 2026
0

Samsung Internet for PC expands browser availability to everyone
Ryan McNealJanuary 14, 2026
0

Lenovo is on a roll at CES: Two new rollable concepts, including one for gamers
Andrew GrushJanuary 6, 2026
0

Lenovo Yoga 9i Pro now includes a touchpad that doubles as a drawing surface
Andrew GrushJanuary 6, 2026
0
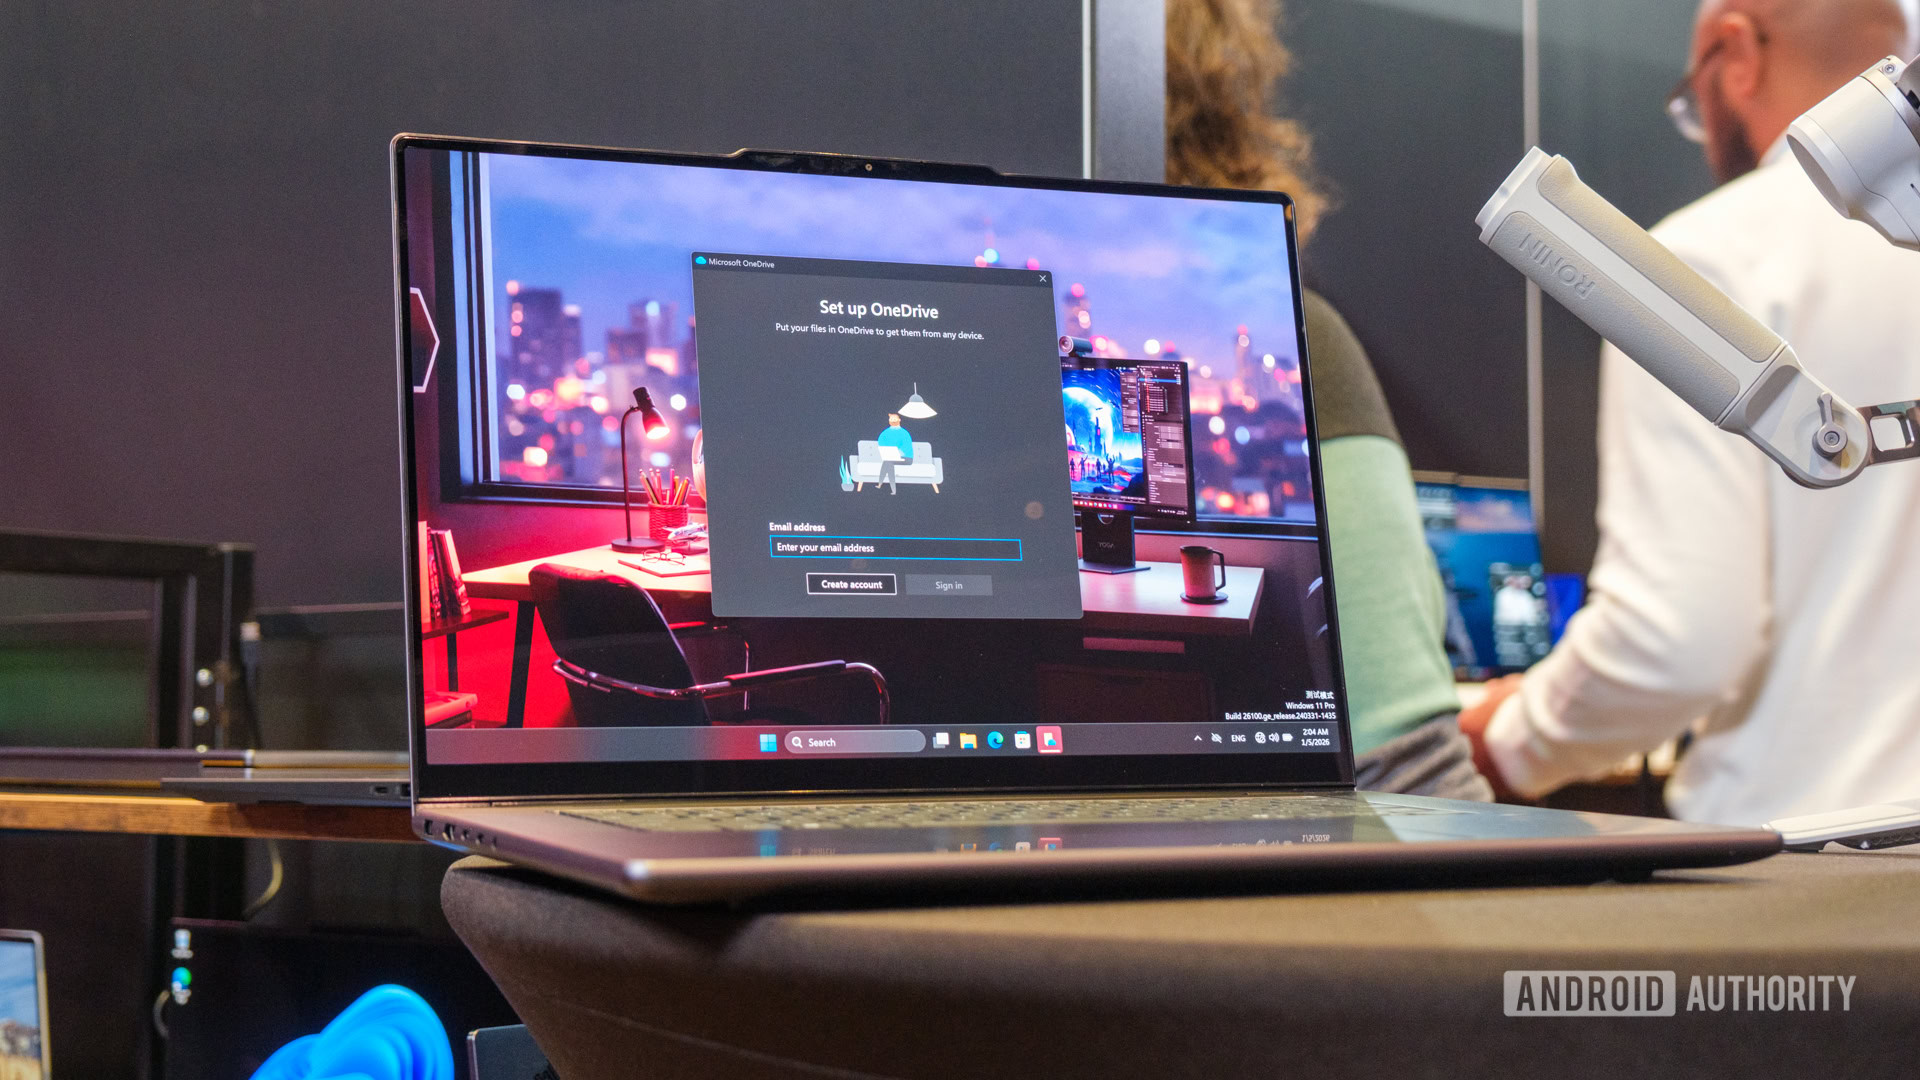
Lenovo Legion 7a debuts with thinner and lighter design, alongside a few other gaming machines
Andrew GrushJanuary 6, 2026
0

Acer Nitro and Aspire get an AMD-powered upgrade at CES
Andrew GrushJanuary 5, 2026
0
