Affiliate links on Android Authority may earn us a commission. Learn more.
How to take a screenshot on any computer
Published onApril 26, 2022
Taking a screenshot is a necessary functionality on computers and phones today. However, taking a screenshot on a computer can be a bit more complicated than on a phone. To help you out with that, we’ve made this guide to take a screenshot on Windows, Linux, Chrome OS, and Mac computers.
Read more: How to take screenshots on Android
JUMP TO KEY SECTIONS
How to take a screenshot on a Windows PC
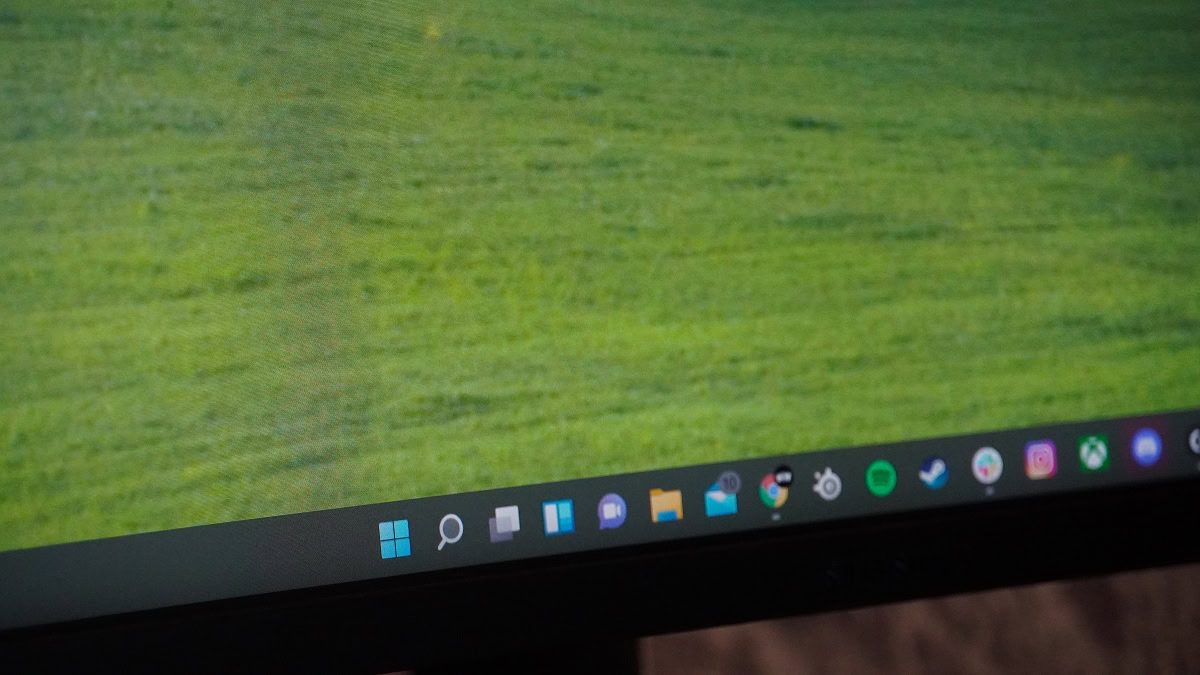
Here are the top ways to take a screenshot on a Windows PC.
- Using the PrtSc (Print Screen) key — Hit the PrtSc key on your keyboard, open Microsoft Paint, and press Ctrl + V to paste it. Save the file. You can press the Windows key + PrtSc to directly save it to the Pictures -> Screenshots folder.
- Using the Snipping Tool — Press the Windows key + Shift + S or the Snipping Tool key (pictured above) if it is present on your keyboard. Choose the type of snip you want, perform the snip, and click the image in the notifications to edit and save it.
- The Xbox Game Bar capture tool — Press the Windows key + G to summon the Xbox Game Bar. Click the camera icon in the Capture window to capture a screenshot of the active window, or the full screen in case of no active windows.
- Use a third-party screenshot app like Snagit or Lightshot.
Our complete guides to taking a screenshot on Windows PCs are linked below.
Taking a screenshot on a Linux PC

Linux deals with screenshots similarly to Windows, but a little bit better. You have several keyboard shortcuts for different kinds of screenshots.
- PrtScn — Take a screenshot of the full screen and save it to the Pictures folder.
- Alt + PrtScn — Take a screenshot of the active window and save it to the Pictures folder.
- Shift + PrtScn — Gives the option to select a specific area, screenshot, and save it to the Pictures folder.
- Ctrl + PrtScn — Copy a screenshot to the clipboard.
- Ctrl + Alt + PrtScn — Copy a screenshot of the active window to the clipboard.
- Shift + Ctrl + PrtScn — Gives the option to select a specific area and copy a screenshot to the clipboard.
Do more: The best photo editors for Linux
How to take a screenshot on a Chromebook
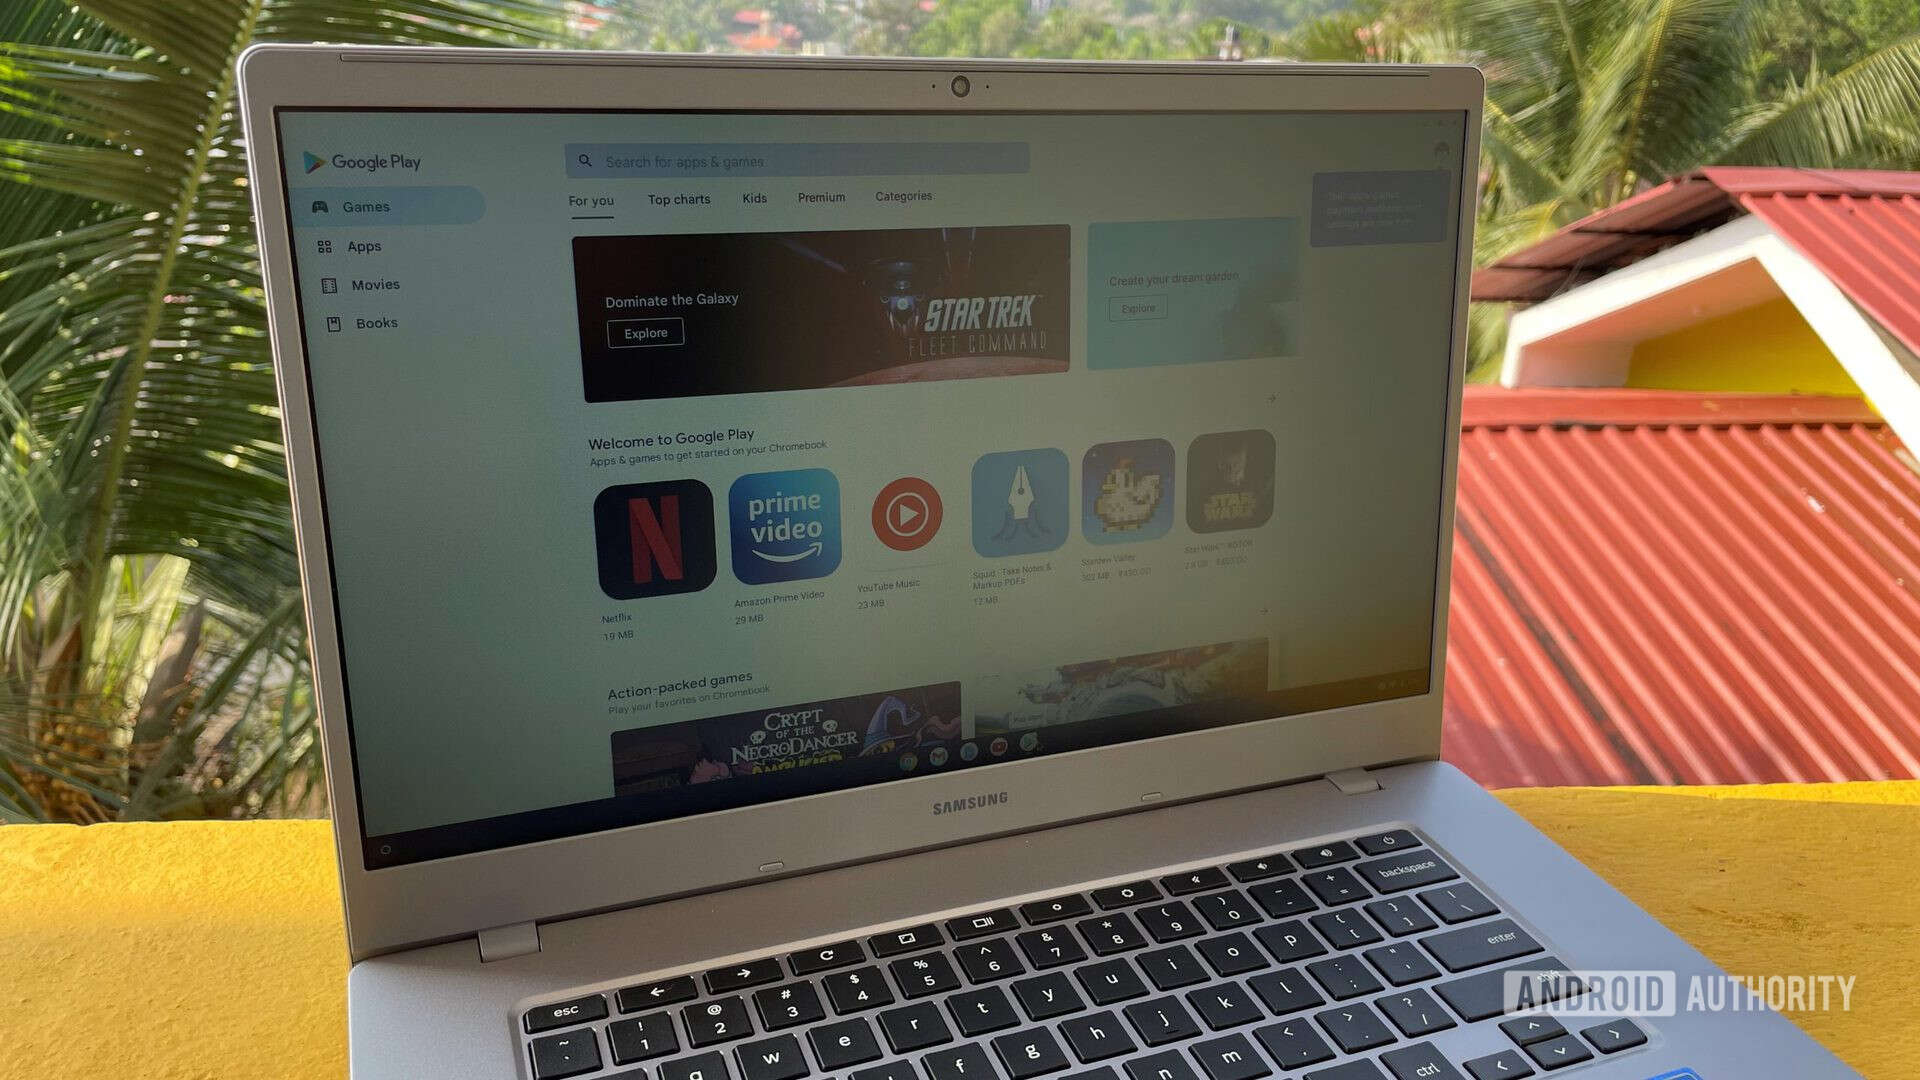
Chromebooks also offer multiple ways to take a screenshot, and some of these may differ depending upon your device.
- Using the keyboard — Press the Ctrl + Window Switch keys (Ctrl + F5 for external keyboards) for a full screenshot. Press Ctrl + Shift + Window Switch buttons (Ctrl + Shift + F5 for external keyboards) to select a specific screen area to screenshot.
- In tablet mode — Press the Power + Volume Down keys.
- Using the stylus — Tap the stylus on the screen to bring up the menu. Tap the Capture Screen option to take a full screenshot. To screenshot a particular area, tap the Capture region option, tap, hold, and drag over the area. Lift the stylus off the screen to take the screenshot.
- Using a Chrome extension — Use Chrome extensions like FireShot or Nimbus to take a screenshot on the Chrome browser.
Check our linked guides below on capturing a screenshot on a Chromebook or the Google Chrome browser.
Taking a screenshot on a Mac
macOS has keyboard shortcuts for different kinds of screenshots and a Screenshots app for a little more flexibility.
- Shift + Command + 3 — Take a screenshot of the full screen and save it to the desktop.
- Shift + Command + 4 + spacebar — The cursor changes to a camera icon. Click a window to save a screenshot of the active window. Hold Option while clicking to exclude the window shadow from the screenshot.
- Shift + Command + 4 — The cursor changes to a crosshair. Select the area to save a screenshot of it.
- Control + Shift + Command + 3 — Copy a full screenshot to the clipboard.
- Control + Shift + Command + 4 + spacebar — The cursor changes to a camera icon. Click a window to copy a screenshot of the active window to the clipboard. Hold Option while clicking to exclude the window shadow from the screenshot.
- Control + Shift + Command + 4 — The cursor changes to a crosshair. Select the area to copy a screenshot of it to the clipboard.
Using the Screenshots app
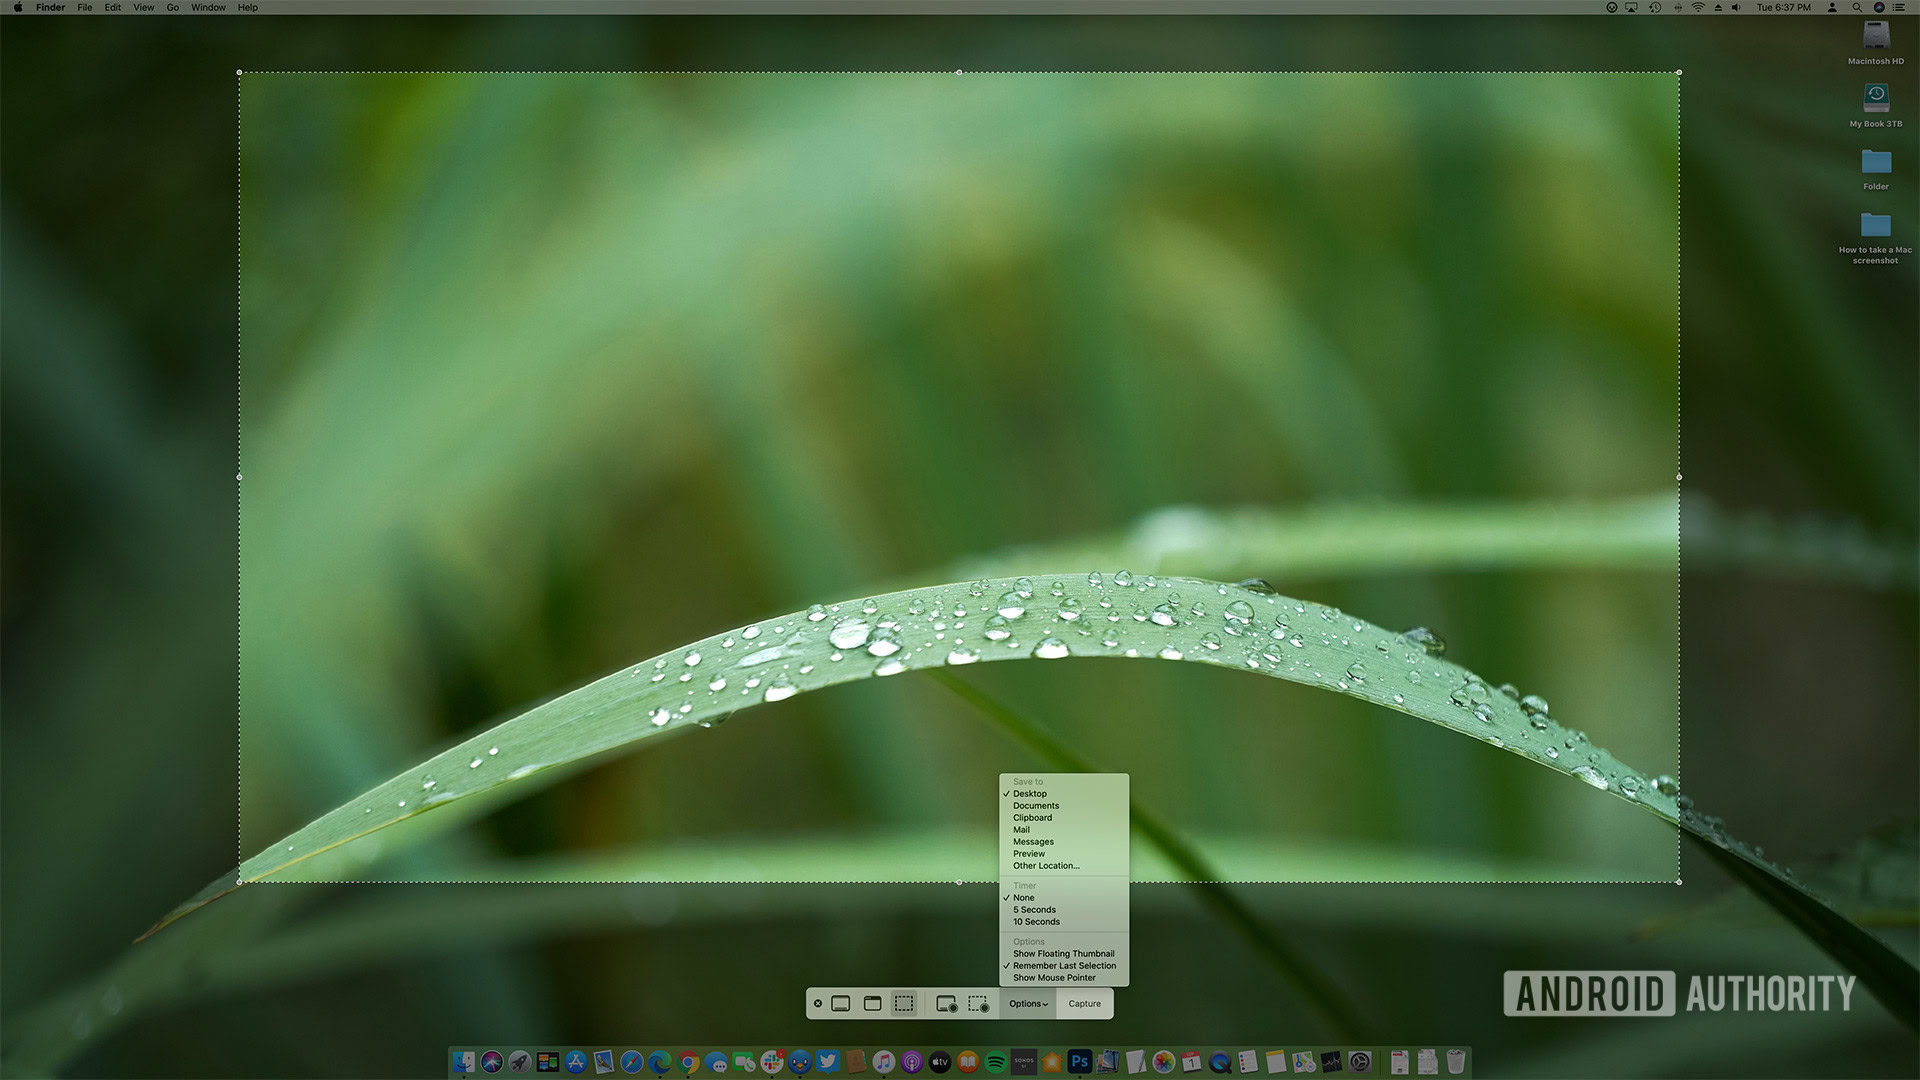
Press Shift + Command + 5 to summon the Screenshots app. Click and drag the edges of the selection area, and click Capture to take a screenshot and save it to your desktop. Press and hold Control to copy it to the clipboard instead.
A floating interface lets you pick the type of screenshot you want. Click Options to pick the save location, set a timer, display thumbnails after capture, or show/hide the mouse cursor in screenshots.
We have a complete guide to taking screenshots on a Mac, linked below.
Read more: The best laptops you can buy