Affiliate links on Android Authority may earn us a commission. Learn more.
How to use themes in Windows 11 for a more personal desktop experience
Published onMarch 1, 2023
The beauty of Windows is in its customizability, and that hasn’t changed with Windows 11. If anything, now the operating system looks better by default. However, the good old Windows customization options are still in there, and you can do quite a few things to personalize Windows 11 to match your style. Here’s how to use themes in Windows 11 for a more personal desktop experience.
JUMP TO KEY SECTIONS
Use the Settings app
Windows 11 has theming options available in the settings app. You can reach them by right-clicking your desktop, and clicking Personalize.
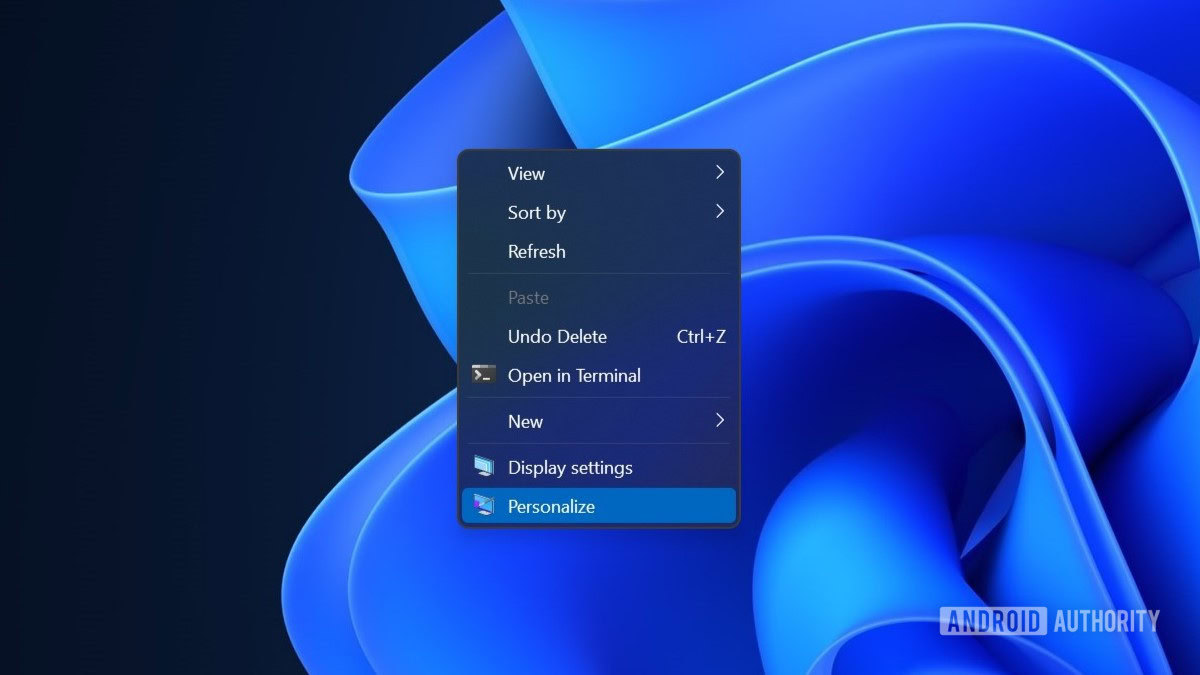
Alternatively, open the Settings app via search, and click Personalization in the left navigation pane.
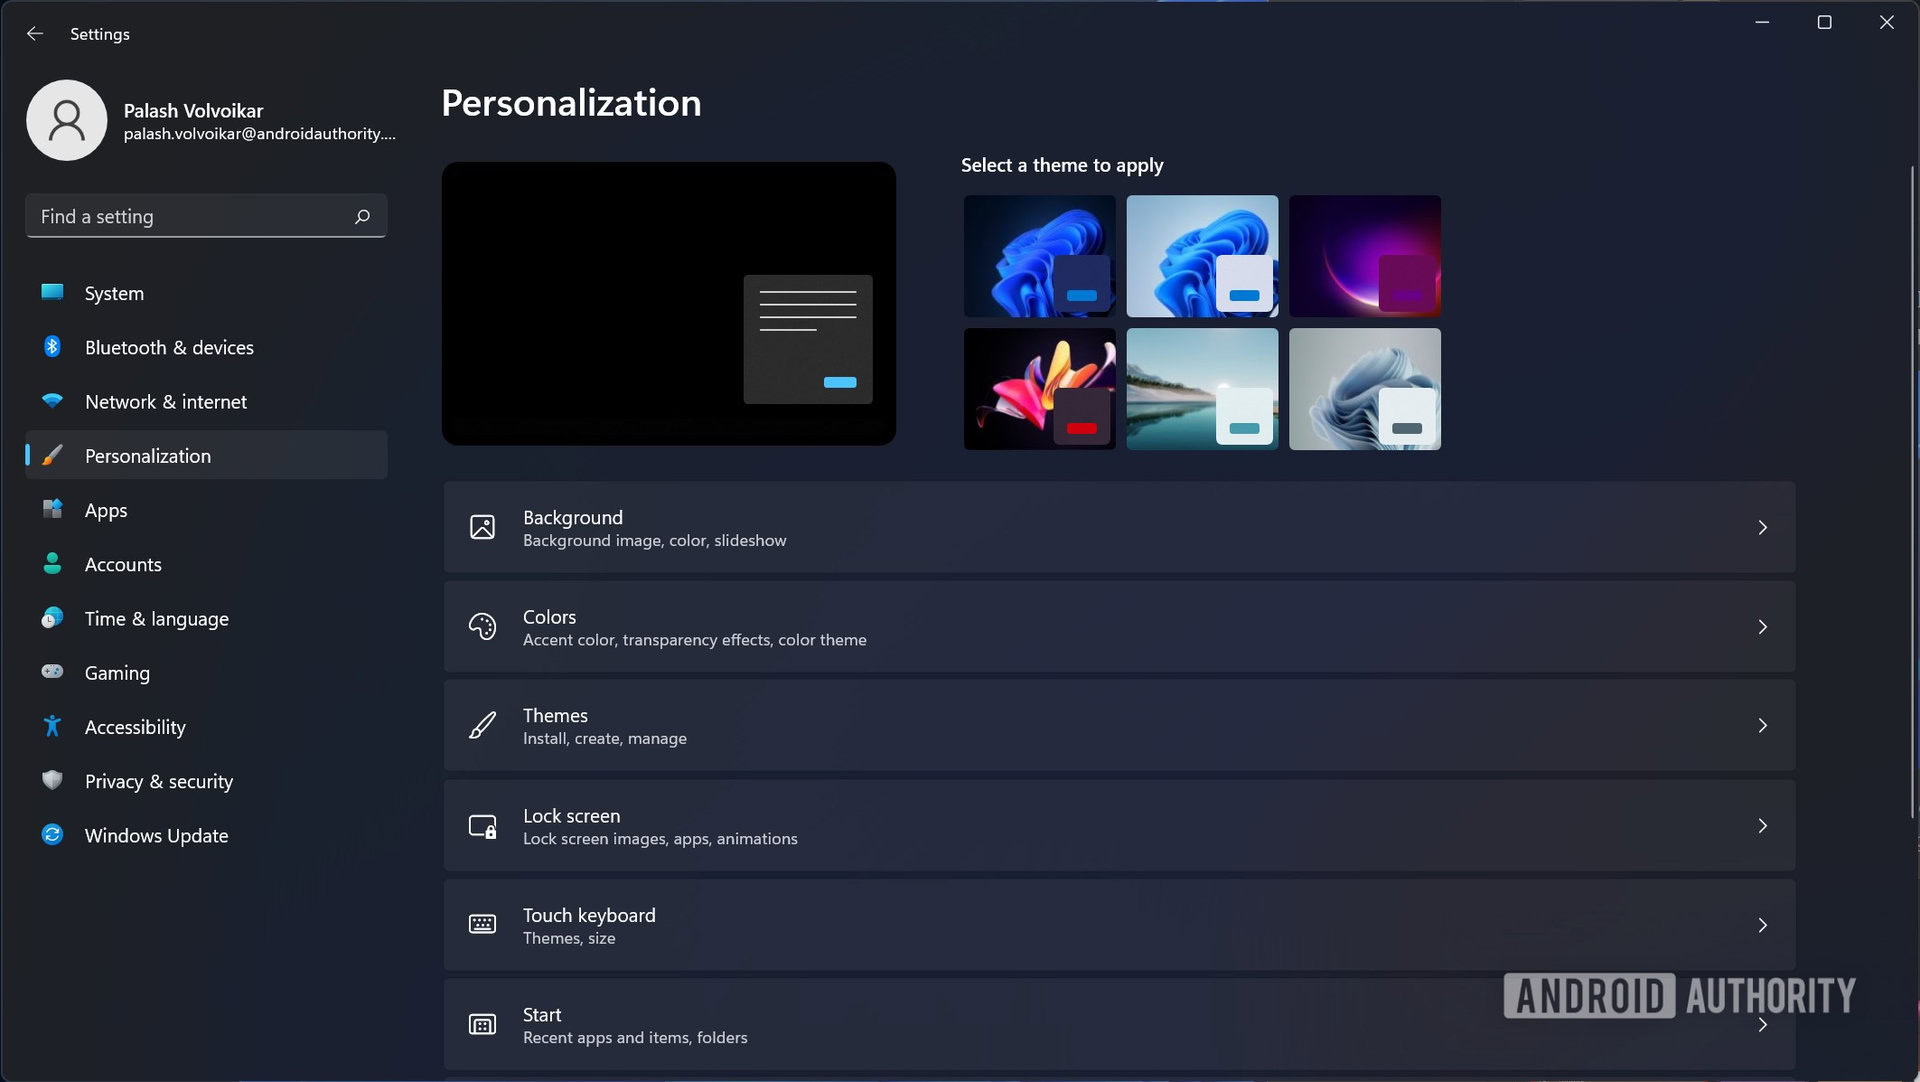
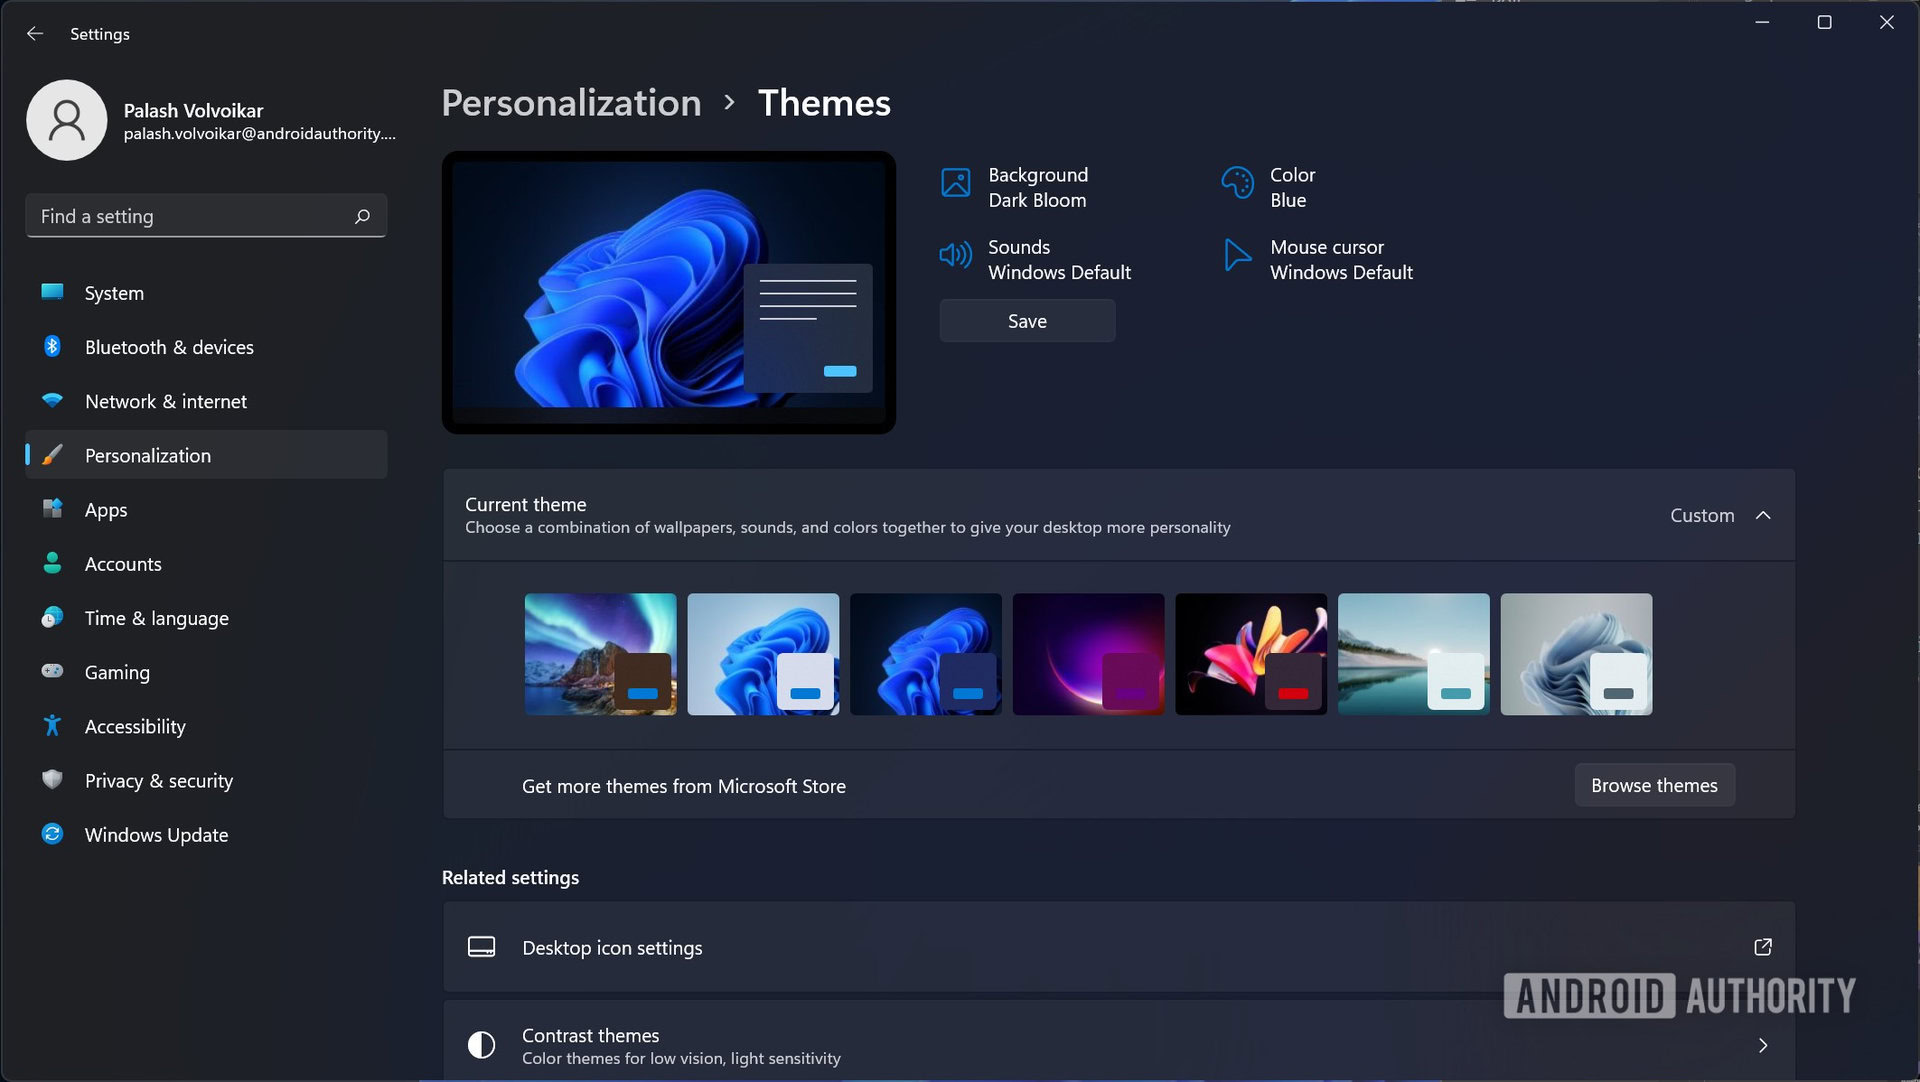
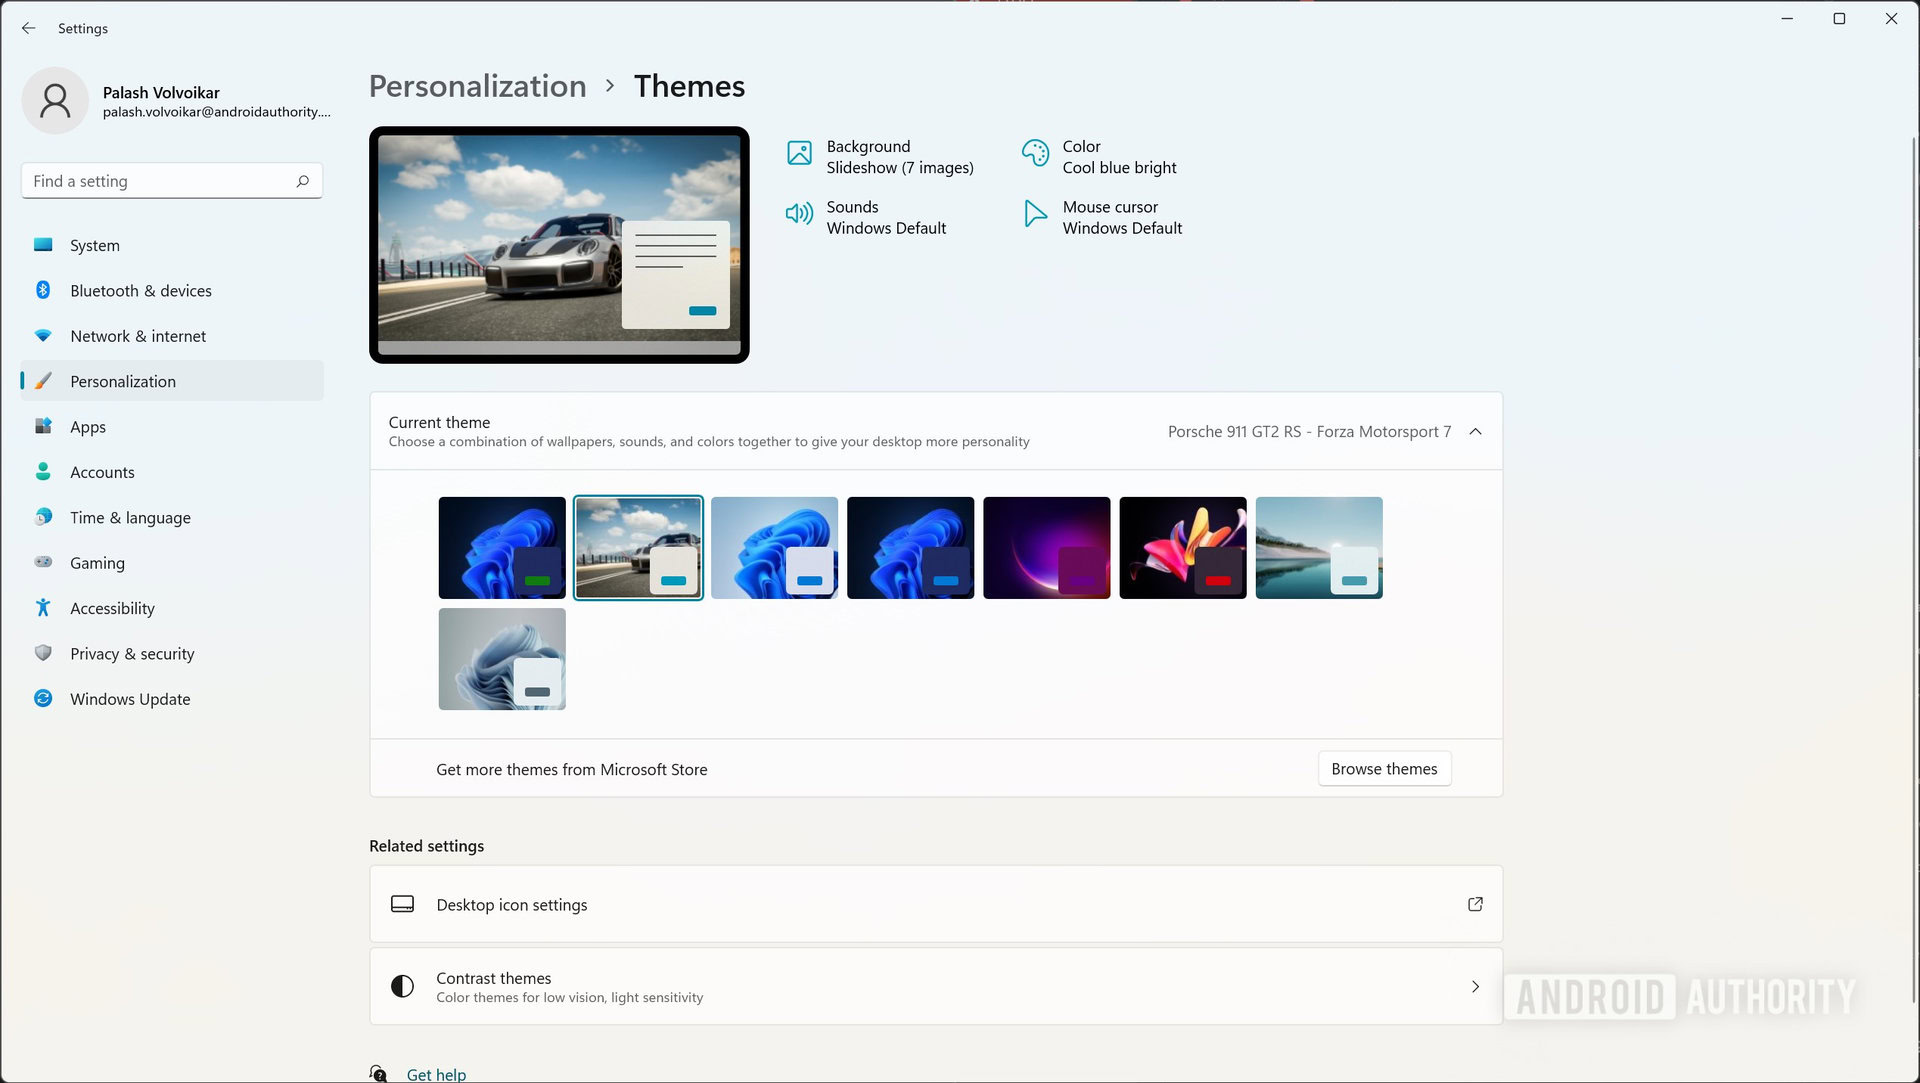
If you want to quickly change your theme, click one of the six quick themes shown at the top, towards the right. If you want a better look, click Themes. Under Current theme, click the theme you want to use.
Create a custom Windows 11 theme
You can create a custom theme in Windows 11 if you don’t like the existing options. Head over to Settings Personalization -> Themes page as shown in the last section. Click Use custom theme. If the button isn’t visible, click one of the themes under Current theme and it will appear.
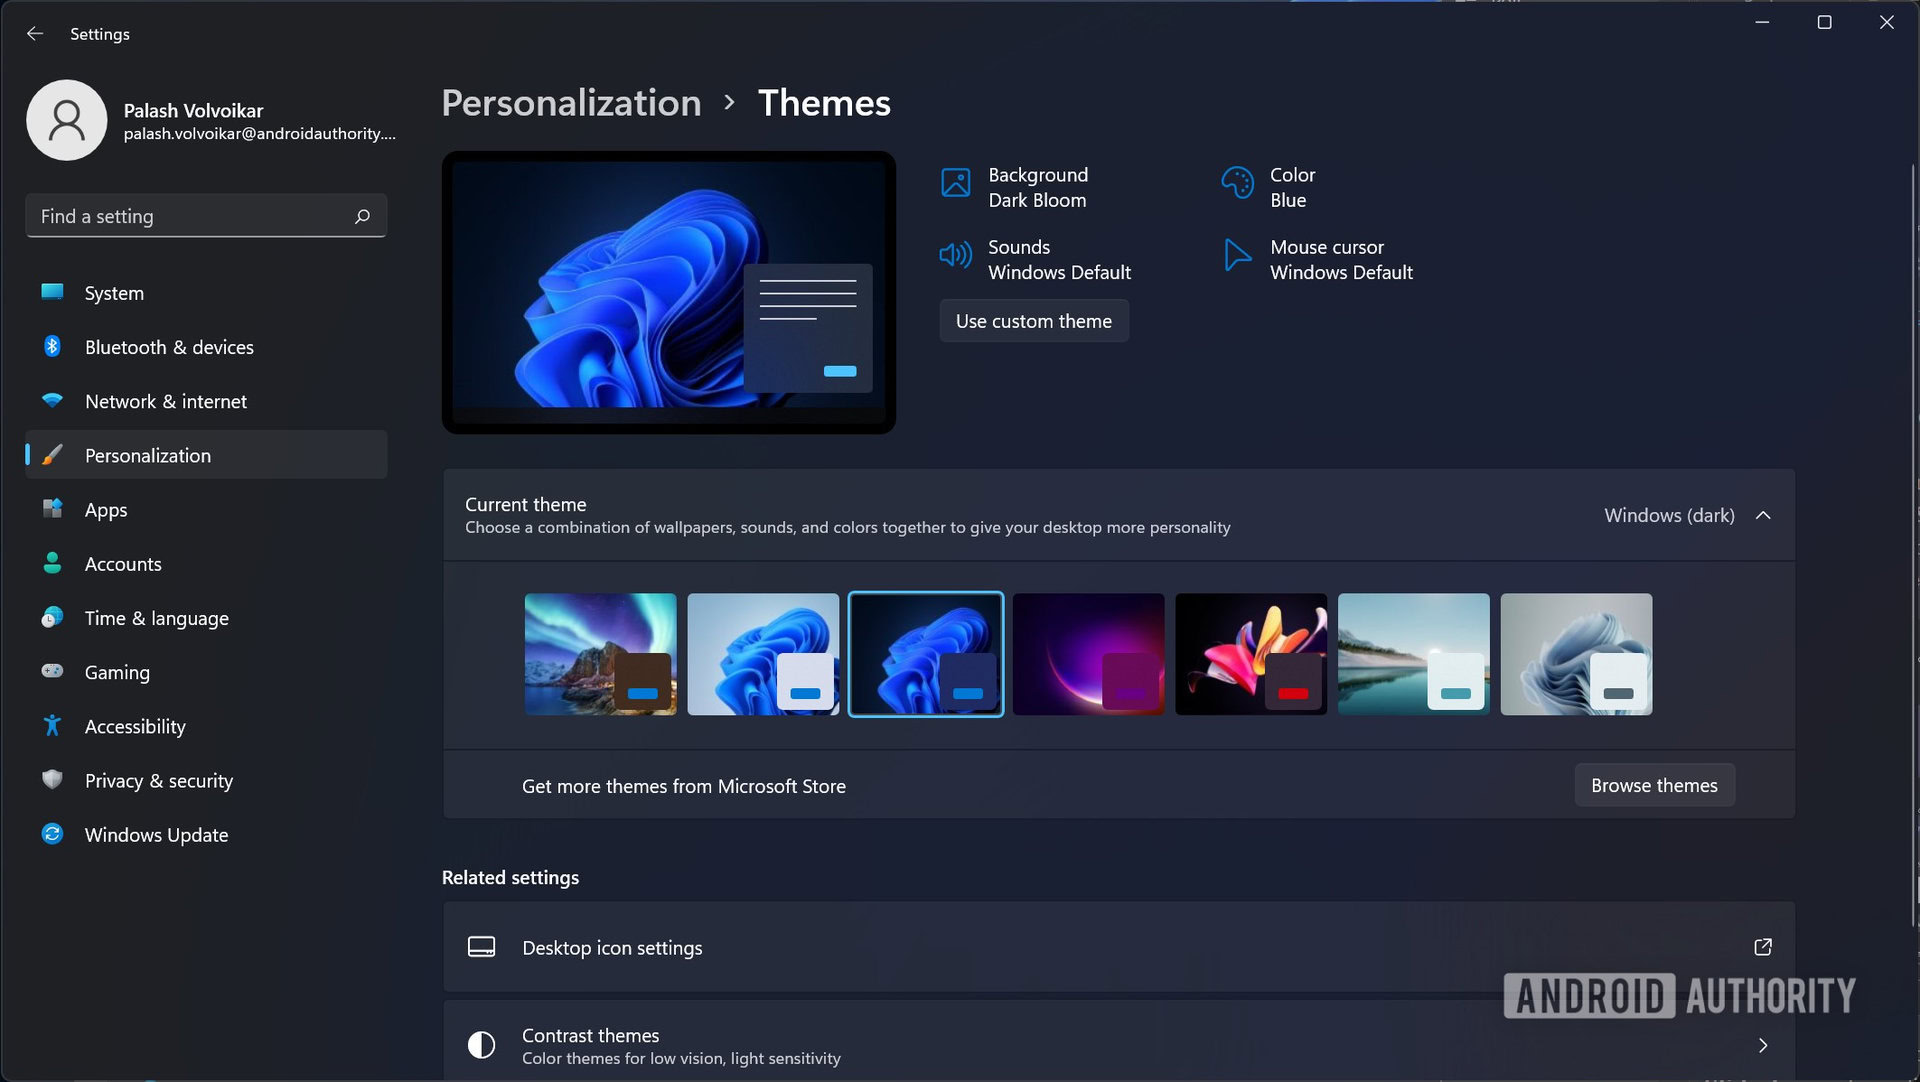
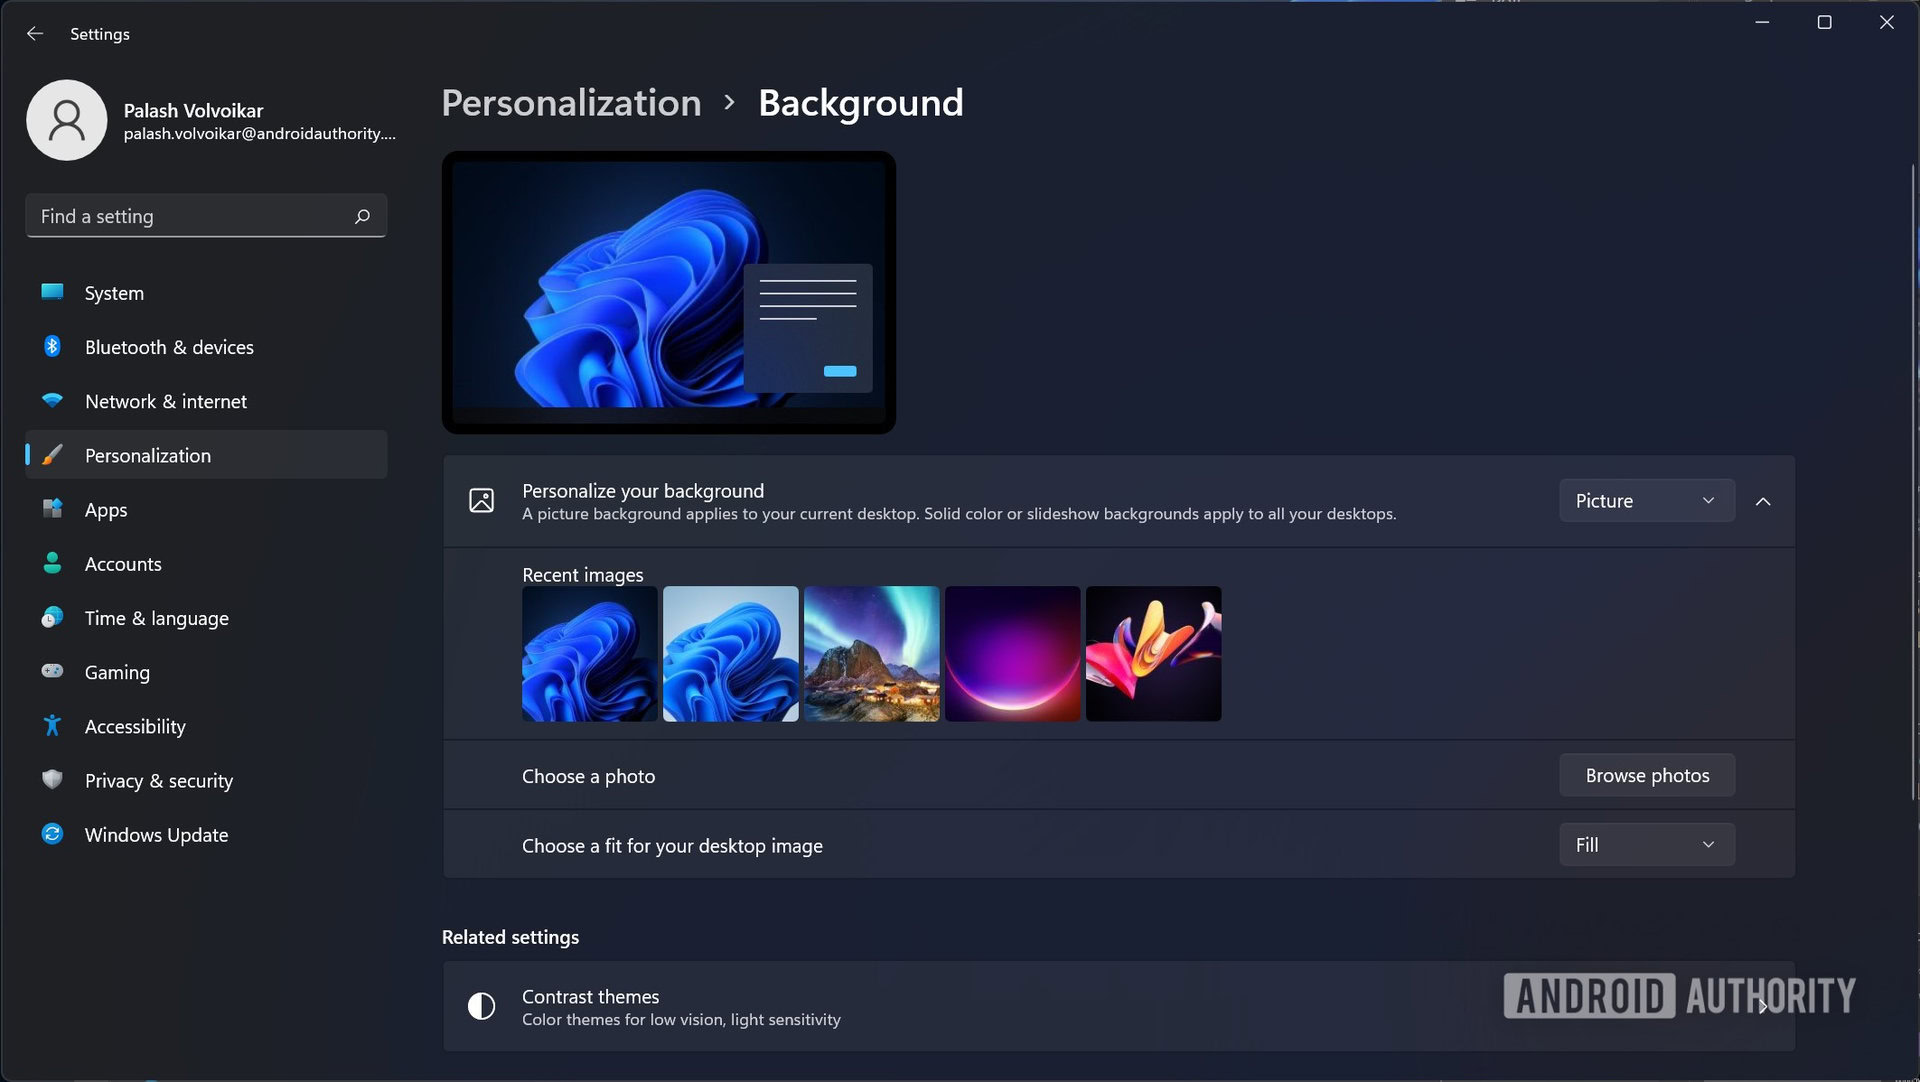
Now you can configure your theme. Click the Background button towards the top first. Select one of the recent images, or choose a photo of your own. You can click the drop-down next to Personalize your background to change to a slideshow, which lets you select an images folder or a solid color, which presents you with a color picker. You can also pick the fit for your wallpaper.
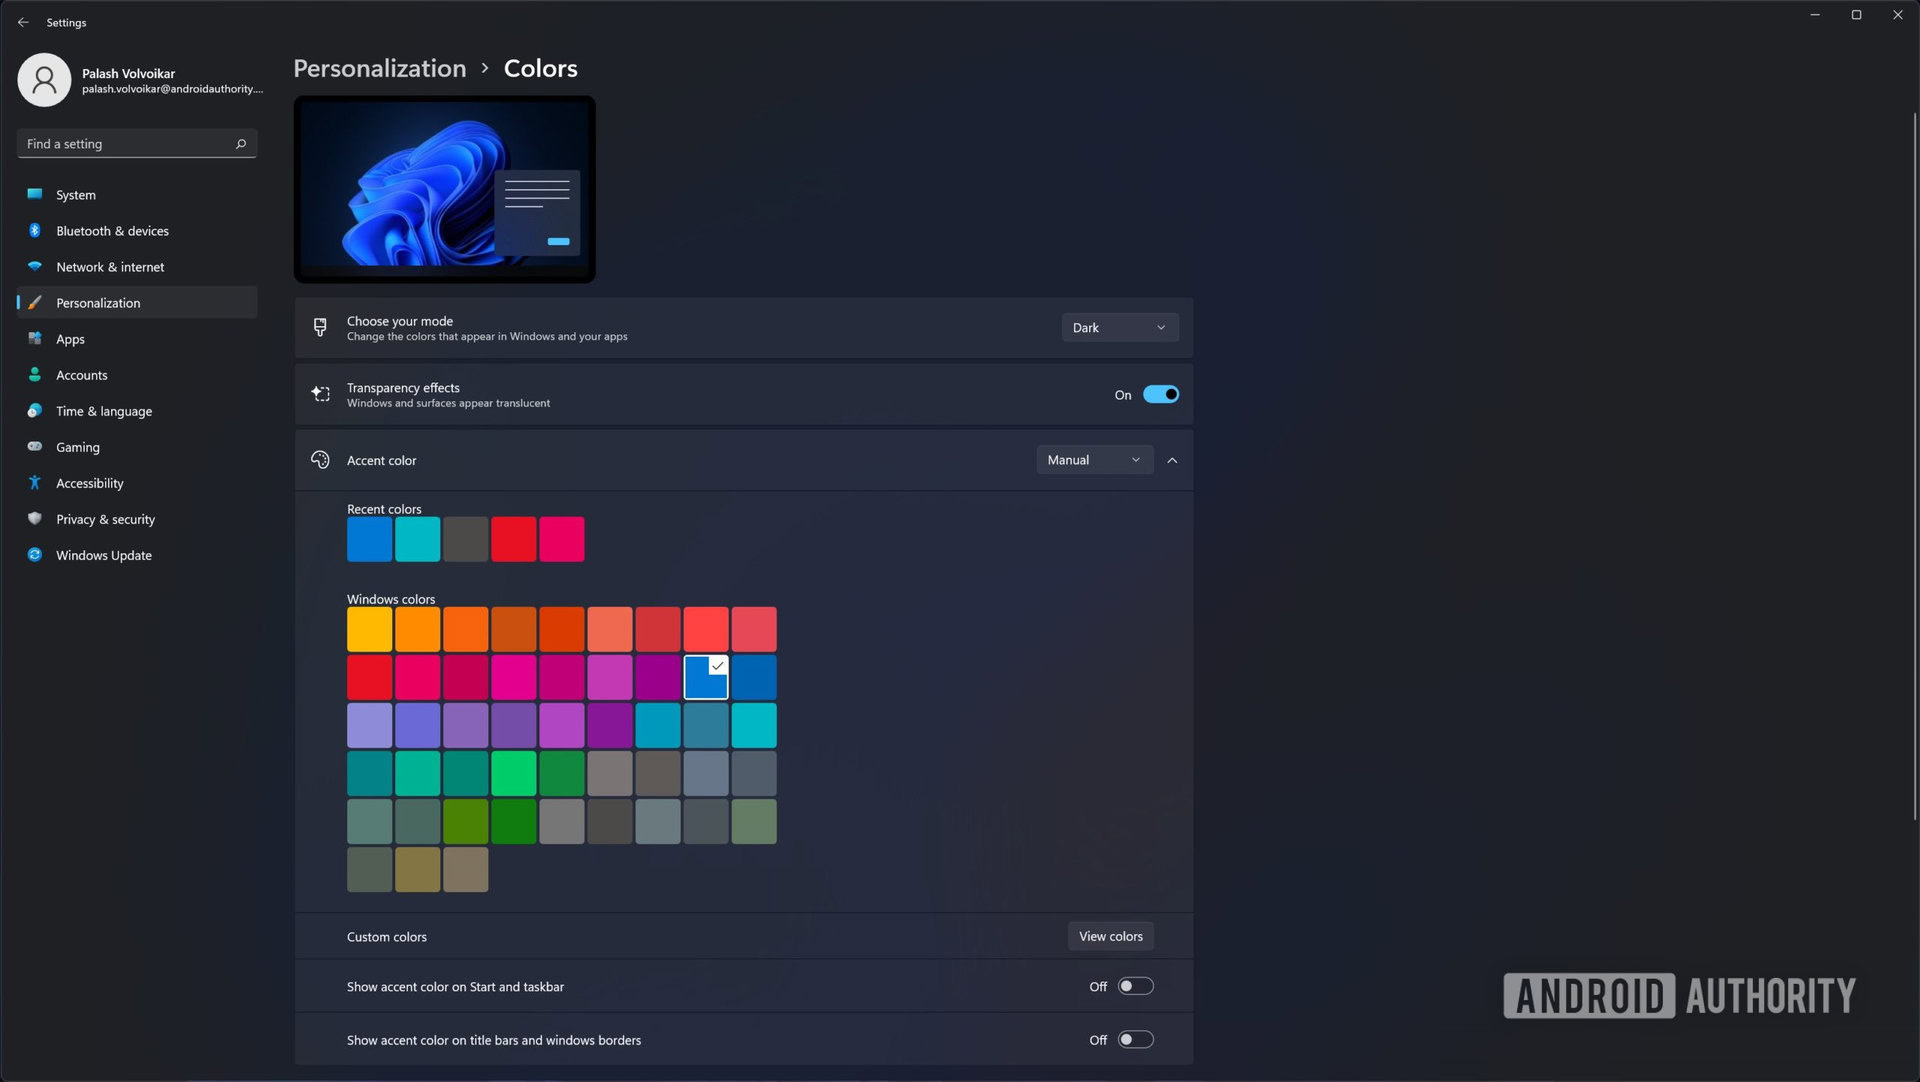
Return to the Themes screen by clicking the back arrow button in the top left corner. Click Color to configure the key theme colors. There are options for dark or light mode, transparency effects, and accent color settings.
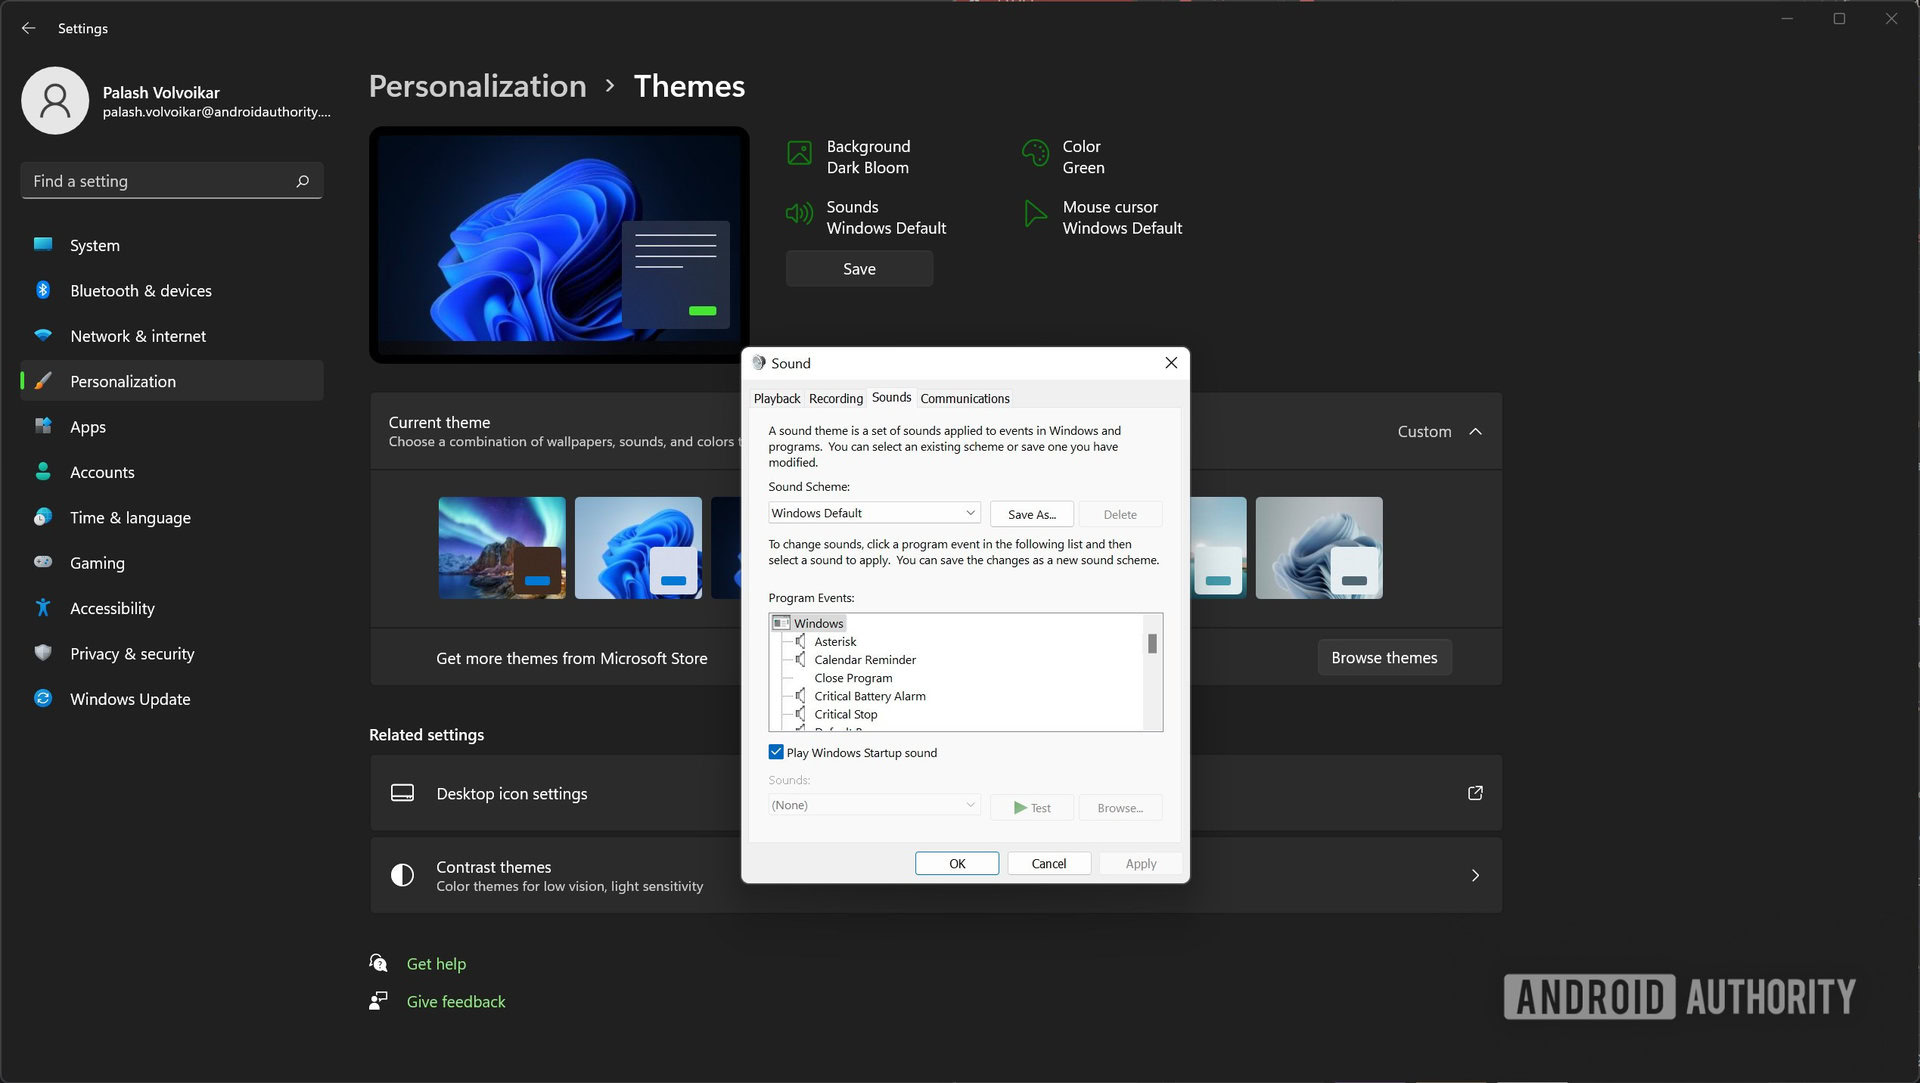
Go back to the Themes screen, and click Sounds. The sound selection window will pop up. You can click each entry under Program Events to change the assigned sound with the dropdown menu under Sounds. Click OK when done.
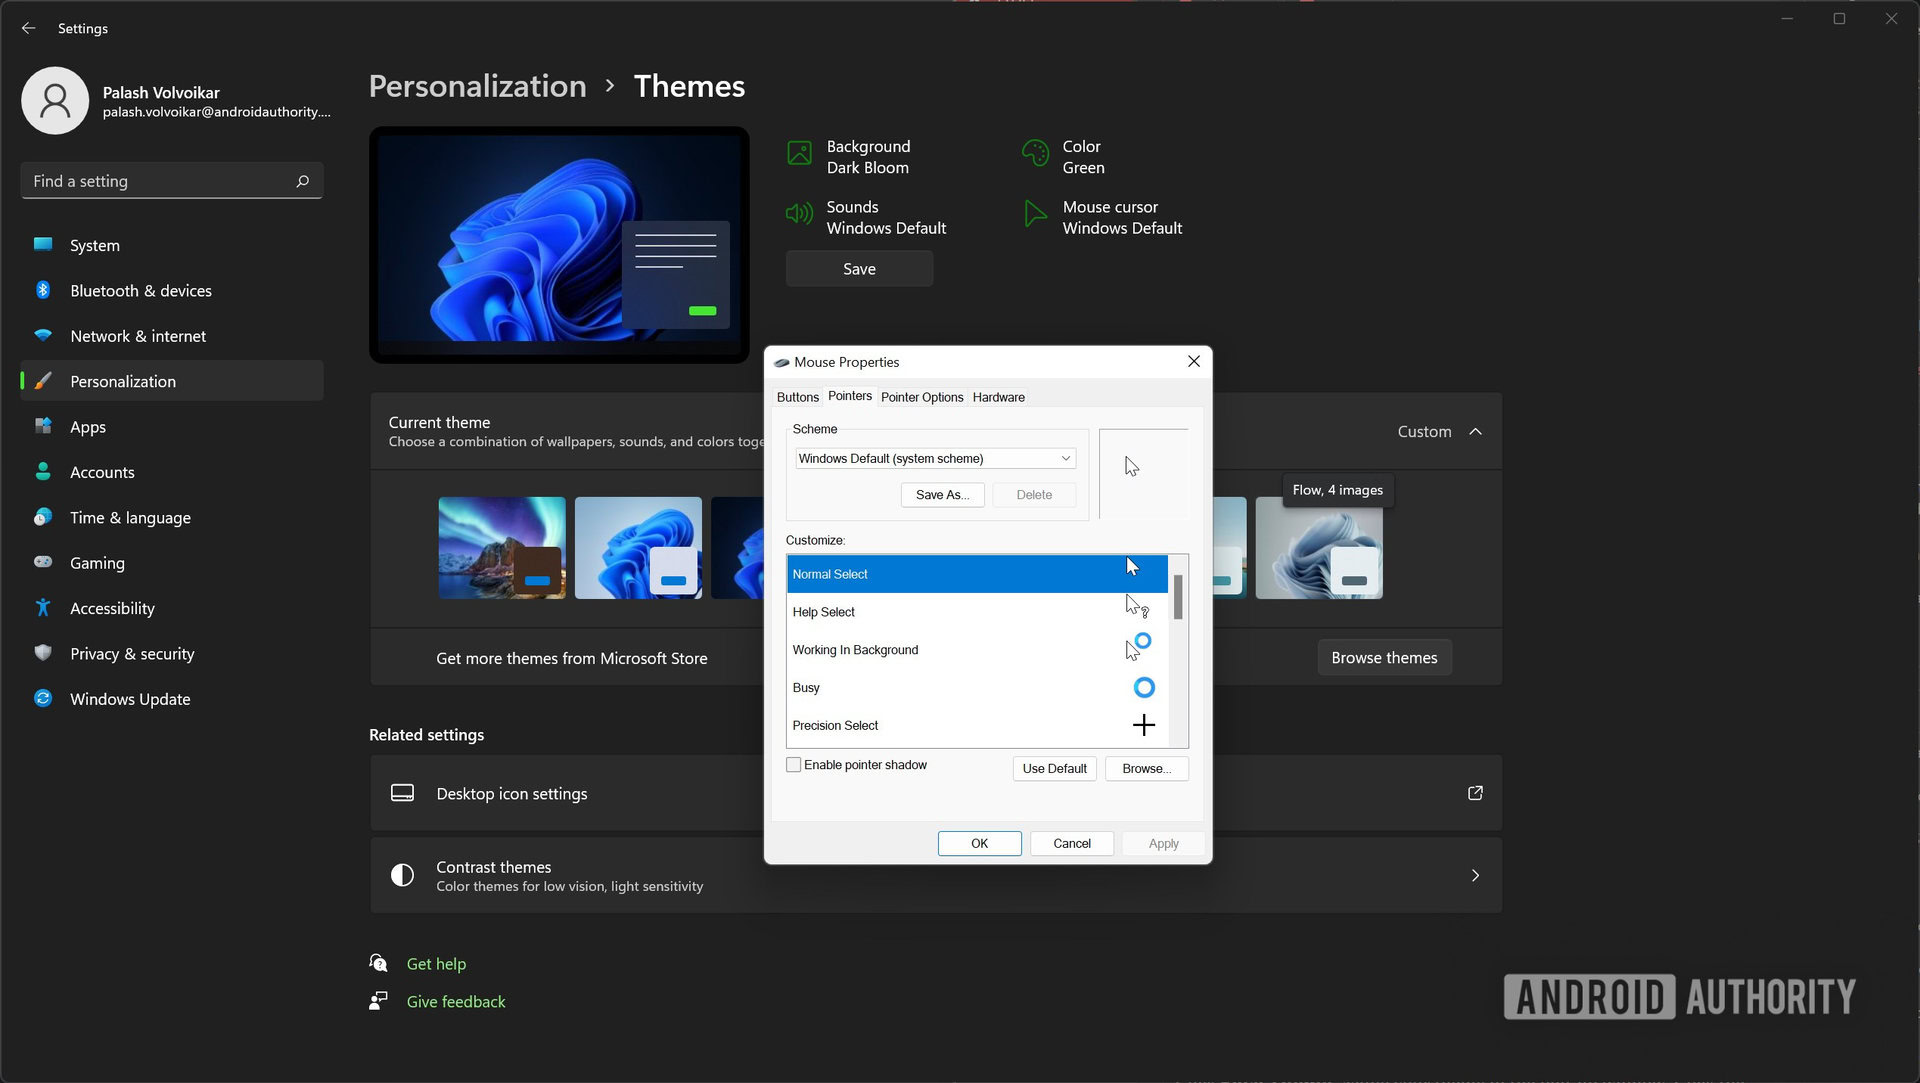
You get a similar setting with the last option back on the Themes screen: Mouse cursor. Click it to bring up the Mouse Properties window. You can select an existing set from the drop-down menu under Scheme or make a custom one under Customize. Click OK when done.
Back on the Themes screen, click Save, enter a name for the theme, and click Save. The theme will show up in the list of themes under Current theme.
Share a custom Windows 11 theme
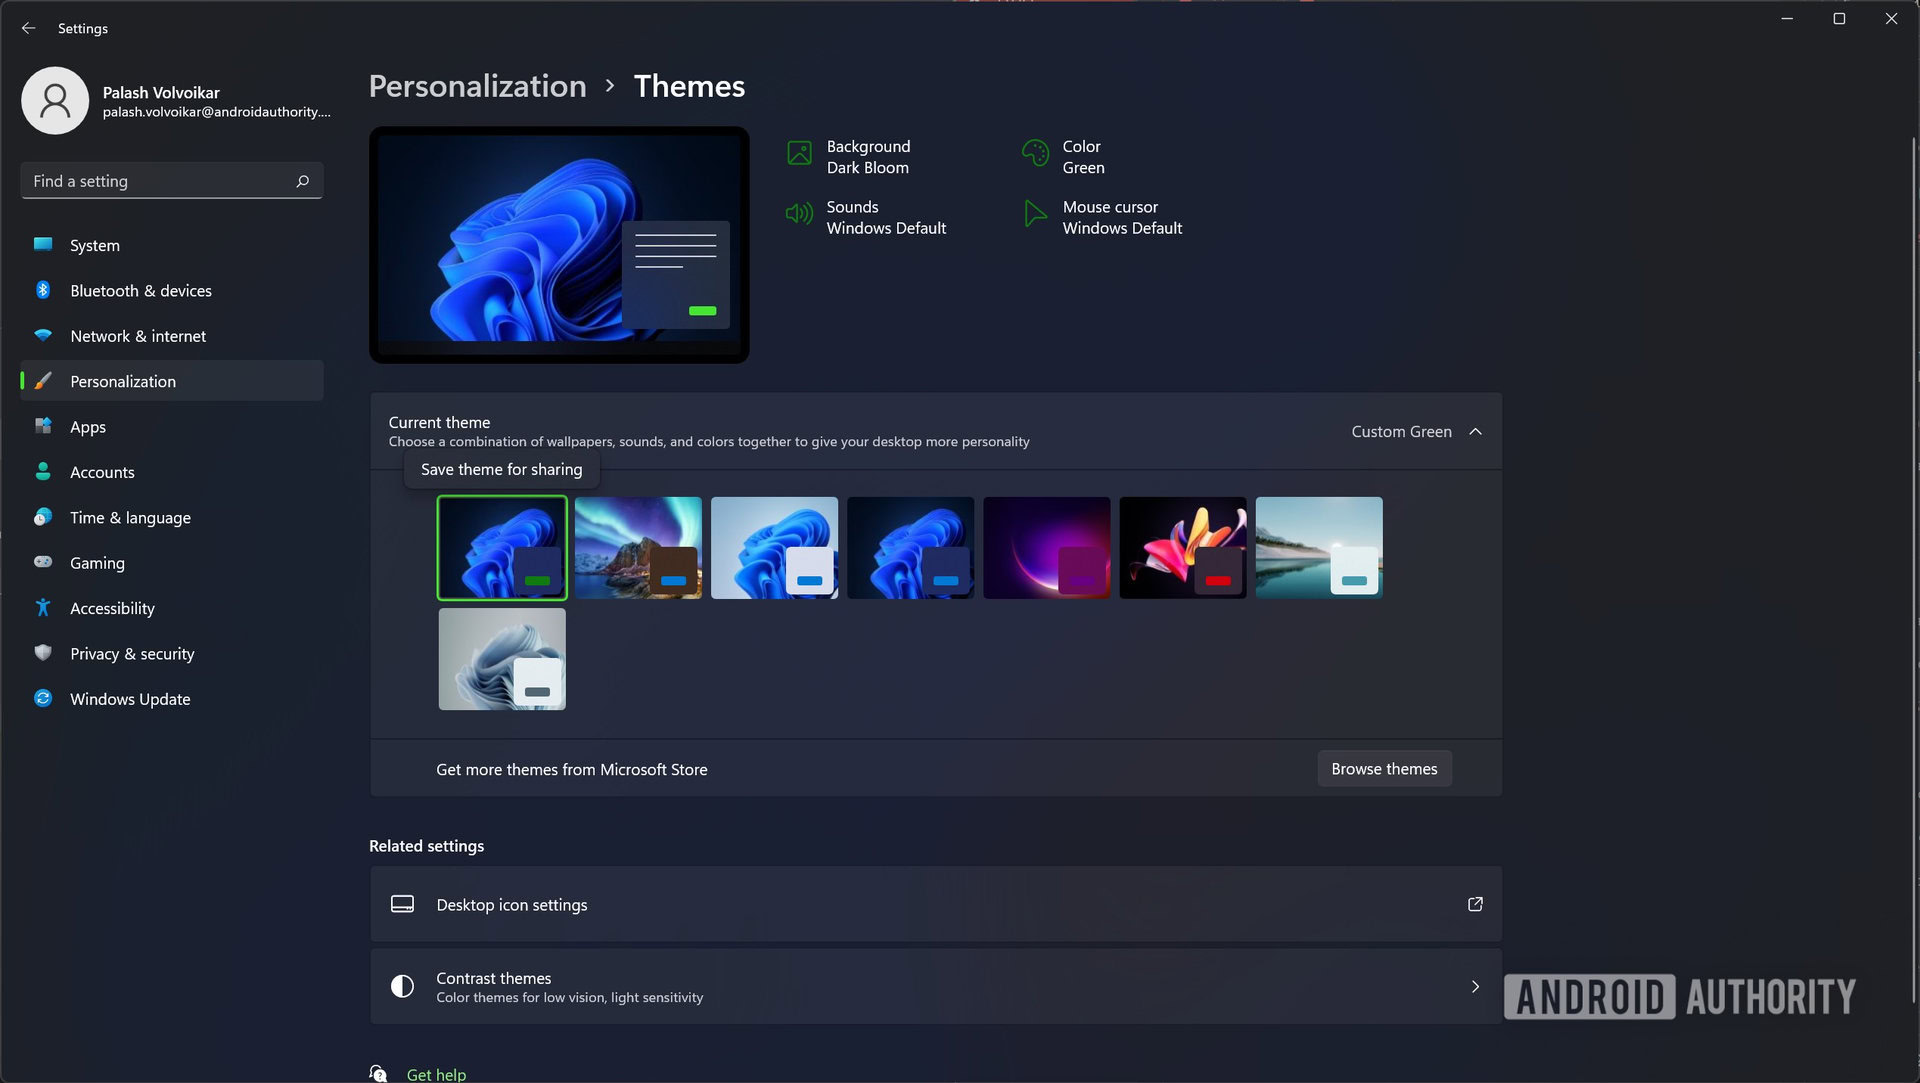
Now that you’ve made a custom theme, you might want to show it off to others. Go to Settings -> Personalization -> Themes. Right-click your custom theme under Current theme, and click Save theme for sharing.
Select a location, type a name, and click Save.
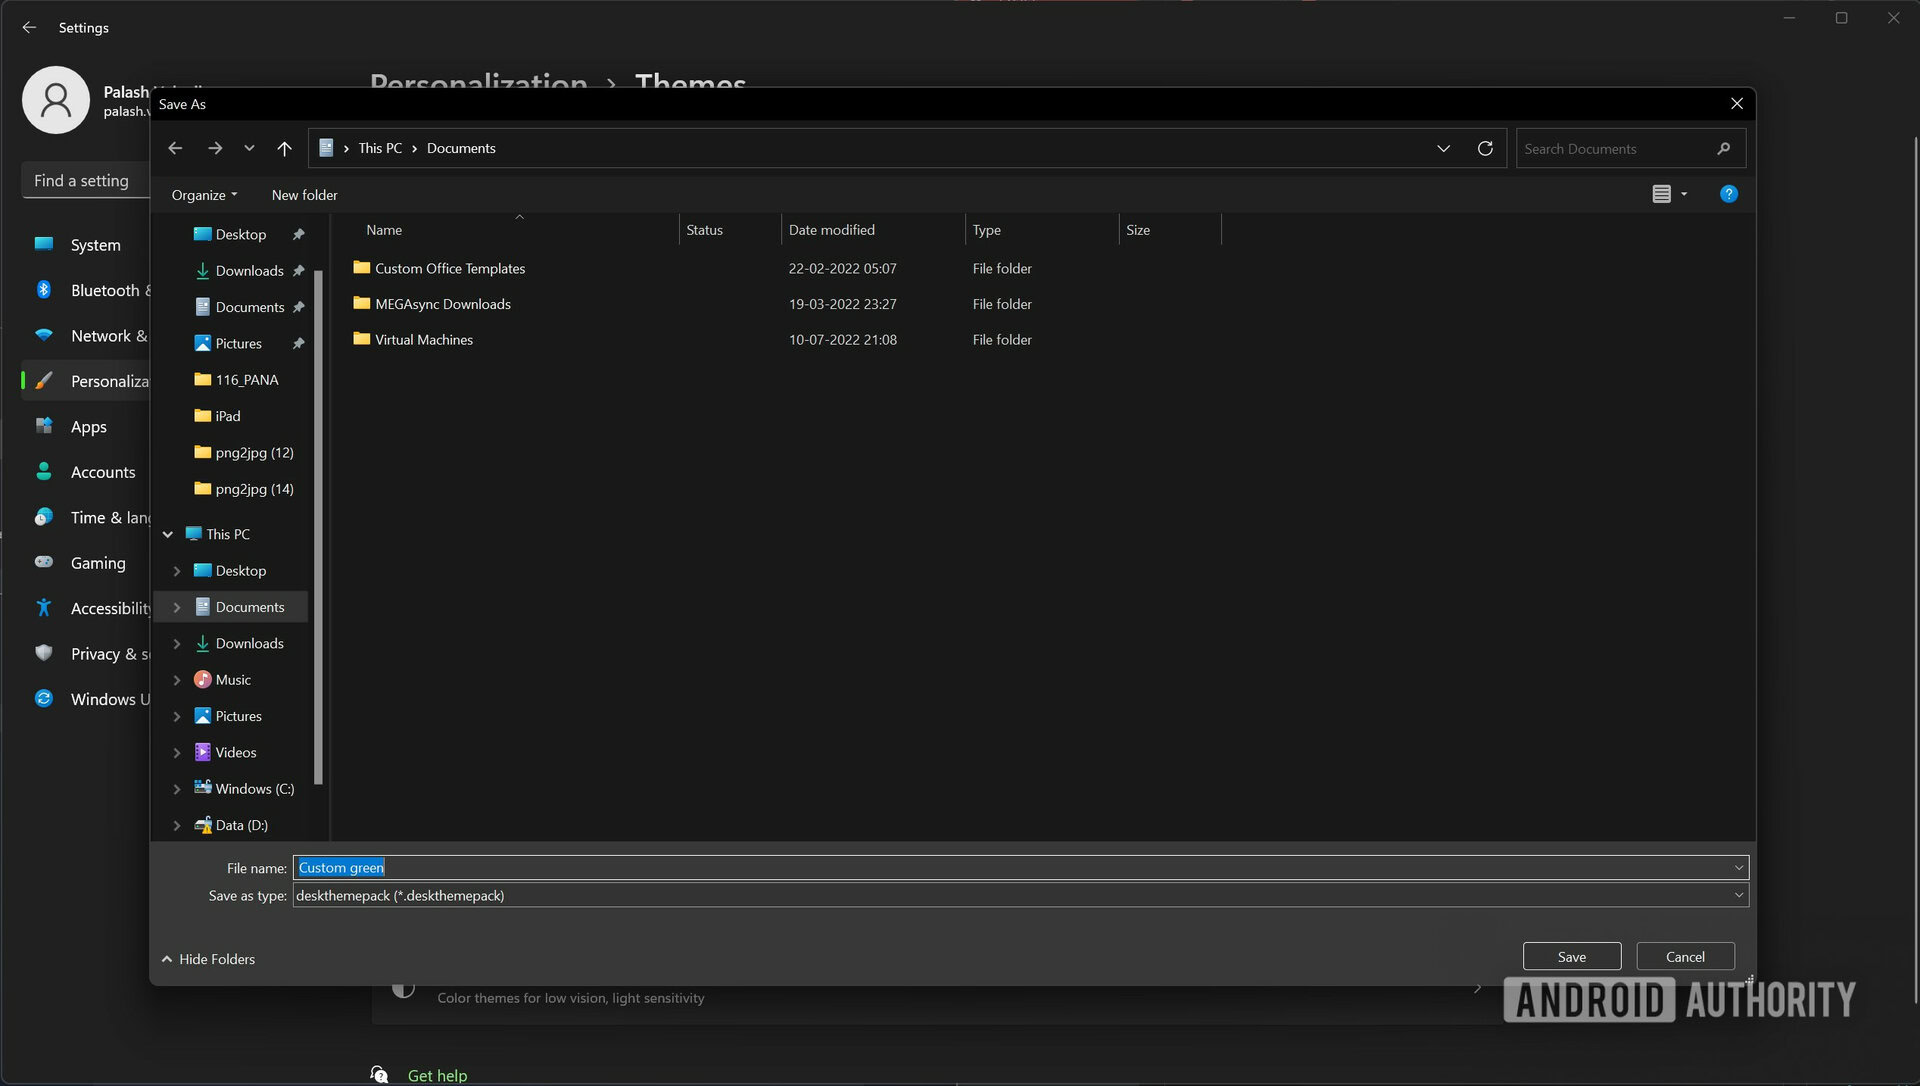
You can find the .deskthemepack file at the saved location to share it with others.
Using the Control Panel
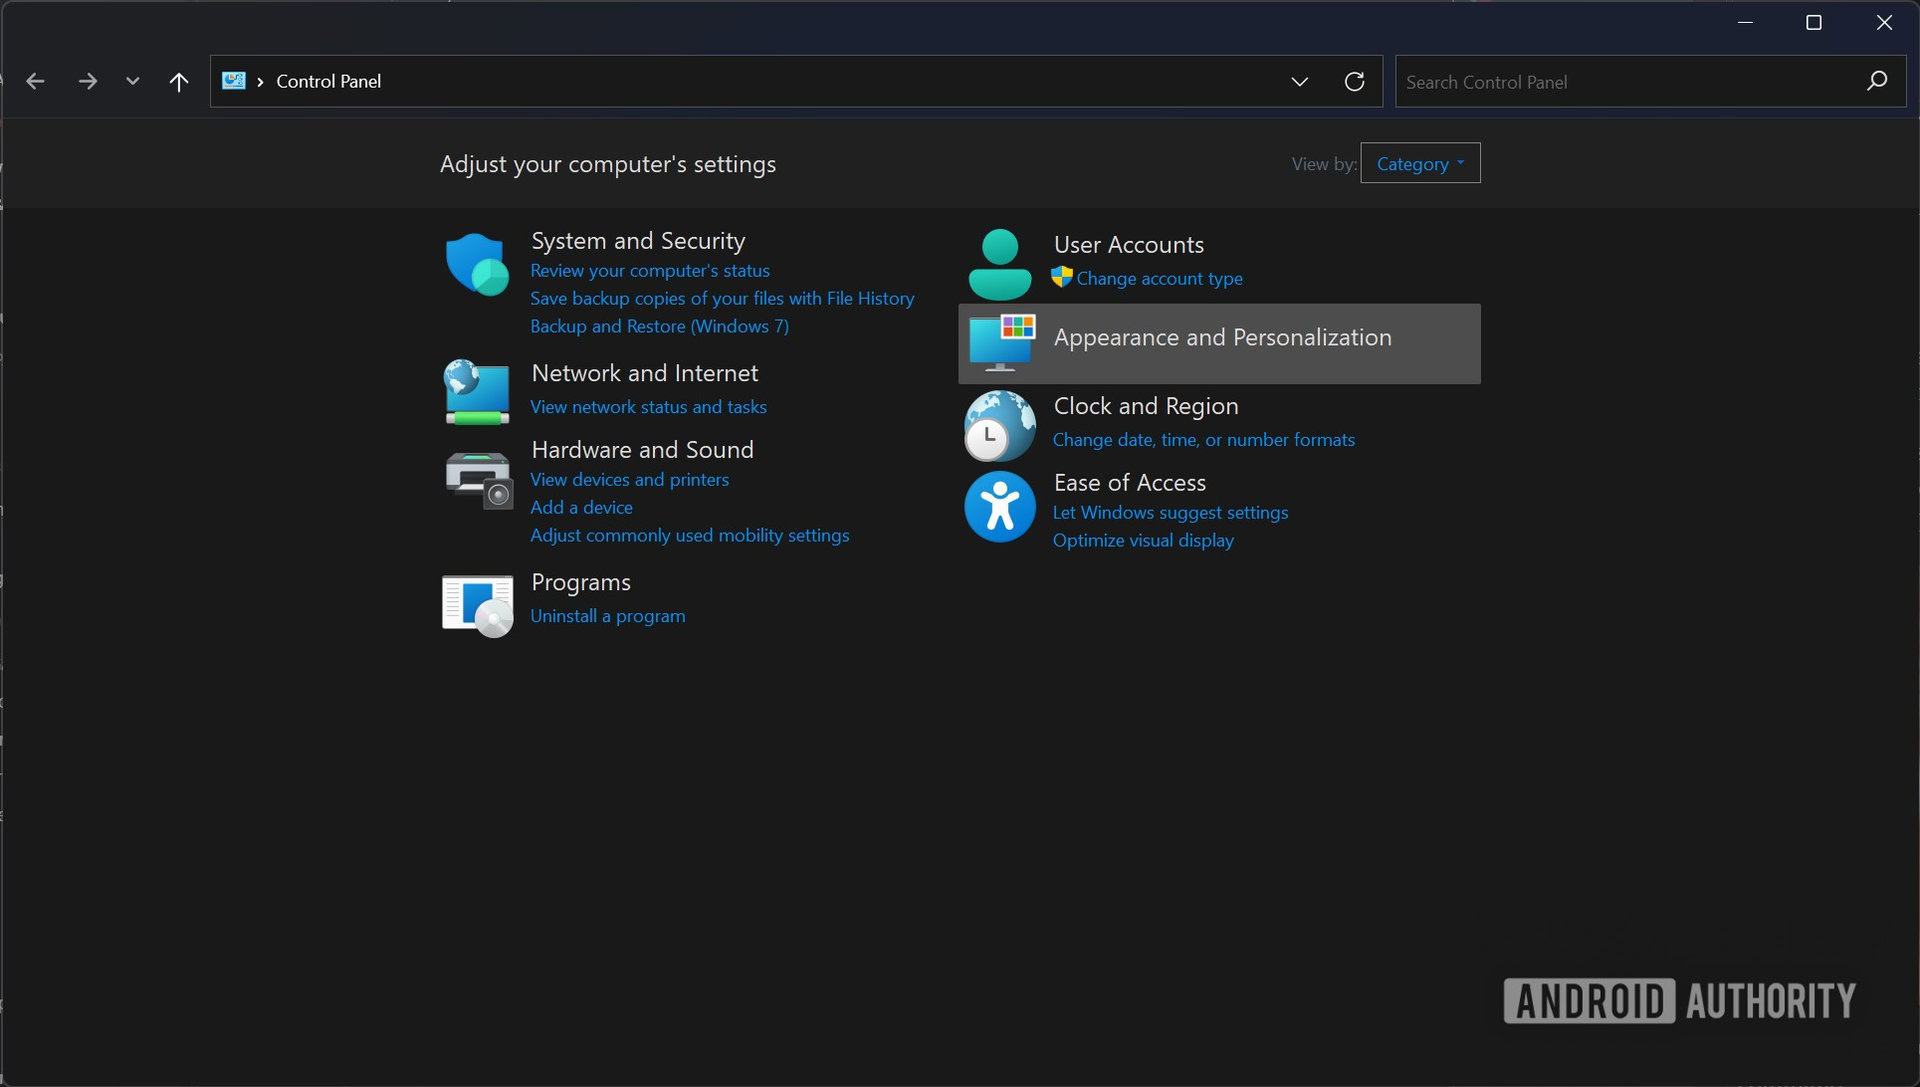
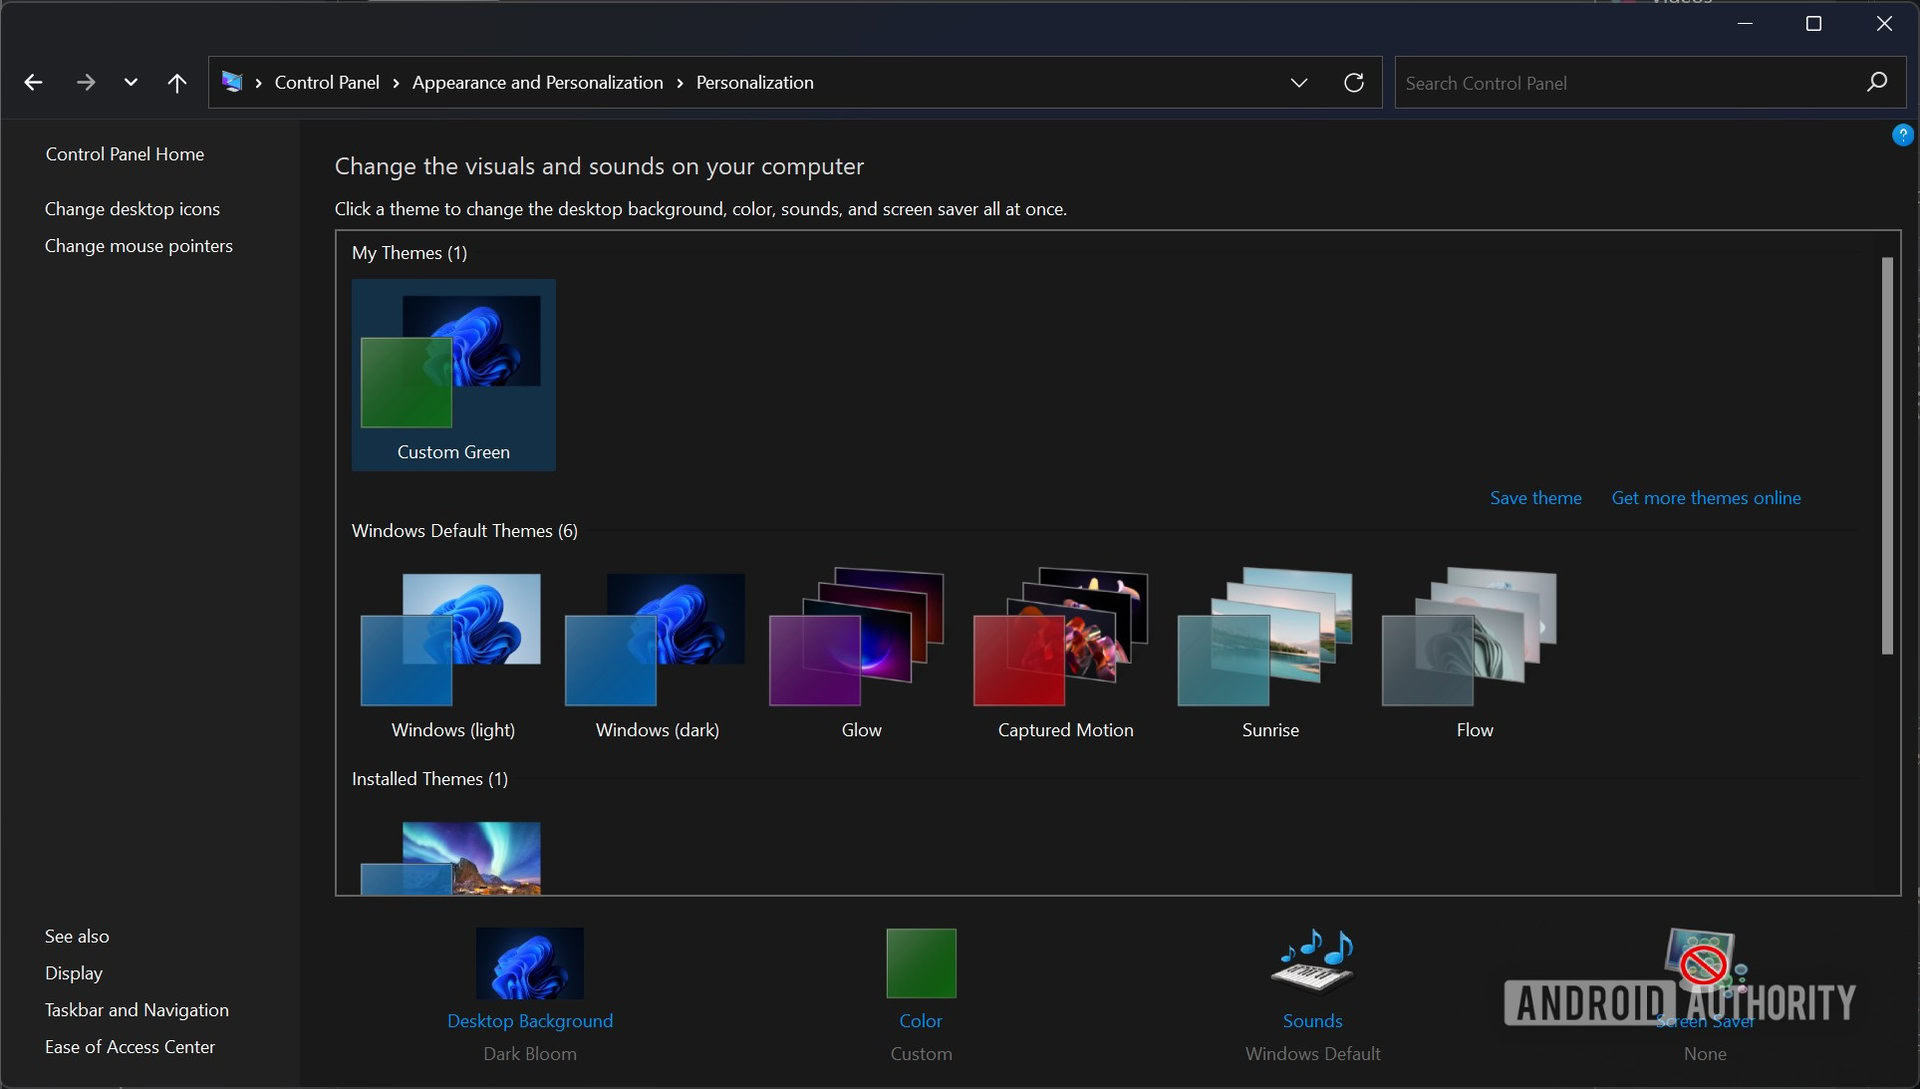
If you want to use the Control Panel for themes, that’s still possible in Windows 11. Open Control Panel via Search. Click Appearance and Personalization.
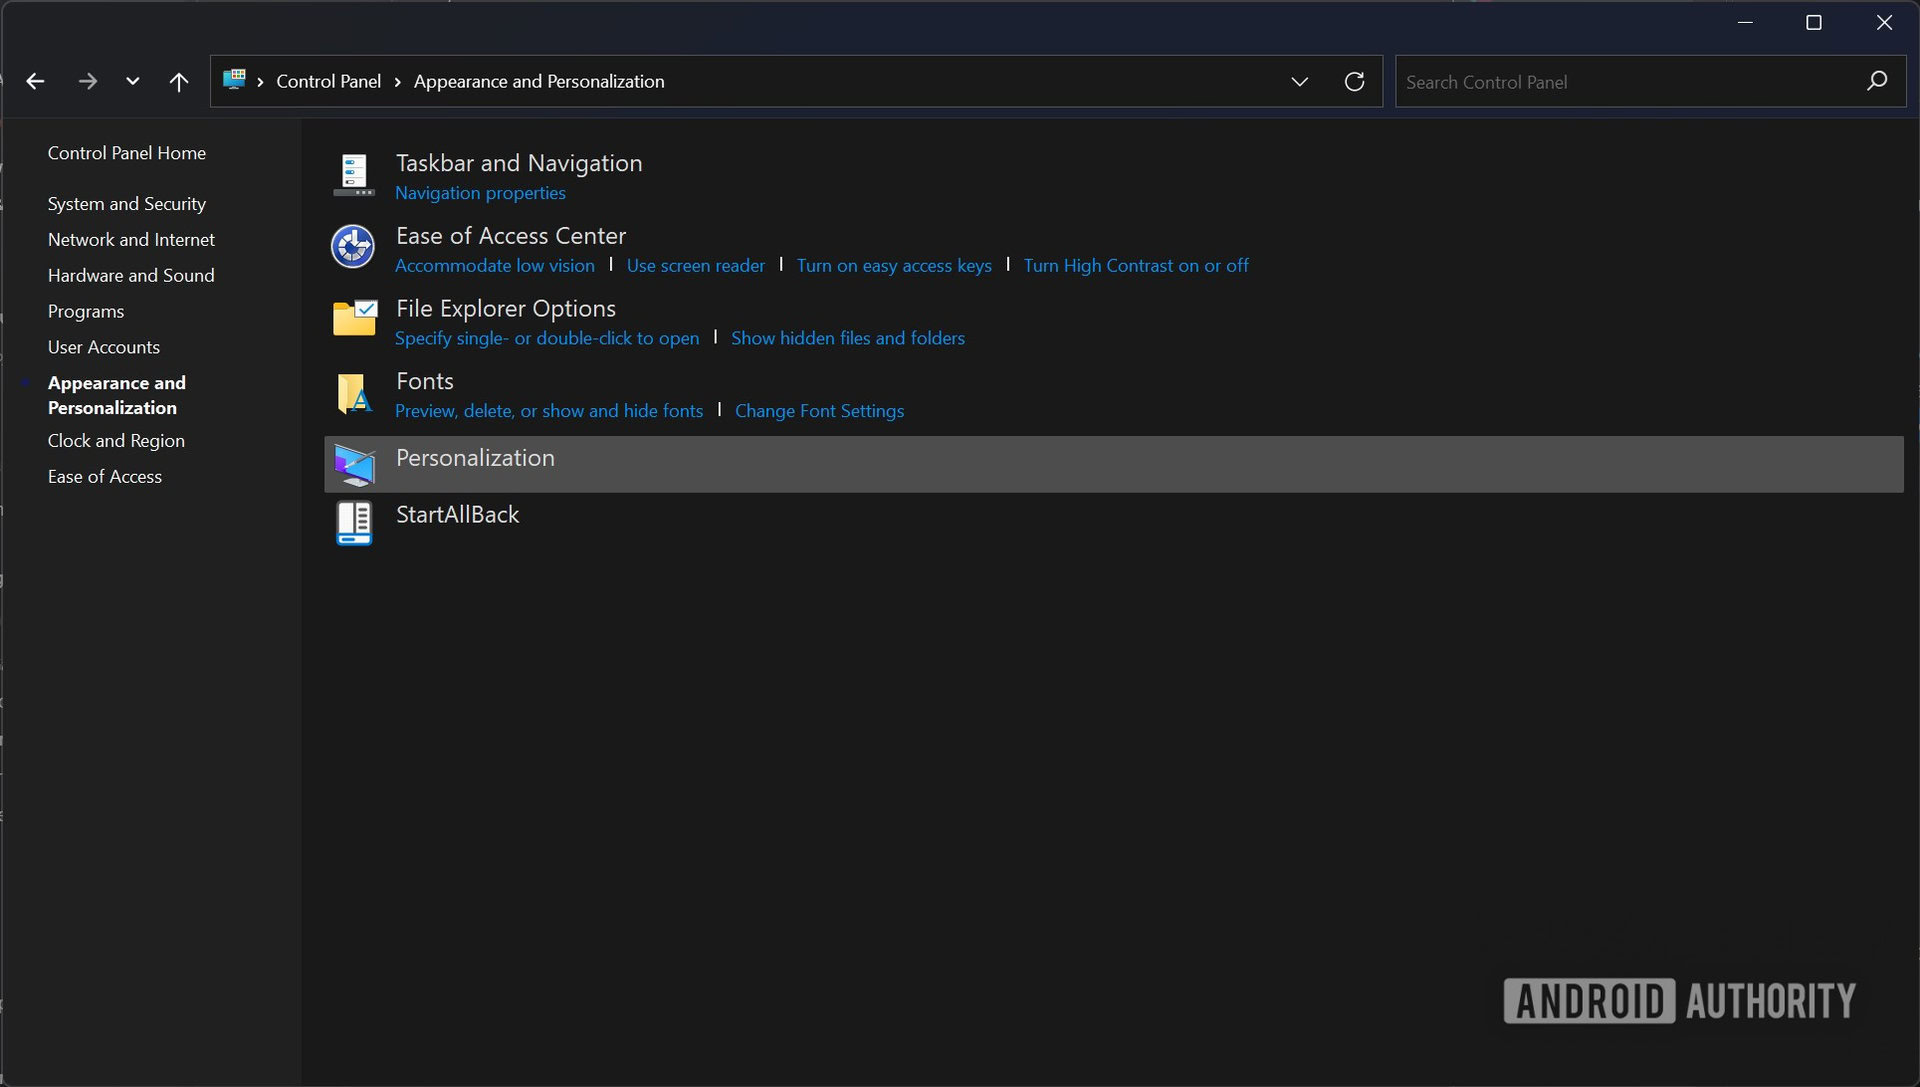
Click Personalization.
You will get a theme selection screen, with the individual elements like background, color, sounds, and screen saver at the bottom.
Using the File Explorer
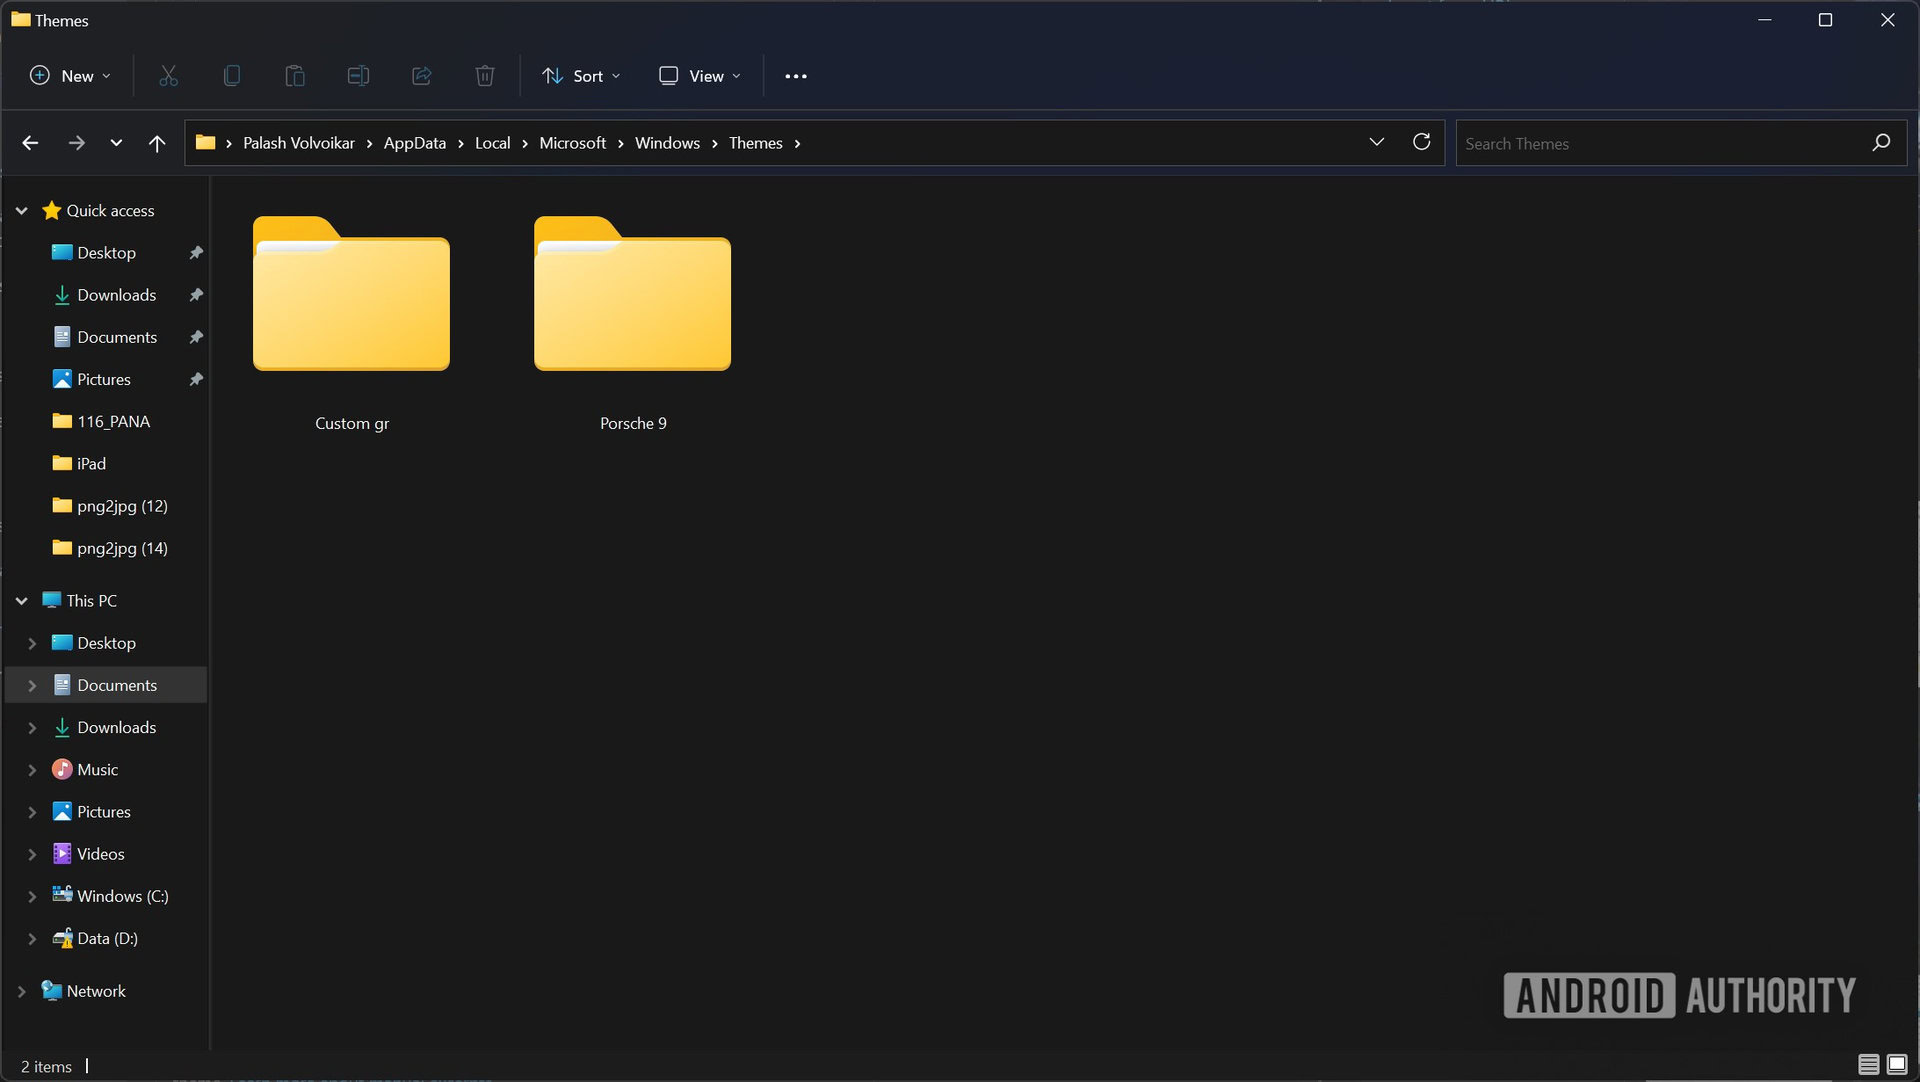
You can use the File Explorer to find and apply themes on Windows 11 as well. This is also how you can install the previously saved custom theme on a different computer.
Here are the save locations for themes in Windows 11.
- Default themes folder — C:\Windows\Resources\Themes
- Installed themes folder — %LocalAppData%\Microsoft\Windows\Themes
If you want to install a custom theme you downloaded, navigate to the save location— usually the Downloads folder — and double-click the .theme file. Windows 11 will open Themes settings and set the theme as the current theme.
Installing a new theme from Microsoft Store
You can also get themes from the Microsoft Store. Head over to Settings -> Personalization -> Themes.

Click the Browse themes button next to Get more themes from Microsoft Store. Microsoft Store will open up with a bunch of themes listed.
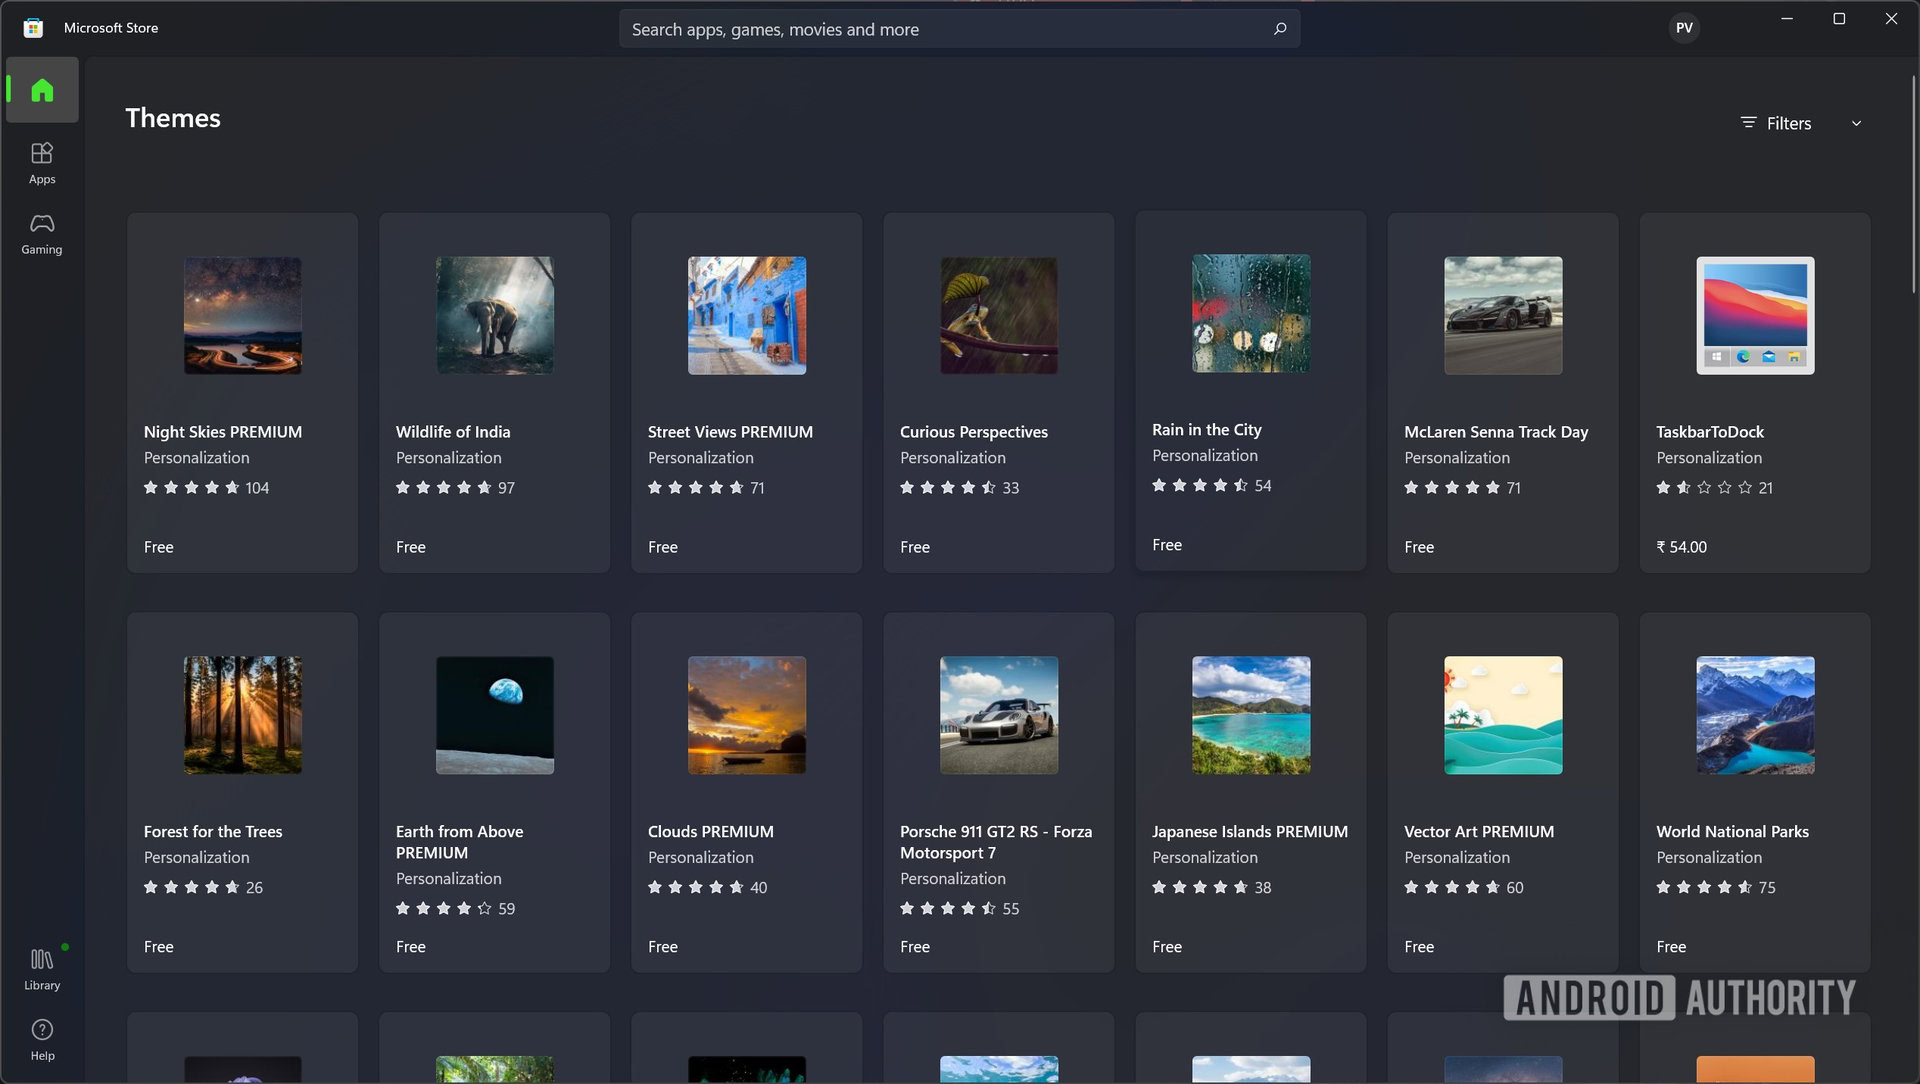
Click the theme you want, and click the Get button or the Buy button for paid themes.
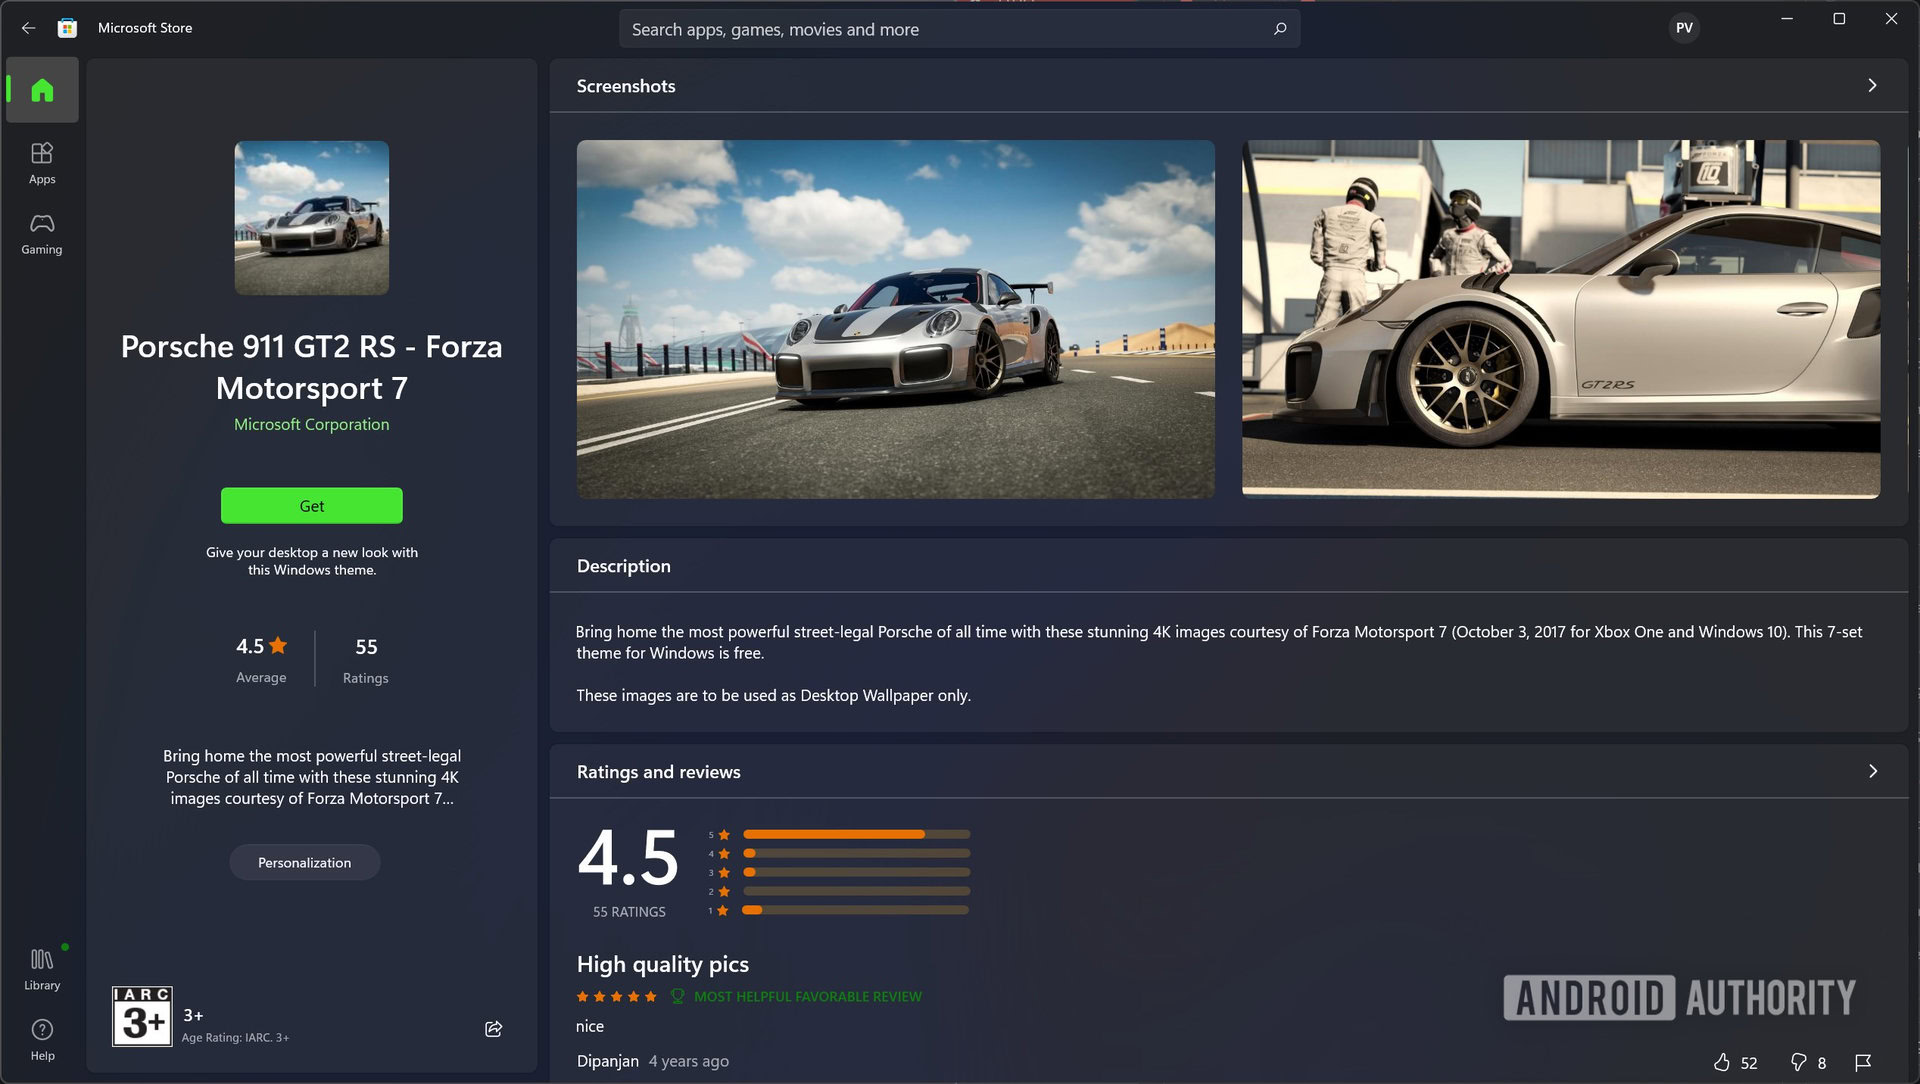
It’ll take some time, but the Store will download and install the theme. You can then head back to Settings -> Personalization -> Themes and click the theme to apply it.
Use a high-contrast theme
Windows also has a couple of high-contrast themes as a part of its accessibility settings. Open Settings, and click Accessibility in the left navigation pane.
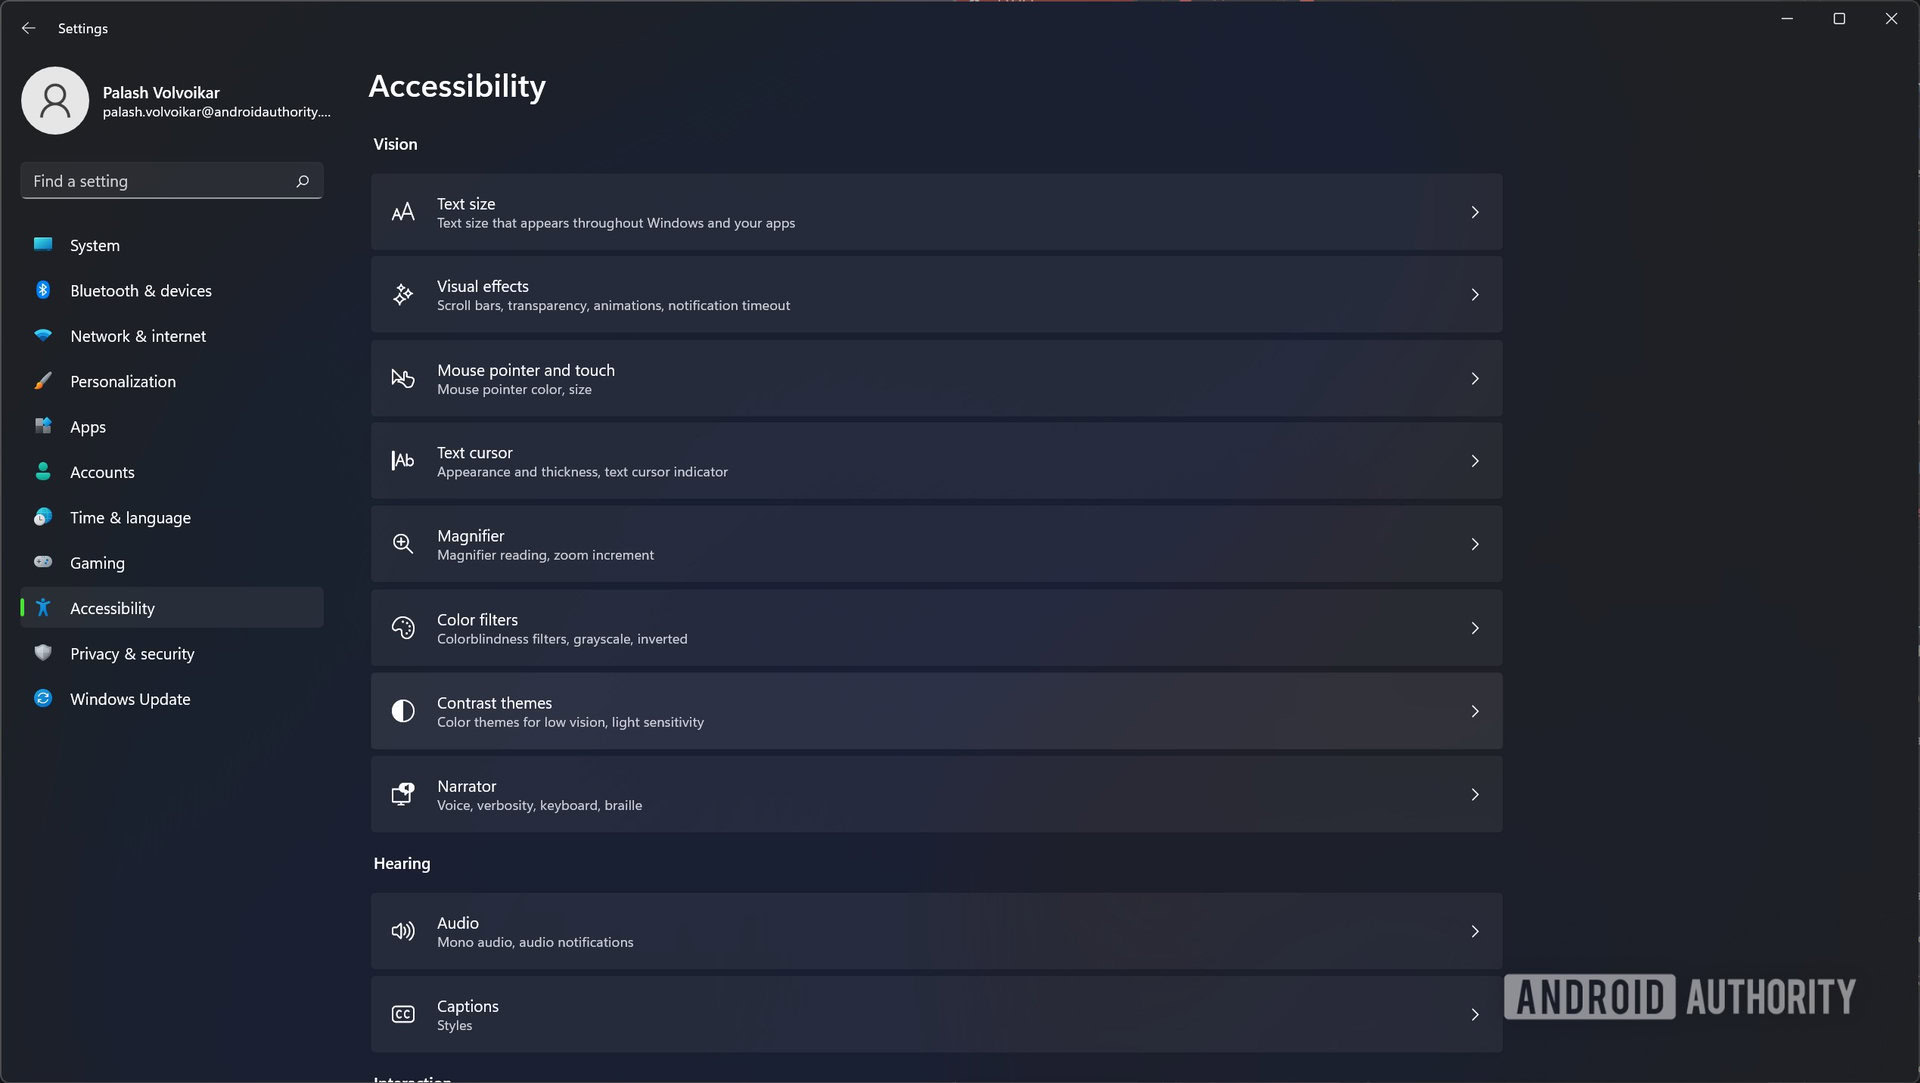
Click Contrast themes in the right pane. There will be a drop-down menu that says None, next to Contrast themes. Click it.
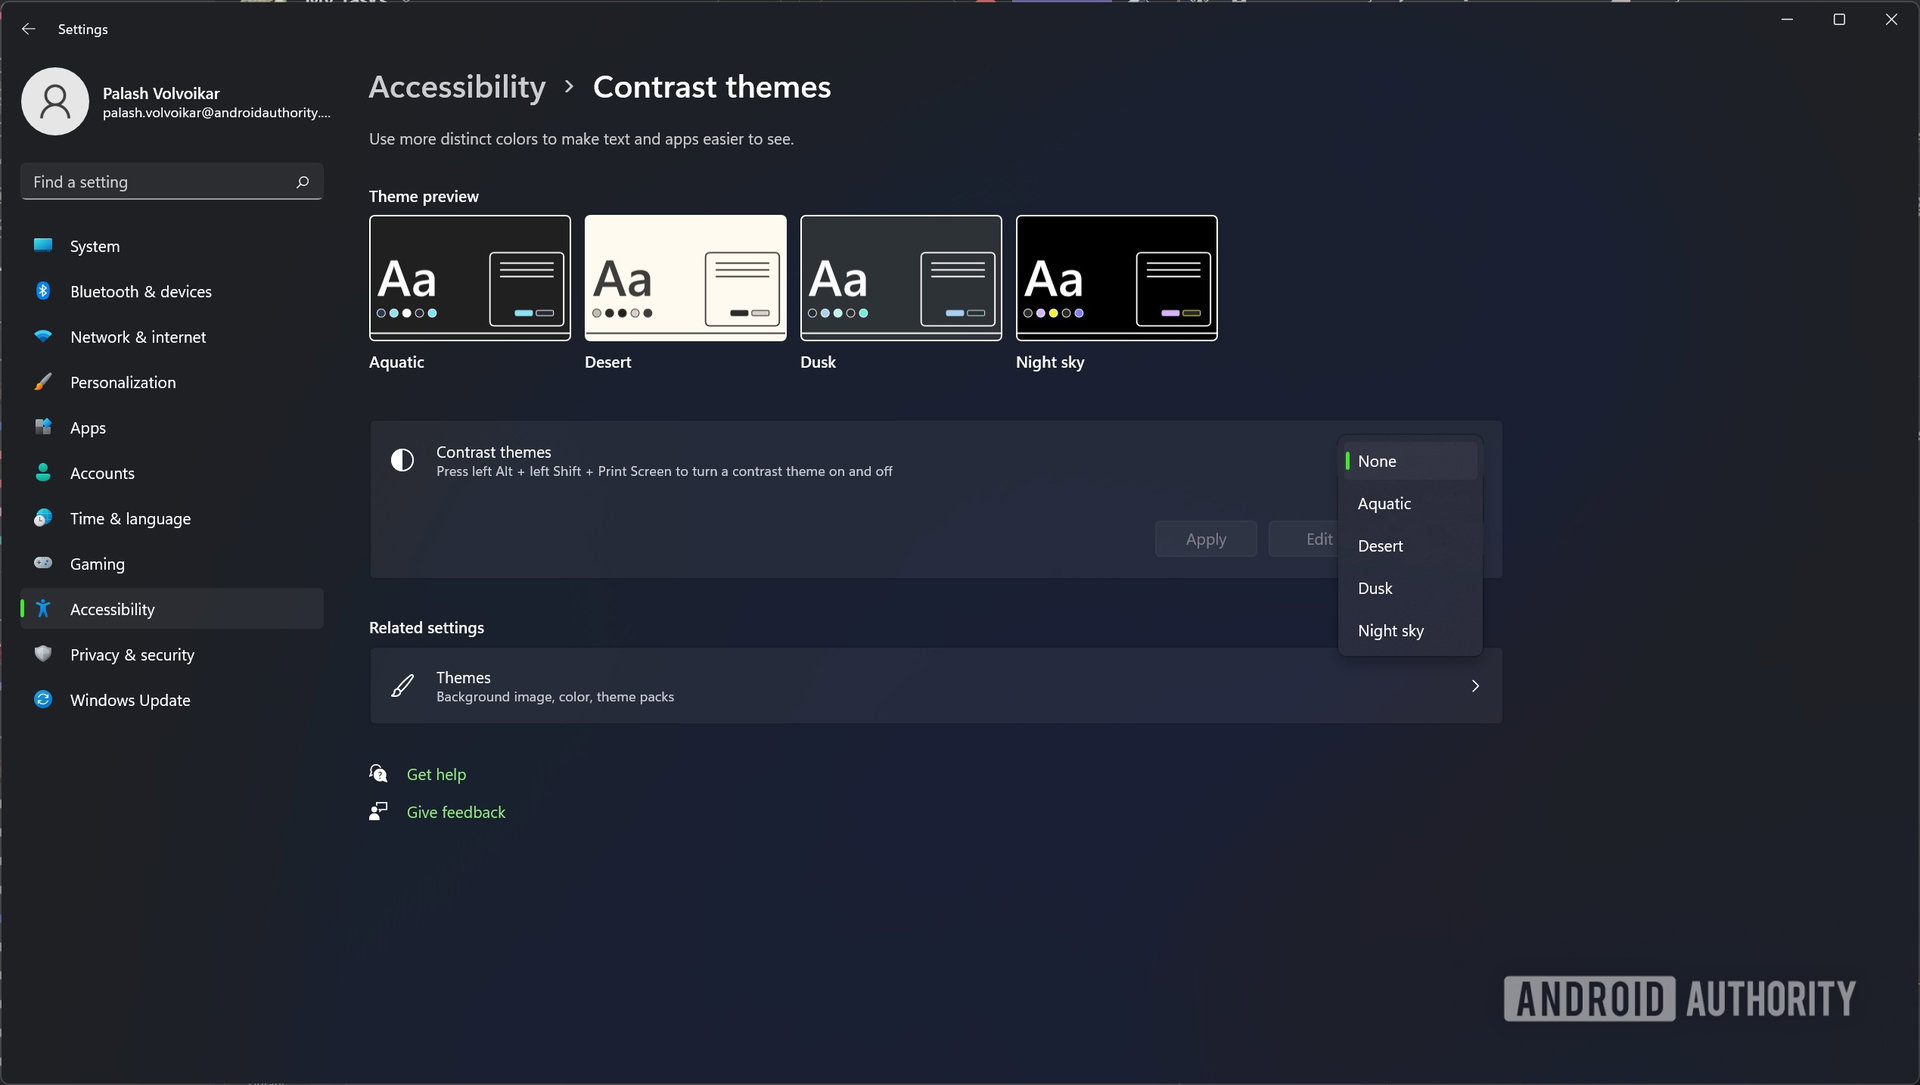
Click the name of the theme you want to apply, and click Apply.
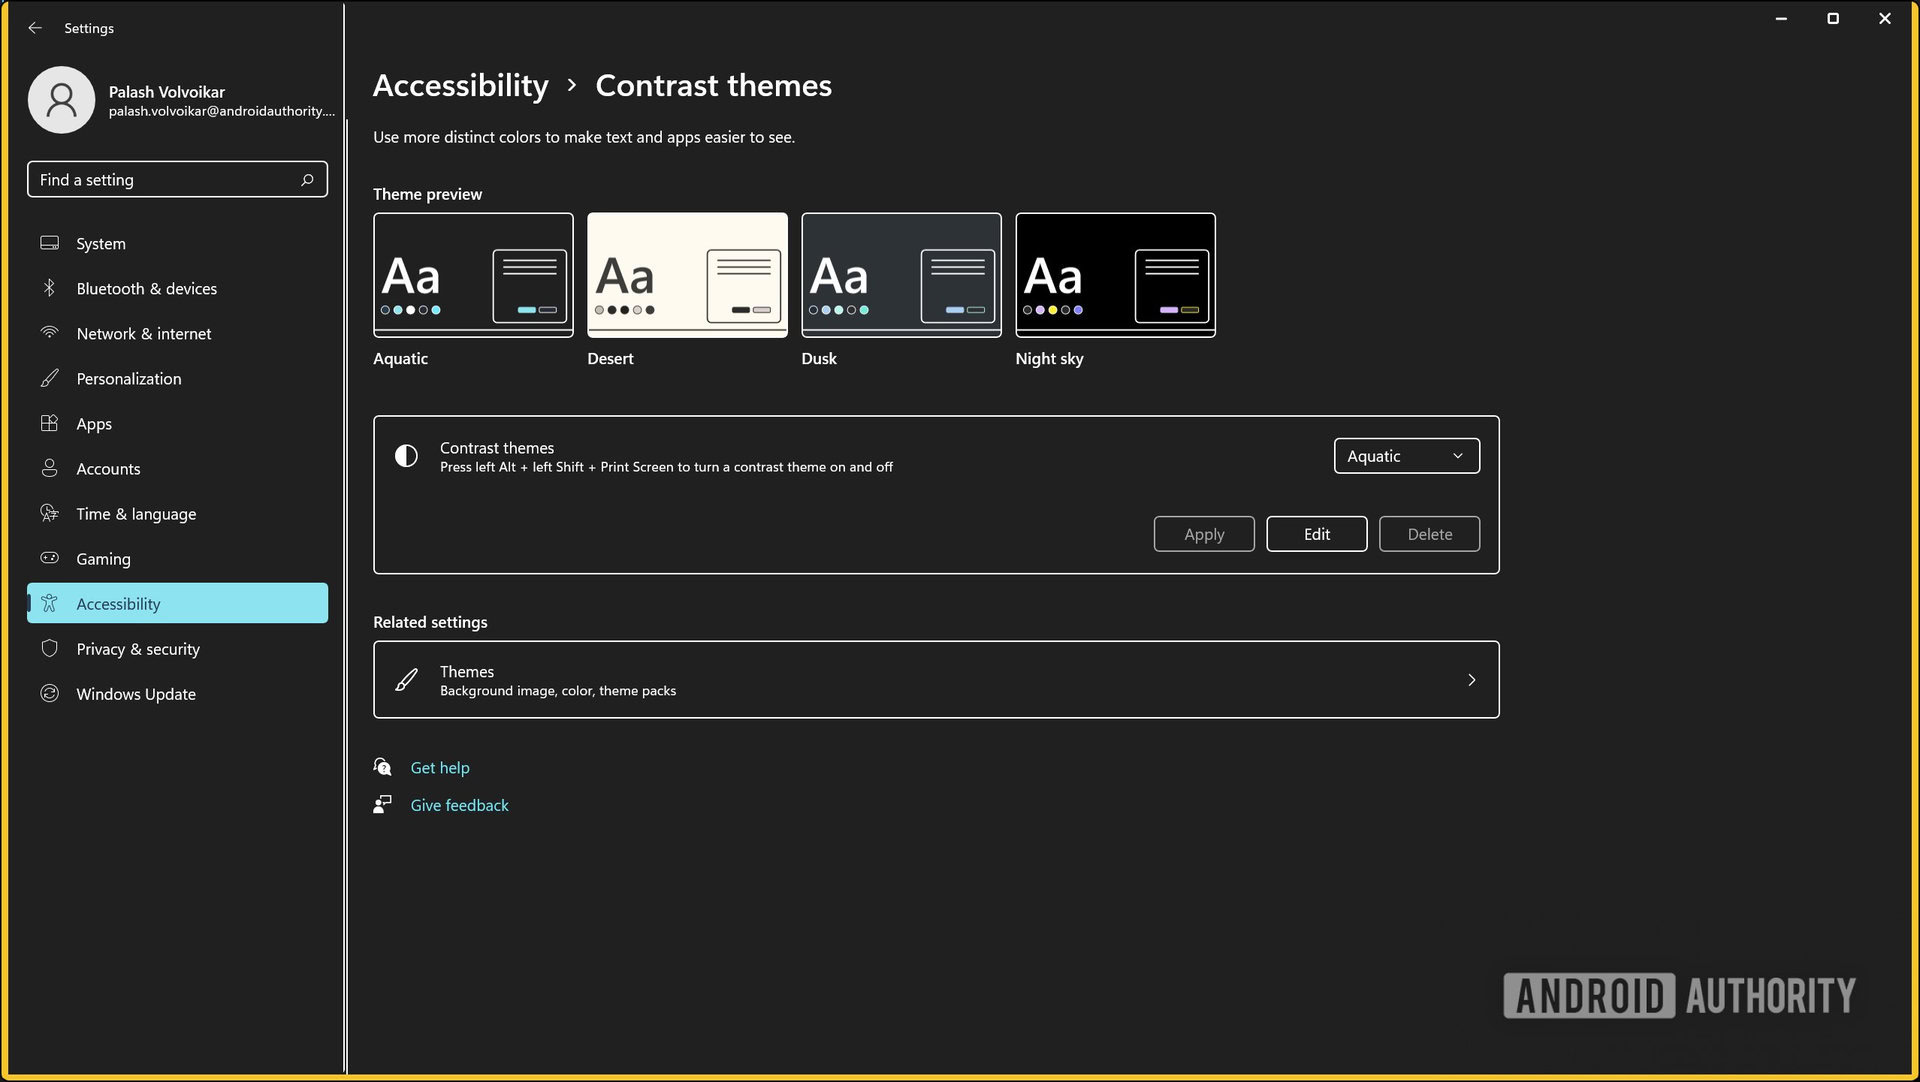
It will take a few seconds, and Windows will apply your high-contrast theme. You can select None and click Apply again if you want to revert to your last-used non-high-contrast theme.
FAQs
You can download free Windows 11 themes and screensavers from the Microsoft store. Check out the section above on how to do it.
There are plenty of moody themes that you’ll find either already on your PC or from the Microsoft Store. If you’re actually interested in Windows 11 dark mode then go to Settings -> Personalization -> Colors and choose Dark under Mode.