Affiliate links on Android Authority may earn us a commission. Learn more.
Android customization - one click to a stunning time lapse video using Framelapse
Published onFebruary 26, 2015
Last week on our Android customization series we were learning all about the For loop coding tool in Tasker, we did this by taking a series of photos that could then be turned into a sort of time lapse animated image. The coding tool was valuable, but the time lapse was just plain fun, so we wanted to take that to the next level.
This week, we are showing off an app that anyone can use, and with just one click you can capture amazing time lapse videos. Allow me to introduce Framelapse.
Before we get started

Capture a timelapse video
After trying out a number of contending time lapse video capture apps from the Google Play Store, Framelapse proved to me the easiest to use, that produced quality results with the least amount of fuss.
Honourable mentions for this project included Lapse It and TimeLapse! There were others that I had tried, but they do not warrant naming.

Enough of all that, hold on to your, well, whatever it is you hold onto when you are about to learn how easy this project is.
Let’s take this step by step.
Install Framelapse. Oh, you already have, good.
Open Framelapse. Yes, I’m being facetious.
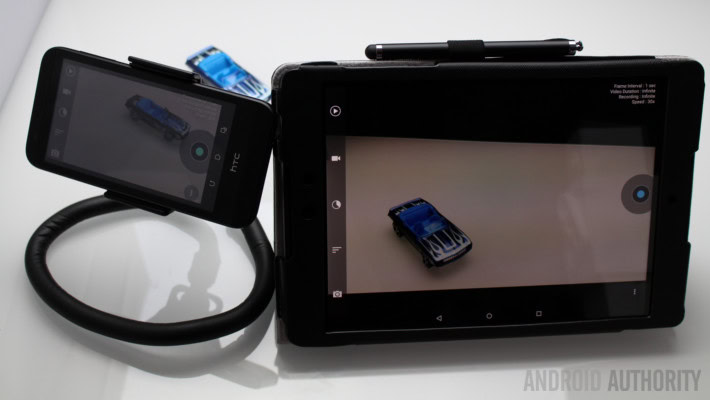
Mount your Android device somewhere solid and secure. Point it at your video subject.

Tap the trigger button to start recording.
Walk away from your device. Everything is in good order, you just need to come back later to stop the recording before your battery dies or you run out of storage space. My little device, recording at 1080p, clocked in at about 150MB per minute of produced video, that’s 30 minutes real time recording.
Enjoy your time lapse video. Or mine from a recent road trip to the coast.
I am serious guys, it is that easy, and the quality is really quite good. Consider that I shot my time lapse with the $30 HTCDesire 510 that I got last year. I changed no settings at all, just installed Framelapse and hit record. In just a few minutes you can see my entire drive through the city, then out and through the coastal mountains and down to the ocean.
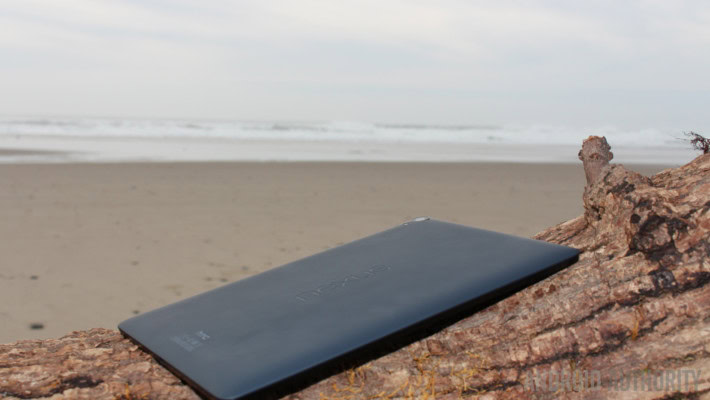
Sadly, you never see the ocean in the video, so here is an image from my day at the beach. No, the Oregon coast in the winter, especially as far north as I was, is not all sunshine and warm water, but still a pleasant walk, beautiful scenery and great fresh ocean air.

What’s next
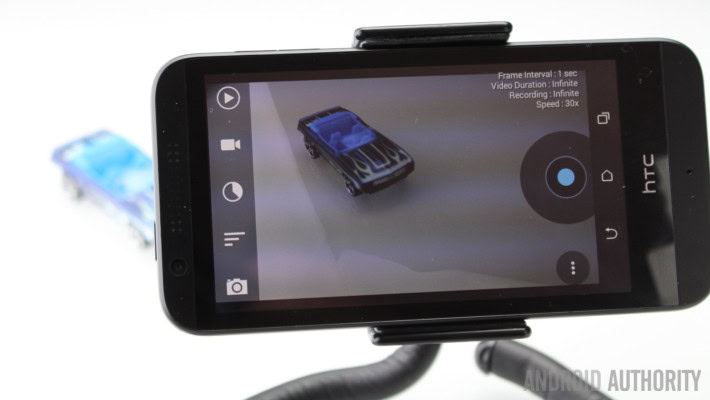
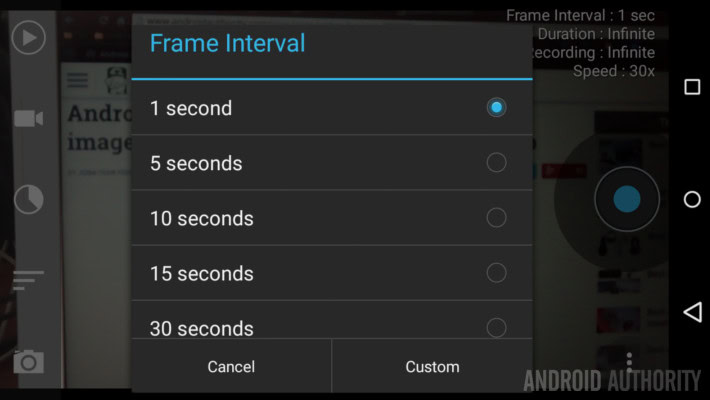
Framelapse at its default settings may be pretty solid for most recording situations, but it also offers up the ability to customize most aspects of the recording process. You can see straight off that it is recording at a frame interval of 1 second and set for a speed of 30x. In short, every second of video produced is a result of 30 seconds of real life recording.
Obviously, the default setting is great if you need to capture a couple hours of real life. You’ll want to capture intervals of less than 1 second if your real life capture is to be a shorter amount of time. And longer intervals for longer times.

The Pro version of Framelapse allows you to capture at intervals up to 24 hours. You’d have to be pretty committed to the project at that point, but it means you can capture an entire year worth of real life in a video just over 13 seconds in length.
The granular controls go beyond what I am talking about here, there is more to time lapse video than just recording intervals, so I’ll leave it to you to check out and play with, if you so desire.
Next week
This week’s Android customization was really more of just an app review, but hey, I hope you have as much fun shooting time lapse videos as I do. Next week we wish to head back to Android basics – it seems we are always talking about launchers around here, we’ll take a minute to cover what a launcher is and how you can change them out for new ones on your Android device.
Have you tried any time lapse video capture apps for Android aside from Framelapse? What is your favorite?