Affiliate links on Android Authority may earn us a commission. Learn more.
How to transfer photos from Android to a Windows PC
Published onMay 12, 2023
Accidents happen, and there’s nothing worse than losing all the photos on your phone due to damaging your device. That’s why keeping backup copies of all your memories is always good insurance. While cloud-synced apps offer cross-platform storage, there’s always the risk of forgetting a password and getting locked out of your account. The most reliable way to preserve pictures is to store them on different device drives. Here’s how to transfer photos from Android to a Windows PC.
QUICK ANSWER
To transfer photos from Android to a Windows PC, use a USB cable or a transfer app, such as AirDroid, to connect the devices wirelessly.
KEY SECTIONS
How to transfer photos from Android to PC using a USB
The easiest method to move pictures from your Android to your PC is to use a USB cable. Even though most flagship phones don’t have a charger, they should at least still include the cable. But they are relatively cheap to replace if you’ve lost yours or worn it out. You can use a USB-C cable if your computer or laptop has a USB-C port. Otherwise, you will need a USB-C to USB-A cable or adapter to plug into your PC.
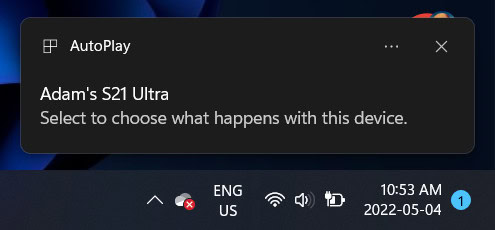
Once you connect your Android to your PC, you will see an AutoPlay pop-up message in the bottom right of the screen. Click on that to choose what to do with your device.
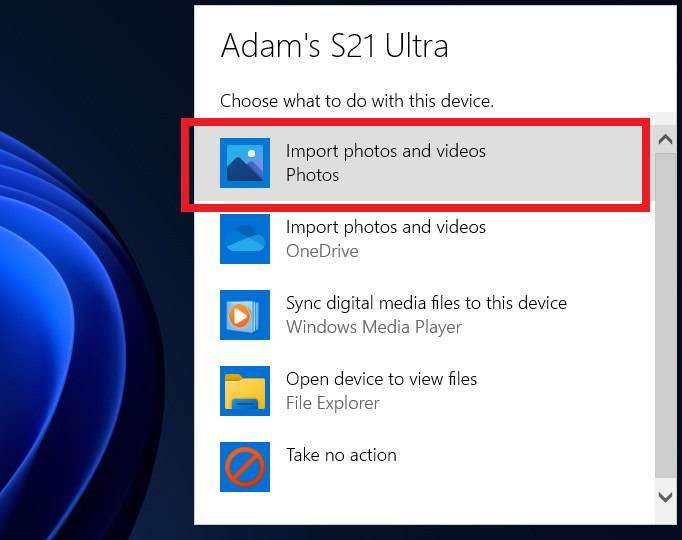
After that, another pop-up window will appear with various options. Click on Import photos.
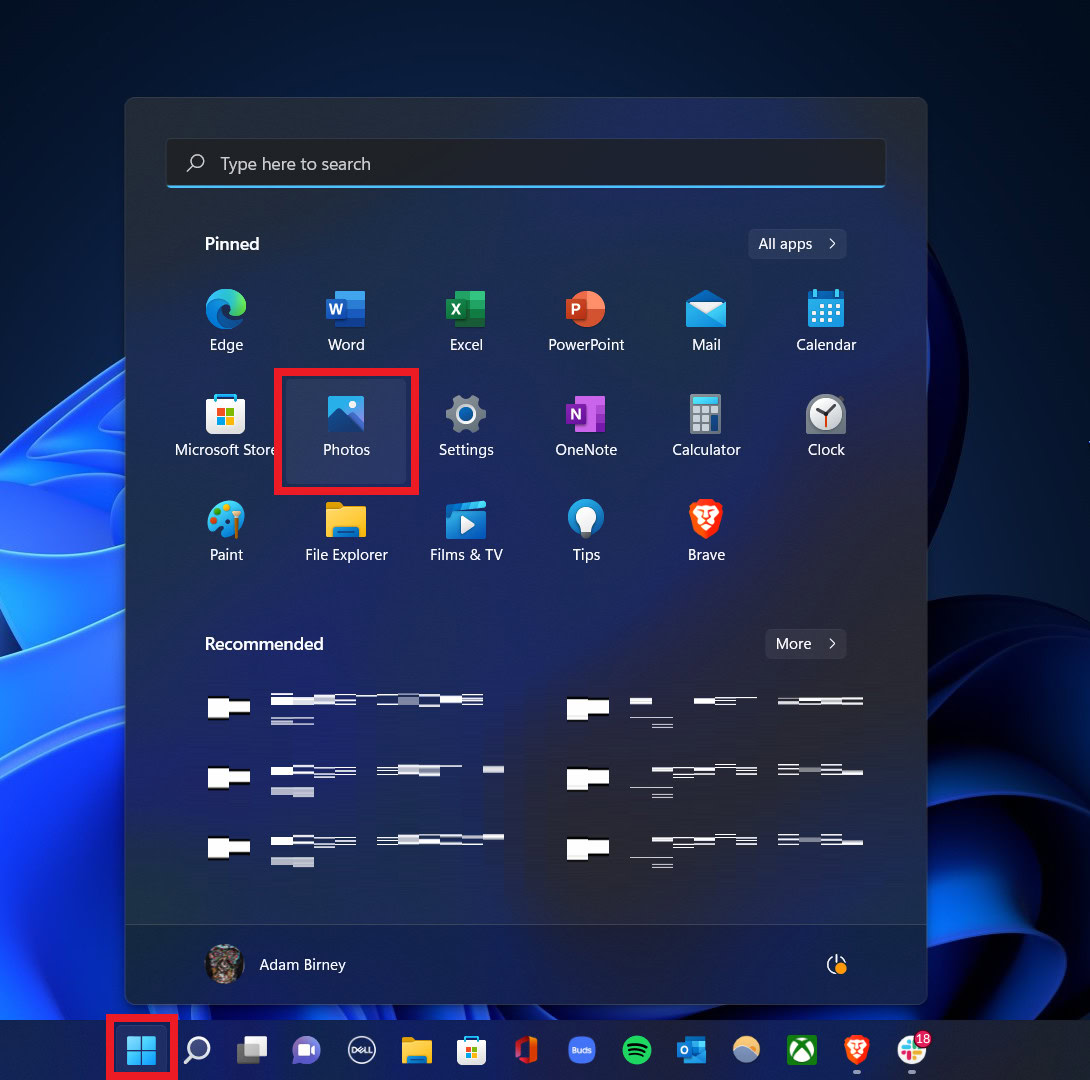
Alternatively, you can click the Start button and select Photos to open the Photos app.
Click on the Import icon and select From a connected device.

You can then pick the photos or videos you want to import to your PC and select where to save them. Depending on how many files you transfer, the process may take a few minutes.
How to transfer photos from Android to PC wirelessly
If you don’t have a USB cable, you can still transfer your images wirelessly using a third-party application. We recommend AirDroid because it’s free and easy to use, and you can transfer files between your Android and PC. You just need to sign up for an account and download the application on your PC and Android.
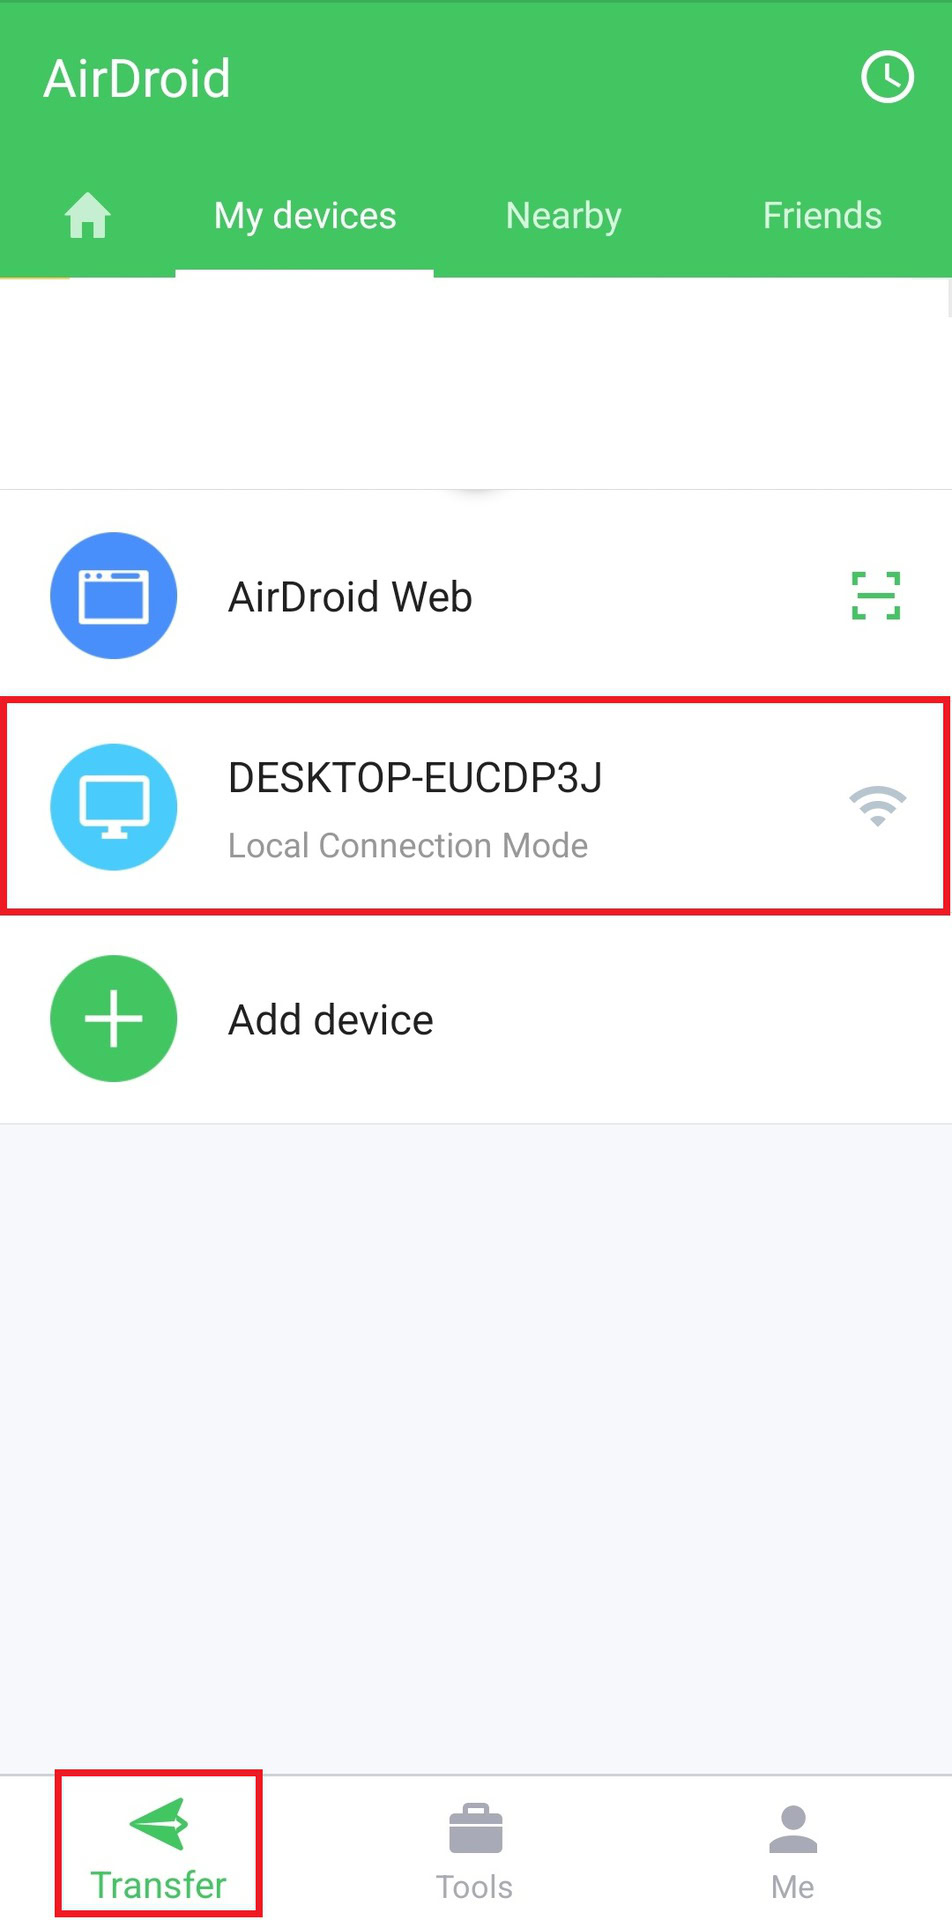
Once downloaded, you’ll need to grant the mobile app permission to access files on your phone. After that, open the app, tap Transfer in the bottom left, and select your PC from the My Devices list.
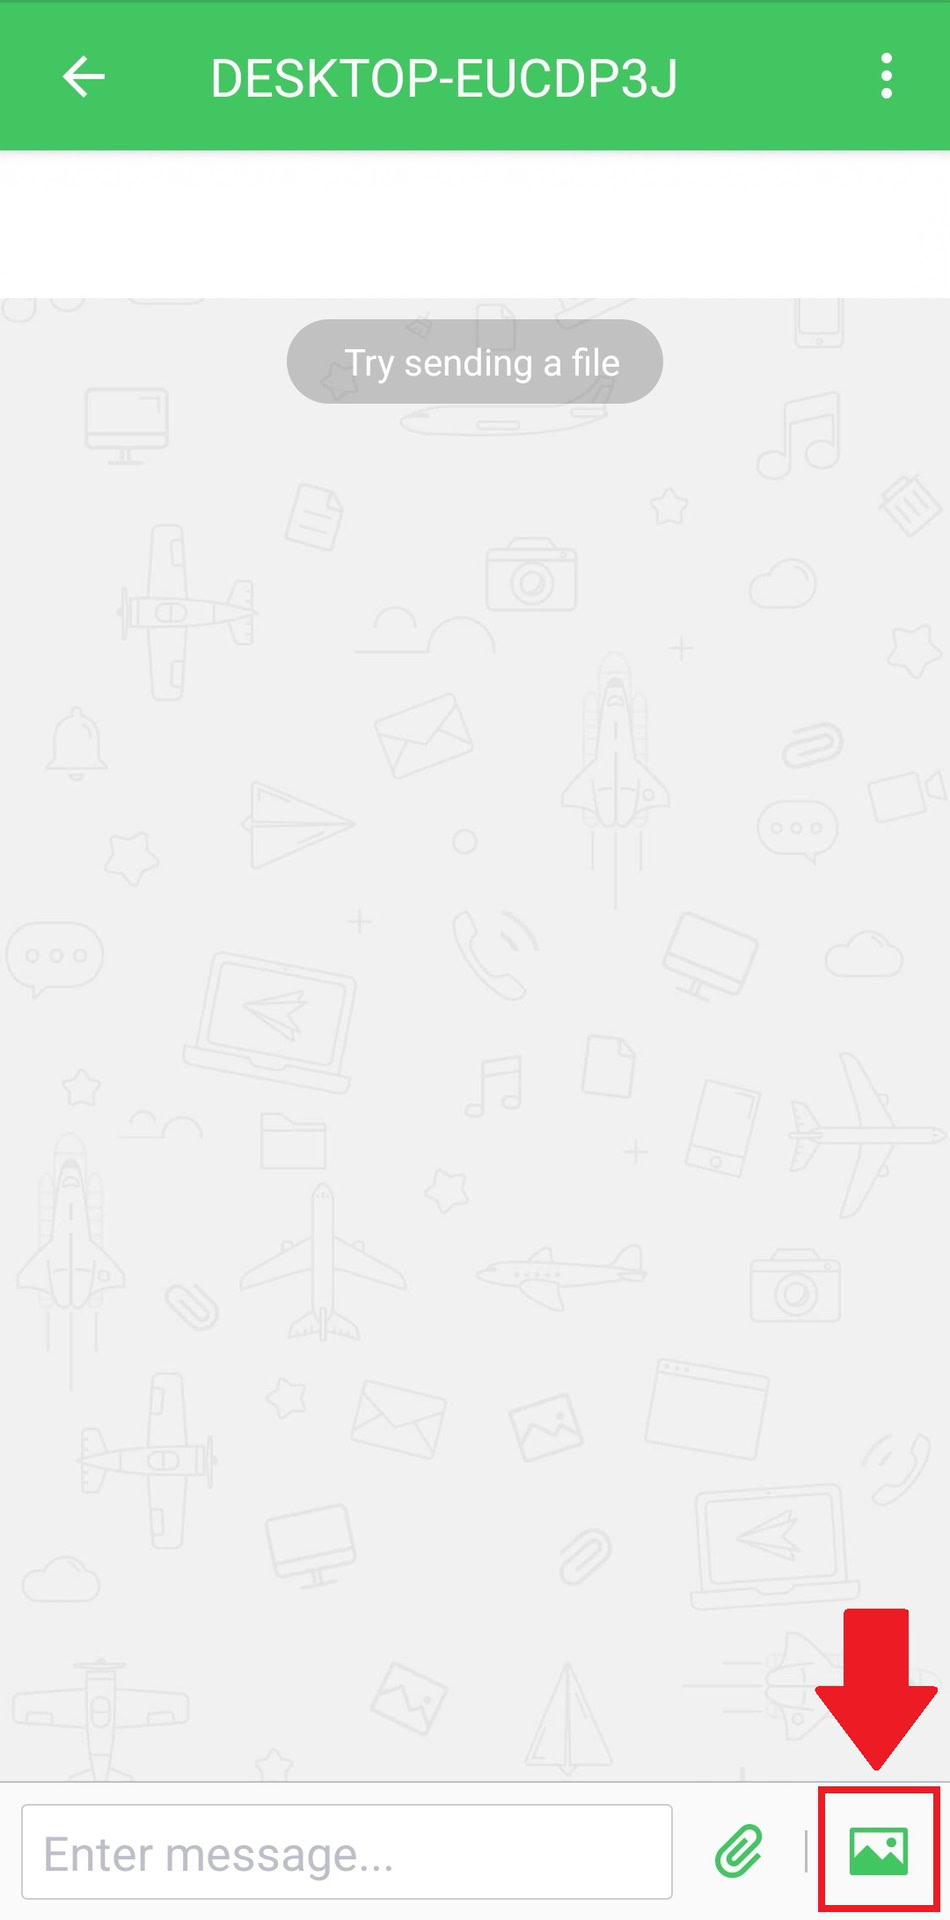
Then, tap the Photo icon in the bottom right and select the photo(s) you wish to transfer. You can then find them on the AirDroid application on your PC.
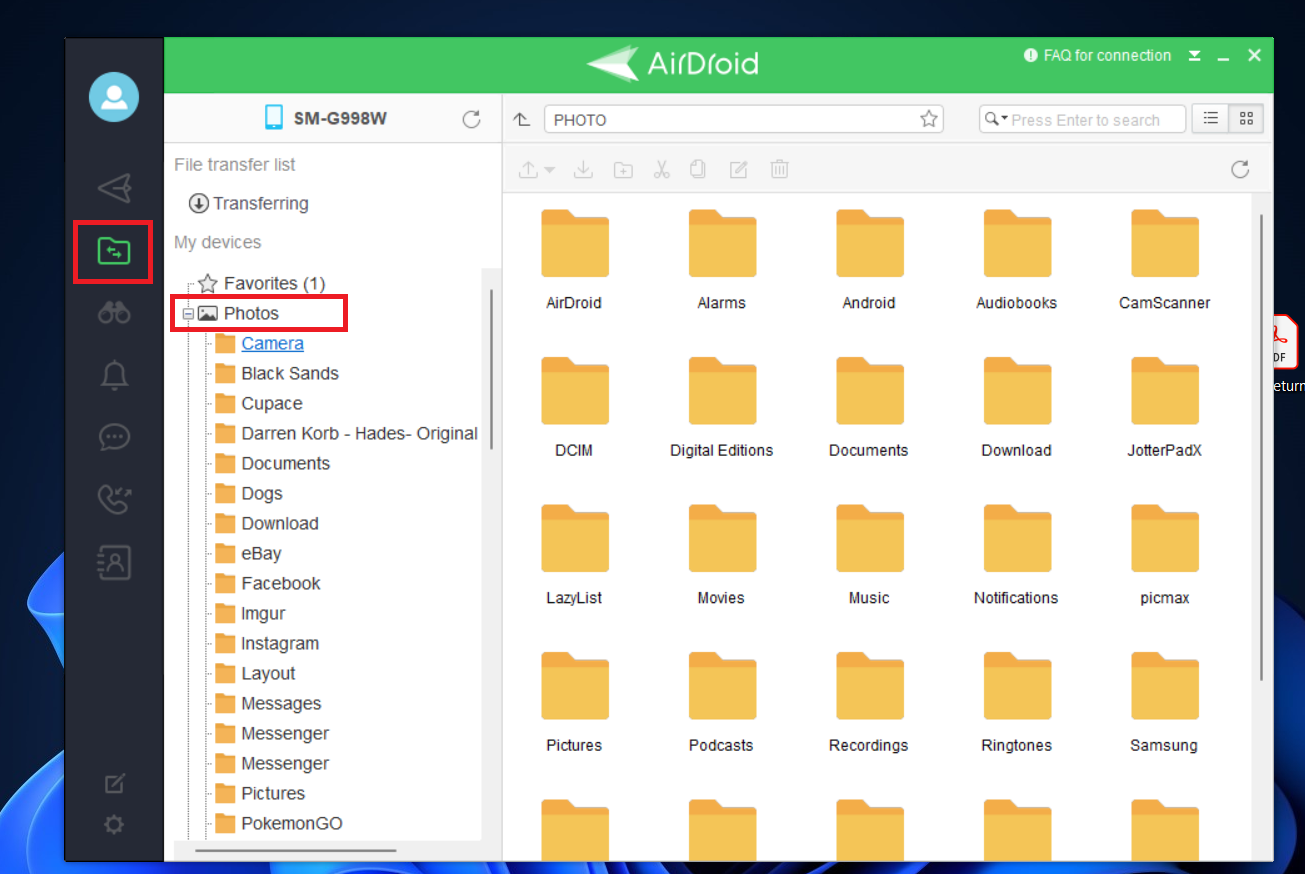
Alternatively, you can access the files on your phone directly from the PC application. Click the Files icon on the left-hand side, then open the Photos folder to view and download your Android photos directly to your PC.
FAQs
You can use a third-party app, such as AirDroid, to wirelessly transfer photos from your Android to a PC.
Yes, you can download AirDroid for free to transfer photos from your Android to a PC wirelessly.
If you don’t see the “device detected” pop-up when you connect your phone to your PC via USB, try reconnecting the USB cable or searching for your external device in the File Explorer.
To transfer photos from an Android device to your PC using Wi-Fi, you can use cloud-based storage apps such as Google Drive or Google Photos. Once the photos are saved to those platforms, you can access them via the app or website on your PC and save them to your PC’s storage.