Affiliate links on Android Authority may earn us a commission. Learn more.
What is Android Things? - Gary explains
Published onJanuary 13, 2017
Recently Google announced its new Internet of Things initiative based on Android, the aptly named Android Things. It was back in May 2015 that Google announced Project Brillo as its IoT operating system, but having looked at the feedback it received from developers about Brillo, Google decided to ditch it and create Android Things. By adding Android to the name, Google is emphasizing that developers are able to use familiar Android SDKs, APIs and services including the Google Cloud Platform.
Android Things is only a preview at the moment and there is much to be done, however enough of the final operating system is working so that developers can start creating Android Things based projects.
Hardware
Android Things supports three boards: the Intel Edison, the NXP Pico i.MX6UL and the Raspberry Pi 3. Support is coming for the Intel Joule and the NXP Argon i.MX6UL. The first thing you will notice is that these boards use a mixture of Intel and ARM based CPUs and that both 32-bits and 64-bits are supported. The minimum amount of RAM is 512MB and all the boards support Wi-Fi and Bluetooth.
Android uses the Linux kernel at its core and Linux is a full multi-tasking operating system with virtual memory support. This means that Android Things needs a processor that supports virtual memory, in other words a processor with a full MMU. For ARM processors this means something from the Cortex-A range and not a microcontroller from the Cortex-M range. The reason I mention this is that there are lots of IoT products that use microcontrollers and therefore have less memory, less flash storage, use less power, and use less complex operating systems. By opting to use Android and Linux then Google aiming at a particular segment of the IoT market and is automatically excluding itself from the other segments. Whether this is the right decision remains to be seen.
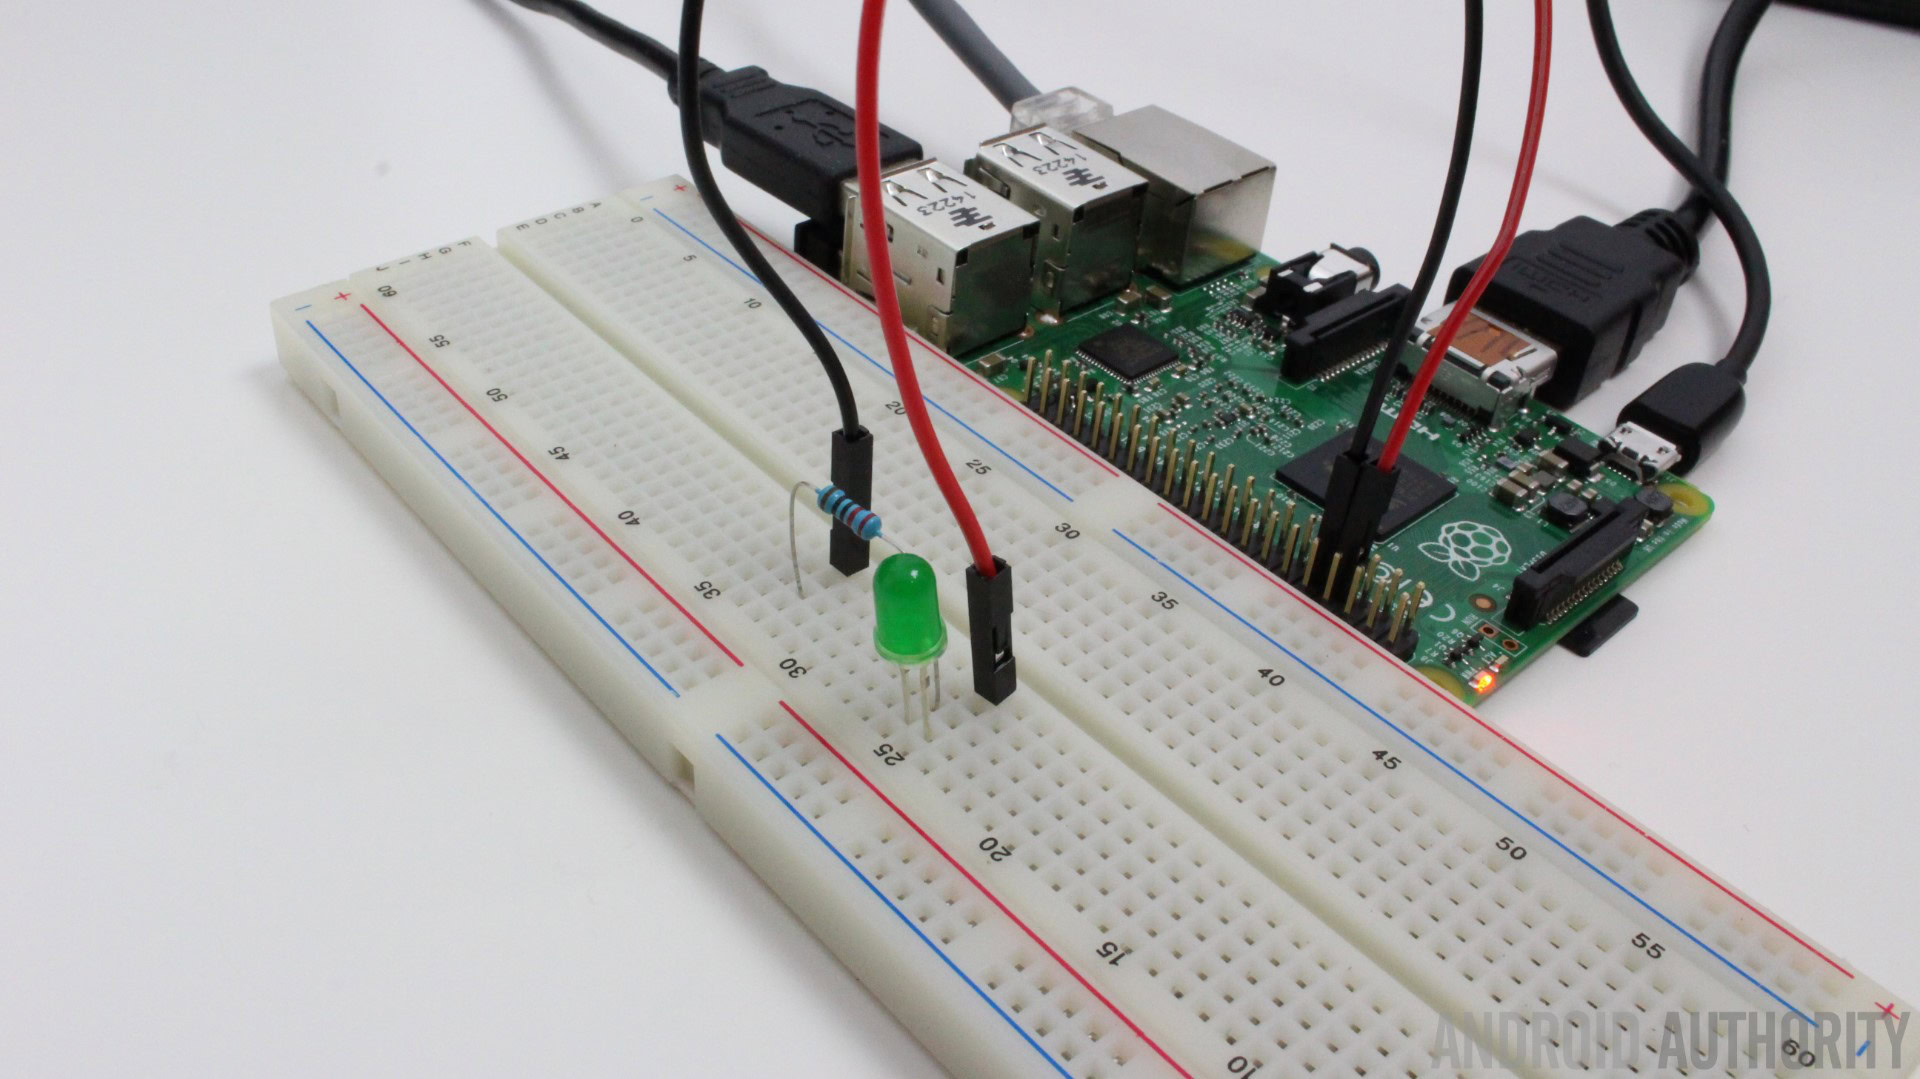
The most popular board of the currently supported three is the Raspberry Pi. It is cheap, well known and easy to acquire. I also happen to have one (or maybe more) floating around here so I took Android Things for a spin using my Pi!
Booting
The first step is to download the correct Android Things image for your board. For the Pi that means downloading the .img file (which is wrapped up in a .zip file) and writing it to a microSD card. Then you insert the card into the Pi, connect up the monitor (via HDMI) and then connect the power.
Android Things takes about 90 seconds to boot on the Pi 3. First you are shown some boot information (as text) in a similar vain to Linux booting, this is replaced after a few seconds with an Android Things loading screen which shows three pulsating dots (to show that it is working). Finally this is replaced by an Android Thing splash screen, which tells you about the status of the Ethernet and Wi-Fi connections and little else.
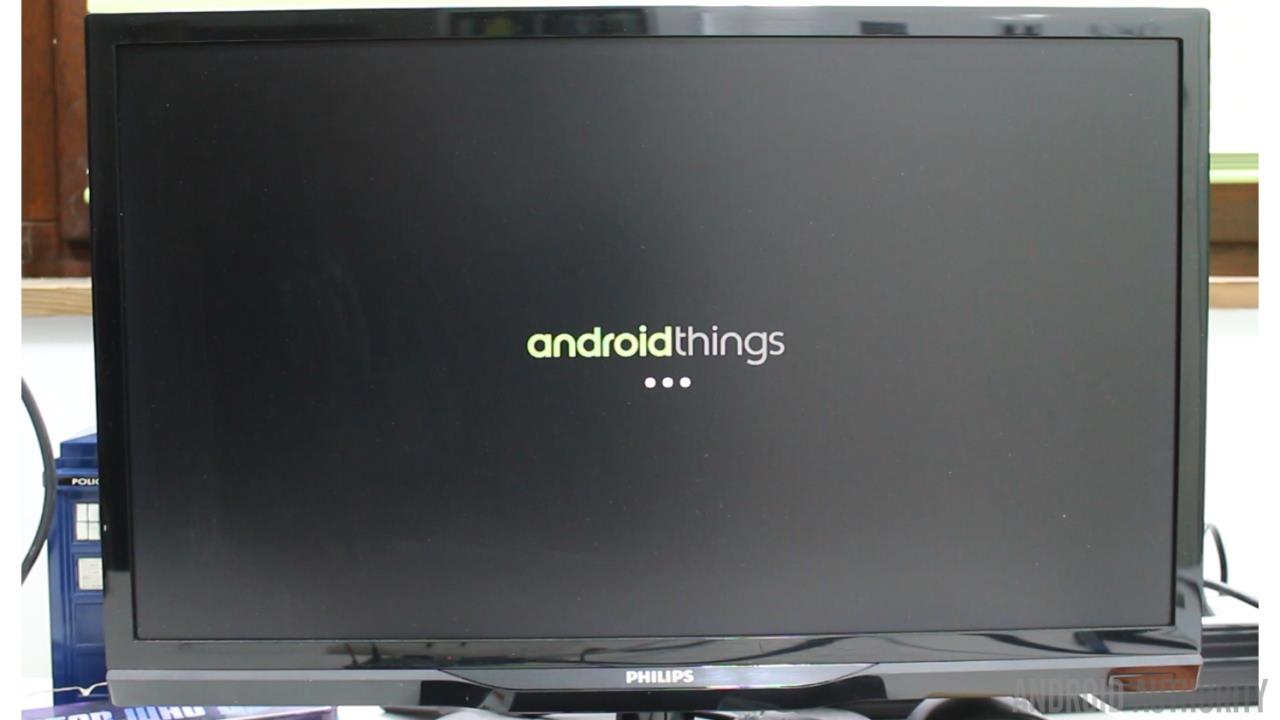
A minute and a half is quite a long time for an IoT device to boot, I can imagine lots of scenarios were such a long boot time could lead people to think something is broken, especially it the product doesn’t include a display of any kind. Having said that, the level of complexity (and hopefully the abilities) of products based on Android Things will be similar to that of mobile devices rather than “simpler” microcontroller based systems.
Connecting
The next step is to connect to the Pi. This is done over Ethernet. Plug in an Ethernet cable that is connected to the same network as your development PC and then use adb to connect. You can download adb as a standalone kit directly from Google.
The Raspberry Pi will multicast the hostname “Android.local” so you can connect to the board using the following command:
adb connect Android.local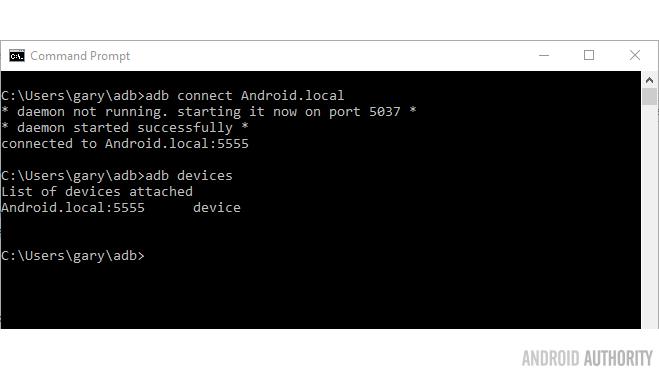
Once the connection is established the splash screen will change to reflect the new status. It is also possible to connect via Wi-Fi, but to do so you first need to connect via Ethernet. To connect your board to Wi-Fi use the following command:
adb shell am startservice \
 -n com.google.wifisetup/.WifiSetupService \
 -a WifiSetupService.Connect \
 -e ssid <Network_SSID> \
 -e passphrase <Network_Passcode>
If you are connecting to an open Wi-Fi connection then you don’t need to use the passphrase argument. You can check the connection by looking at the splash screen or using adb shell ping 8.8.8.8 to verify that the board can connect to the Internet.
The good news is that the board remembers the Wi-Fi connection details, which means that after the initial set up you can connect via Wi-Fi without using Ethernet.
Developing
Before you begin building Android Things you need to update your SDK tools to version 24 or higher, as well as update your SDK with Android 7.0 (API 24) or higher. Likewise, Android Things apps must target Android 7.0 (API level 24) or higher.
At the moment the Android Things APIs aren’t part of the Android SDK, so you need to declare the Things Support Library dependency in your app by adding the dependency artifact to your app-level build.gradle file:
dependencies {
 ...
 provided 'com.google.android.things:androidthings:0.1-devpreview'
}
Also you need to add the Things shared library entry to your app’s manifest file:
<application ...>
<uses-library android:name="com.google.android.things"/>
...
</application>
Every Android Things app must declare an activity in its manifest as the main entry point after the device boots. The intent filter must contain the following attributes:
- Action: ACTION_MAIN
- Category: CATEGORY_DEFAULT
- Category: IOT_LAUNCHER
For ease of development, this same activity should include a CATEGORY_LAUNCHER intent filter so Android Studio can launch it as the default activity when deploying or debugging. Google has some example code on its Create an Android Things Project page.
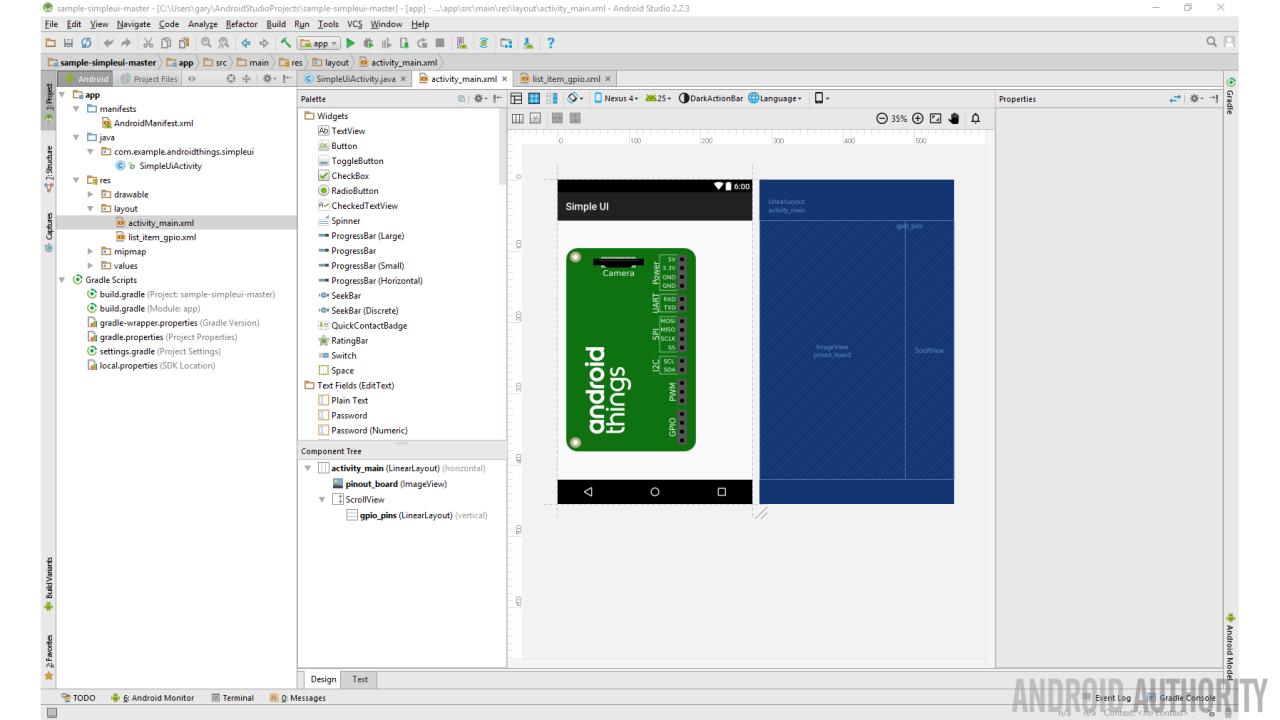
There are two main types of Android Things app, ones without a display and those with displays. For the latter, you can build apps with the same UI toolkit available to traditional Android applications. However there are some differences, for example Android Things does not include the system status bar or navigation buttons, which means the app has full control over the visual user experience.
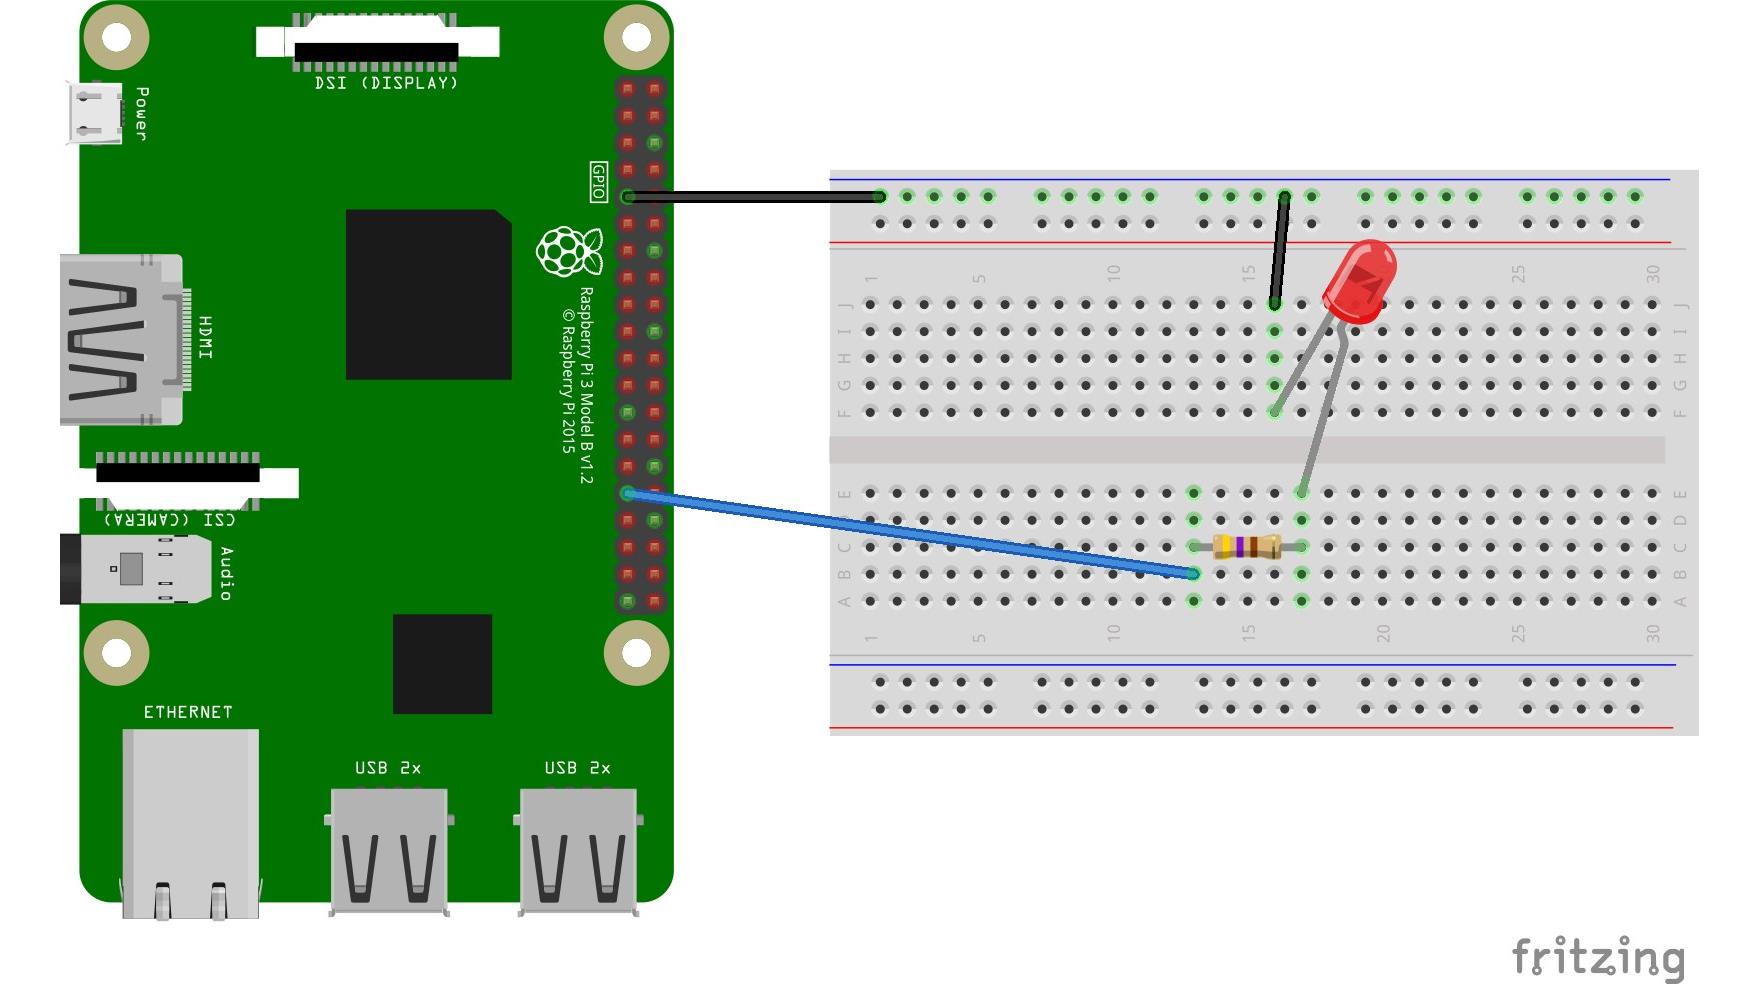
Where Android Things differs from normal Android is that it can control peripherals and read sensors. Anything from temperature sensors through LCD displays and on to servo motors can be used by Android Things. This interaction is done via the General Purpose Input Output (GPIO) ports which you find on boards like the Raspberry Pi.
The system service used by Android Things to manage peripheral connections is the PeripheralManagerService. This service handles not only simple GPIO but also interfaces like Pulse Width Modulation (PWM), which is a common method used by servo motors; The Inter-Integrated Circuit (IIC or I2C) bus, often used by sensors, actuators, accelerometers, thermometers, LCD displays, and much more; the Serial Peripheral Interface (SPI), which is used by things like external non-volatile memory and graphical displays; and good old fashion serial ports (UARTs), for use by complex peripherals such as GPS modules and XBee radios.
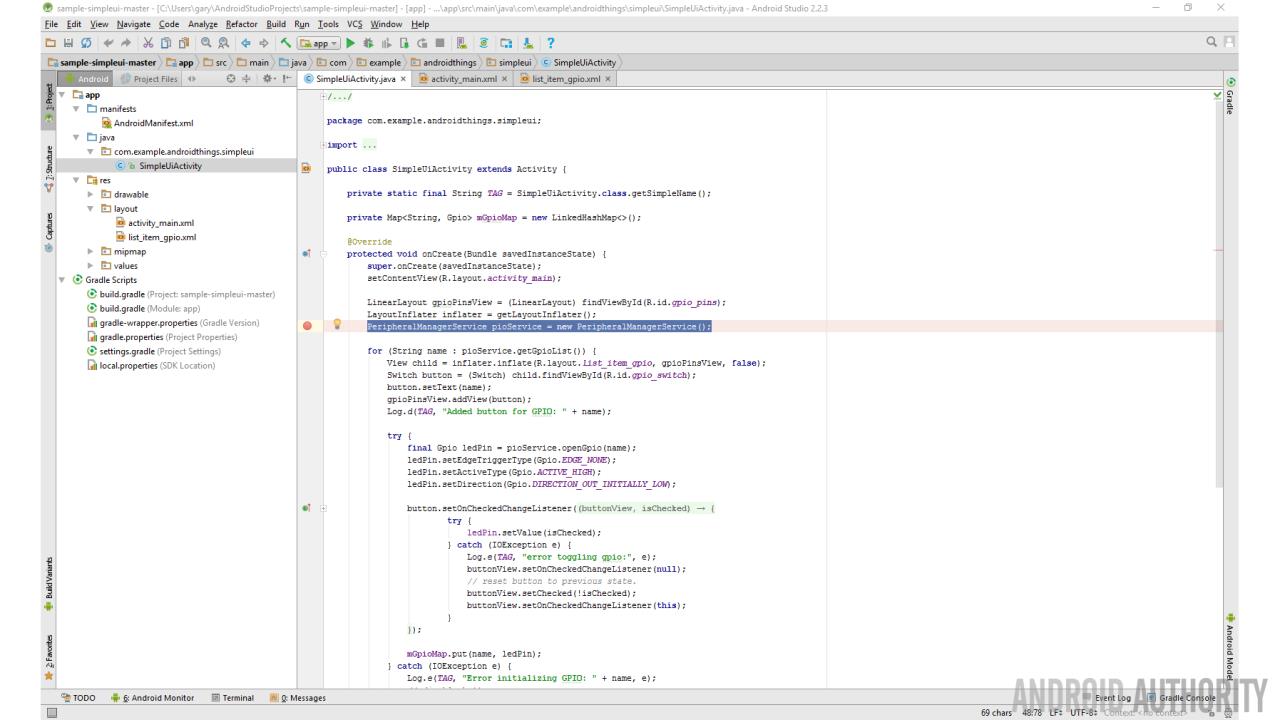
App development should be familiar to anyone with Android Studio experience. The code tree is the same as for a normal Android app using familiar files like AndroidManifest.xml along with Java code and XML files for the layout. Gradle is used to build the projects and Android Studio is able to send the resulting app over the network to your Android Things board.
Since Android Things is a specialized version of Android, only one app runs, the app that has been flashed over to the board. Whenever you boot the board it will start running that app. This is an essential difference between a general mobile device (like a smartphone) and an “embedded” Internet of Things device.
Google has posted a bunch of Android Things sample projects on GitHub including a simple GPIO example, a sample UI, a smart doorbell (that uses a camera along with Firebase) and a weather station.
Problems
The key feature of Android Things is that it is based on the normal Android that we know and love. The idea is that Android developers can branch out into IoT and build some interesting products, maybe in conjunction with a mobile app. Or maybe there are existing Android apps that would work well as standalone devices. As a minimum there is lots of code out there that can be reused and repurposed for Android Things.
However this compatibility with Android comes at a cost. The system requirements for Android Things devices are quite high when compared to microcontroller based devices and operating systems like mbed OS. Does my refrigerator really need a quad-core processor and 512MB of RAM?
Of course there are advantages to having such processing power at your finger tips, maybe more computing will occur on the devices (like facial recognition, voice processing and parts of the AI infrastructure). However if these devices end up integrating with the cloud, which they will as they are Internet of Things devices, then there isn’t such a strong case for extra computing power at the point of user interface.
I know that this is a preview, but the issue of device life-cycle doesn’t seem to have been addressed by Google at all. At the moment to configure the Wi-Fi you need to use adb, hopefully Google has something special in mind, maybe even a reference app for handling device deployment or even a generic app which can “talk” to any Android Things device. Which leads to the issue of authentication, something that is non-existent in Android Things at the moment. But as I said, this is a developer preview…
One thing that I found annoying about my time testing Android Things is that the adb connection kept dropping. I would connect, work with Android Studio, upload the app etc. But then after a few minutes the connection would drop, which meant I was constantly using the command line to re-connect to the board. This obviously isn’t a workable solution in the long term and I hope Google sorts it out.
Wrap-up
The technology behind Android Things is well established and well known by developers across the world. Together with access to popular hardware platforms like the Raspberry Pi, Android Things could be a winning formula. However the high level of system requirements and the current lack of deployment infrastructure could mean that other platforms offer more for less.
Ultimately time will be the judge, if IoT device makers opt for Android Things then it will be a huge growth market for Google, not in terms of the actual devices, but in terms of the cloud services that these devices use.