Affiliate links on Android Authority may earn us a commission. Learn more.
What is white balance in photography?
Published onJanuary 10, 2022

Modern cameras have spoiled us with their automatic modes, making it easy to ignore white balance settings (along with all other parameters). You will realize white balance is a crucial part of photography as you advance in the art. Getting familiarized with color temperature and tint is crucial, and today we are here to help you with that!
What is white balance?
White balance refers to the effects color temperature and tint have in photographs. Different light sources emit varying color temperatures, ranging in a spectrum between orange and blue. Likewise, light comes with tint, which ranges between green and magenta. Changing the white balance settings will help you balance these colors and achieve a more natural effect.
Alternatively, you can also use white balance to add color effects and mood to images. These settings can be modified to create the sepia effect, for example.
Also read: Photography terms you should know before moving forward
Why do cameras need help with white balance?

When a human sees an object, the eyes and brain work together to correct colors automatically, making white look white under most natural circumstances. Whether you are out during a sunny day or indoors under tungsten light, colors will look natural after your eyes get used to the environment, which doesn’t take long.
A camera needs some help figuring out how to make things look natural. Modern cameras try to emulate our brains, and do a pretty good job figuring out the white balance in auto, but they can get things wrong now and then. Not to mention there’s also creative freedom, and sometimes you might want to have the white balance off to create an effect.
Also: Here’s a guide on how to shoot photos in manual mode
Understanding color temperature
Color temperature is measured in kelvins (K), a base unit of temperature. Understanding how kelvins work requires much more than this article, but we will try to explain in a concise, straightforward way. Kelvins are based on the color radiated from a “black body” when exposed to that specific temperature. A high kelvin color temperature will make colors appear bluer, while a low one will make them appear more orange.
In photography, we have specific white balance options to help figure out the correct kelvin levels one should use under different circumstances.
The right kelvin measurements for different lighting:
- Candlelight: 1,000-2,000K
- Tungsten bulb: 2,500-3,500K
- Sunrise/sunset: 3,000-4,000K
- Fluorescent light: 4,000-5,000K
- Flash/direct sunlight: 5,000-6,500K
- Cloudy sky: 6,500-8,000K
- Heavy clouds: 9,000-10,000K
Understanding tint
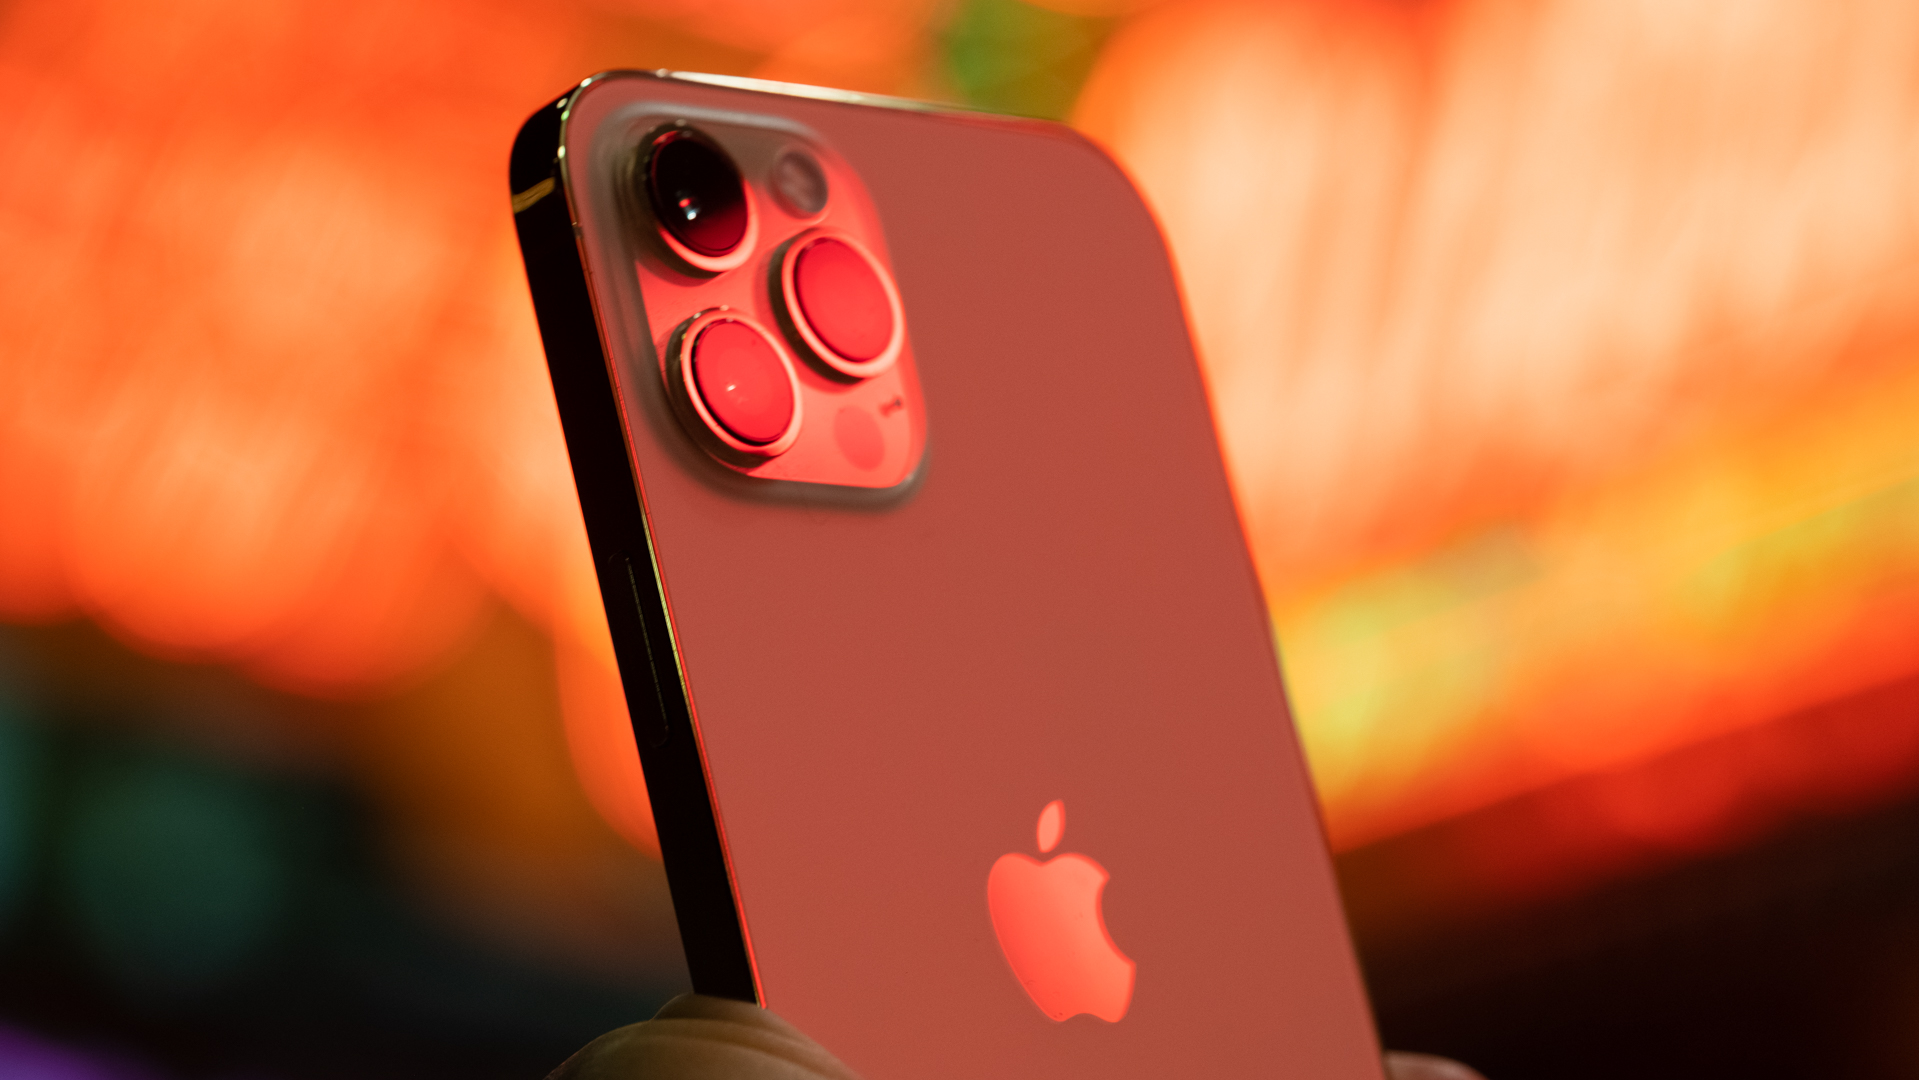
The tint is important to keep in mind when shooting under artificial lighting and uncommon lighting situations (like sunsets, sunrises, and other natural phenomena). Light can have a tint to it, which ranges between green and magenta. You can add more of either color to correct an image’s unnatural color.
Adjusting white balance: In-camera vs. post-processing

I prefer having as much done in-camera as possible, so I tend to set the white balance in the camera and make slight adjustments during editing if needed. That’s a matter of preference, though. The truth is you don’t need to be that careful about white balance anymore.
Shooting RAW has its advantages in this case, as the image file keeps all data, and white balance is used as a point of reference. This is why modern photographers tend to trust cameras more. One can easily leave the settings in auto and correct images in post-processing only when the camera happens to mess up. A RAW image file will allow you to manipulate color temperature without losing quality.
Shooting RAW has its advantages when working with white balance. Edgar Cervantes
This is not the case with a JPEG file, which has a set white balance. The image will lose quality if you try to alter its color temperature and tint too much. If you really need to shoot in JPEG, you can use the temperature options listed above to get things right out of the camera.
Alternatively, you can use the custom or preset mode (PRE). This option measures color temperature and tint by measuring color in a white balance card. This is done by taking a picture of it under your desired conditions. The downside to this method is that you have to go through the process every time you switch lighting conditions. You can find a good white balance card in the post linked right below.
More: Photography essentials you should consider buying
How to adjust the white balance in the camera
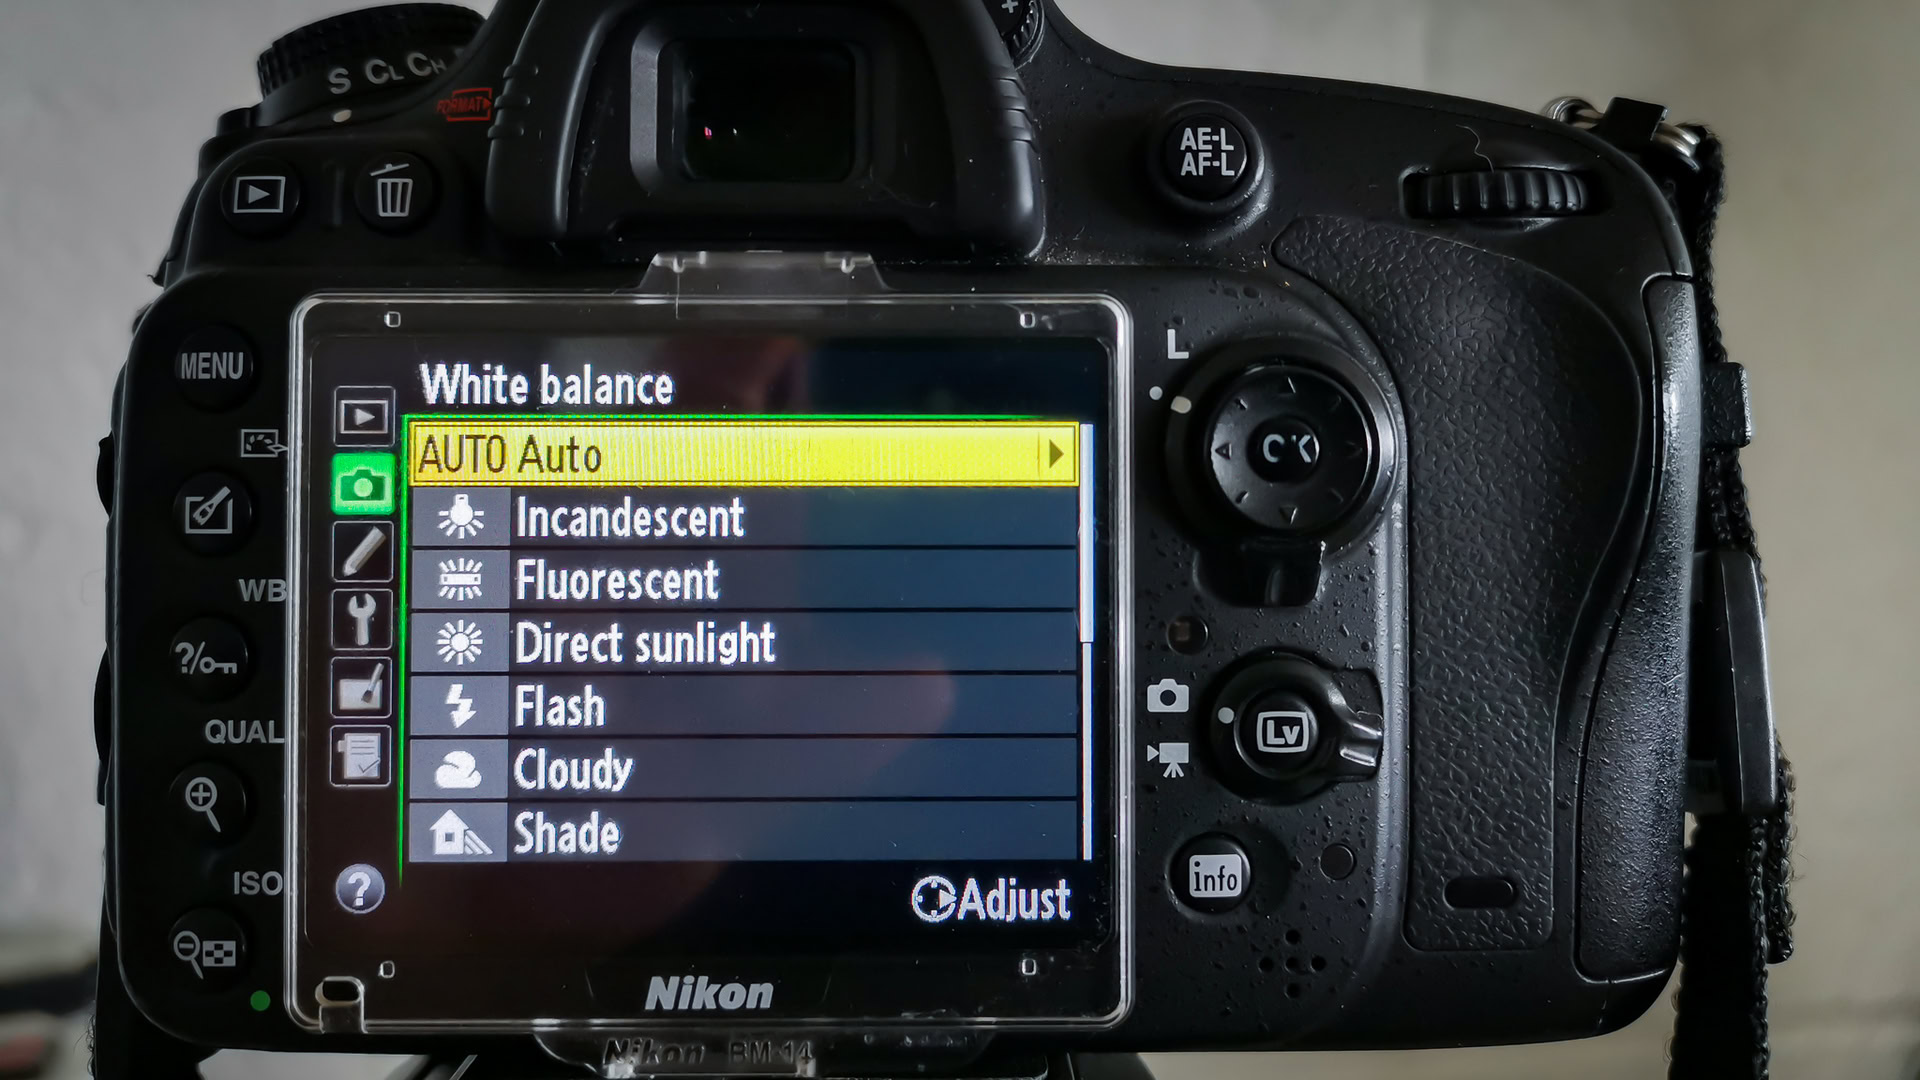
The process is simple, but every camera has its menu set up differently, so we can’t give you a step-by-step guide. The white balance settings should be somewhere in your menu, though. Once in there, you should see most of the options listed in our color temperature section (likely worded a bit differently).
Select your option based on lighting conditions. There is also an option for picking kelvin temperatures manually, as well as the preset mode for using a white balance card. Some cameras have physical buttons for white balance controls, which can save you the time of going through the menu.
How to adjust the white balance in post-processing

Photo editing programs and apps handle their options differently, but the general gist of the process should be very similar across the board. Find the “white balance” or “color” section in your editing software of choice. This area should have a list or drop-down menu with all the options listed in our color temperature section. Alternatively, you should be able to modify color temperature and tint manually, as well as things like vibrance, saturation, and more.
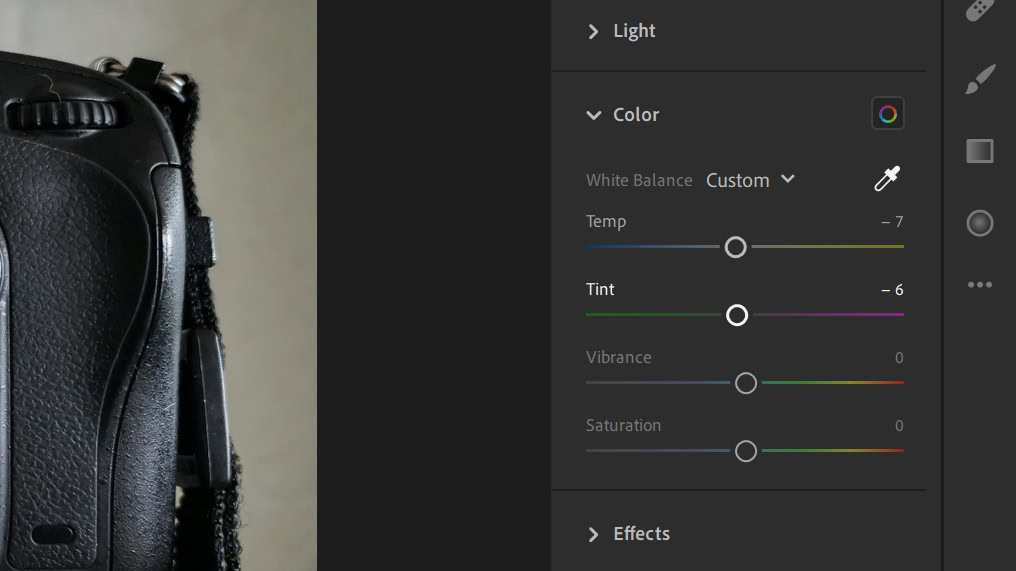
A handy option I recommend is the white balance waterdrop tool. You can select this option and then pick a white or neutral (gray) color within your image. The software will read the color you picked and bring it to its ideal levels.
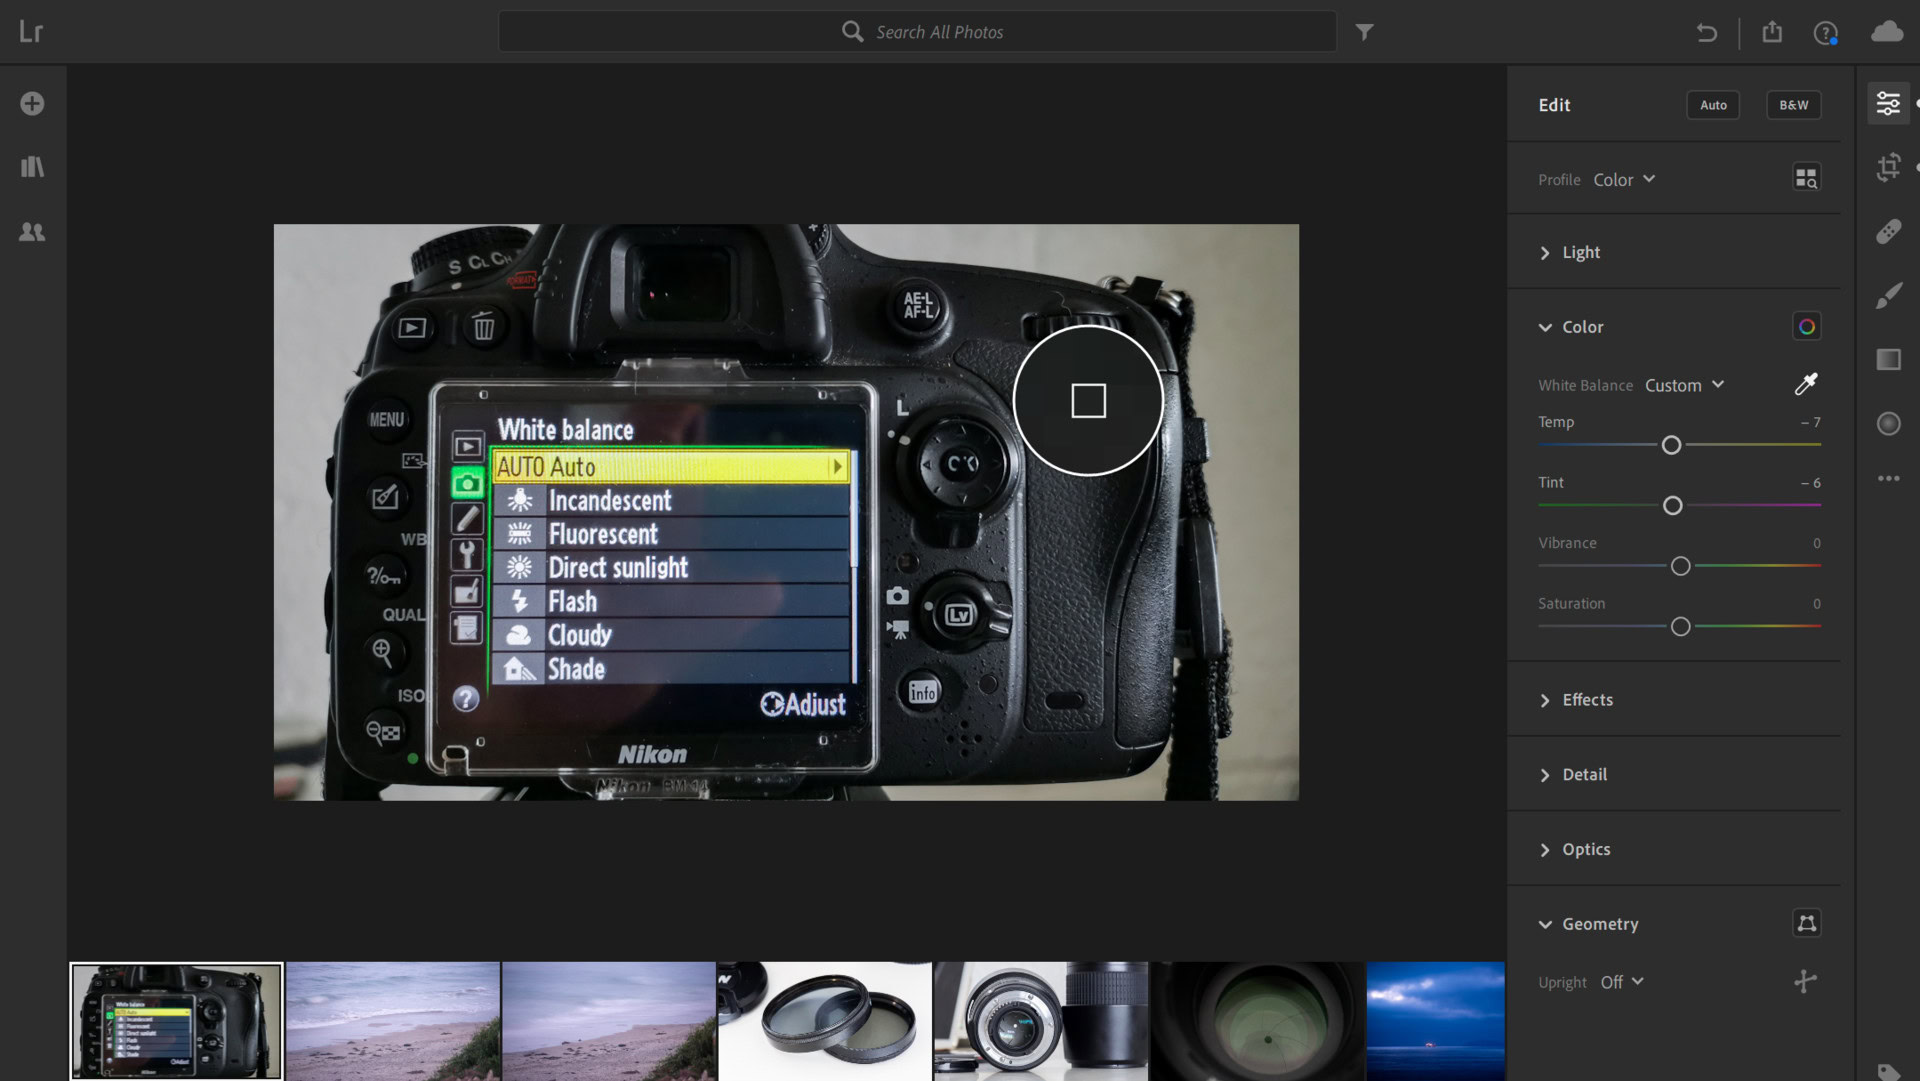
For a more detailed tutorial: How to edit images using Adobe Lightroom
Breaking the rules
Photography is an art and creative expression, so we can’t tell you to stick by the rules. We have been telling you this whole time that the right white balance emulates your scene’s natural colors. That is a good rule of thumb to go by when learning the concept, but there are times when you might want to get creative with colors.
Also: Photography tips that will take your shots to the next level
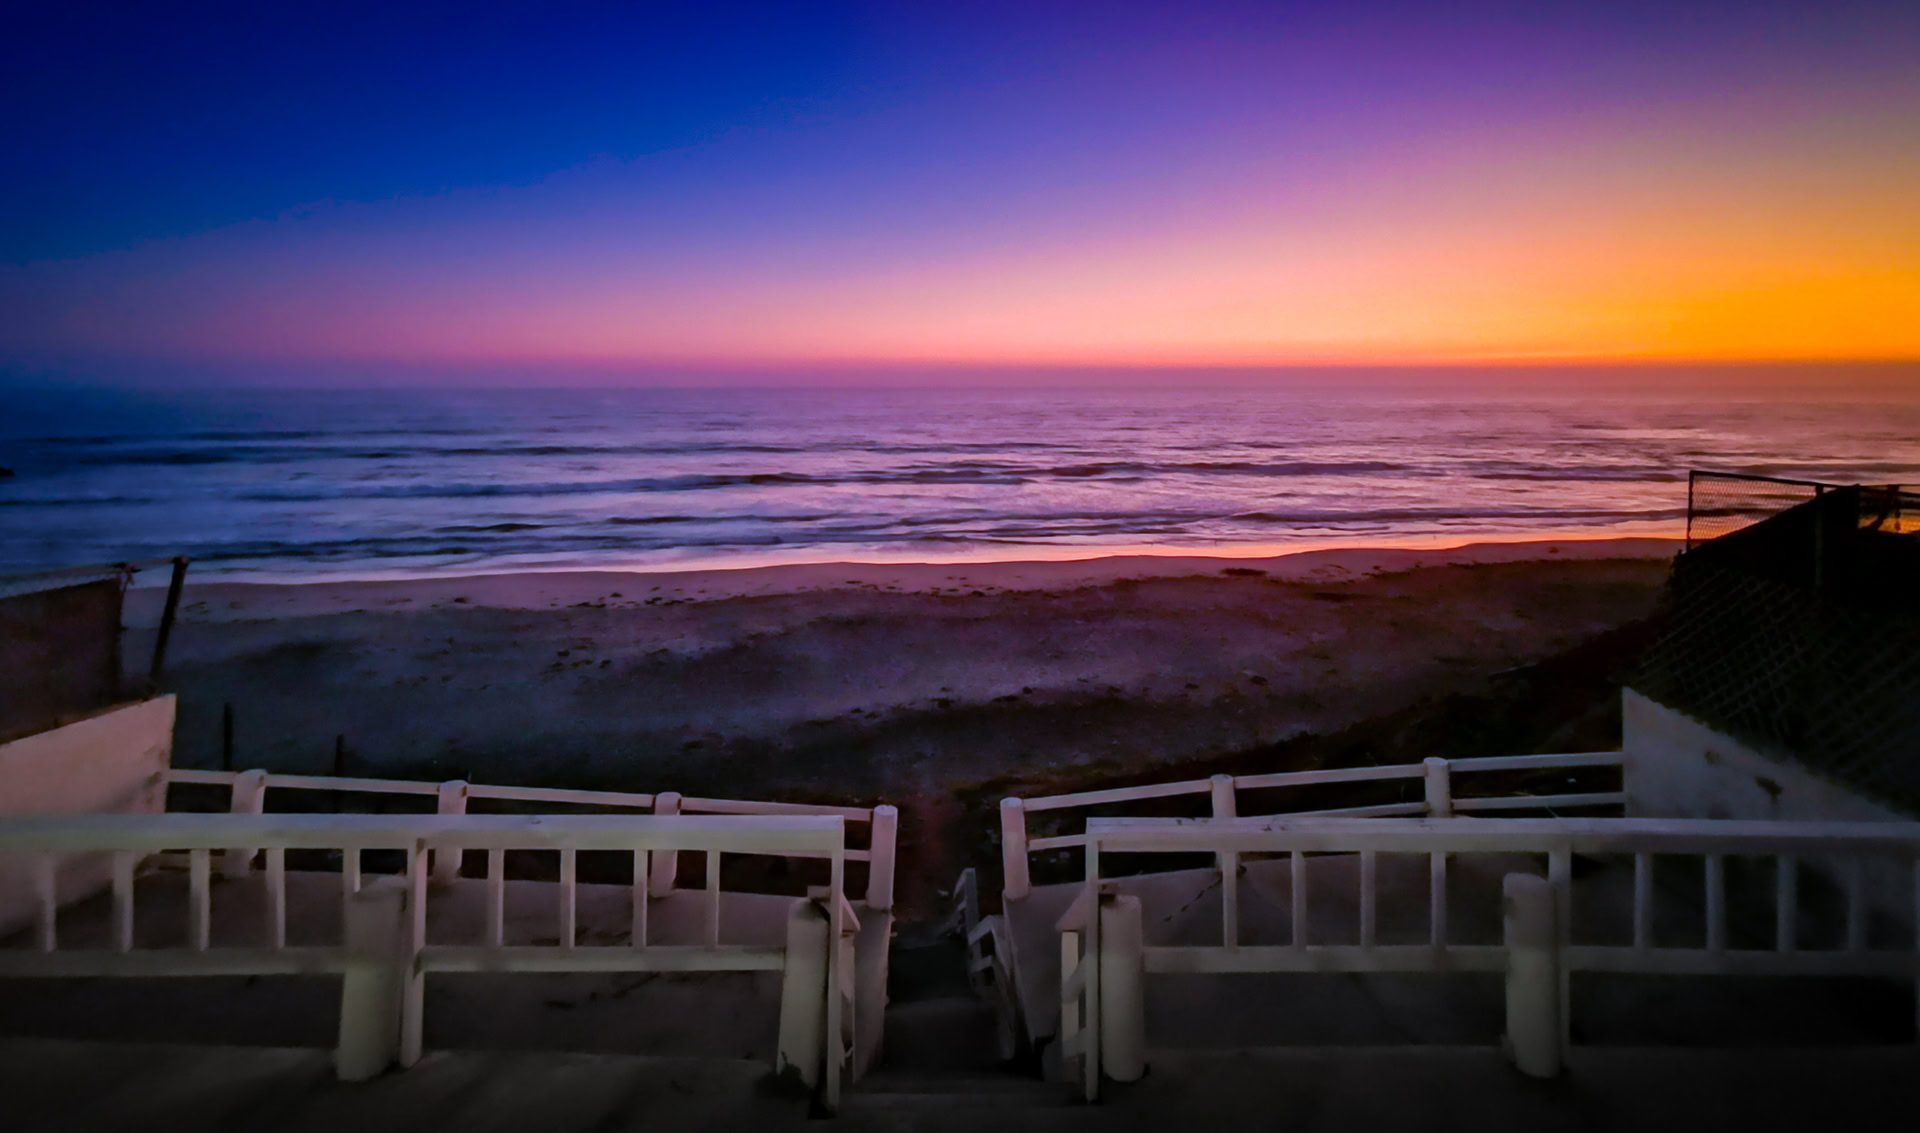
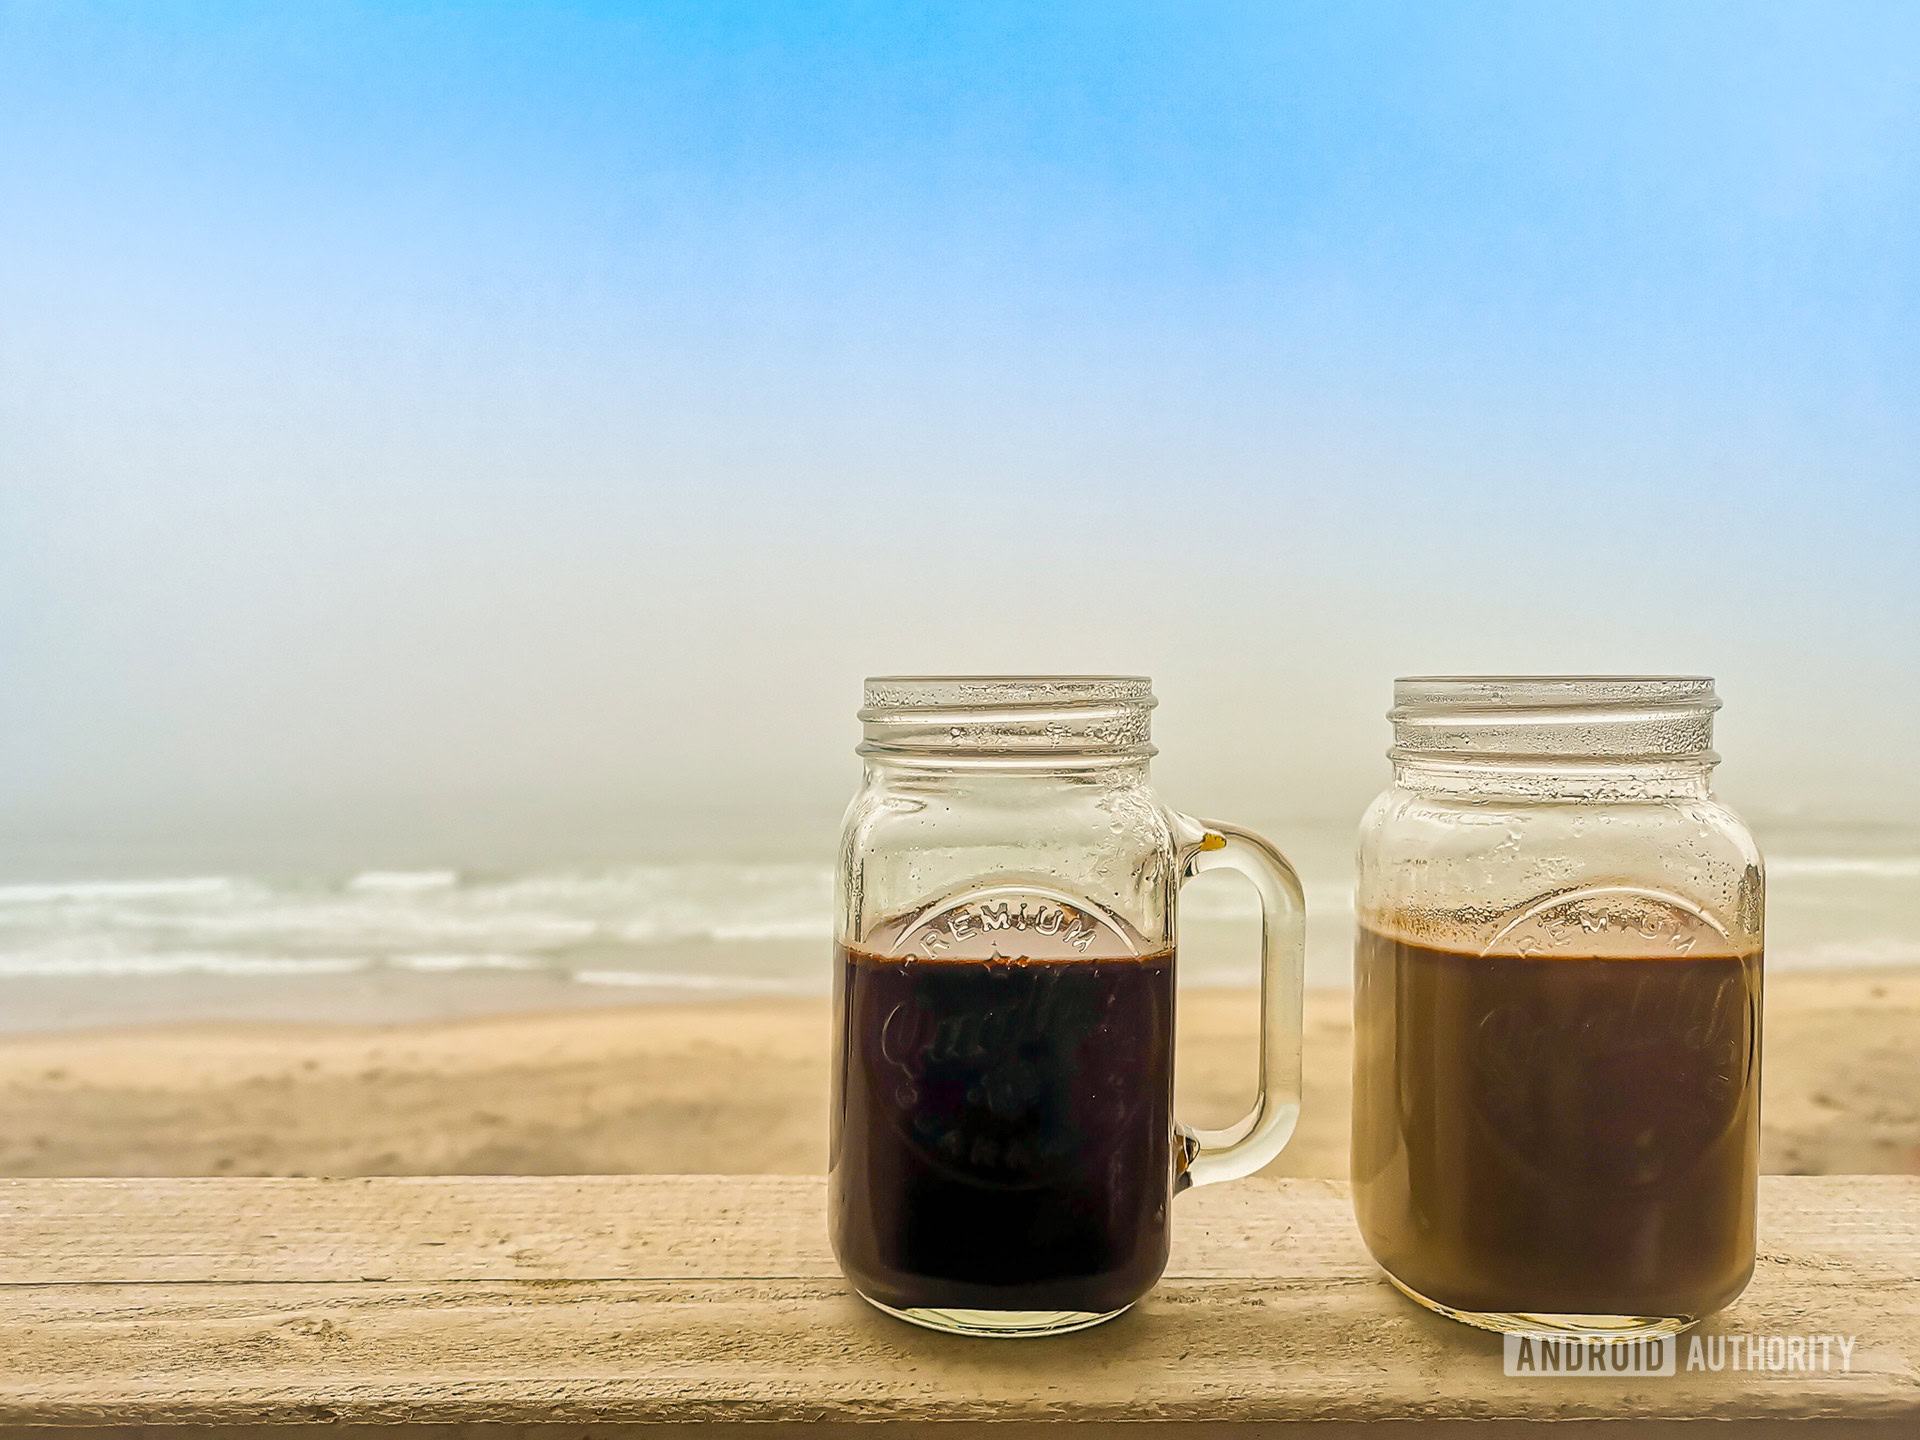
A “cooler” (more blue) color temperature makes a scene gloomy or surreal. Likewise, a more orange hue can also give images a warm, soothing effect. Color theory is a whole science of its own, and you can make excellent photographs if you learn to manipulate it. Here are some samples of images I’ve shot, in which I played with temperatures and tints to achieve special effects.
Photography is a very complex art, so get ready to learn about many other concepts and terms. Let’s get you started with a few tips and recommendations.