Affiliate links on Android Authority may earn us a commission. Learn more.
Working with WebView: displaying web content inside your Android app
Published onDecember 19, 2016

There’s many reasons why you might want to display web content inside your latest Android project. Maybe you need to display some complicated data from an external website – instead of going to all that effort of retrieving, processing and then formatting this data, you may decide that it’s easier to simply embed the web page itself in your application’s layout.
Or, maybe you have content that requires frequent updates, such as your company blog, your app’s user manual, or your terms and conditions. If you hard-code this content into your app, then the only way you can update it is by releasing a new version of that app. However, if you host this content online and then display the hosted version inside your app, then you’re free to update this content whenever you want and those changes will appear in your app automatically.
In this tutorial I’ll show you exactly how to embed web content in your Android applications, using WebViews. I’ll also be sharing tips on how to improve the user experience, by enhancing the standard WebView component with some of the features you’d expect from a stand-alone web browser.
And, since designing for different screen configurations is always a big part of Android development, we’ll also be looking at ways to ensure the content you’re displaying inside your WebViews looks good and functions correctly across the full range of Android devices.
Easily add a WebView anywhere in your layout
The WebView component acts like any other Android View, so you can embed it anywhere in your app’s layout. Start by opening the layout resource file where you want to display your WebView, and then add the following:
<?xml version="1.0" encoding="utf-8"?>
<WebView  xmlns:android="http://schemas.android.com/apk/res/android"
  android:id="@+id/webview"
  android:layout_width="fill_parent"
  android:layout_height="fill_parent" />
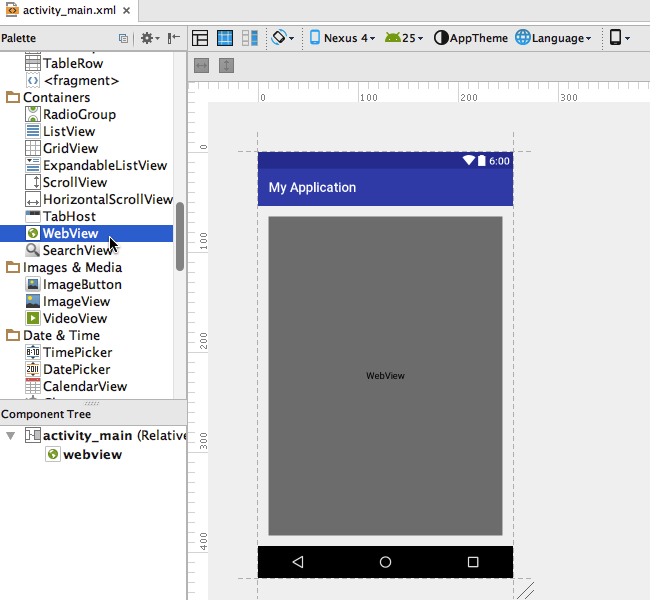
You’ll also find a WebView component in Android Studio’s palette.

Then, in the XML file’s corresponding Activity, you’ll need to obtain a reference to your WebView and specify the URL you want it to display:
//Import the WebView and WebViewClient classes//
import android.webkit.WebView;
import android.webkit.WebViewClient;

public class MainActivity extends Activity {
    @Override
    protected void onCreate(Bundle savedInstanceState) {
        super.onCreate(savedInstanceState);
       setContentView(R.layout.activity_main);

//Get a reference to your WebView//
   WebView webView = (WebView) findViewById(R.id.webview);

//Specify the URL you want to display//
    webView.loadUrl("http://example.com");
    }
 }
Alternatively, you can transform your entire Activity into a WebView, by adding the following to that Activity’s onCreate method:
WebView webview = new WebView(this);

setContentView(webview);
If your app is going to be able to load content from an external website, then it needs permission to access the Internet, so open your project’s Manifest and add the following:
<manifest ... >
   <uses-permission android:name="android.permission.INTERNET" />
   ...
</manifest>
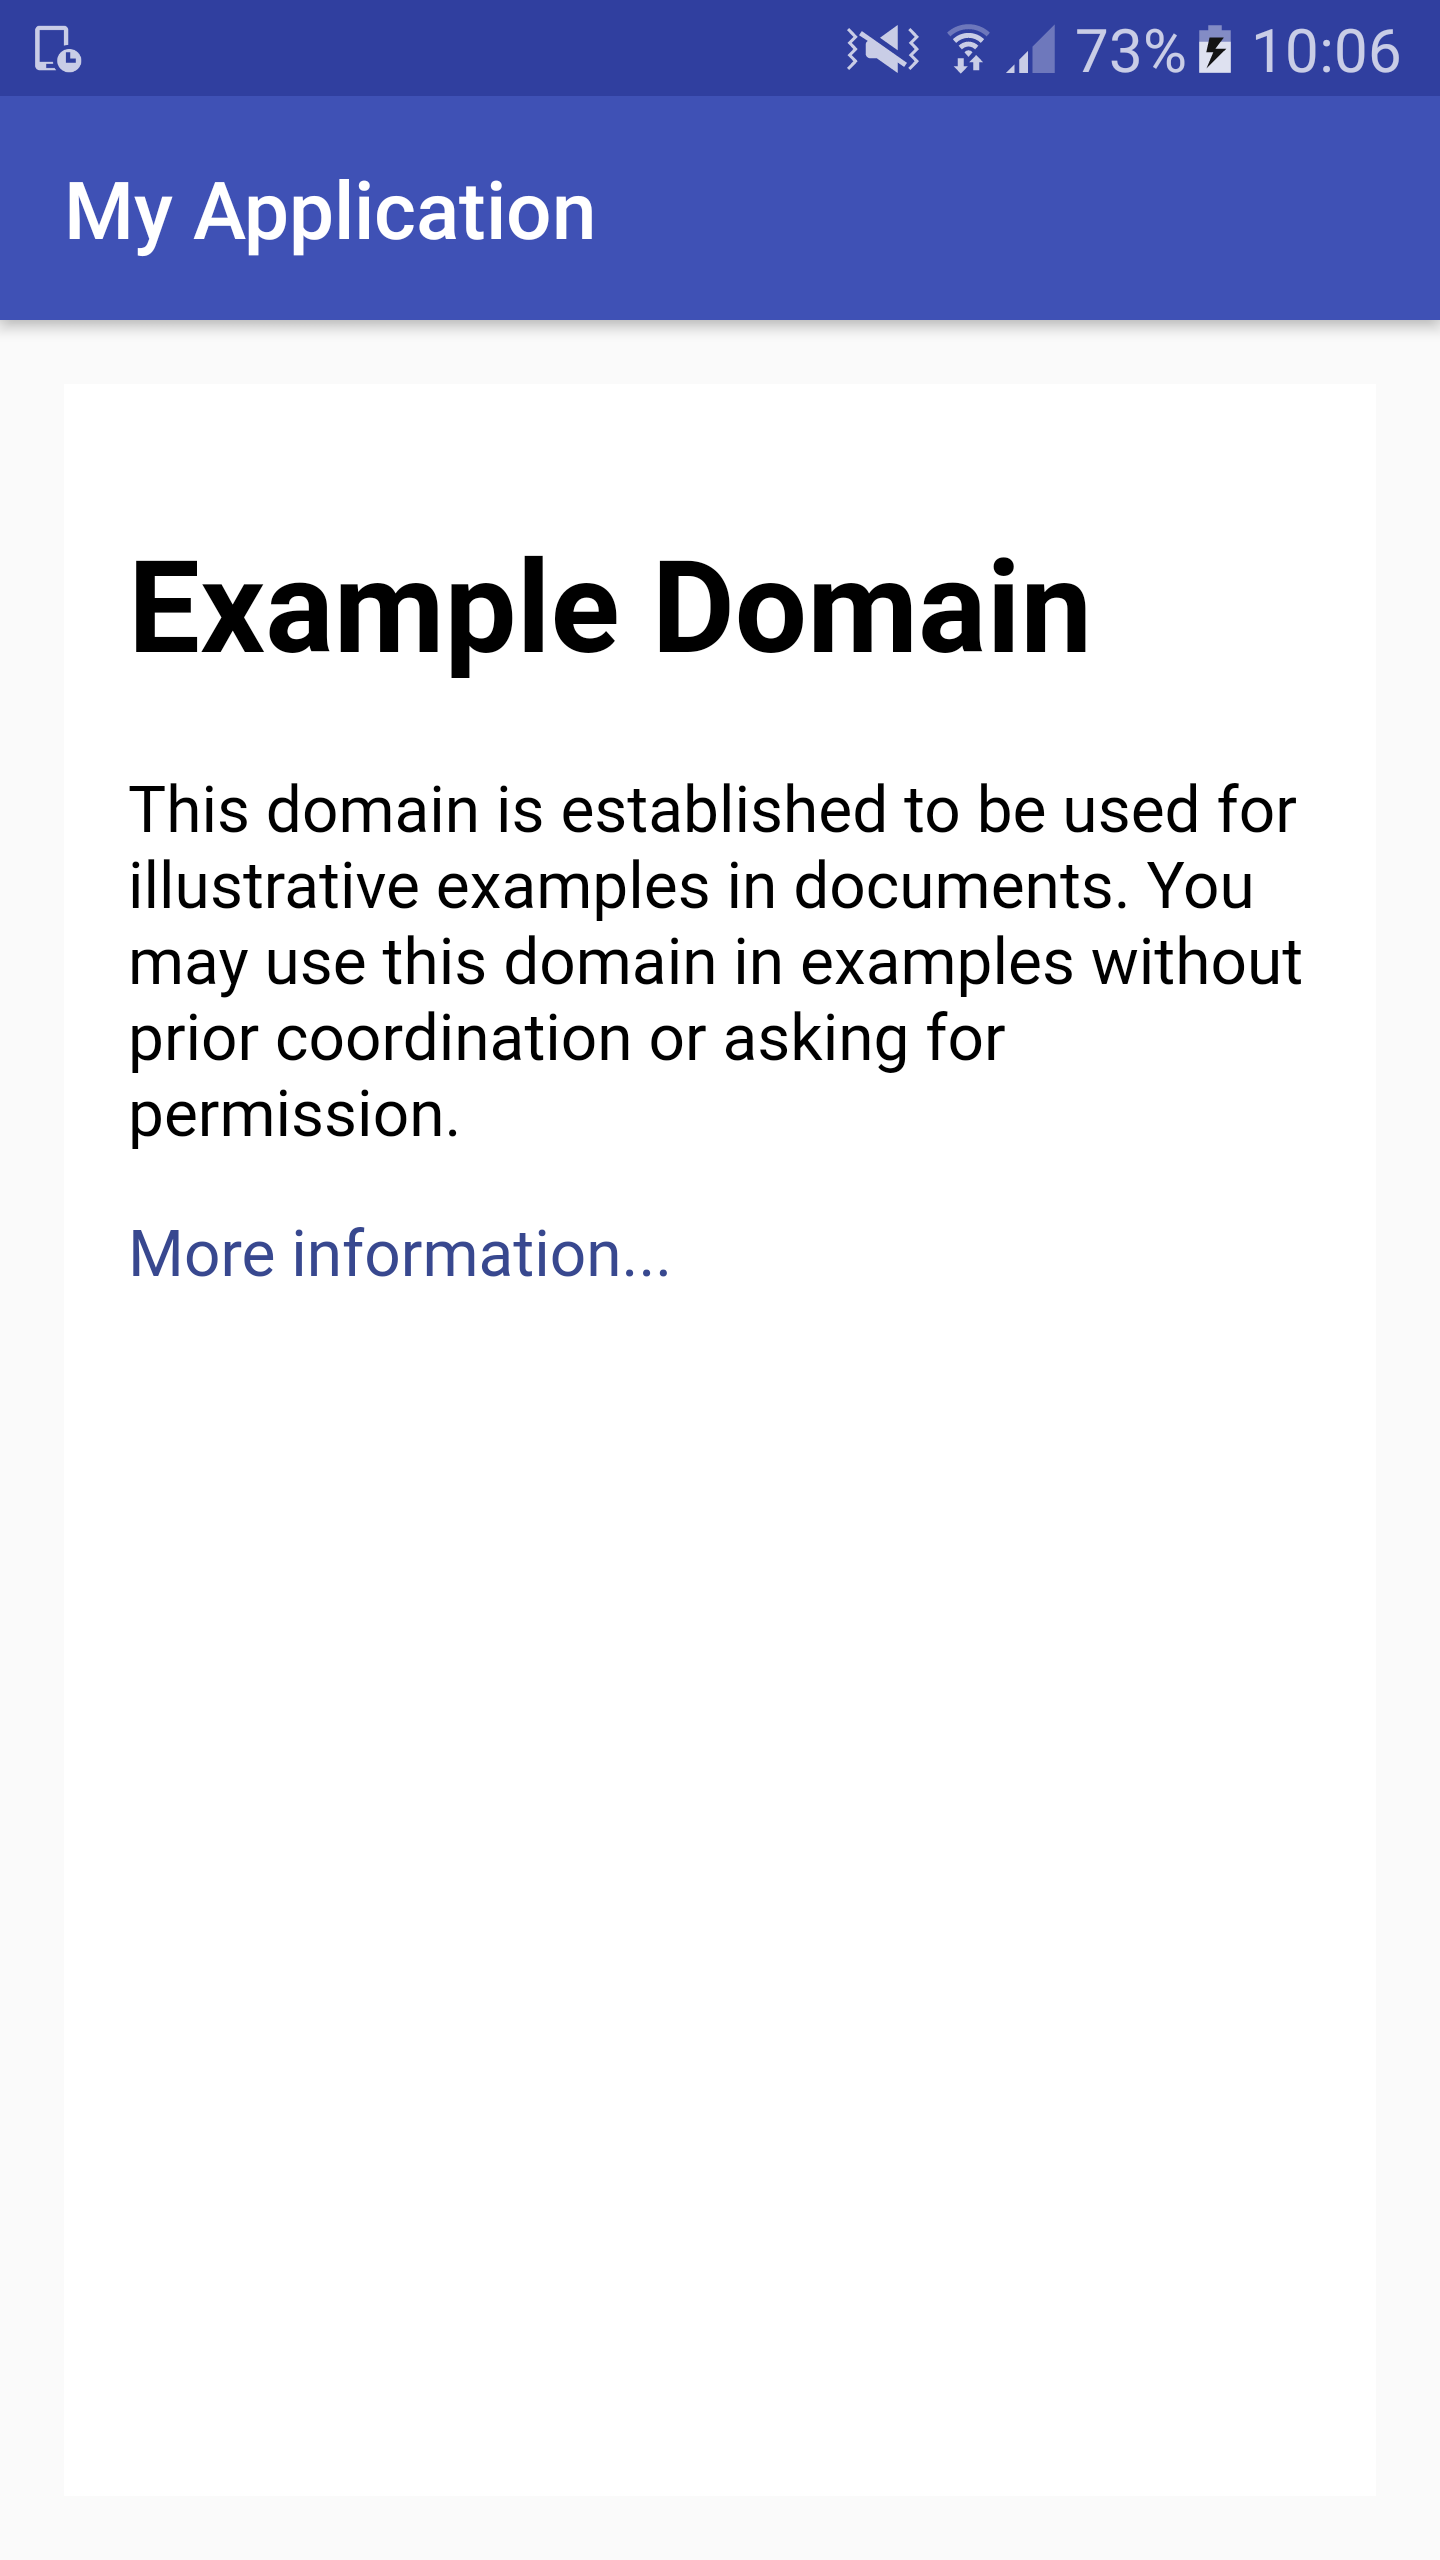
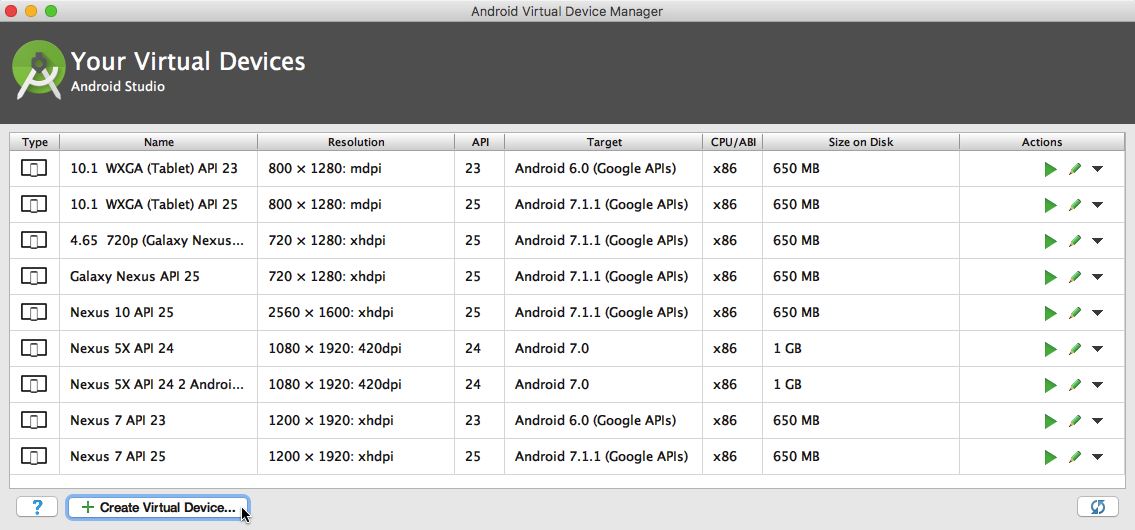
This is all you need to create a basic WebView, so at this point you can install your project on either your physical Android device or a compatible AVD, and see your WebView in action.

Enhancing your WebView
Sometimes, the standard WebView component may be sufficient, particularly if you’re only using it to display a single page of web content. However, it’s always a good idea to consider whether there’s any way you can enhance Android’s out-of-the-box WebView.
In this section, I’m going to look at some of the tweaks and extra features you may want to add to your WebViews, and how they can help you deliver a better overall user experience.
Adding web browser features: Web history
When the user can navigate between multiples pages in the same WebView, that WebView maintains a history of all the pages the user has visited, just like a regular web browser. However, if the user wants to navigate back to any of these previous pages, then there’s a problem – by default pressing the ‘Back’ button on an Android device will always return the user to the previous Activity.
If you think your users might appreciate being able to navigate back through their WebView history, then you can override this default behavior, using the canGoBack method:
public class MainActivity extends Activity {
    private WebView webView = null;
   @Override
    protected void onCreate(Bundle savedInstanceState) {
        super.onCreate(savedInstanceState);
        setContentView(R.layout.activity_main);
        this.webView = (WebView) findViewById(R.id.webview);
        WebSettings webSettings = webView.getSettings();
        webSettings.setJavaScriptEnabled(true);
        WebViewClientImpl webViewClient = new WebViewClientImpl(this);
        webView.setWebViewClient(webViewClient);
        webView.loadUrl("http://example.com");
    }

//Check whether there’s any WebView history that the user can navigate back to//

@Override

public boolean onKeyDown(final int keyCode, final KeyEvent event) {

   if ((keyCode == KeyEvent.KEYCODE_BACK) && myWebView.canGoBack()) {
      myWebView.goBack();
//If there is history, then the canGoBack method will return ‘true’//
       return true;
   }

//If the button that’s been pressed wasn’t the ‘Back’ button, or there’s currently no
//WebView history, then the system should resort to its default behavior and return
//the user to the previous Activity//
  return super.onKeyDown(keyCode, event);
}
If you allow the user to navigate backwards through their web history, then they might also appreciate being able to move forwards through their WebView history. You implement this behavior using the canGoForward method.
Handling page navigation
By default, whenever the user clicks a hyperlink within a WebView, the system will respond by launching the user’s preferred web browser app and then loading the URL inside this browser. While this is usually the preferred behaviour for links to web pages that you don’t own, there may be certain links that you do want to load inside your WebView. For example, if you’re using a WebView to display your app’s user manual, then you probably don’t want to launch an external web browser as soon as the user tries to move to Page 2 of that manual.
If there’s specific URLs that you want your application to handle internally, then you’ll need to create a subclass of WebViewClient and then use the shouldOverrideUrlLoading method to check whether the user has clicked a “whitelisted” URL.
Let’s look at an example of this in action:
//Create a class that extends WebViewClient//

private class MyWebViewClient extends WebViewClient {
          @Override
//Implement shouldOverrideUrlLoading//
       public boolean shouldOverrideUrlLoading(WebView view, String url) {

//Check whether the URL contains a whitelisted domain. In this example, we’re checking
//whether the URL contains the “example.com” string//
           if(Uri.parse(url).getHost().endsWith("example.com")) {

//If the URL does contain the “example.com” string, then the shouldOverrideUrlLoading method
//will return ‘false” and the URL will be loaded inside your WebView//
               return false;
            }

//If the URL doesn’t contain this string, then it’ll return “true.” At this point, we’ll
//launch the user’s preferred browser, by firing off an Intent//
          Intent intent = new Intent(Intent.ACTION_VIEW, Uri.parse(url));
          view.getContext().startActivity(intent);
            return true;
        }
    }
The final step is telling your WebView to use this custom WebViewClient, by adding the following code snippet:
WebViewClientImpl webViewClient = new WebViewClientImpl(this);
webView.setWebViewClient(webViewClient);
Prevent your WebView from being destroyed
By default, every time the device’s orientation changes, the system will destroy the current Activity and then recreate it for the new orientation. If this Activity just-so-happens to contain your WebView then this also gets destroyed, which will cause the WebView to reload the current page. If the user has navigated between multiple pages within this WebView, then their browsing history will also be lost.
Most of the time this shouldn’t be a huge problem, but occasionally this behavior may have a negative impact on the user experience – maybe the WebView was displaying a web page that’s particularly time-consuming to load, or maybe you anticipate that your users will rely on being able to move back through their WebView history. If this is the case, then you can prevent the system from destroying and recreating an Activity (and by extension your WebView), by declaring that your Activity will handle the orientation configuration change manually.
However, handing this change manually does come with a pretty big drawback: if you’ve provided alternate resources that are optimized for different screen orientations, such as alternate images and layouts, then the Android system will no longer switch between these resources automatically when the device’s orientation changes – re-assigning these resources becomes your responsibility.
If you’ve weighed up the pros and cons and have decided that preventing your WebView from being destroyed is worth this extra work, then open your project’s Manifest and add a android:configChanges attribute to the Activity in question.
You can then use this attribute to specify what configuration changes your Activity will handle manually – when it comes to WebViews, we’re concerned with the following:
-
Orientation. The device has moved from portrait to landscape mode, or vice versa.
-
screenSize. In Android 3.2 and higher, an orientation change is also classed as a screen size change, as the amount of horizontal screen space and vertical screen space have essentially switched values.
Our finished android:configChanges attribute looks like this:
android:configChanges="orientation|screenSize"Now, instead of being destroyed this Activity will receive a call to onConfigurationChanged whenever the device moves between portrait and landscape mode. This Activity will then be passed a Configuration object containing the device’s updated configuration information. You’ll need to acquire this object and then use its fields to determine what changes you need to make to your app’s UI.
You acquire the Configuration object, using the getConfiguration method:
Configuration config = getResources().getConfiguration();Note that onConfigurationChanged is only called for the configuration changes you specify in your Manifest, via android:configChange. If any other configuration change occurs, then the system will resort to its default behaviour, and will automatically re-assign any resources that have been affected by this change.
Enabling JavaScript
WebViews don’t allow JavaScript by default. If you want to display a web page that uses JavaScript, then you’ll need to enable JavaScript execution by adding the following to your Activity’s onCreate method:
protected void onCreate(Bundle savedInstanceState) {
super.onCreate(savedInstanceState);
setContentView(R.layout.activity_main);
WebView webView = (WebView) findViewById(R.id.webview);

//Obtain the WebSettings object//
   WebSettings webSettings = webView.getSettings();

//Call setJavaScriptEnabled(true)//
   webSettings.setJavaScriptEnabled(true);
If you’ve designed web content specifically to display in an Android WebView, then once you’ve enabled JavaScript execution you may also want to create an interface between your JavaScript and Android code, using addJavascriptInterface. If you do include this method in your app, then just be aware that when your app is installed on Jelly Bean or earlier, people may be able to use addJavascriptInterface to execute code within your app. If you do decide to use addJavascriptInterface in your project, then you should only call it when your app is running on Ice Cream Sandwich or higher.
Designing web content for Android
So, you’ve implemented a basic WebView and know how to enhance your WebViews with additional behavior and functionality, but if your app is going to provide the best possible user experience then you need to make sure the content being displayed inside those WebViews is optimized for the mobile environment.
While designing web content that can adapt across multiple devices should always be a top priority when you’re creating any web content, designing content for Android WebViews is particularly challenging as the Android platform spans such a huge range of screen configurations.
In this section, I’m going to cover a couple of techniques that can help ensure the web content you’re developing will look good and function correctly inside your Android WebViews.
Using Viewport properties
The Viewport is the rectangular area where the system displays your web page. The size of the Viewport will naturally vary depending on the current screen, but you can set some rules about how the Viewport will render your web content, using Viewport properties.
One particularly useful Viewport property, is content=”width=device-width” which specifies that the web page should be scaled to exactly match the width of the current screen. Adding this property to your web page’s <head> will ensure users can view your web content without having to scroll horizontally – this is particularly important on Android devices, because when was the last time you encountered an Android app that scrolls horizontally?
Scrolling horizontally on the smaller screen of an Android smartphone or tablet feels awkward and unnatural, plus horizontally-scrolling Android apps are so unusual that unless it’s immediately obvious that the user can access more content by scrolling left or right, then they’re unlikely to even attempt to scroll your app in this way.
You use “width=device-width,” plus other Viewport properties by adding them to your web page’s <head> section, for example:
<head>
<meta name="viewport" content="width=device-width">
</head>
To make sure the user can view your content comfortably on the limited horizontal space of your typical Android smartphone or tablet, you may also want to use the window.devicePixelRatio DOM property to check the current device’s screen density, and CSS media queries to adapt your web content based on the current screen.
Increasing touchable targets
Touch is the primary method of interacting with Android smartphones and tablets, so you’ll need to make sure that your users can easily interact with all your WebView’s content and actions using touch alone.
This may mean increasing the size of your content’s touchable targets, for example although it’s pretty standard practice to display hyperlinks at the same size as the surrounding text on the desktop environment, many users will struggle to hit this kind of small, specific target on the smaller screen of an Android device.
Also, if your content features multiple touchable targets in close proximity to one another, then you may want to move them further apart to make sure your Android users don’t hit the wrong target by accident.
Test everything!
No matter how many tricks and techniques you use to help ensure your web content always renders at an appropriate size and density for the current screen, ultimately there’s no substitute for testing your app.
If the user can view all ten pages of your app’s user manual within a WebView, then you’ll need to thoroughly test all ten pages of your user manual across a range of screen configurations.

Time-consuming and frustrating it may be, but your users will thank you in the long run!
Wrap Up
In this article we looked at how to quickly and easily insert web content into your applications, using WebViews, and touched on how to design web content that’s optimized for the mobile environment. Let us know in the comments if you plan on using WebViews in your latest Android app!