Affiliate links on Android Authority may earn us a commission. Learn more.
The most common Zoom issues and how to fix them
Published onAugust 8, 2022

Zoom is one of the most popular video conferencing tools and is relatively easy to use. The problem is that it has its share of issues and vulnerabilities that often frustrate users. Luckily, you can fix most of these Zoom issues within minutes.
We’ve rounded up the most common Zoom issues currently causing problems for users and provided detailed instructions on how to solve them. None of the fixes require technical knowledge. You don’t have to be a computer wiz to do this.
Read more: Everything you need to know about Zoom
Editor’s note: We’ll regularly update this list of Zoom issues and fixes as new ones emerge and old ones are solved. Also, some of the steps in this article were put together using a custom PC running Windows 11. Remember some steps might be different depending on your hardware and software.
Is Zoom down?
While uncommon, Zoom’s services can go down, causing temporal outages. This is one of the first things you should check whenever Zoom is not working. Luckily Zoom has its own status page, where you can see if any of its services are operational or not.
Of course, you can also use a third-party service like Down Detector. This page collects user reports and informs you when there’s a widespread outage, or the live map can inform you if there are any local issues.
Zoom camera not working

Zoom users often have camera issues, so let’s look at some possible problems and their fixes. Let’s start with the most obvious potential issue. The camera may be turned off by default, so click the camera icon in the taskbar to turn it on. If an error message says that the video can’t be started when you click the button, the problem is your PC’s settings.
To fix this Zoom issue on Windows 11, go to the Windows Settings, enter Privacy & security, and select Camera. Make sure the toggle under the Camera access section is on. Also, ensure Zoom has access to the camera by toggling the option under the Let apps access your camera section.
How to give Zoom permission to access your camera:
- Open the Windows Settings app.
- Go into Privacy & security.
- Select Camera.
- Toggle on the Camera access option.
- Ensure Zoom is toggled on under the Let apps access your camera section. Also, toggle on Let desktop apps access your camera.
If you have multiple cameras (like your laptop’s and a separate webcam), ensure you selected the right one in the settings. Go to Settings in Zoom and then Video to choose the right device.
How to pick your camera on Zoom:
- Open Zoom.
- Click on the Settings gear icon.
- Click on the Video tab in the left column.
- Under Camera, expand the selector and select the camera you want to use.
If you use multiple apps that take advantage of the camera, other software might be occupying it. Make sure to close any unneeded apps. If all fails, Zoom recommends uninstalling and installing the application. You can also close and reopen the page if you’re using a browser.
Zoom audio not working

Did you join a meeting and can’t hear anyone? If so, you probably closed the window that popped up before logging into a meeting. It’s one of the most common Zoom issues. Instead of closing it, make sure to press the Join with Computer Audio button instead. If you forget again, you can select the Audio option in the screen’s bottom-left corner during a meeting, and then click the already-mentioned Join with Computer Audio button.
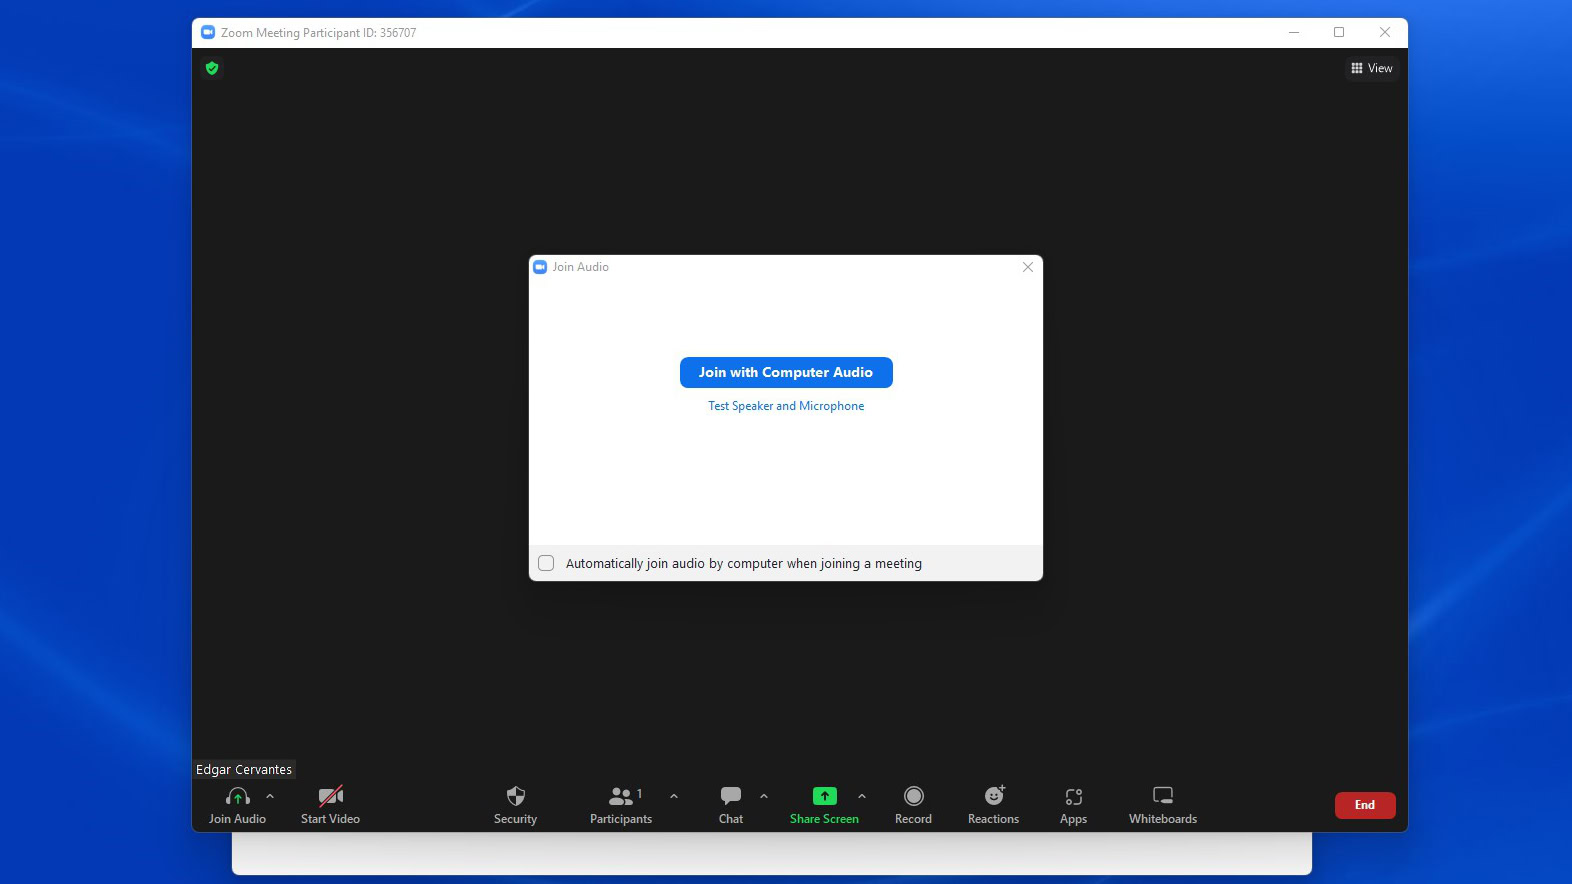
You can unmute yourself by pressing the spacebar.
If you clicked the button, but no one could hear you speak, you could have a muted mic. The mic icon in the bottom-left corner will be crossed out in this case. Click the icon to unmute yourself or press space — both options work.
Related: The best microphones
Zoombombing
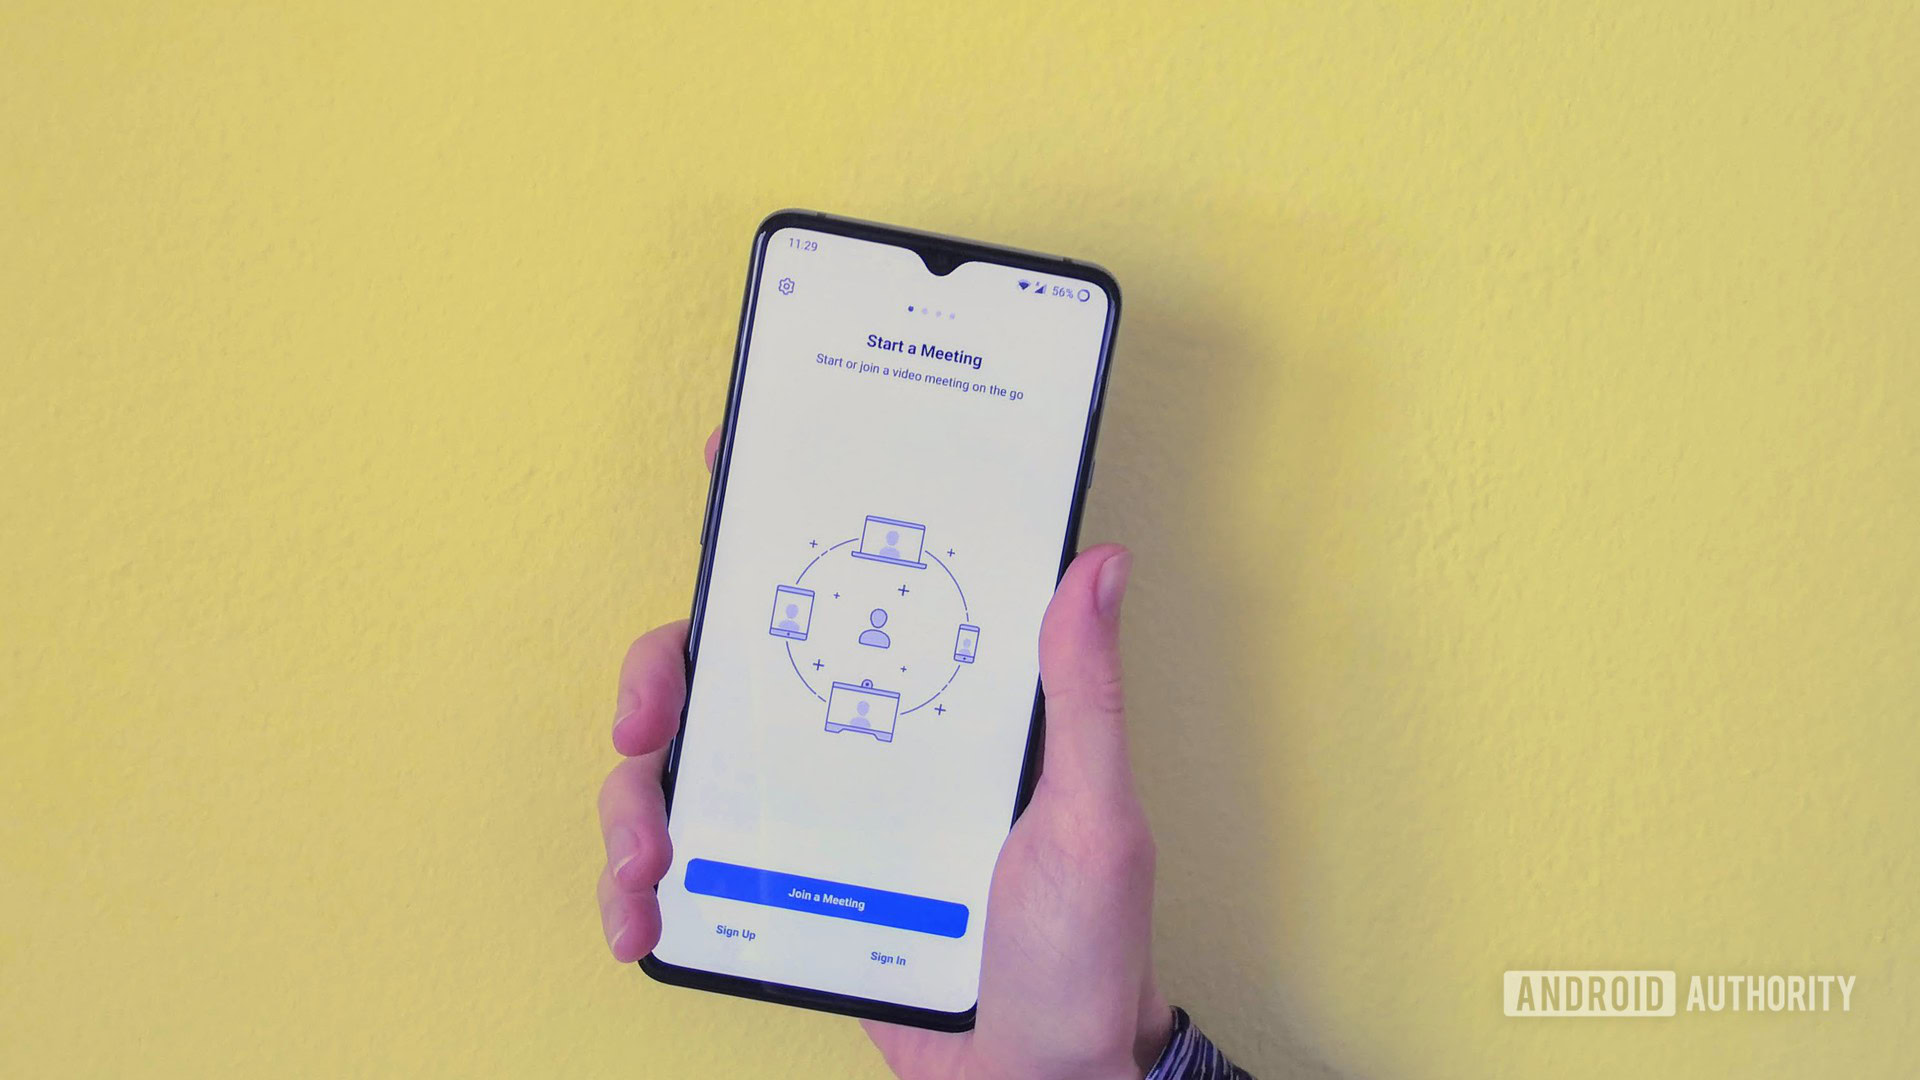
This used to be a significant issue when Zoom was gaining popularity. Unexpected visitors would join meetings and start going crazy, going as far as sharing indecent images and videos. This even has a name — Zoombombing.
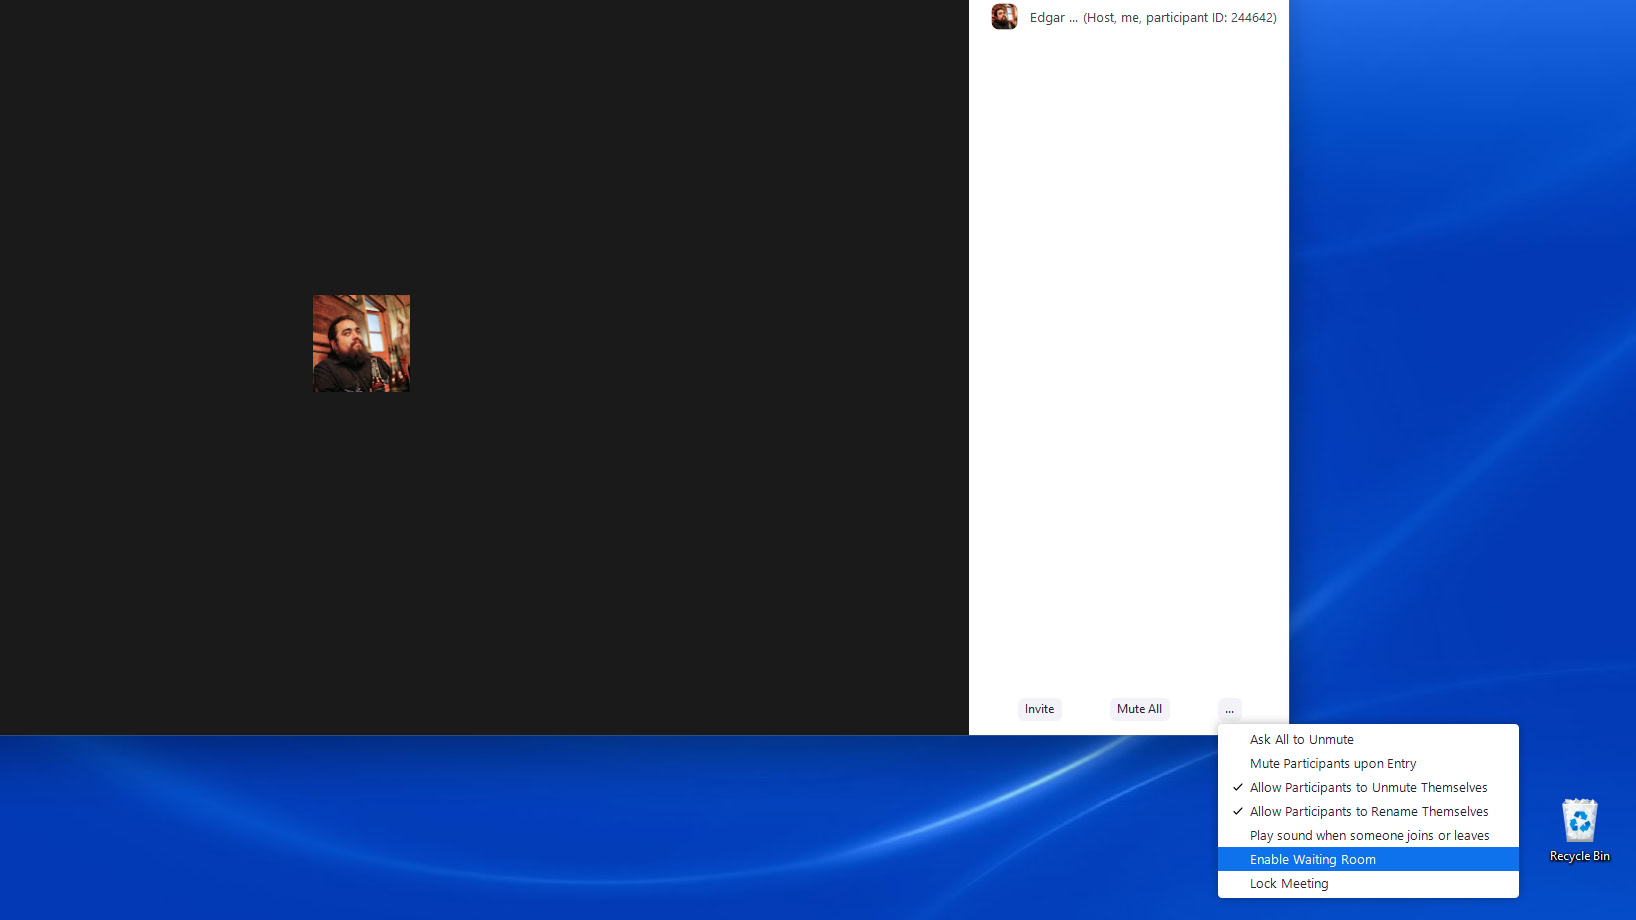
Zoom has implemented a few security measures that prevent Zoombombing altogether. In addition to a Zoom meeting ID, you also need a password to get into a meeting. Additionally, all attendees have to request to join a meeting. They can enter once the host lets them in. You can also enable a waiting room to create another barrier to entry. Go to Participants > three-dot More button > Enable Waiting Room to do this.
How to enable a Zoom Waiting Room:
- Start your Zoom meeting.
- Click on Participants.
- Select the three-dot More button.
- Hit Enable Waiting Room.
These improvements made by Zoom are significant, but there are still a few extra security measures you must keep in mind to prevent getting Zoombombed. The first one is to abstain from sharing your Zoom meeting’s ID publicly on Twitter or other public venues. This is just common sense, but you’d be surprised how many people don’t follow this rule, including the United Kingdom’s prime minister. The same security measure applies to the meeting’s password as well.
Read More: How to set up and use Zoom
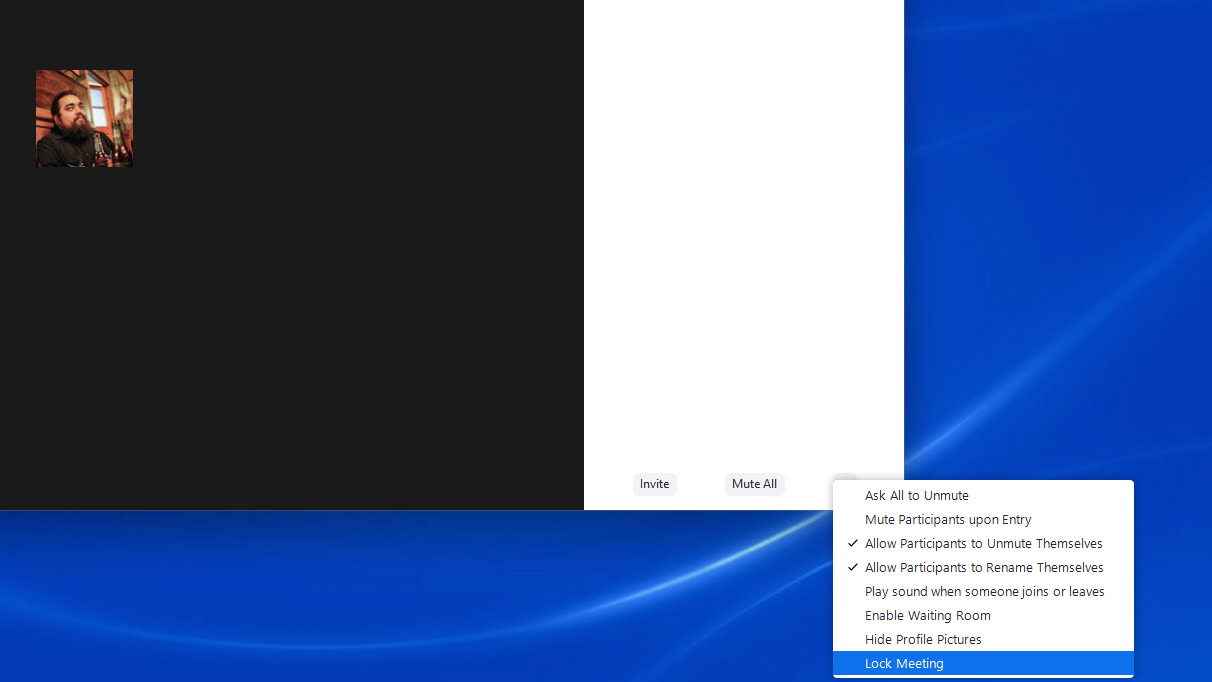
These methods ensure unexpected visitors won’t appear in your meeting. But there are other tricks you can use for an additional layer of security. One of them is to lock the session after all the attendees have joined it. This means no one will be able to enter your meeting anymore, even if they have the meeting’s ID and password. Click the Participants tab and select the three-dot More option at the bottom. A few options will appear — the one to click is called Lock Meeting.
How to lock a Zoom meeting:
- Start your Zoom meeting.
- Click on Participants.
- Select the three-dot More button.
- Hit Lock Meeting.
Also, remember that the host can easily remove unexpected visitors from a meeting if they still manage to get in. Click the Participants option in the taskbar, hover your mouse over a participant’s name, and click More followed by Remove.
Missing features
If popular features, including the ability to only share a part of your screen with participants, don’t appear in your account, there’s no need to worry. You may have joined a meeting with a browser instead of the dedicated app.
Although Zoom works in browsers, the app offers more functionality. The time it takes to connect to a meeting is also a lot longer, and in some cases, the connection doesn’t get established.
To fix one of the most common Zoom issues and access Zoom’s features, download the Zoom app on your device and use it to host a meeting or join one. Here’s the download link.
Background noise
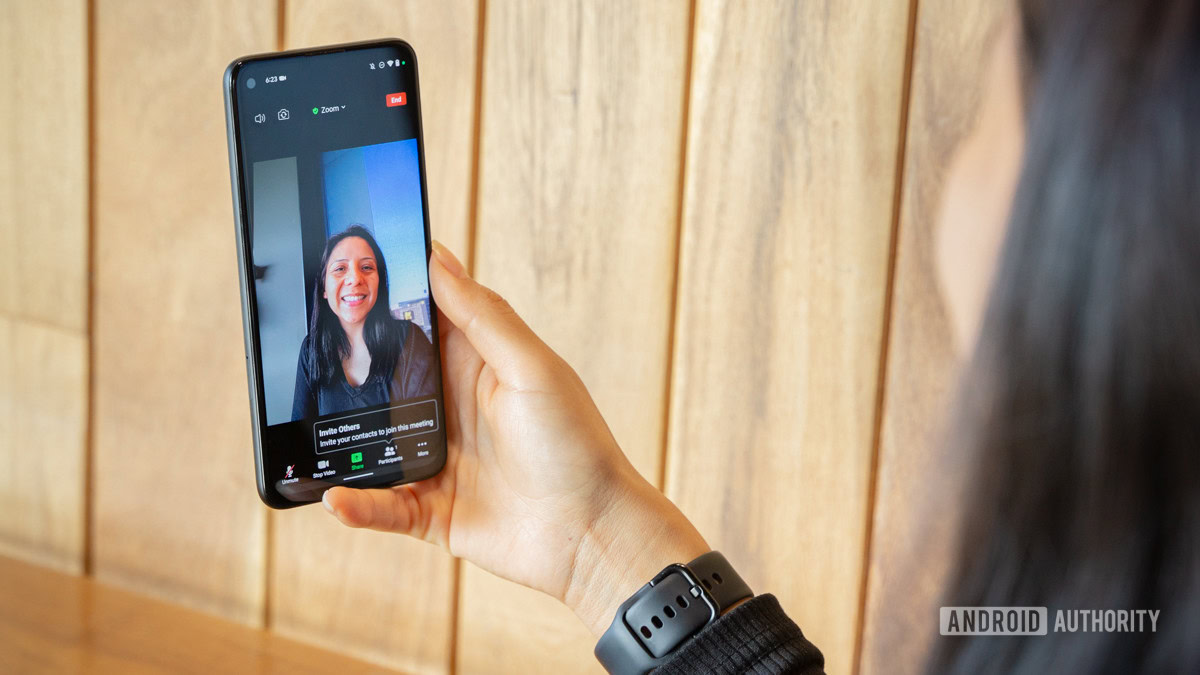
Background noise is the worst and can come from all the participants who don’t mute their mics. Someone might have screaming kids running around the house, or a neighbor mowing the lawn. The noise makes it hard to hear the person speaking during a meeting and is generally unpleasant.
This problem wouldn’t exist if everyone turned off their mics when joining a meeting. Only the person who speaks at a given time should have the mic turned on. Sadly, that rarely happens.
To solve this issue, the host can mute all participants on entry. This means everyone will have their mic turned off by default when they join a meeting. This will prevent any possible background noise. You can do this by clicking the Participants button in the taskbar, selecting the three-dot More option, and then clicking on Mute Participants upon Entry.
You’ll also see a Mute All button after clicking on Participants. Throughout the meeting, it can be used if people unmute themselves and background noise creeps in.
How to mute participants in a Zoom meeting:
- Start your Zoom meeting.
- Click on Participants.
- You can hit the Mute all button.
- Alternatively, select the three-dot More button.
- Pick Mute Participants upon entry.

It also helps to avoid any circling sound or outside noises. Users should avoid using external speakers, speakerphones, or any other noisemakers.
Lagging or performance issues
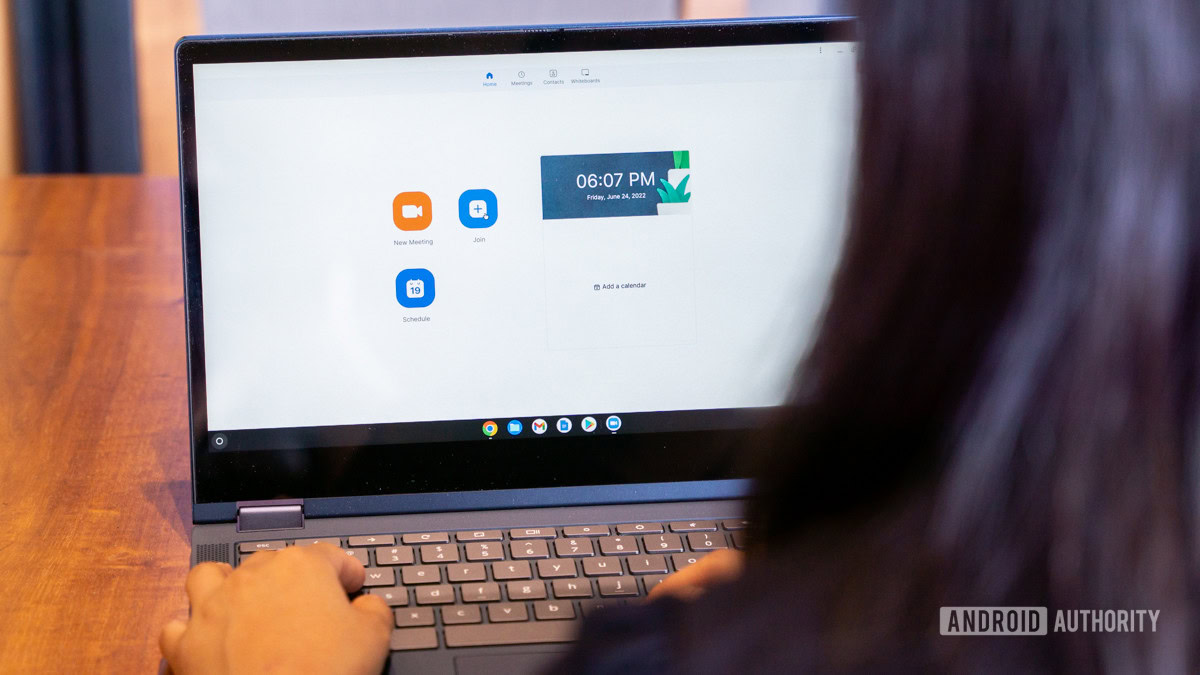
Is Zoom suddenly slowing down on you? Unexpected lagging or freezing is annoying, and the bad news is there’s not always an easy fix. One main issue could be your internet connection. You can run a speed test using something like SpeedTest.net. If your internet connection is acting up, your only solution is to move to another network. Another way to lower Zoom’s internet needs is to reduce the video resolution in the settings. Just click on the arrow pointing up button next to the camera button. Enter Video Settings and go into the Video tab. Uncheck HD.
How to lower Zoom video resolution:
- Open Zoom.
- Click on the Settings gear icon.
- Click on the Video tab in the left column.
- Under Camera, uncheck HD.
If all fails, you might want to try restarting your computer or reinstalling Zoom. You can also restart your router or disconnect some devices from your network and see if that helps.
Activation email not arriving
If you haven’t received the email, you need to activate your Zoom account; fear not. It will come; it may just take a while. While most activation emails are sent within seconds, some may take up to 30 minutes. There’s nothing to do on your end but to sit tight.
In case your Zoom account is managed by your company, and you don’t get the activation email after 30 minutes, the administrator should whitelist the no-reply@zoom.com email along with the following IP addresses:
- 198.2.179.123
- 198.2.179.168
- 198.2.179.86
Also, check if the activation email from Zoom is in the spam folder.
40-minute limit and more

Zoom’s free plan is very generous, but it has several limitations you have to keep in mind to prevent running into problems. The biggest one is that group meetings can only last for a maximum of 40 minutes. Afterward, the system will log out all participants and terminate the session. Some users get confused after a meeting reaches an abrupt end.
Another limitation is that you can’t record to the cloud, so sharing a recording with your team is more time-consuming. Free users can record a meeting to their device, after which they can upload the recording to Google Drive or any other similar service and then share it with others. This may or may not be a big deal to you, but it’s something to consider. The good news is that, recently, Zoom has included the ability to use three whiteboards and messaging on the free plan.
Read more: How to set up virtual backgrounds on Zoom in the Android app
Also, remember Zoom’s free plan supports a maximum of 100 participants per meeting and does not include a reporting dashboard that lets you see how many meetings are taking place, the total number of minutes spent in meetings, and other data. You also don’t access an admin panel that allows you to enable/disable certain features. These are the significant limitations to keep in mind, although there are a few others.
If you think you’ll run into issues because of these limitations, we suggest that you sign up for one of Zoom’s paid plans. Pricing is affordable, starting at just $14.99 per month.
Could it be your internet?
Sometimes we blame Zoom issues on many things, but forget about the possibility that the internet could be down. Try a simple Google search on the same device to see if you have an active internet connection. If you’re using Wi-Fi, maybe test other devices and see if those are connected.
If the problem is your Wi-Fi, try restarting your router and see if that kicks it back in gear. There’s usually a dedicated button to do this, but you can also unplug the unit and plug it back in.
If you’re using data, use the instructions below to see if your internet is on.
How to turn on data on Android:
- Open the Settings app.
- Go into Network & internet.
- Tap on your main SIM card under SIMs.
- Make sure Mobile Data is toggled on.
- If you’re in another country, make sure to toggle Roaming on. Just keep in mind this could incur extra charges!
Are you still not convinced by Zoom? We have a list of the best video conferencing apps and a guide to the best Zoom alternatives. Check them out to see if any of the others suit your needs better.